|
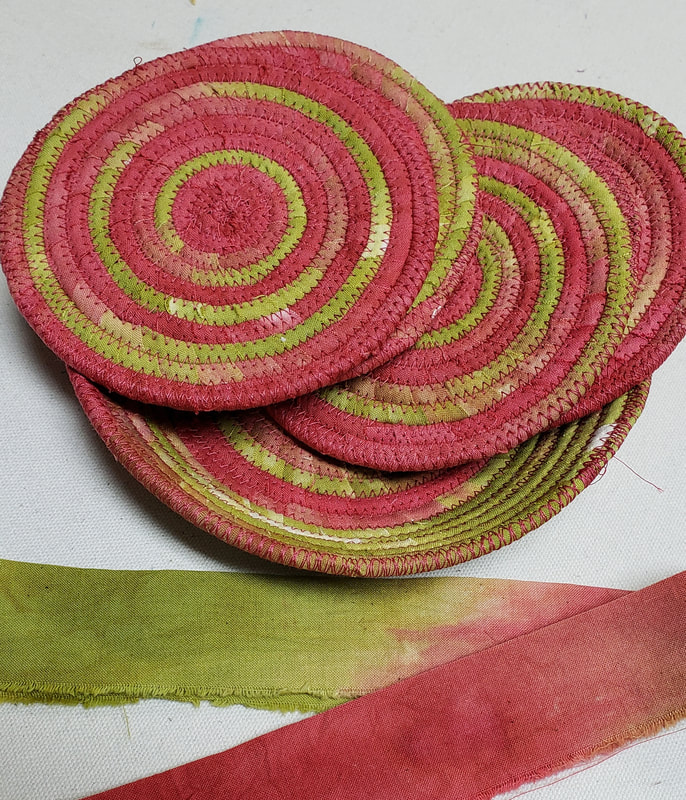
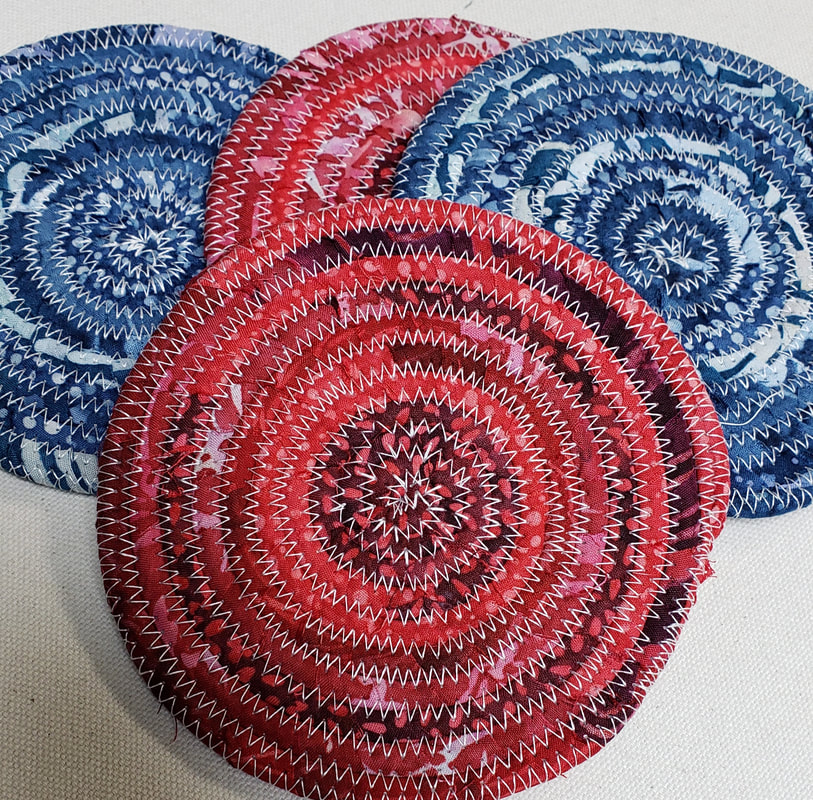
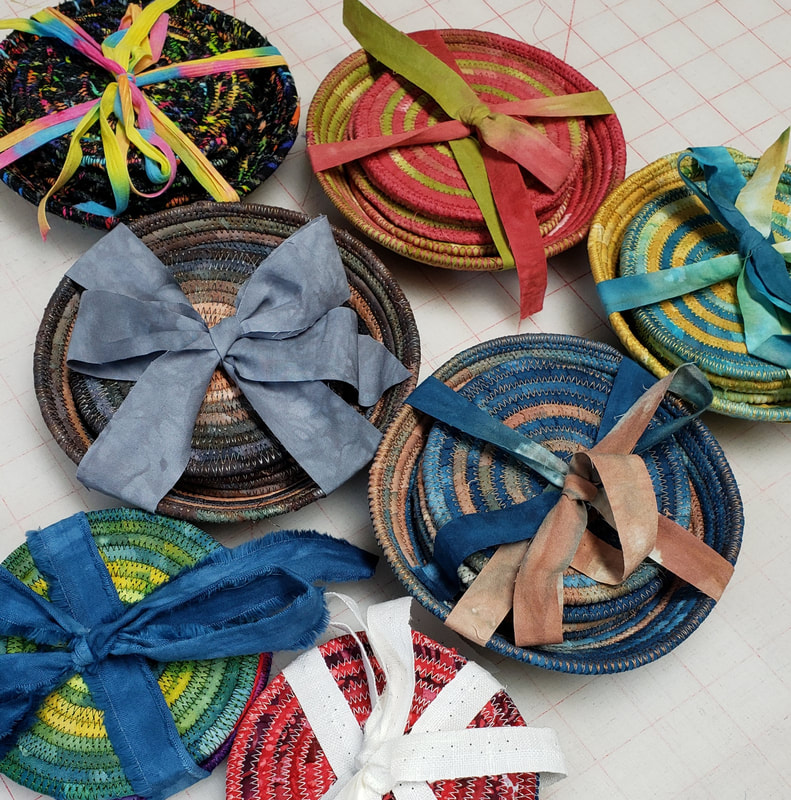
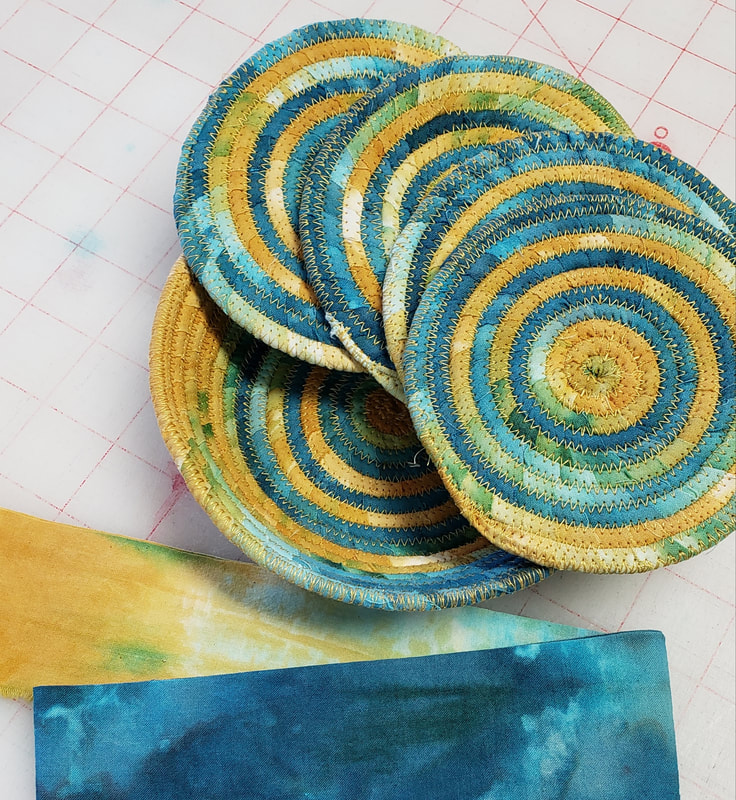
Yesterday was "dyeing day" so I really didn't expect to get a lot done. In the end I surprised myself. I got started on the dyeing earlier than usual so I finished earlier than usual too. I finished off this set of coasters. You can see a strip of the fabric that I used in these. I think this set turned out really pretty. After this I took a break to address some Christmas postcards. Then I went back to coaster making. This set of 4 (no bowl) are made from batik scraps from one of the veterans quilts that I made this summer. There weren't enough for a bowl. That's OK because some people aren't getting bowls and they won't know what they are missing. After I finished these I addressed some more postcards and I have 24 ready to go out tomorrow. That's about a third of the addressed ones. Of the 79 cards, I give about a dozen to the people who work in my post office. I don't have to address or stamp any of those! Here are all the sets that I have ready so far. I'll make a couple more but I have all I need for Friday gift giving. Tomorrow I have to get the label on Kim's quilt so that it will be ready for Friday delivery too. Then I'll make another set of coasters.
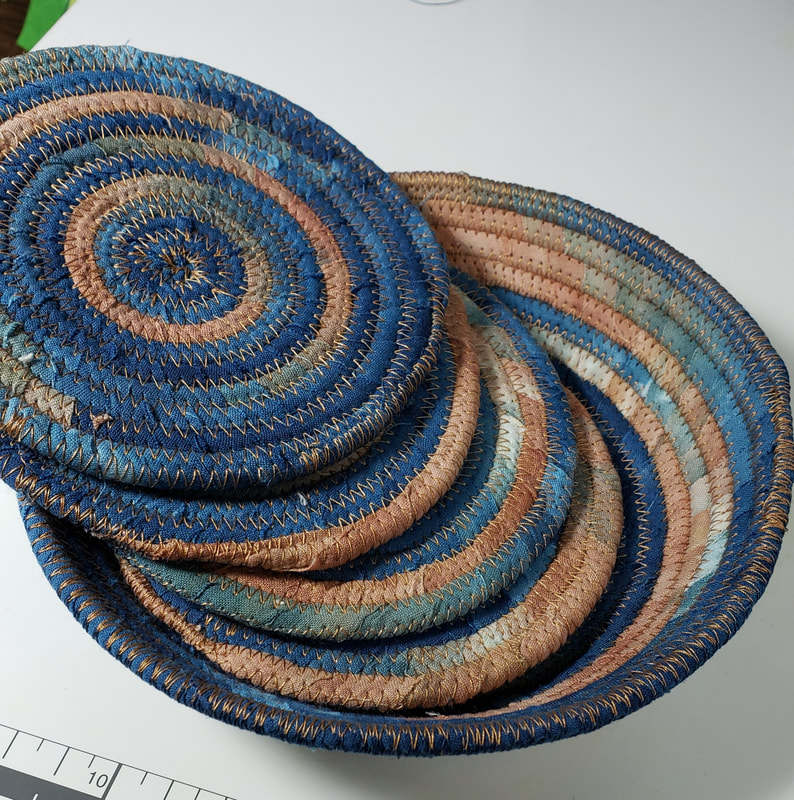
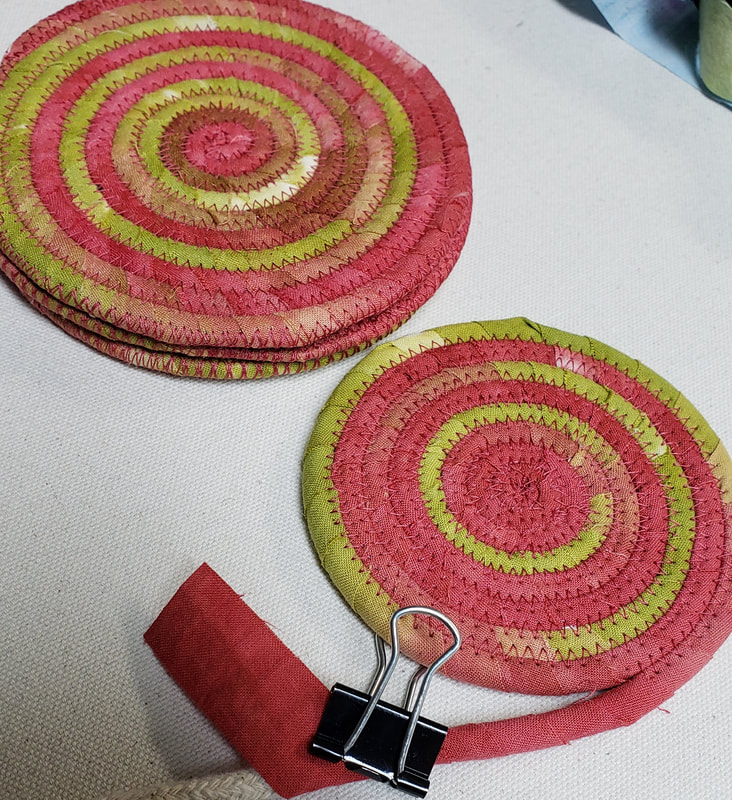
I'm looking forward to Friday and Saturday sewing with my quilt club so I can work on something else. Hey Pauline!First a shoutout to Pauline. She's the MIL of a new friend and new quilt club member, Brenda. Brenda told me that Pauline likes reading the blog so I wanted to say Hi! I have a small group of friends that I used to work with and we still get together regularly. We exchange small gifts at Christmas. Two of them make awesome treats that Chris loves (Rum Ball cookies and Peanut Brittle). I try to do something handmade too. Last year, I think, was dyed tea towels. This year it's coaster sets. I made a couple of sets during the year in an attempt to not have a last minute panic. But here we are again, just a few days away from gift giving and I'm catching up! I decided to use some of my waste fabrics for these. Each set takes 2 pieces (about 7" wide x WOF) and I cut the strips to about 5/8" wide. My friend Estelle makes lots of these as a fundraiser for the Virginia Quilt Museum and she's right, making them is very addictive. Once you get going it's really relaxing to make them. This set is made with waste fabric from the Beach Walk gradient. This set is made from the waste fabric of the Barrier Island Gradient. I really love how these fabrics are working out in the bowls. The set I'm working on now is made from the waste fabric of the Georgia Peach gradient.
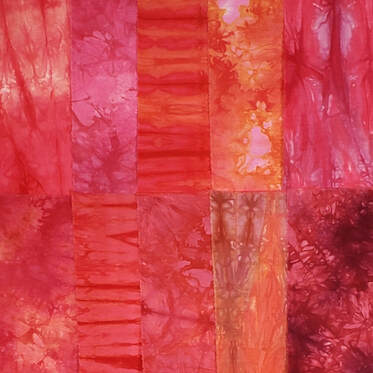
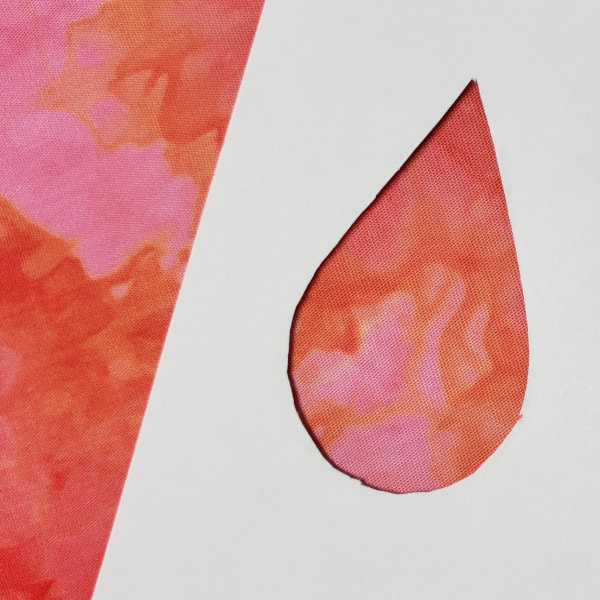
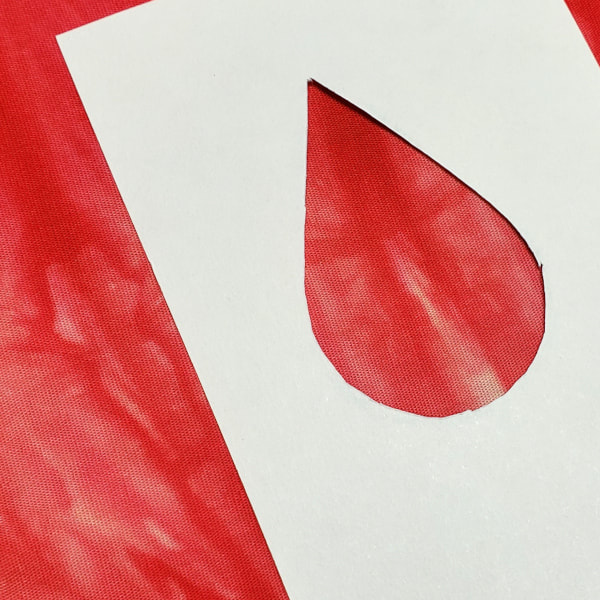
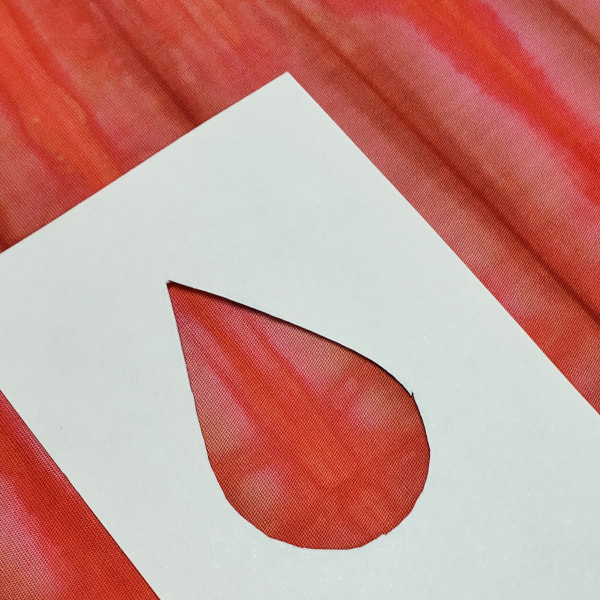
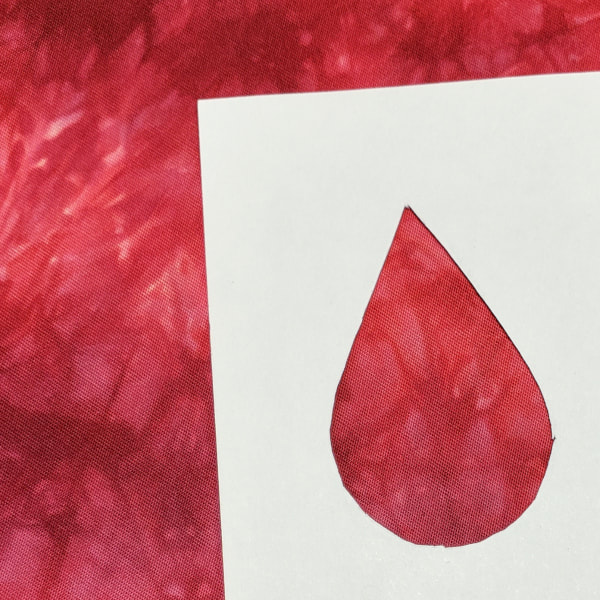
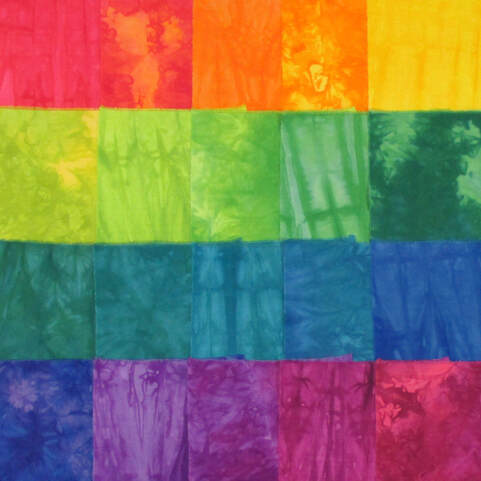
So now you know everything I'm doing this week! I will start addressing cards this evening too. All my Christmas stuff should be done by this weekend. Sometimes I have a clear vision and plan for what I want to dye next. Sometimes that vision turns itself into something totally different. That was the case with this week's new fabric. It turned into something so much better than what I envisioned! I wanted a variety of beautiful rich reds for my new Stash Pack of fat eighths. What I got were some amazing textures and as I ironed the fabric all I could think about was my friend, Becky, and her amazing applique. The textures in these fabrics are amazing and are perfect for fussy cutting applique shapes, like flower petals. Ironing took twice as long because I kept playing with the fabrics. Stash Packs are perfect for applique because you get lots of variety for the same price as yardage. Each Stash Pack has 10 fat eighths. Extended Fabric of the WeekSince I'm on a Stash Pack kick AND there's still time for Christmas gift shopping, I've extended the sale on the Crayon Box Stash Pack for another week. This pack is great for people participating in the Rainbow Scrap Challenge. Check out the RSC project that Alycia made with a Color Wheel Stash Pack here.
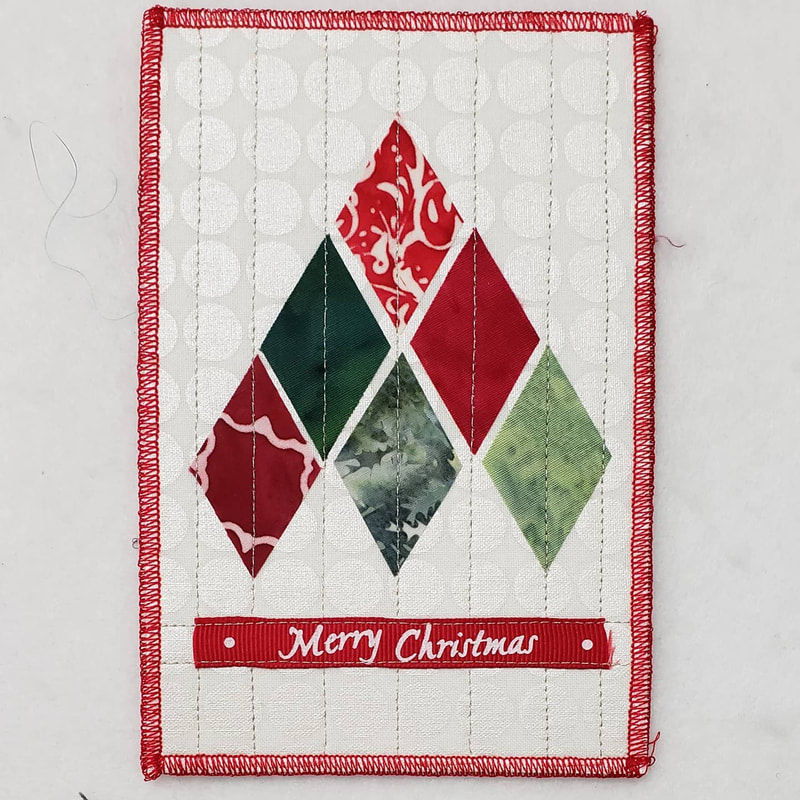
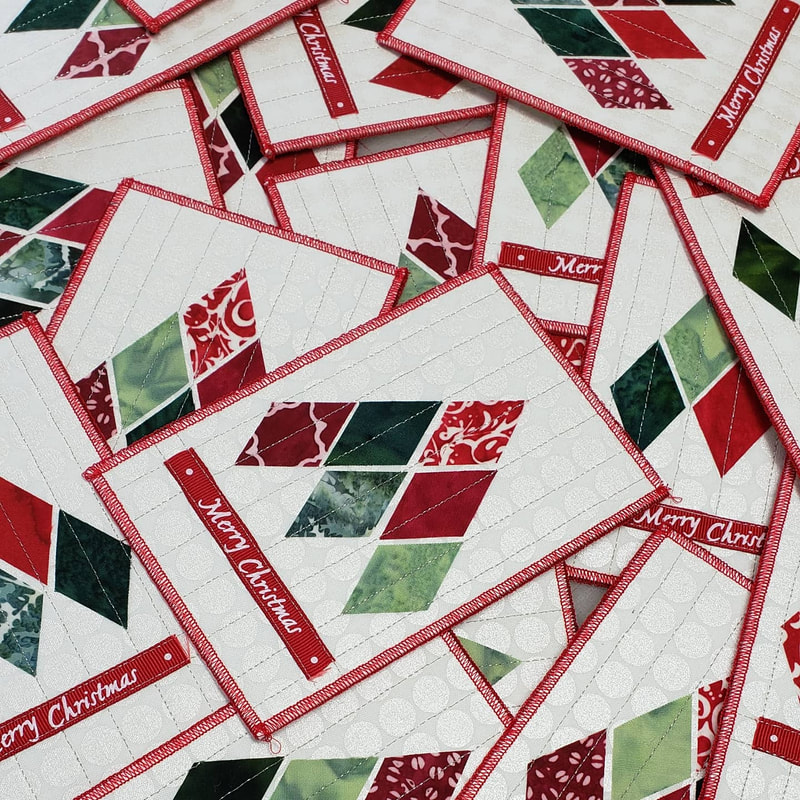
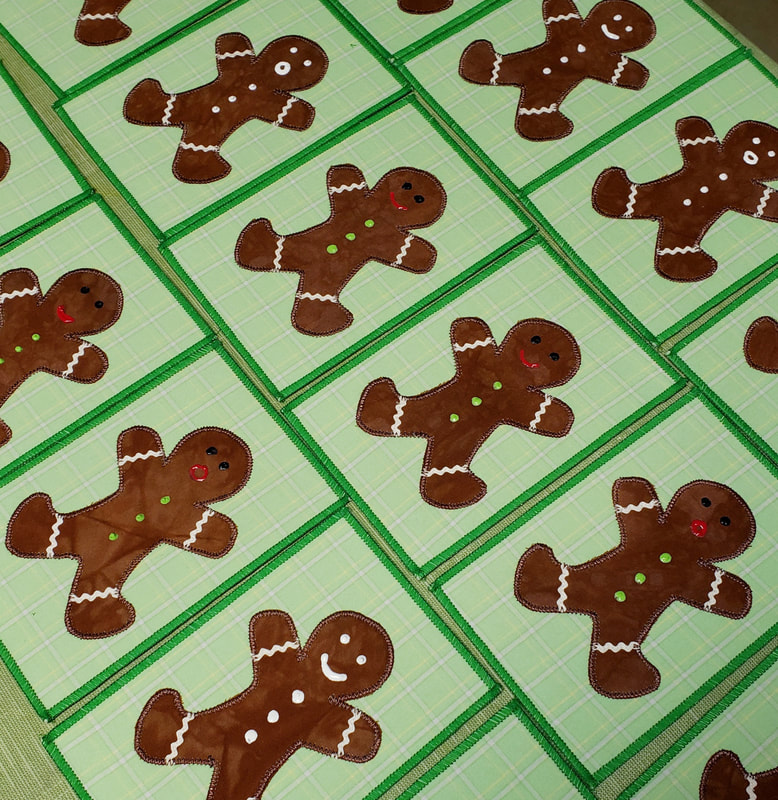
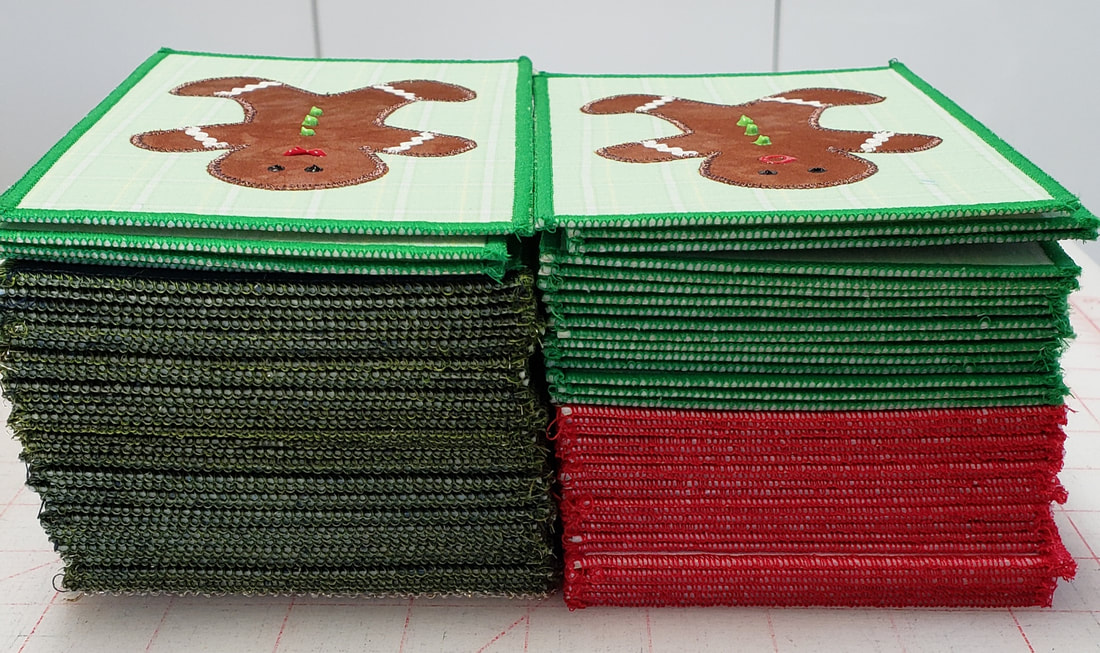
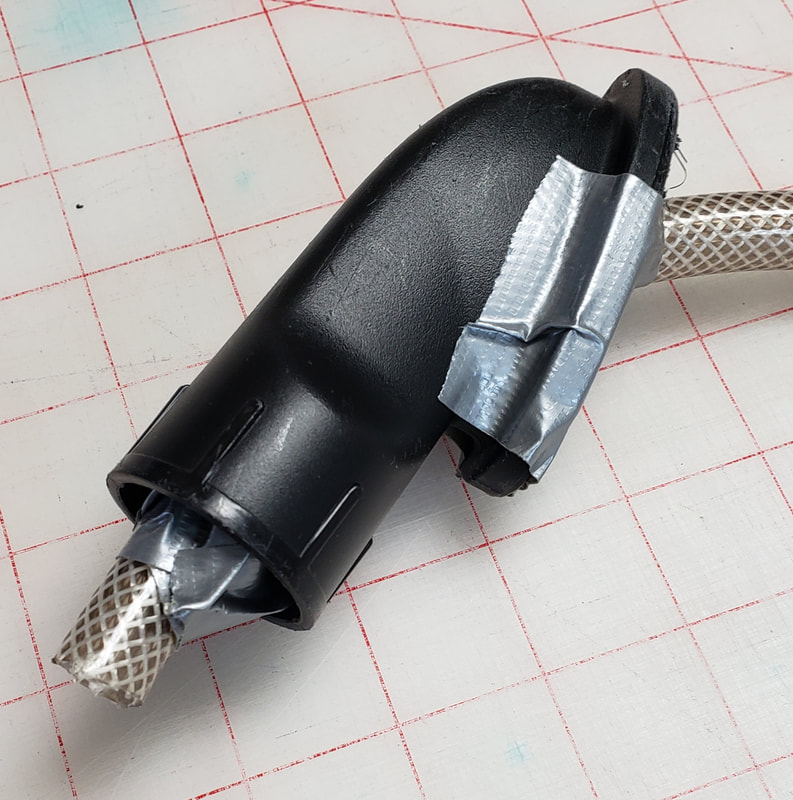
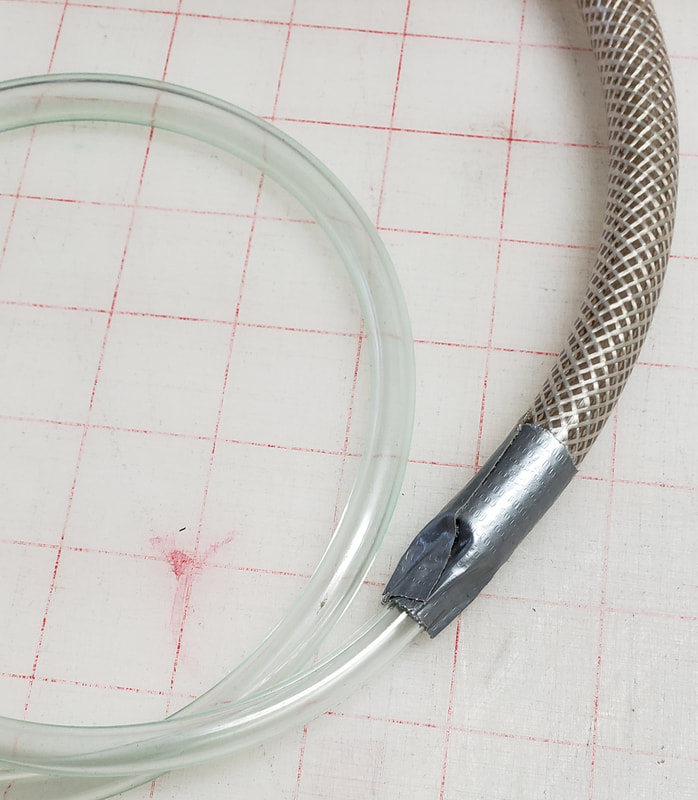
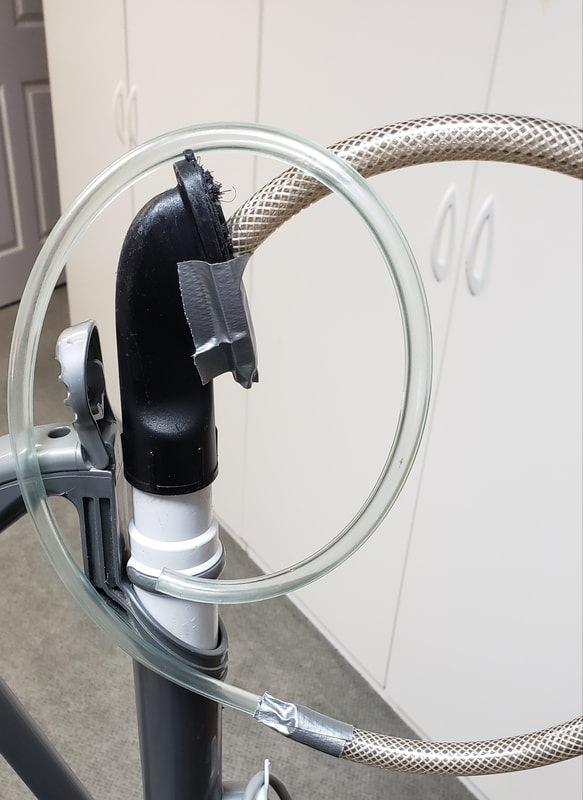
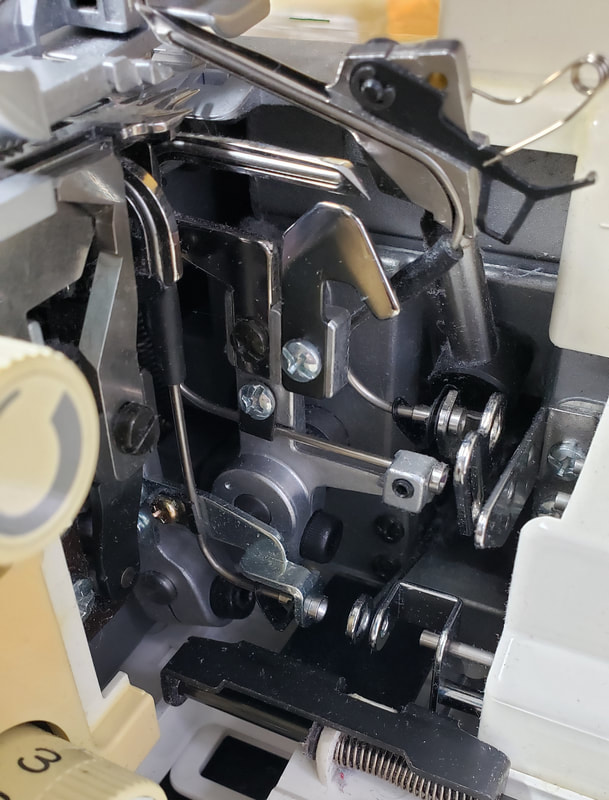
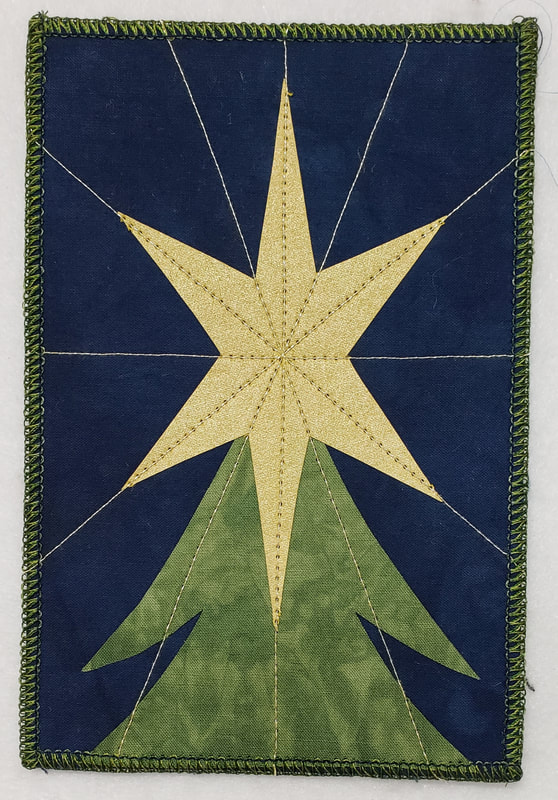
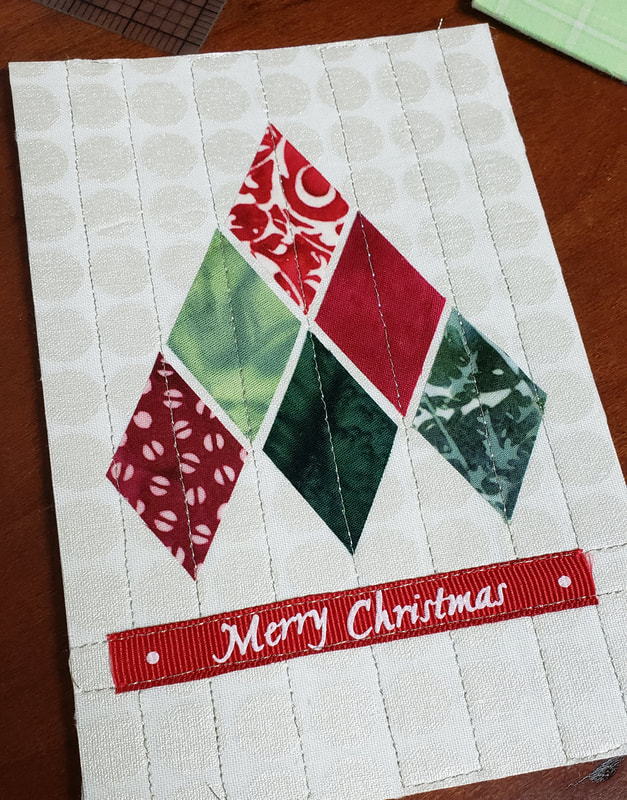
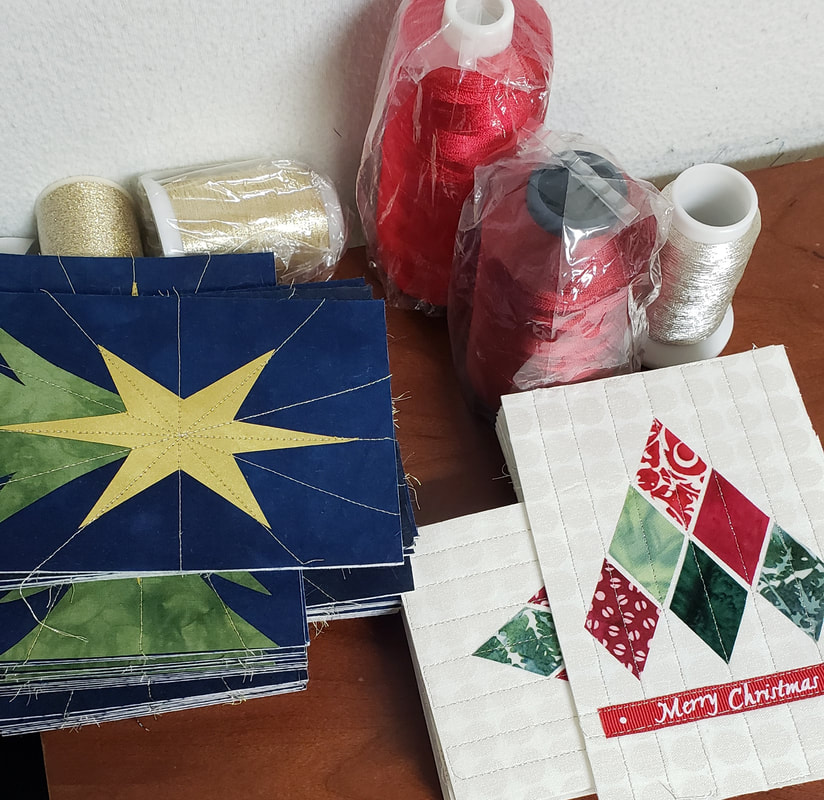
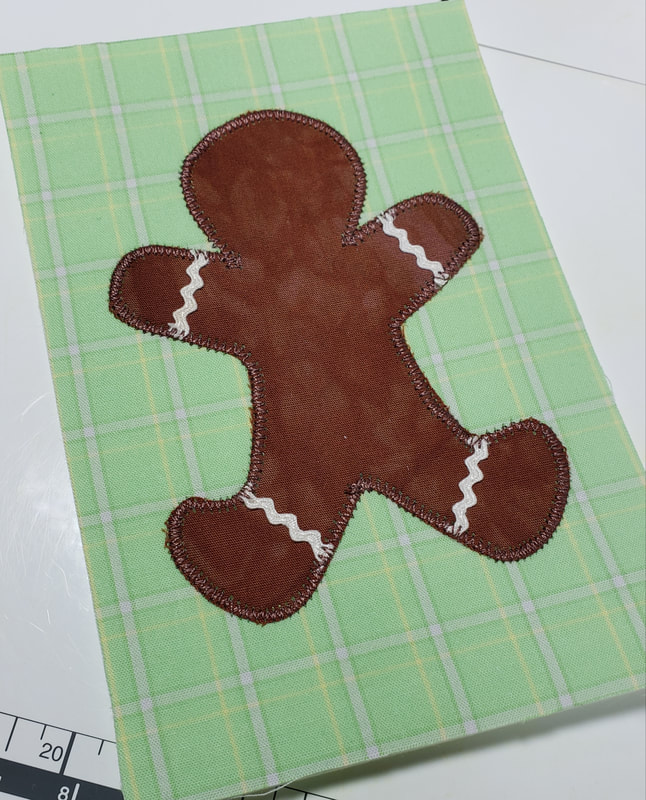
I did it! I finished all the postcards! It's actually 79, not 80 but I'm not going to be short. There are a couple of people on last year's list that aren't on this year's. Not because I suddenly dislike them but because they moved, or, sadly, died. After all of the agony and angst, I'm actually happier with this batch of cards than any year before. I like all 3 designs equally. Here's the second design. I suppose it can be called an abstract tree. The background is a fabric that I think was called Mirror Ball and it's got just the right amount of sheen. I cut out diamond shapes from batik and fused them down. I picked up the Merry Christmas ribbon at one of the craft stores. The stitching is silver metallic thread. I think the final count on these was 22. I'm not about to get up out of this chair to go count. 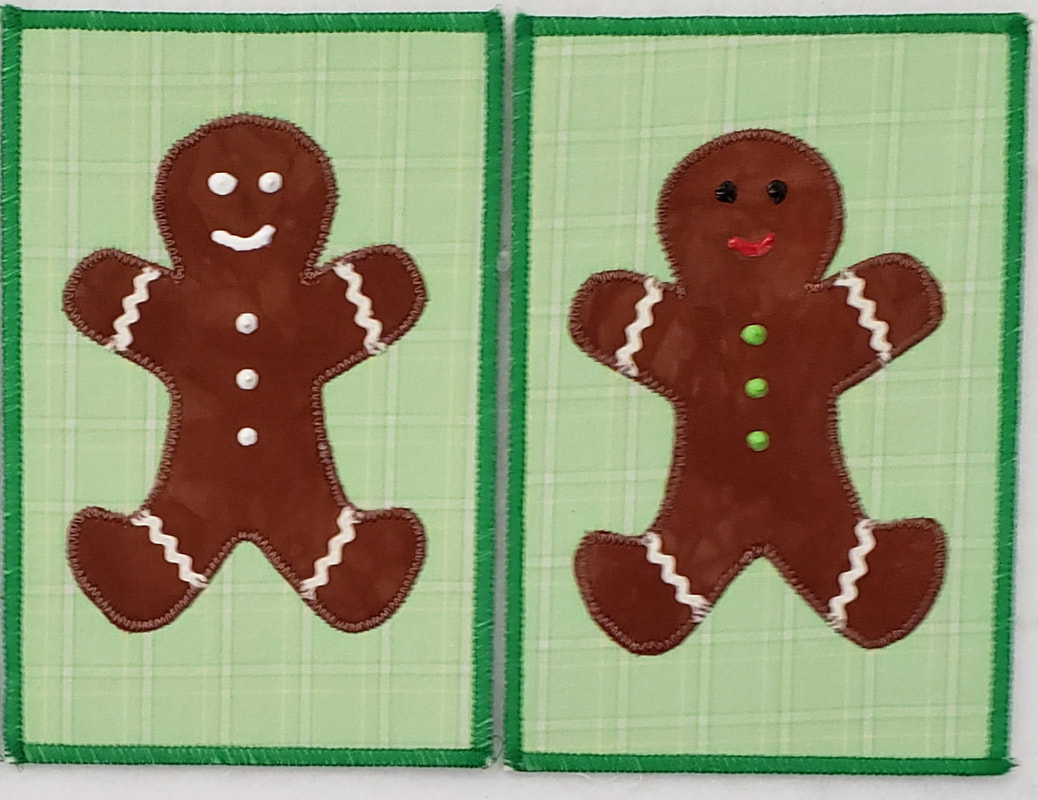 The third set are really cute Gingerbread Men. I picked a plaid background for the look of a kitchen towel or tablecloth. Mottled hand dyed fabric was perfect for the cookies (or biscuits for my UK friends). The shape came from Electric Quilt. I took their Gingerbread applique and sized it for a postcard. It distorted the head a little so I just had to fix that before making my cardboard template. The arm and leg icing is a very narrow ric rac. I have a shoebox of vintage ric rac that comes in handy from time to time. This was one of those times. The face and buttons are paint. I did some in white and some in colors and a few of the mouths are "o" shaped because they are afraid of being eaten. I wish I had "taken a bite" out of a couple of them. My brothers would get a kick out of that. Here they are after painting. This picture reminds me of gingerbread on a cookie sheet. There are 20 of these cards. Here's the stack of 79 cards ready for a hand-cramping session of addressing. Before I get to these I have a few Christmas gifts that need to get made before Friday. I expect I'll address these this coming weekend and get them in the mail on the 14th. That's plenty of time! And now for my hack! After I finished these I shortened some sleeves on some new long sleeved tshirts that I bought and then I started cleaning up the serger to put away. It was a linty mess and I was trying to use cotton swabs and brushes. I used to have one of these mini-vacuum attachment kits but it never fit any vacuum that I owned so it was useless and was thrown out ages ago. I wondered if I couldn't hack one of my own. I had this attachment from an old vacuum that I use in the basement. I never use the attachment so I tested and it fits the upstairs vacuum. I cut off the brush stuff. Then I found this hose in the cabinet of leftover hardware and stuff. It turns out that cabinet has a TON of weather stripping for some reason. I can't even think where we have used any of it and have no idea why we have so much of it. Probably need to do a purge down there sometime. Anyway, this tubing was in there so I cut a length and it just fit inside the attachment. That tube wasn't going to be small enough to fit in the small areas of the sewing machines. I solved that with another length of a narrower tubing that fit perfectly inside the big one. Duct tape is so awesome. The old attachment fits right on the end of the vacuum extension thingy. It's not pretty but I've always been a function-over-form girl. This hack functions perfectly! Look at that beautiful clean serger! I'll be using this on all my machines as soon as the Christmas sewing rush is over.
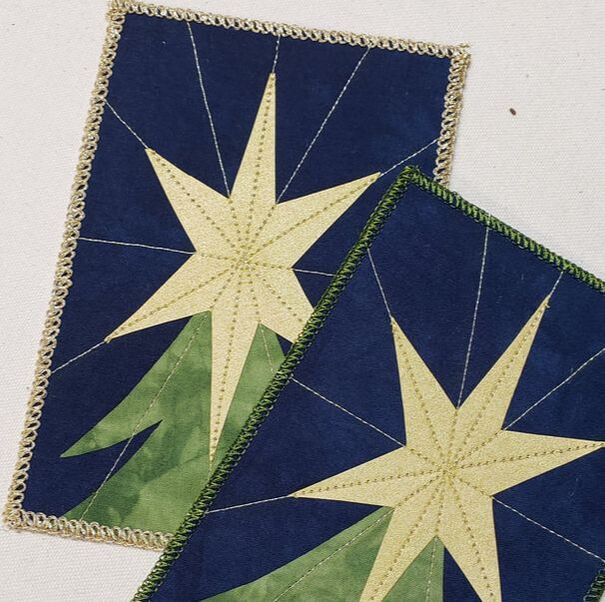
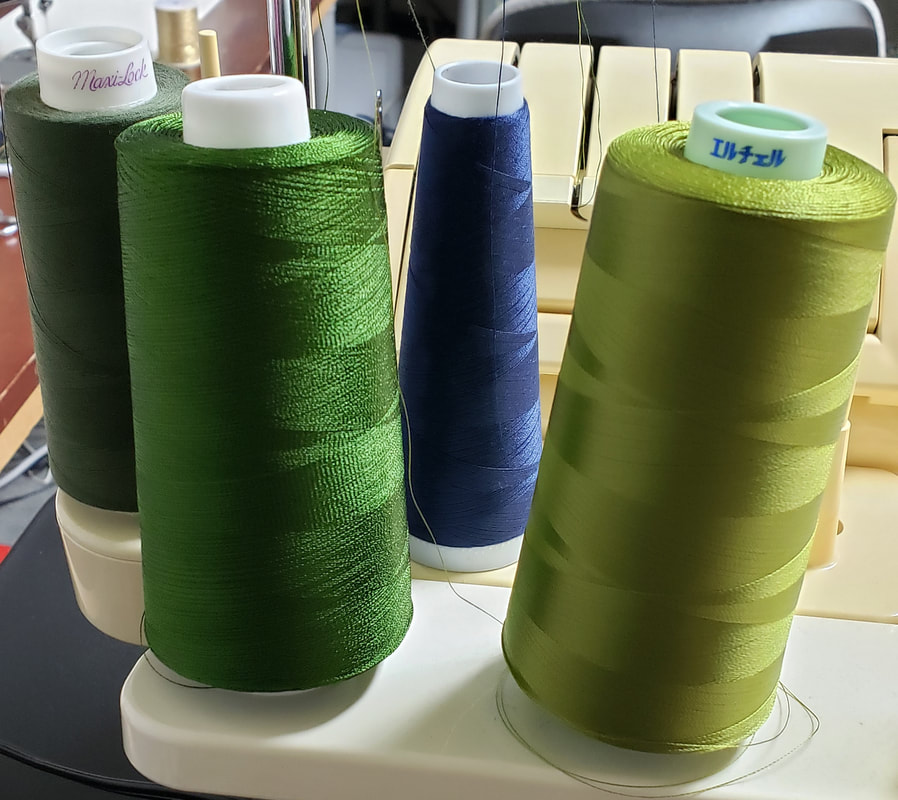
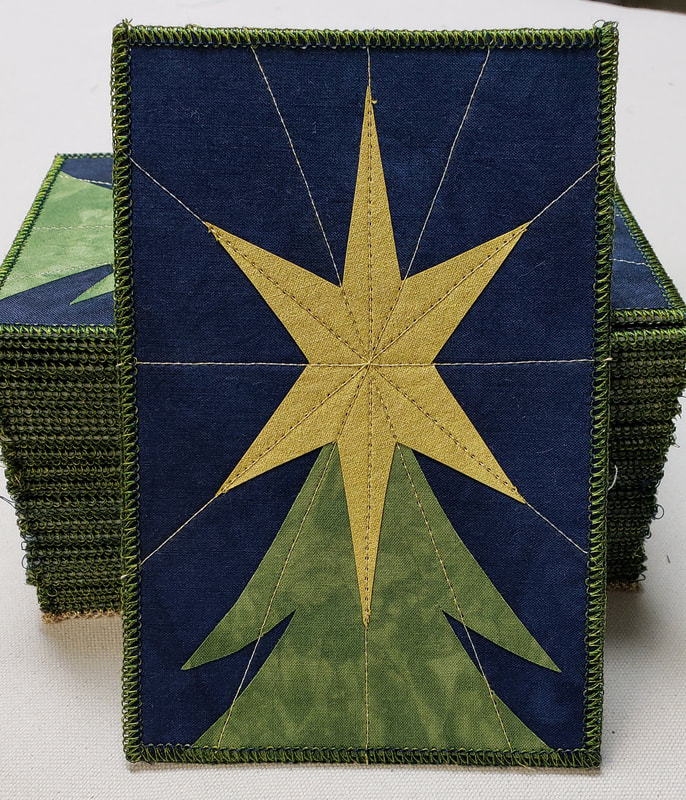
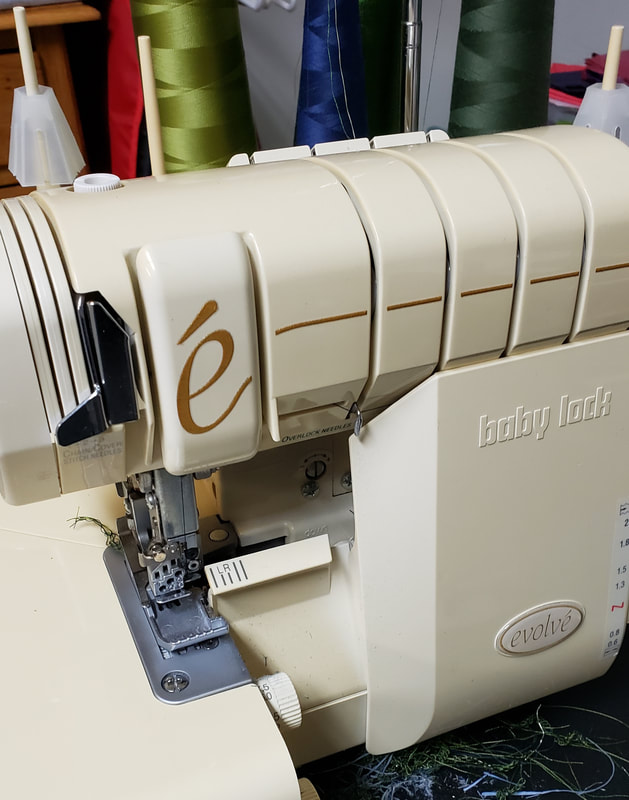
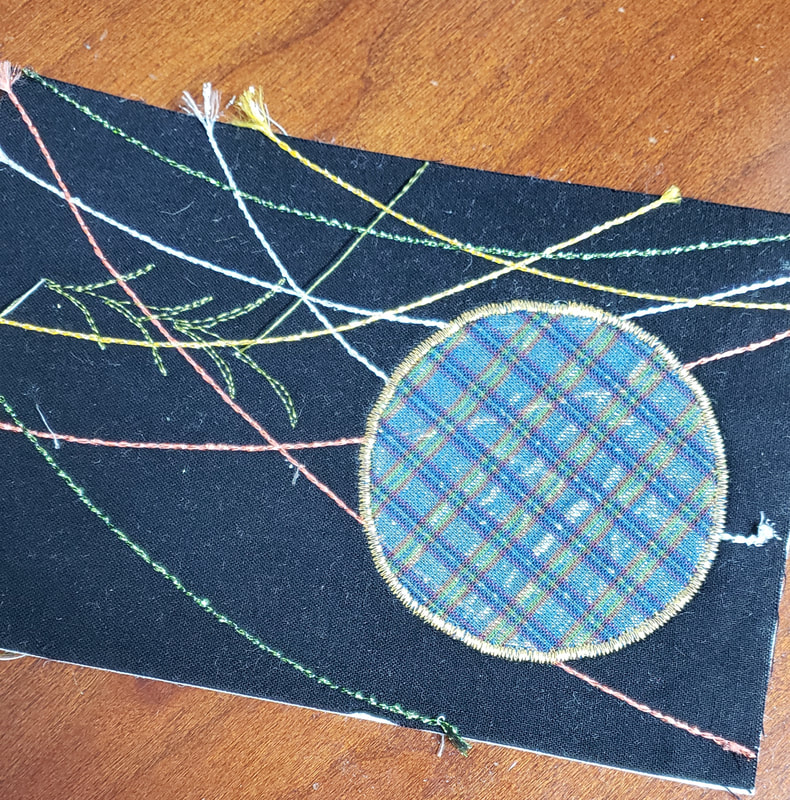
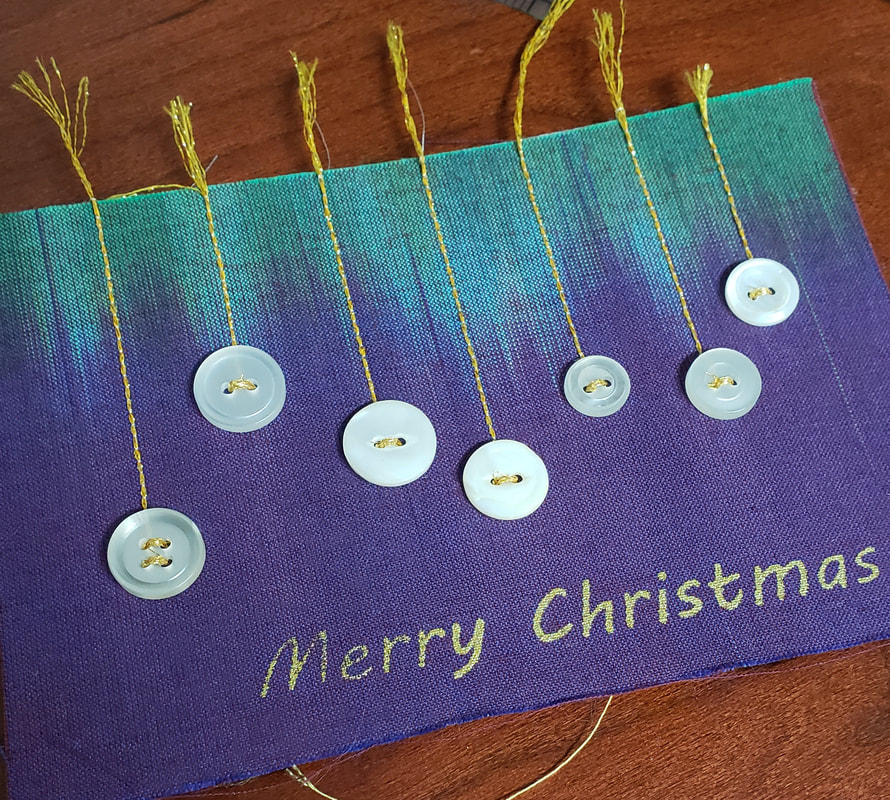
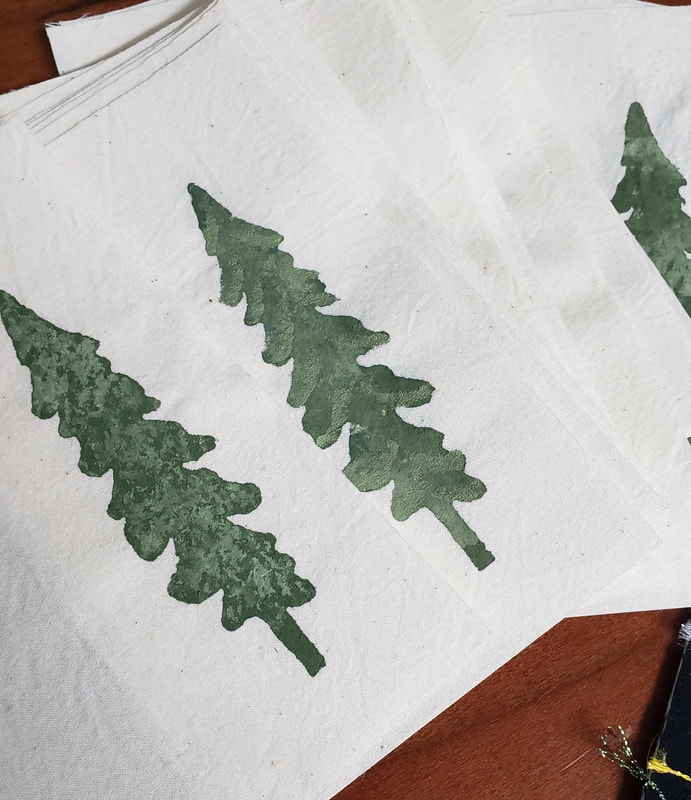
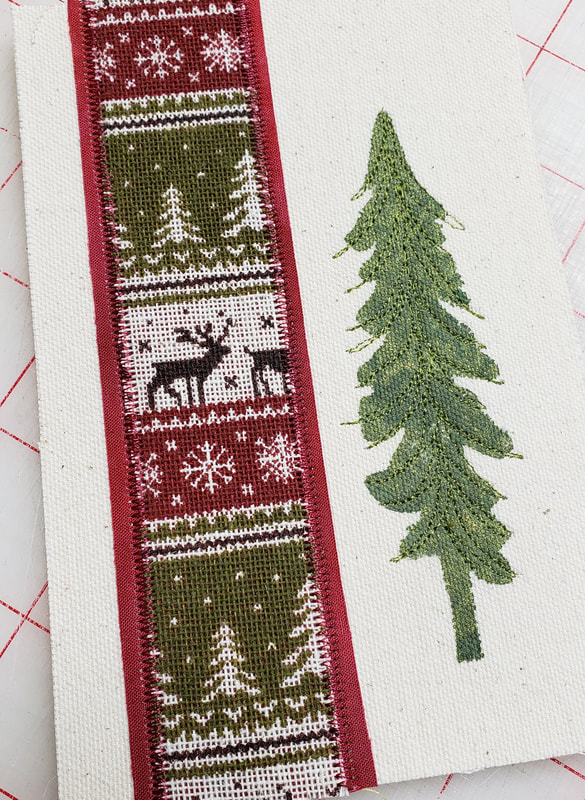
Now I'm working on coiled coaster sets, you know, the ones that are fabric wrapped around clothesline. My friend, Estelle, makes lots of these as a fundraiser for the Virginia Quilt Museum. She's right when sewing them is like eating potato chips. You just can't stop! It's such a zen activity. I made 2 sets earlier this year and another last night. I want to get 2 more made by Friday and that shouldn't be a problem at all. Yay! The first set of postcards are done! I finished the stitching on the gingerbread men last night so today I could prepare and fuse backs and start serging the edges. I think this is probably one of my favorite Christmas card designs in the 14 years that I've been making cards. It's simple but still nice and a little elegant. When I planned these cards I wanted gold for the edging but after I did one I decided that I didn't really like that so I switched to a green edging. I'll still mail the gold one, it's perfectly fine and the recipient will not know that they got the only gold one. Hmmm, maybe I should note it so they think they got a special one and not a pseudo-reject. Getting the right green color was a bit of a challenge. I eventually settled on running these 2 green threads in the upper looper. The blend of the two matched the green in the tree really well. I used blue for the needle and a darker green for the lower looper. The upper looper threads are embroidery threads that have a nice sheen to them. The first 37 cards are ready to address and mail. The serger makes quick work of the postcard edges. If I were only making 10 or so cards, I'd use a satin stitch on the machine but when I need to crank out volume the serger can't be beat. I've had this serger over 20 years and it's not been serviced once! If the stitching is off it's ALWAYS a threading problem. I just rethread the machine and it's ready to go. 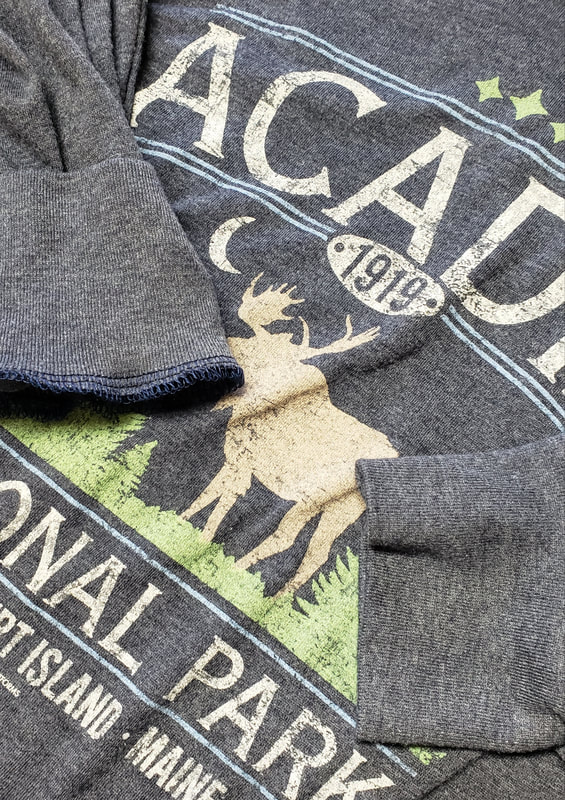 Actually the first thing I serged today were the cuffs on this shirt. I bought it in August and it's been hanging on the back of my sewing chair ever since waiting for me to shorten the sleeves. I didn't want to get the machine out for a 15 minute job so I took care of this first. I chop off the cuff, then cut some length off the sleeve and then sew the cuff back on. It's a little awkward at the machine but relatively easy. Now I can wear my super soft new shirt this winter. I've got some errands to run today but this afternoon I'll be working on the rest of the cards. I should be able to get them all edged and then I need to add some paint highlights to the gingerbread men. I'm focused on two things this week: decorating for Christmas and making postcards. The truth is that I'm kind of over decorating. Years ago I would go crazy with something like 5 trees. I must be my mother's daughter because she's pared down to a door decoration and a 1 foot tree that she pulls out of a box. I'm heading in that direction but I'm not quite there yet. This year we are doing the outside (finished that Sunday), the fireplace mantle (this afternoon) and the tree with the glass ornaments (Sunday) and that's it. I'm not doing the beaded ornaments this year. No one is visiting and it's way too much work for a room that we probably won't go in all month. I'll peek at them in the closet if I miss them. It's more important that I get these postcards done. I'd like them in the mail by the 10th and even though they have been more "difficult" than usual, I'll get them done in time for sure. Why have they been difficult? Because I can't decide on designs. I don't remember having this much trouble deciding on designs before but I probably go through this every year and just forget. I started with this idea based on something that I saw online. Ignore the green feather stitching, that was some practice after I had already rejected this one. It's supposed to be an ornament and garland but it just doesn't work. I might revisit it next year with different fabrics. Here's another idea I saw online in a paper card. I love it but I surveyed 3 friends and all agreed that this one would not survive the mail. Rejected because I refuse to mail them in envelopes. Envelopes take all the fun out of it! It is a really cute design though. Then came an idea based on a roll of ribbon that I bought at the craft store. That led me to fuse 30 pieces of muslin and then use a stencil to paint trees. Really, really ugly trees. I tested one out and I hate it. It turns out that I really hate the ribbon. I'll keep the painted trees. I might come up with something clever for next year. A friend took the ribbon so at least that's out of my life. Then I went to my friend's house for Thanksgiving and we did some fabric shopping and I bought 2 packs of red and green batik fat eighths and that inspired these cards that I'm really happy with. Now I'm sure that I have fabric that I could have done this simple design with but I think it was the process of just seeing something new that got me out of that postcard funk. For that, the purchase was totally worth it. (All fabric purchases are totally worth it all the time.) So, as of Sunday I had these 2 piles of cards read to go to get backs and go through the serger for edges. I only needed one more design. I went back to Electric Quilt and looked through the applique Christmas motifs for inspiration. EQ has a Gingerbread man block and that was just what I needed! I have a box of vintage ric rac that produced the perfect icing trim. I'm in the process of edging all of them in the brown thread. Once the are trimmed they will get the rest of their embellishments with paint. I think they are going to be really cute and they could potentially be in the mail early next week. Hooray!
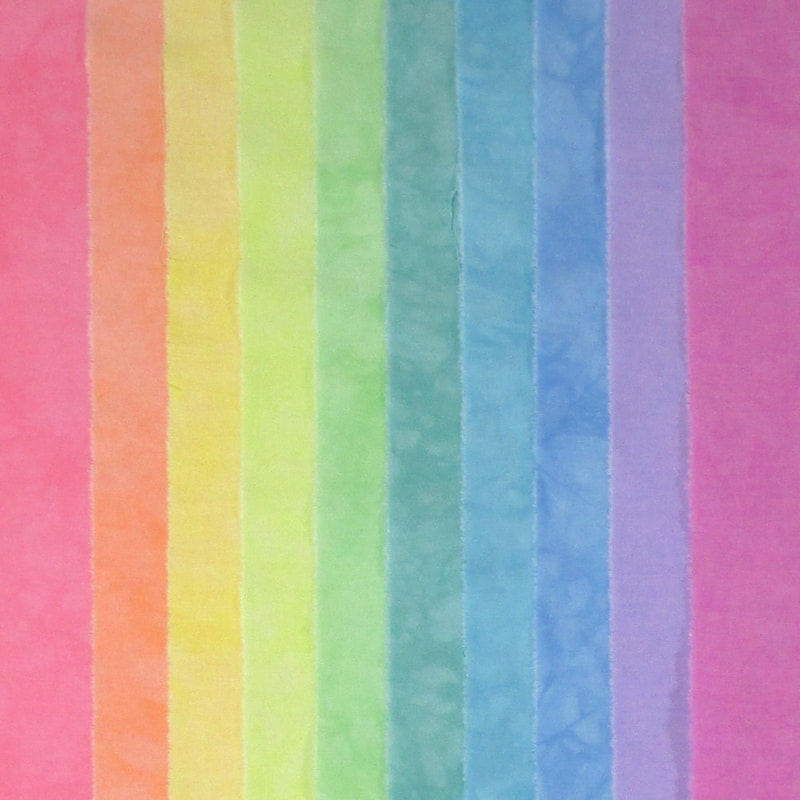
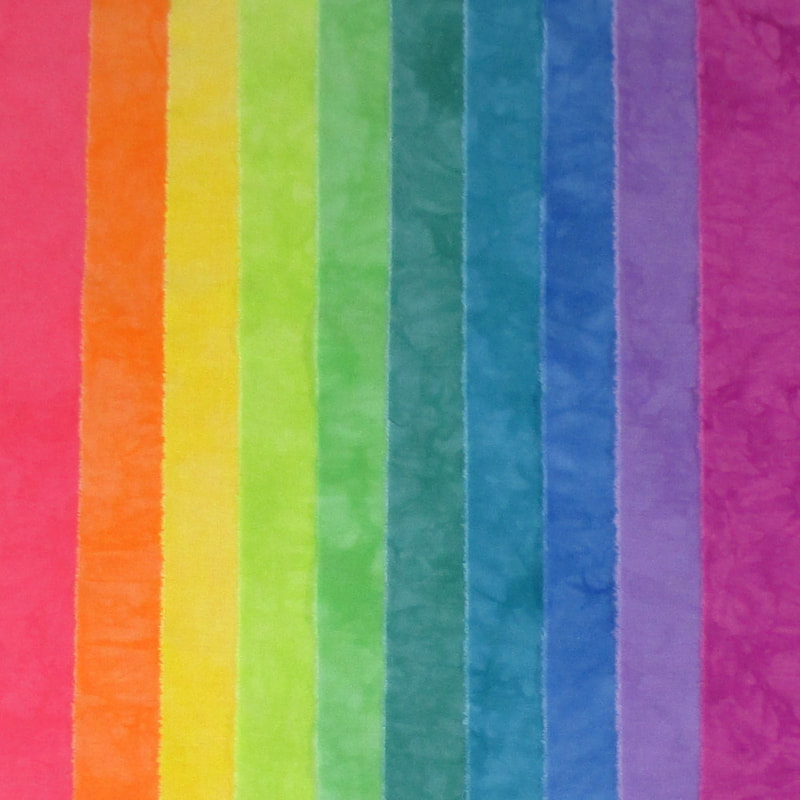
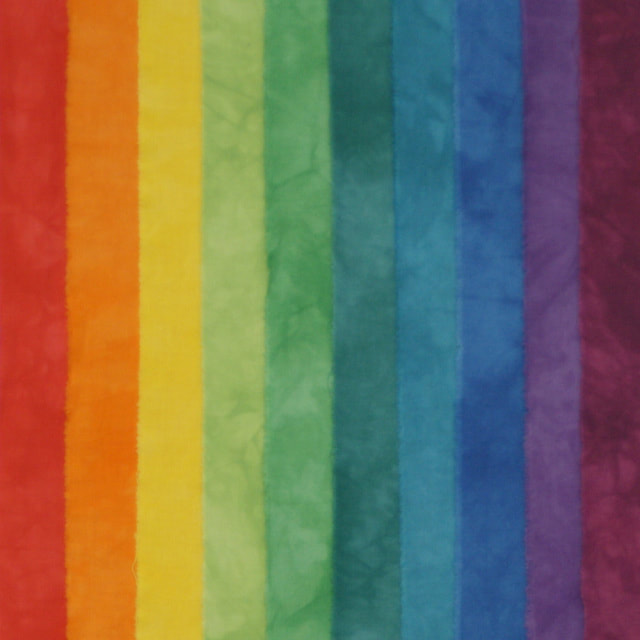
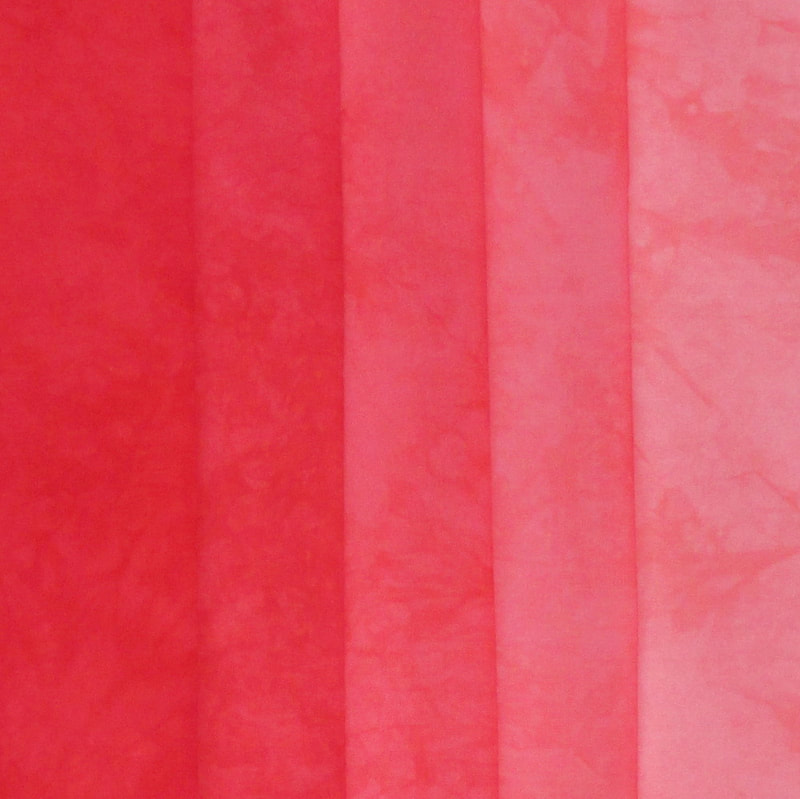
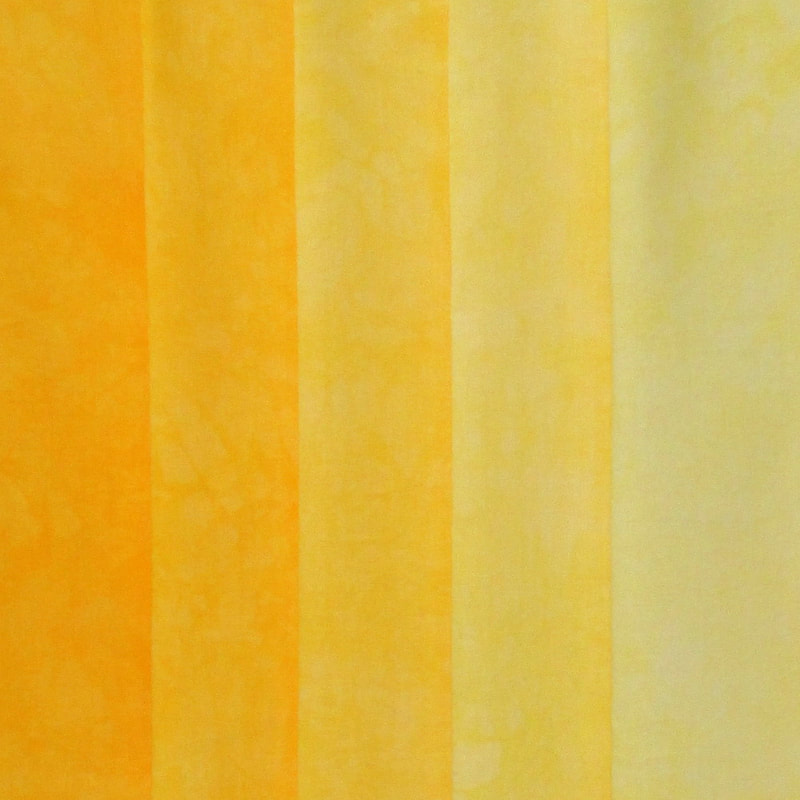
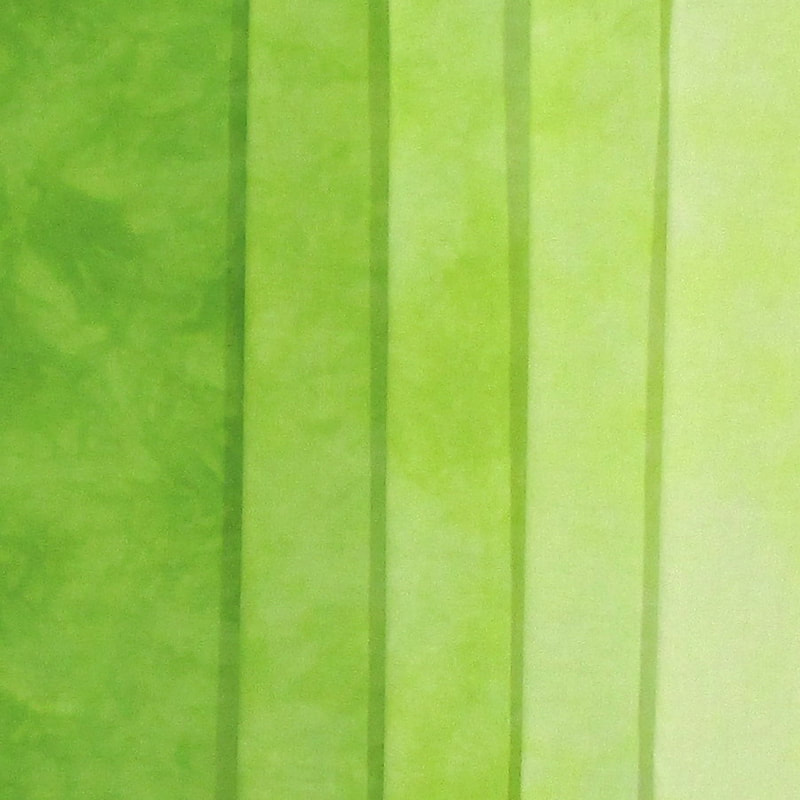
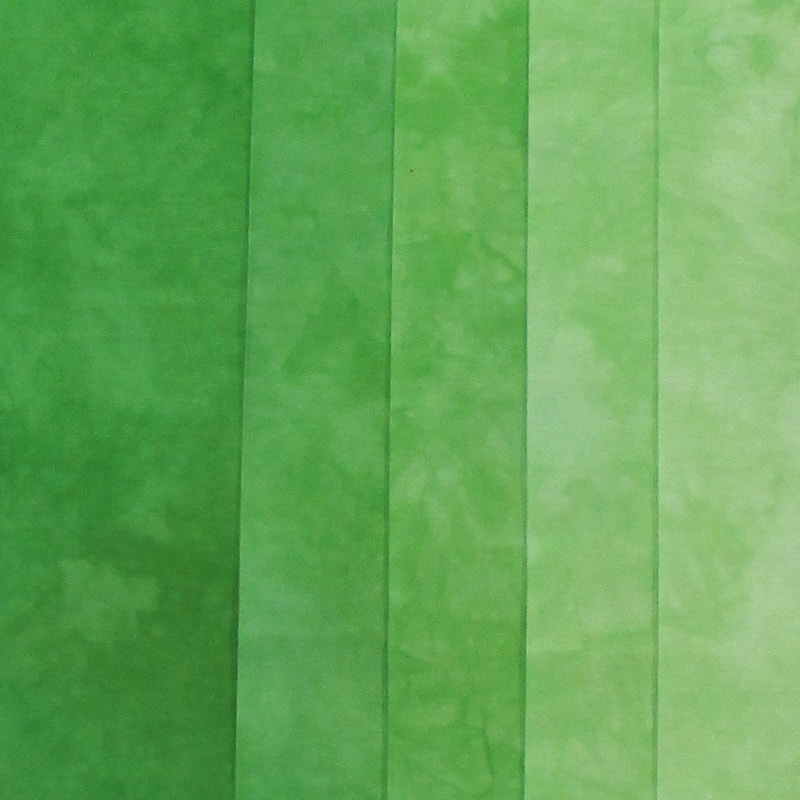
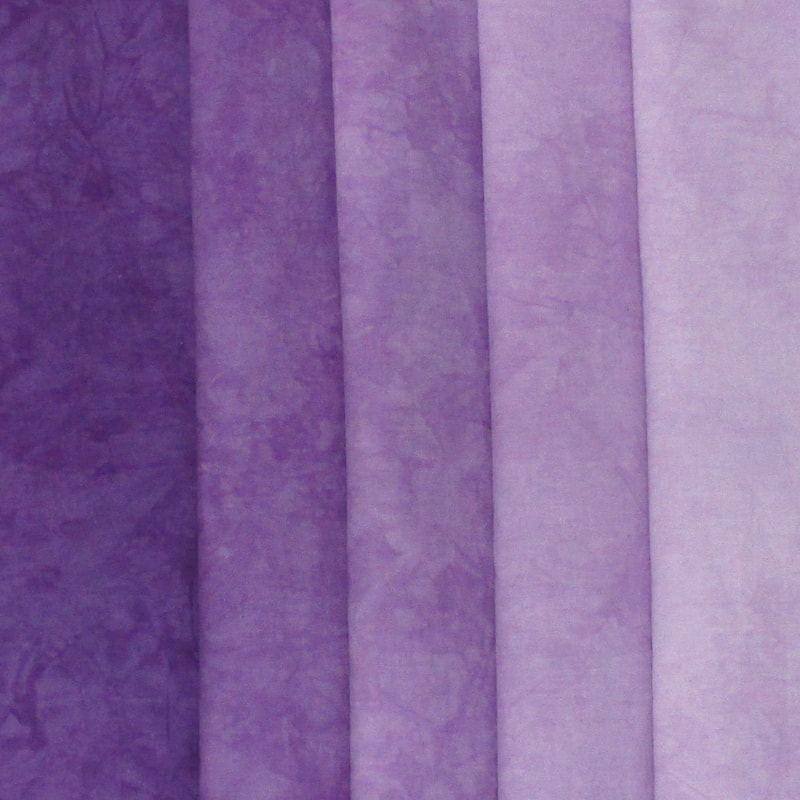
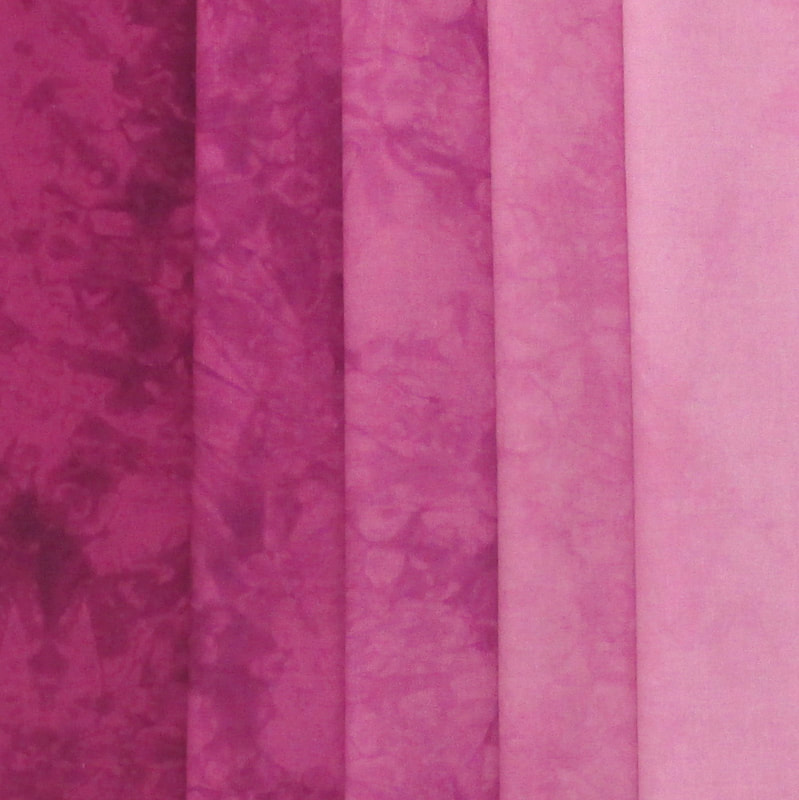
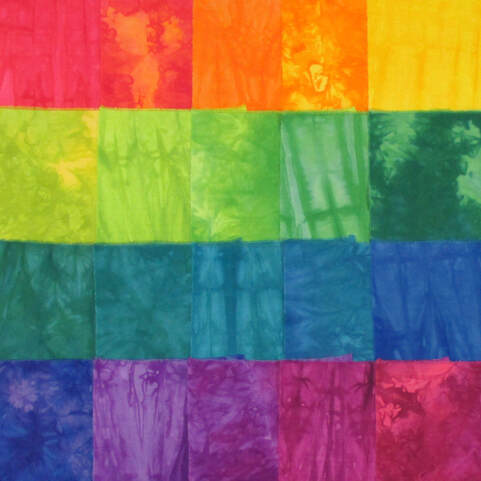
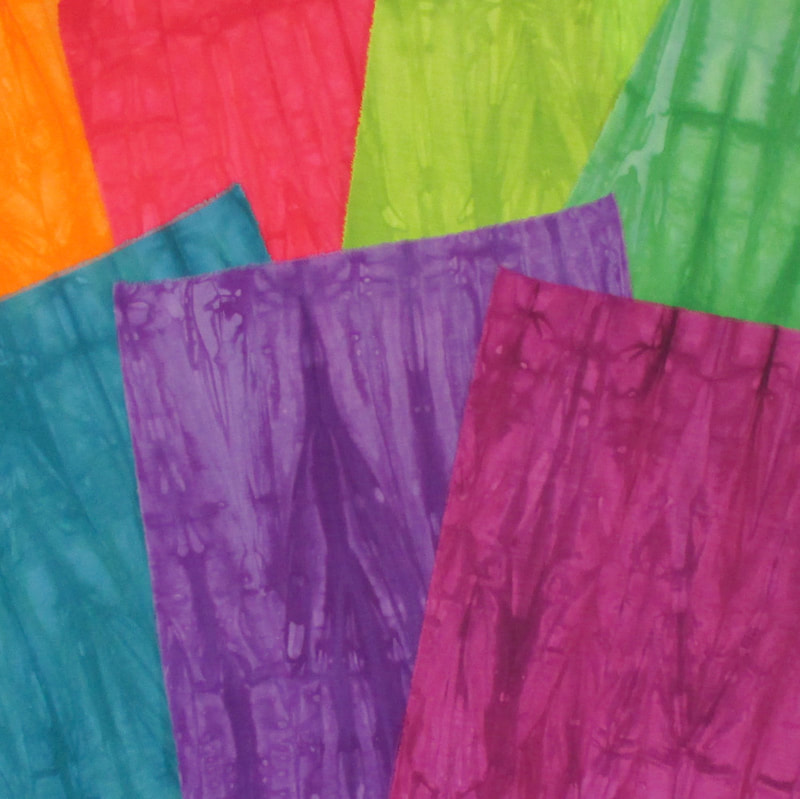
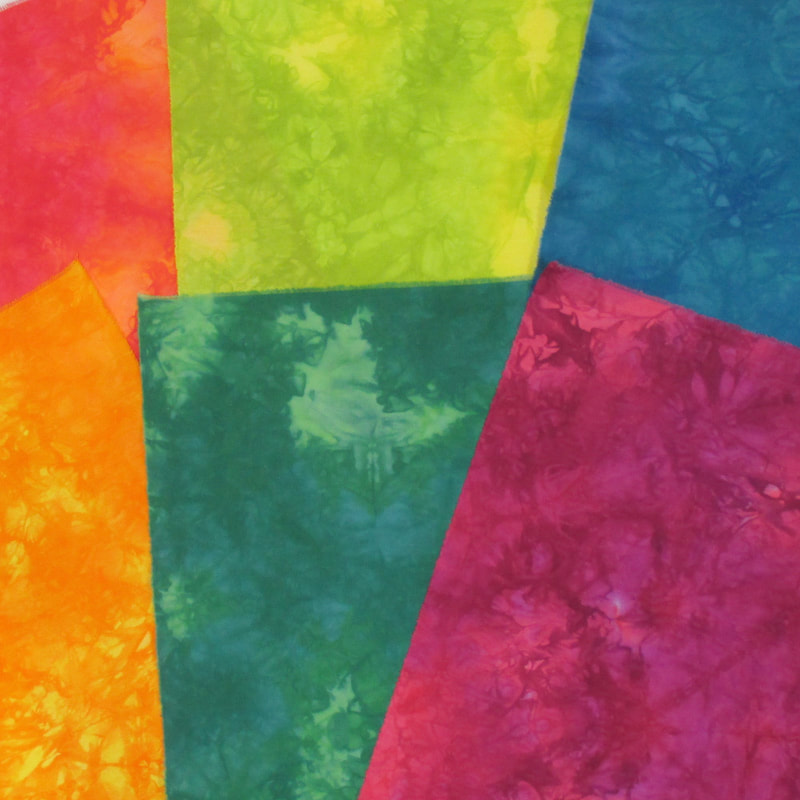
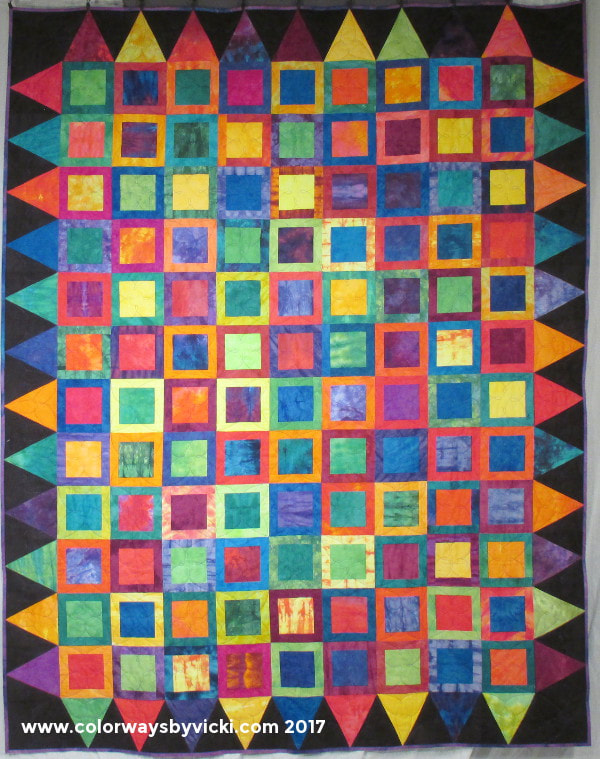
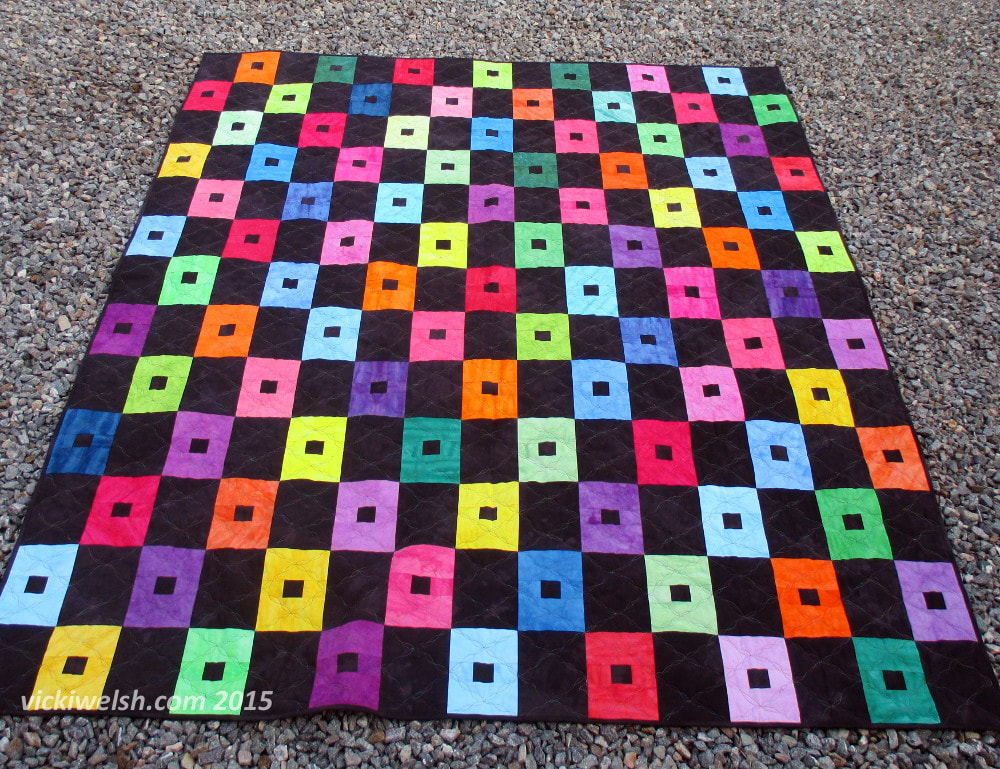
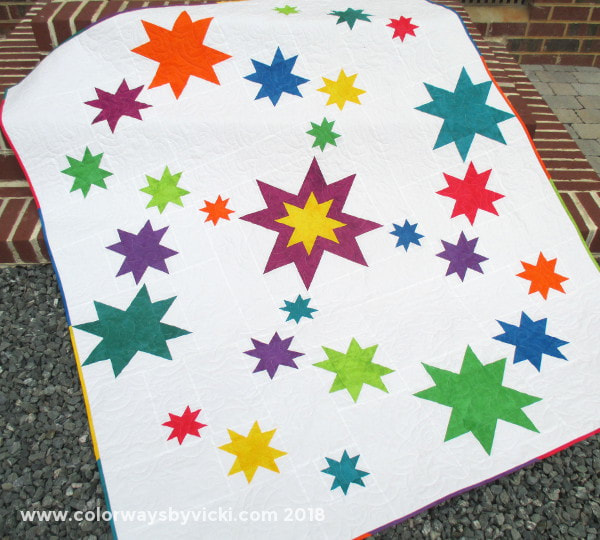
Gift giving season in here and I'm just as stumped as you for what to get everyone on my shopping list. For those of you with quilters on your list I thought I'd try to help you out a bit this week. My Color Wheel Basics fabrics are great gifts, especially when you want to introduce someone to the fun of working with hand dyed fabrics. These are the folks that I had in mind when I created the Color Wheel Basics fabrics. I started with the Color Wheel Stash Packs in light, medium and dark values. My color wheel is based on the Munsell Color System that has 5 primaries so these Stash Packs have those 5 primaries and 5 secondary colors. The Munsell system, unlike all others that we study, is based on how we perceive color rather than how we create color. These Stash Packs each have 10 fat eighths of fabric, one in each primary and secondary color. They are 20% off every day. For each of the colors in the Color Wheel there is a coordinating Shades Pack that has 5 fat quarters in 5 shades of each color. These fabric sets are also always 20% off! Fabric of the WeekThe Crayon Box Stash Pack is back in stock just in time to be on sale this week. Crayon Box is 20 fat eighths of fabrics that coordinate with Color Wheel fabrics but with more texture and color blending than in the Basics packs. In the Crayon Box, each of the 10 Color Wheel colors are represented in 10 streaky fabrics. The other 10 fabrics are mottled blends of adjacent colors. For example, there a mottled version that is a combination of Red-Yellow and Yellow. All of these together would be wonderful in a bright happy quilt with a black or white backgrounds. This Stash Pack has a total of 2.5 yards and is 20% off through Sunday. It's normally $45 but this week it's $36. I love the Color Wheel fabrics so much that I've made at least 3 quilts with them. The quilt on the left used Color Wheel Stash Packs with a Crayon Box Stash Pack. The one on the right used only the Color Wheel Stash Pack (in fat quarters). Want it gift wrapped?I'm happy to wrap and mail your gift for you. Just add a note to your order and make sure you enter the recipient's address in the SHIP TO field. In the comment field let me know that message that you want added to the gift.
|
FeedsTo subscribe click the RSS Feed button and copy the URL of that page into your blog reader.
In Bloglovin you need to search "Colorways By Vicki Welsh" to find the blog. About Vicki
I'm Vicki Welsh and I've been making things as long as I can remember. I used to be a garment maker but transitioned to quilts about 20 years ago. Currently I'm into fabric dyeing, quilting, Zentangle, fabric postcards, fused glass and mosaic. I document my adventures here. Categories
All
Archives
April 2024
|




 RSS Feed