|
Since I teach some beginner longarm classes at The Longarm Network I use the veterans quilts to practice and develop new quilting patterns that will be easy for beginner longarmers. The one I have today is an even simpler version of the Wavy Crosshatch, my favorite go-to quilting motif. 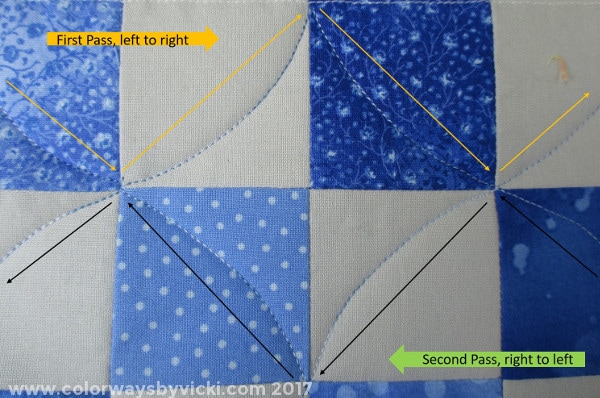 It's so simple that you can figure it out from this photo. This quilt is made from 4-patches and that's usually a direct call for the Wavy Crosshatch but I wanted something even simpler. This is just a free-motion option to ruler work straight lines. Quilting a curved diagonal line is much easier than quilting a straight diagonal line. In this case I curved the lines down on left to right passes and curved the lines up on right to left passes. For a beginner quilter you are building 2 skills here: 1 - Quilting smooth curves. The nice thing about this pattern is that a couple of wonky curves aren't going to stand out but by the time you get to the end of the quilt your curves will be pretty smooth. 2 - More importantly, you will be practicing stopping at specific points. Ideally you want your points on each row to touch so that anyone looking at the quilt can't be sure how you quilted it.You only learn to do that with practice and this is a perfect practice pattern. When you are done you are better at both of those skills AND you have a quilt quilted! 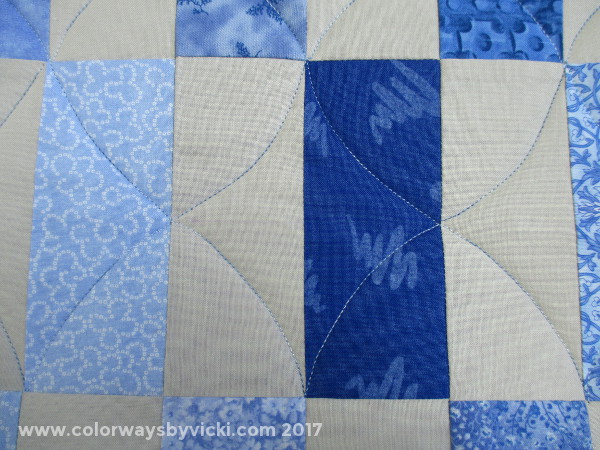 Oh, but what if you have rectangles instead of squares? No problem! In this case I used a purple air erasable pen to draw a line through the middle of the row. That gave me my stopping points. But I could have also simply made very long skinny diamonds and that would have looked good too. Once you have this mastered you can come back and add all kinds of elements to dress it up:
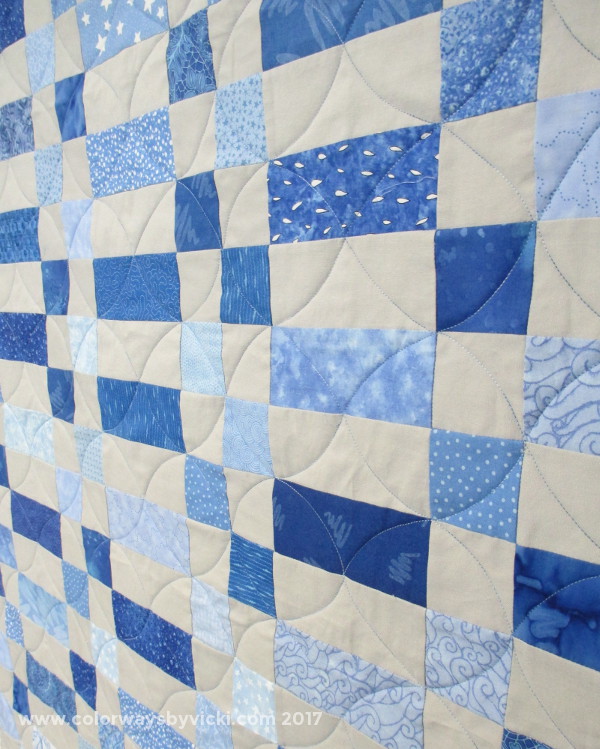 It really is the simplest of simple patterns but it has a lovely overall effect. 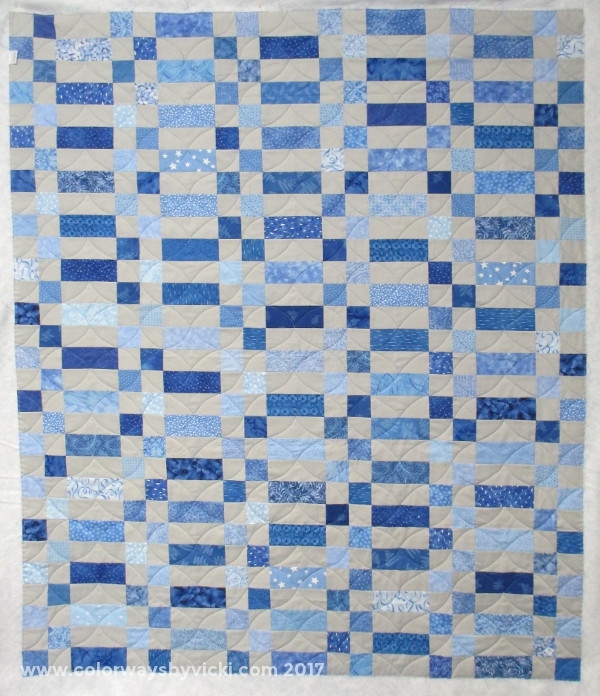 Betty B. from my quilt club made this pretty quilt. I think it's manly but still calming and soothing. 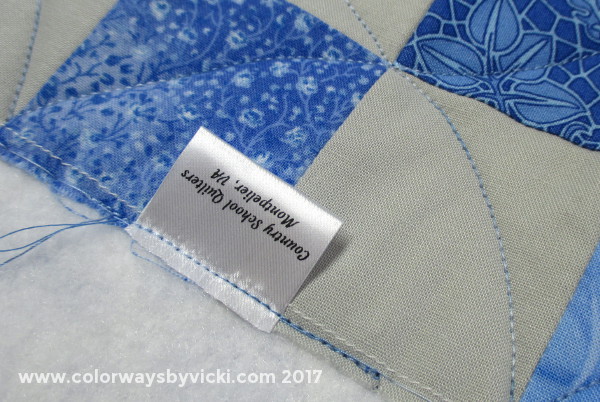 This is the first quilt that I got to add our new quilt labels to! One of our members has been printing labels for the back of the quilts. Of course no one really likes sewing on quilt labels and I found these at Ikaprint on France. They are small but you can't beat 200 labels for less than $30 (including shipping). It's a lot less expensive than what Becky was paying for printer-ready fabric. The labels arrived quickly and now Terry and I can sew on the labels as we quilt the quilts. it's one less step for the binders to do! 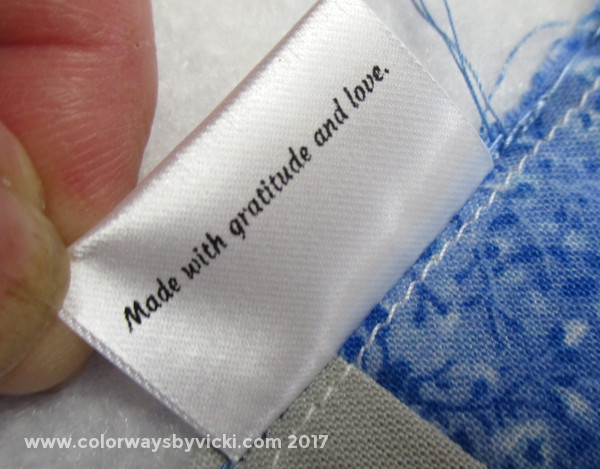 If anyone looks on the back they will see this message.
I quilted this quilt on the 4th of July. It seemed only appropriate to quilt a quilt on our birthday. 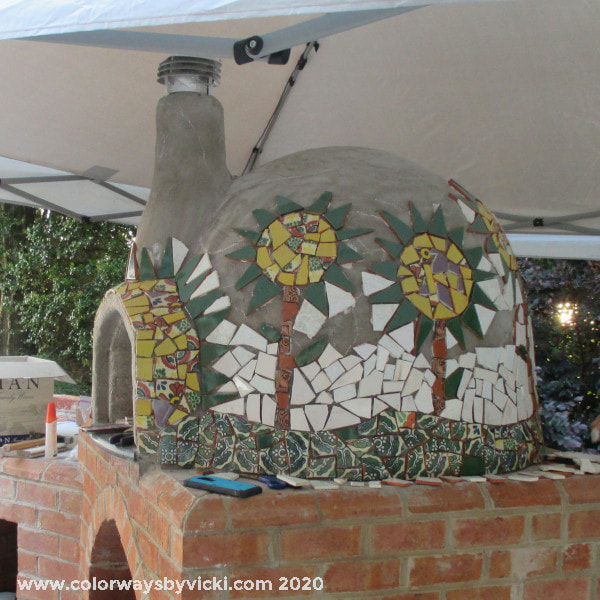 This is my new wet saw. It's not Chris' saw, it's mine! I bought it a couple of months ago but just got around to using it this week. I showed how I set up the cart back in May. I bought some very expensive blades and started playing this week. A saw is like any other tool or skill (quilting, painting, shooting clays), it takes practice. (Yes, I did run it with water, this photo was right before I started cutting time.) 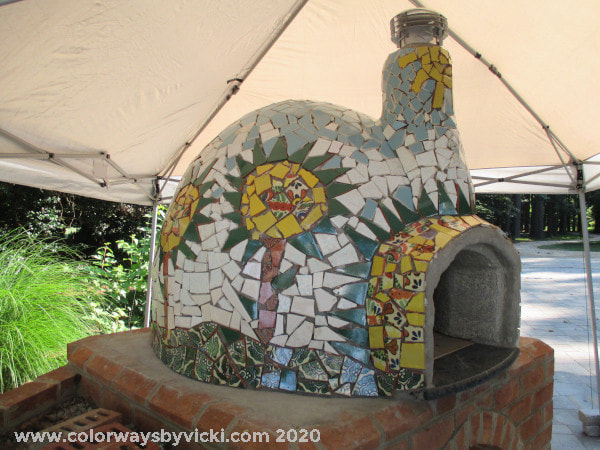 I started with some glass pieces. Glass is hard to cut and it's going to take a lot more practice. Fortunately I have plenty to practice with! I decided to start with tile. 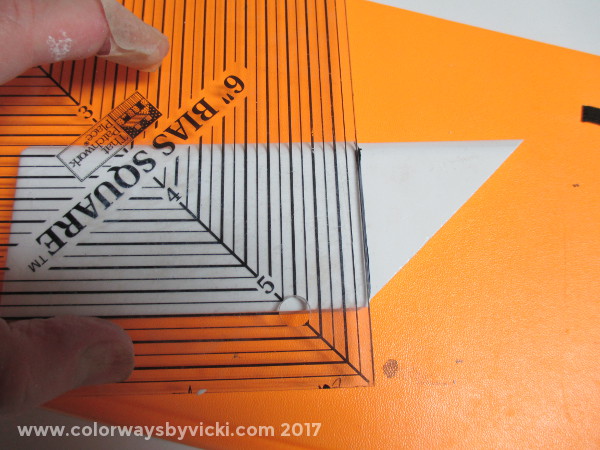 Look! I quilting tool works for marking tile too. This is a bullnose trim tile that I'm going to use on the sink backsplash. 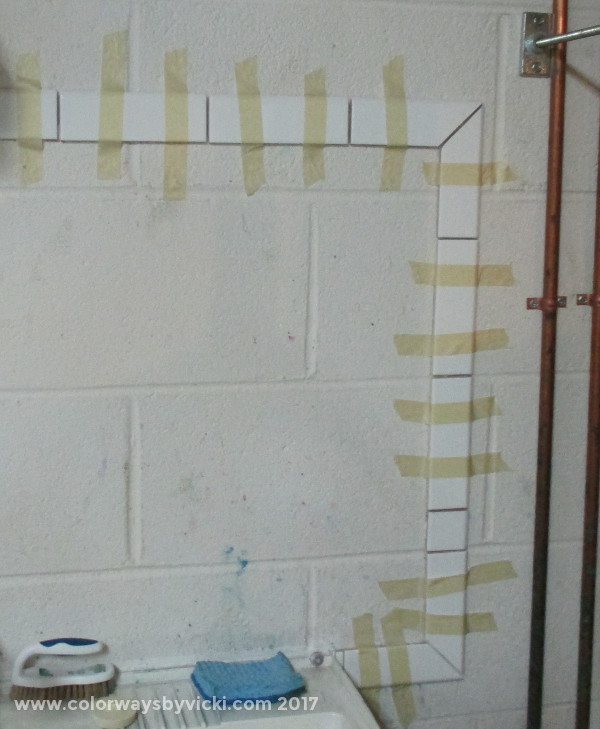 Look at my miters! I'm so please with this. I was so happy that I decided to put up the fish that I've already made. 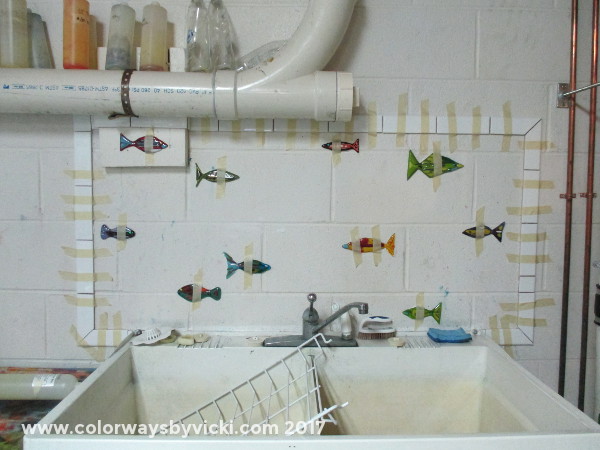 I've got to make a lot more fish!
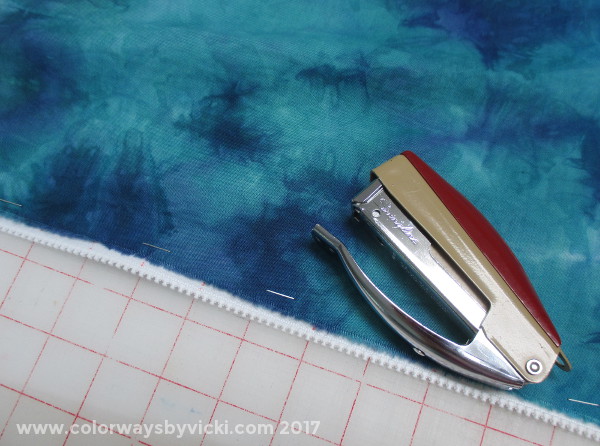 I'm dedicating July to doing lots of quilting and finishing. This isn't going to be about exhibit quilts. This is about getting some blankets done. I started by attaching 5 backs to zippers so that the quilts will be ready to load. I don't know if I've ever shared this but I attach my quilt backs to the zippers with this curved-bottom stapler. This think has to be 50 years old. Mom gave it to me and it came from the doctor's office that she worked in from the time I was little. The doctor she worked for was our doctor. I was in college before I realized that people had to wait in a waiting room to see the doctor. We always went in the back door! 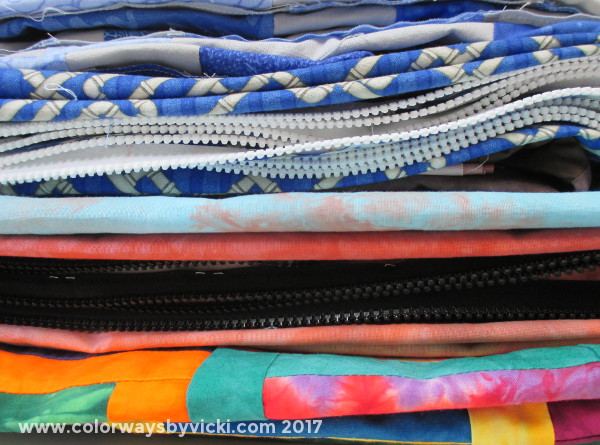 A stack of quilts ready to go! 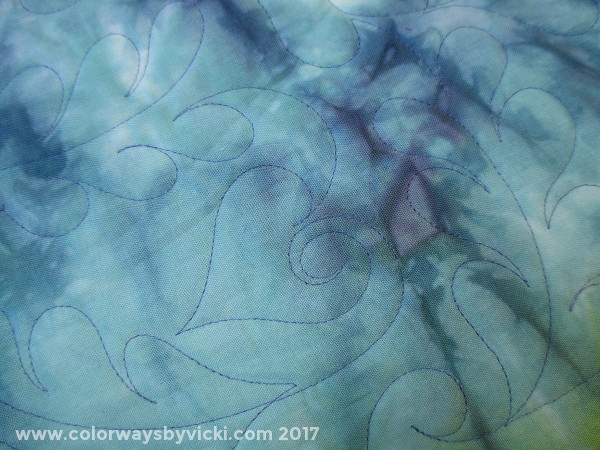 First up is the wedding quilt and I quilted it with a flurry of feathers and hearts.  Even though it's quilted as a all-over I did take a little extra time to quilt a heart in the center.  I was so happy quilting this one until I saw this on the back! Someone did a poor job of basting. I shared this photo on Facebook to see how many people would rip out the stitching and how many would leave it. The results were about 50/50. I wasn't about to rip the stitching out. Remember, this is a "blanket". I hand stitched the pleat down.  Can you see it on the back? 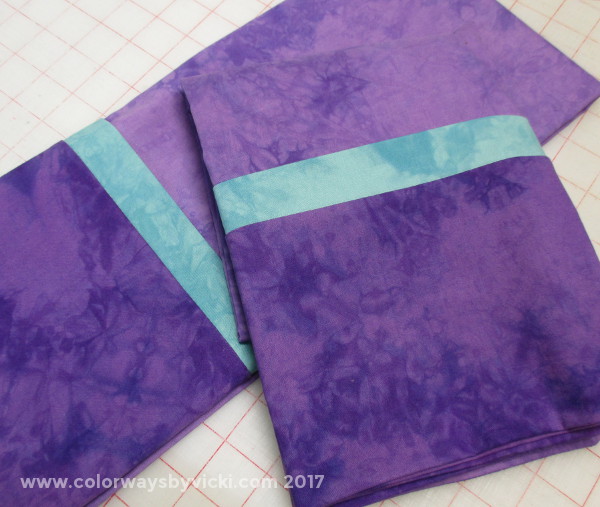 After it was quilted I cut the binding and was putting the leftover fabric away. I realized I had a lot of leftover fabric so instead of binding the quilt I made pillowcases to go with it. Fortunately I wrote a pillowcase tutorial almost 10 years ago so I could get to the instructions easily. The binding will get done soon.  Next up is the second Rainbow quilt. This one is going to quilt up fast!
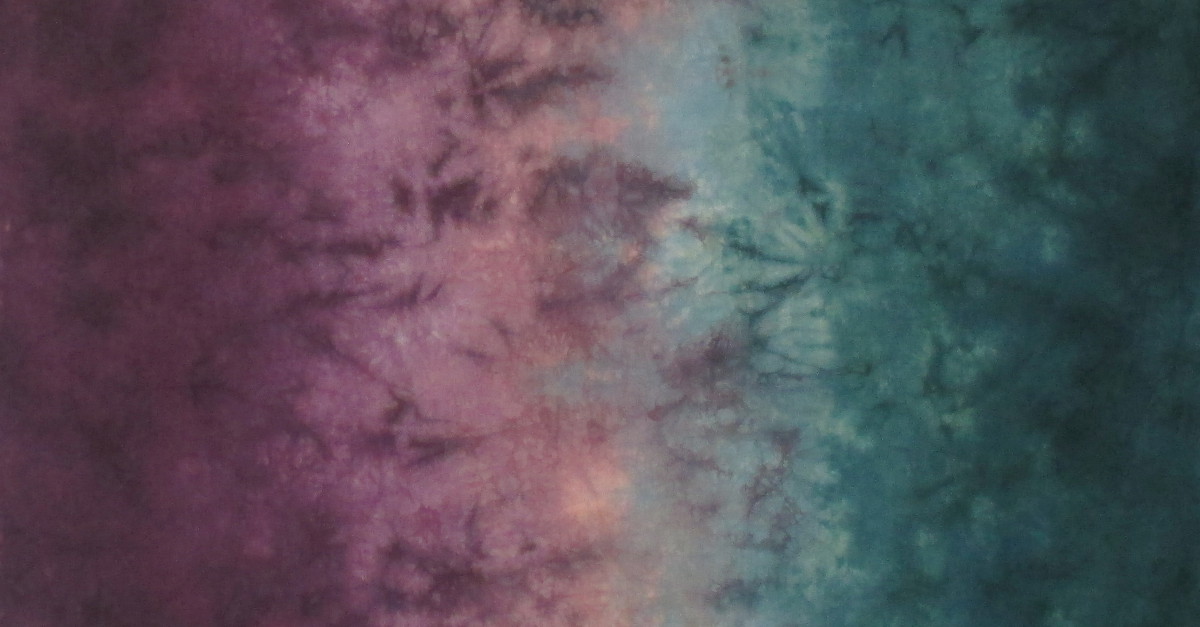 Warkton Lane Gradient - 25% off! 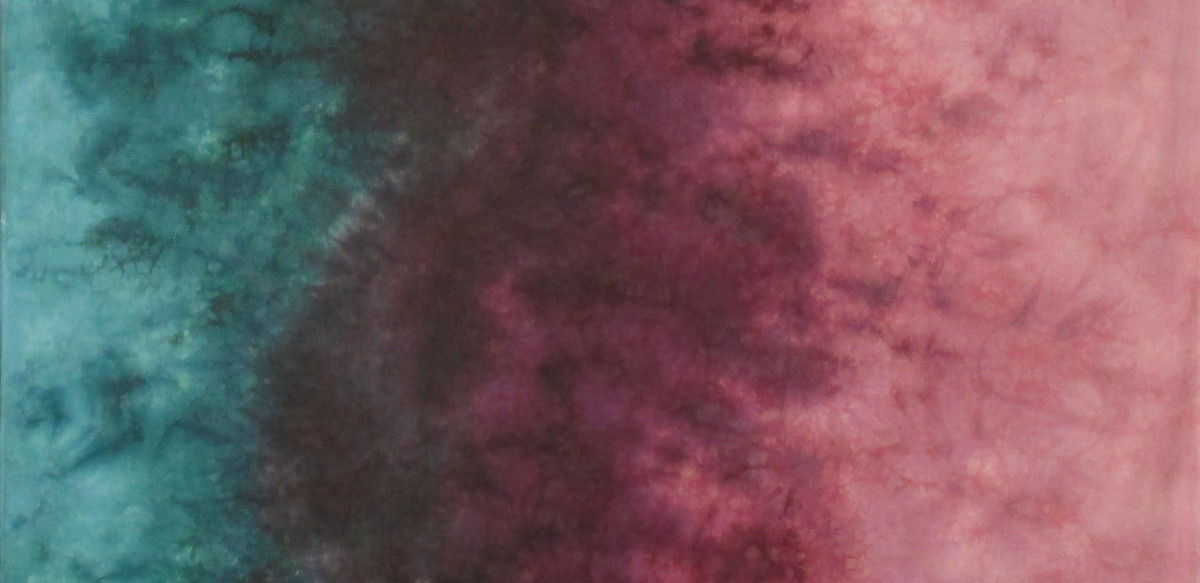 Kettering Gradient - 25% off! This week I have 2 fabrics for the fabric of the week! Warkton Lane and Kettering use the same color palette so it only made sense to put them on sale together.. For 2 days (or until supplies last) this fabric is on sale 25% off! If you want some for your stash get it before it sells out. 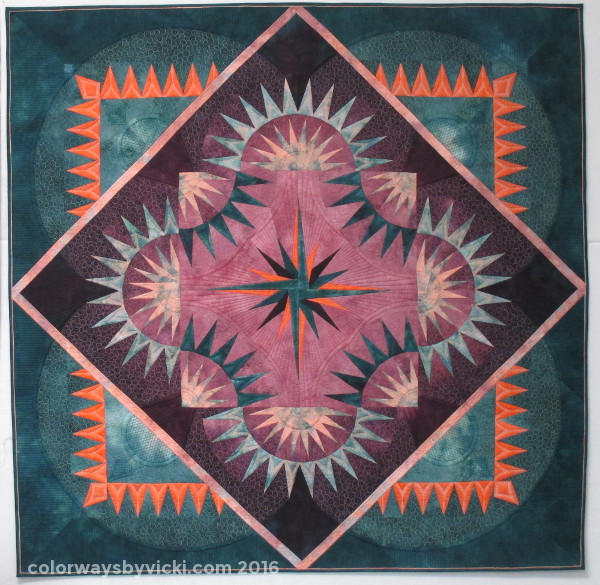 Non Unas Pluma made with Warkton Lane Gradient I made Non Unas Pluma with the Warkton Lane Gradient and a couple of other colors from this palette. In other fabric news I have 3 gradients back in stock and 3 new Stars fabrics. 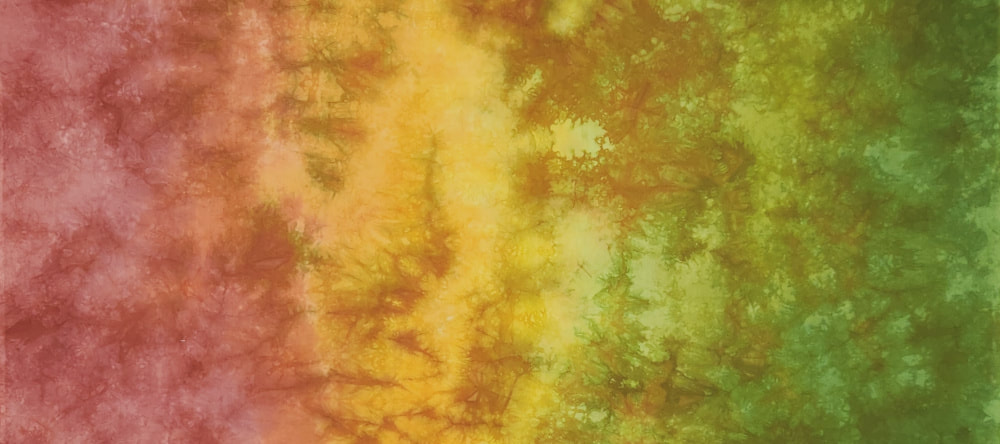 Sugar Maple Gradient 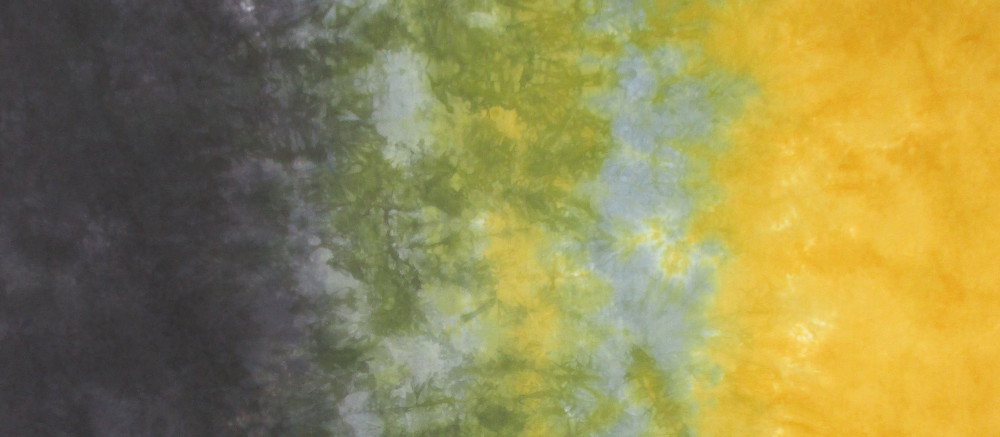 Night Fall Gradient 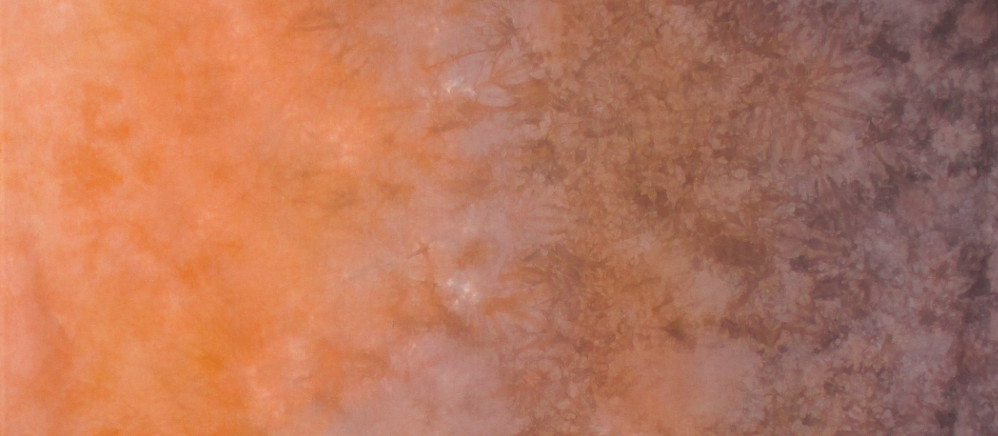 Pueblo Gradient  Musica - One Yard 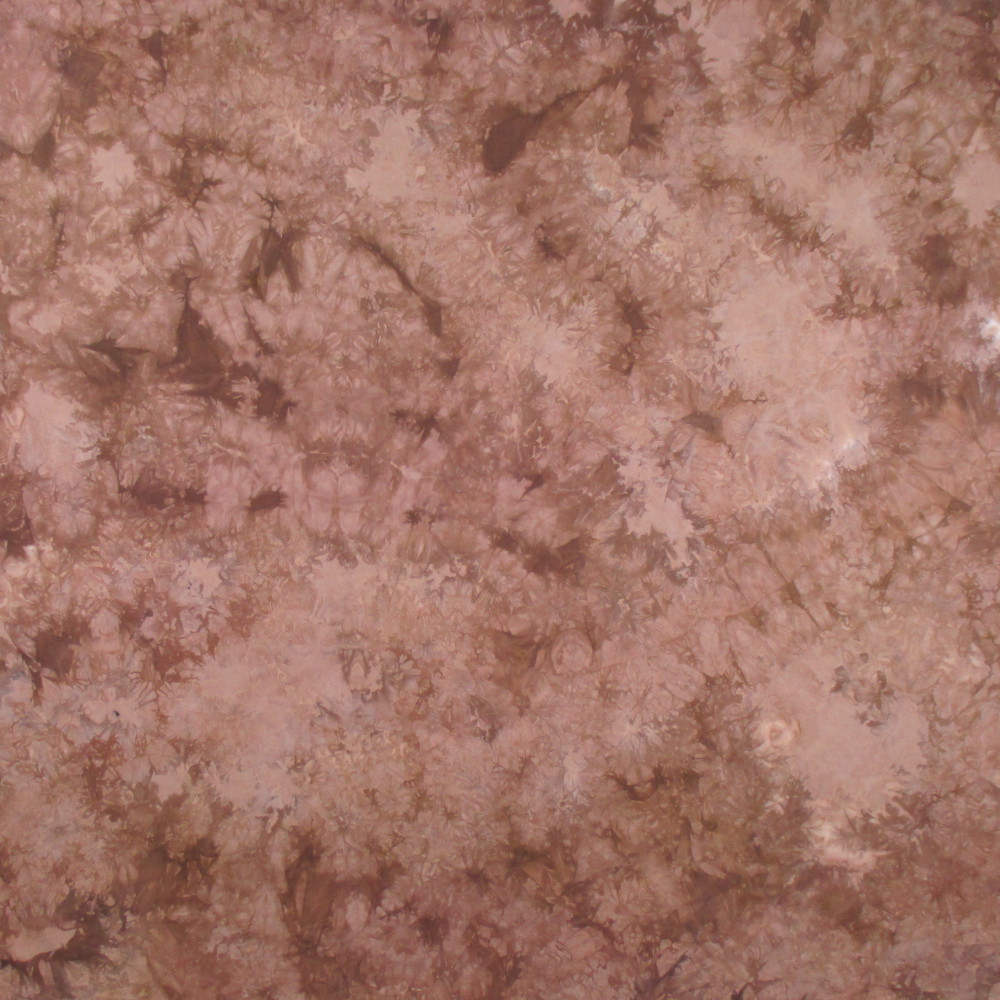 Navi - One Yard 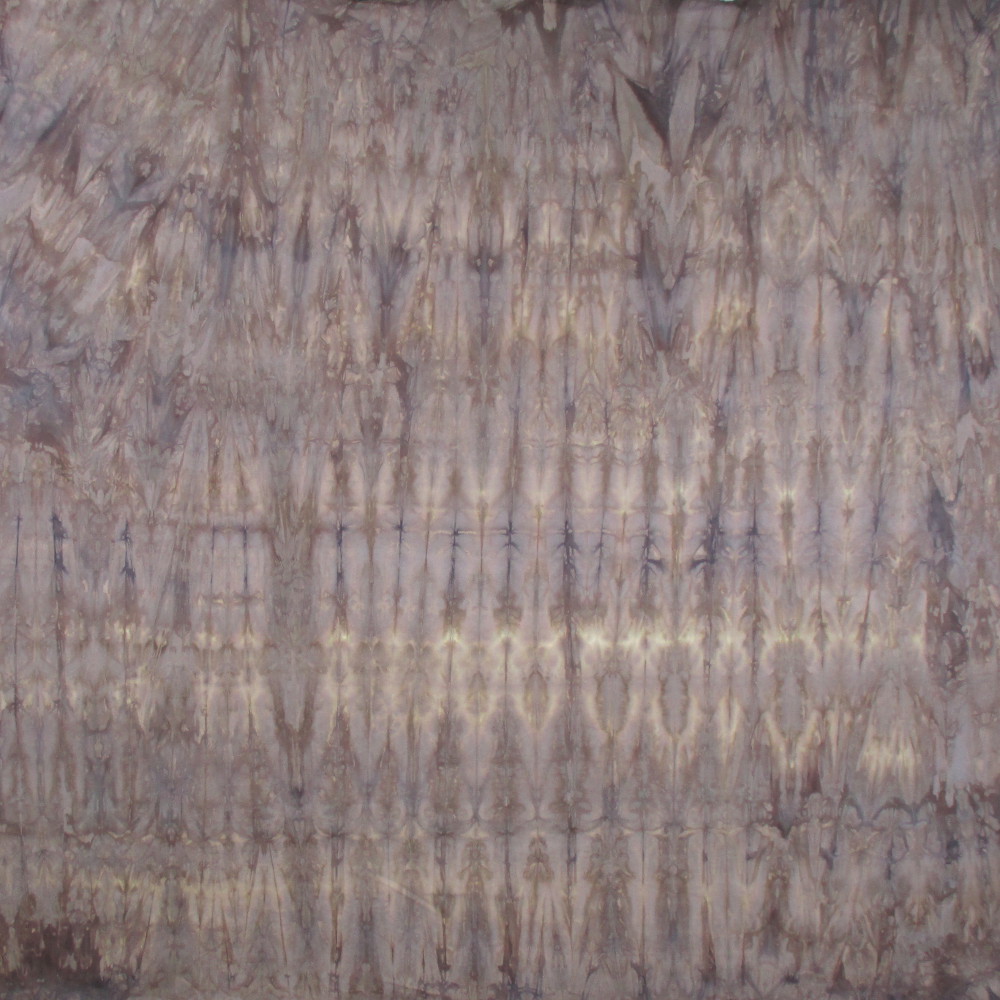 Ogma - One Yard Sometimes you just have to buckle down and get some things done and that's part of what I did this weekend.  First, I needed a shooting shirt. Yes, you read that right. Here's the backstory: Chris is an avid hunter and I totally enjoy the bounty from his hunting trips. I like wild turkey better than a Butterball and I love pheasant and goose. But I have absolutely no interest in hunting. That means that there is a shotgun locked away in the house and in theory I could use it in an emergency but we have always laughed that the best I could do with it it to use it as a bat. For a while I've had a mild interest in at least learning the basics of handling a gun just so I wouldn't be afraid of it. Then my friend said she wanted to learn to shoot. Last year was her 50th birthday so I gave us shooting lessons for her birthday. We had a lesson in sporting clays and a surprising thing happened. I absolutely loved it! I was awful at it, but I really liked it. I spend my entire day looking at things between 6" and 3' from my face so giving my eyes the challenge of focusing on moving targets at a distance, an occasionally being able to hit one, was a great change from a normal day. So I wanted to start practice shooting and kept trying to get Chris to go with me. I was completely stonewalled. Then a couple of months ago another friend said she wanted to go so we set up a private lesson. Kate was our instructor and she is one of the best teachers on any subject that I've ever had. We had a great day. Kate figured out that I'm a left handed shooter and actually got me hitting clays. But again Chris was stonewalling shooting with me. Finally one day I assured him that there was absolutely no way in hell that I would ever go hunting with him. I'm not getting up at 0-dark:30 in the winter to do anything, especially sit outside in the cold and I wasn't going to stand alone in the middle of a dove field where there might be snakes. I'm happy to eat the harvest but I don't want to kill birds myself. I'm happy with the little orange discs. The next day he brought home a case of ammo for me. Seriously. Dudes are funny. Back to the shirt. When I took the lesson with Kate I had some numbness in my left arm from the kickback of the gun. It's not the fault of the gun or anything. It's an ongoing problem I have with TMJ, tendinitis and muscle issues on my left side. Kate suggested a padded hunting vest or shirt. When I saw the prices, I decided that I could figure out how to make one myself. And I did! I wore it yesterday when I went to practice and it worked perfectly. I'll want to make more of them so I wrote up a tutorial if anyone else in interested. 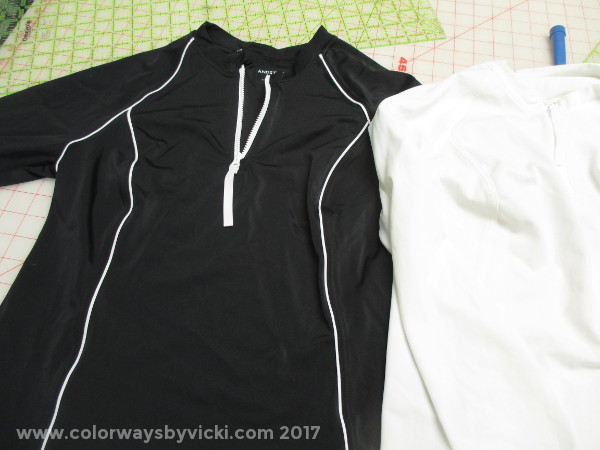 I was feeling so pleased with myself that I moved on to these shirts. I love these sun protection shirts from Land's End. They are great for yard work or kayaking or just covering up in the sun. I put these on when I don't want to bother with sunscreen. But I wanted a couple of sleeveless ones. I can't put sunscreen on my neck and chest so I need to keep that area covered all the time. They don't have sleeveless versions of these so I decided to make them myself. 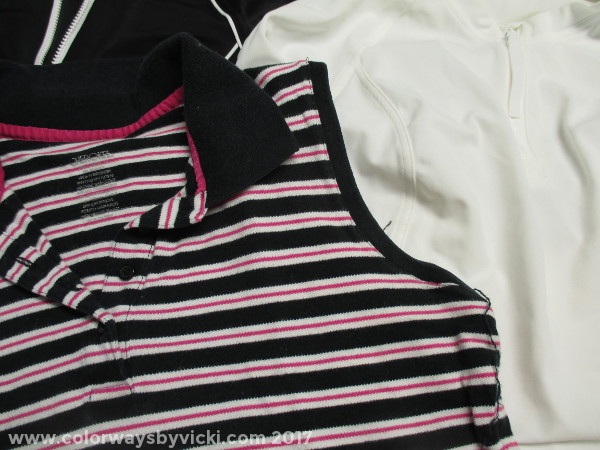 First I needed a pattern and found this sleeveless shirt that I like a lot. I chalked the curve onto the black shirt and then tried on the black shirt to see if I liked where it fell. 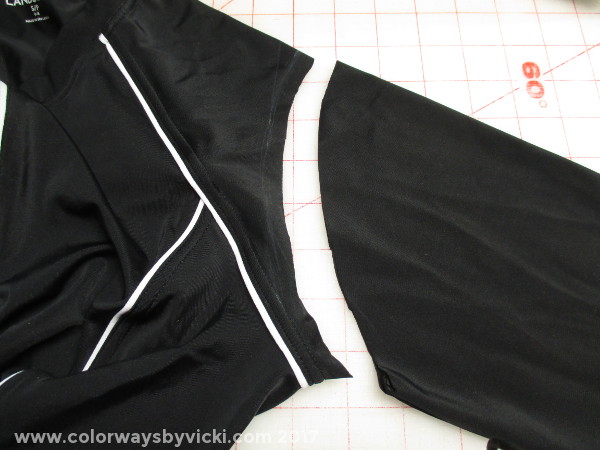 I added a little more shoulder width and then cut off the sleeve 1/4" away from the chalked like. I spread out the sleeve perfectly flat making sure the front and back were lined up exactly right before making the cut. Then I used that sleeve as my pattern for the 3 other sleeves. 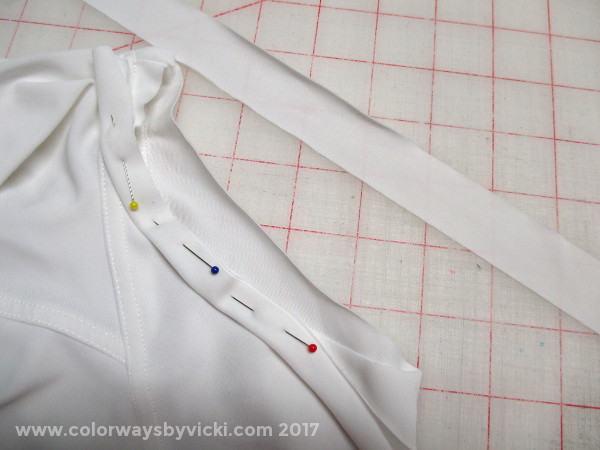 I took one sleeve and cut 2 1" strips along the length of the sleeve. I got both pieces from 1 sleeve. In this photo the armhole is at the top of the image. Look in the black shirt photo above and you can see that the white piping comes right into the armpit. At the bottom of the armhole I wanted that piped seam to be the bottom of the opening. So now, back to the white shirt with the armpit at the top of the photo. I folded the 1" strip in half and pinned and basted it to the edge of the armhole opening. The cut edges are all lined up together. I did not take the new edging all the way around, only to where that shoulder seam comes into the armhole.  Then I folded the edge to the inside of the armhole and pinned everything in place. You can see on the back side of the armhole where I cut the facing piece and that it's hidden inside the armhole. Next I got out the serger and used a double needed cover stitch. You could also use twin needle on the sewing machine. That gives you 2 straight lines in the front and a zigzag in the back. 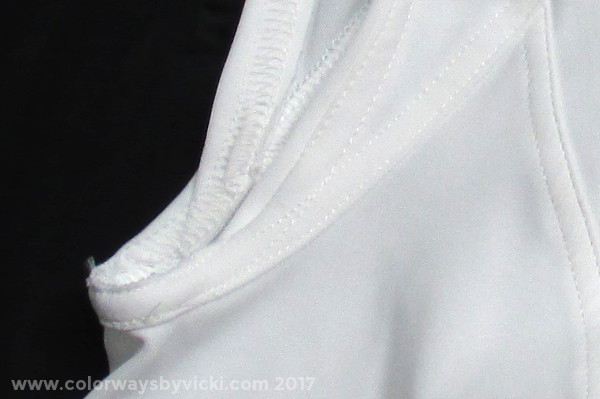 Here's a close up of the top stitching and the facing sewn down on the inside of the armhole. If I had knows that it would be so fast and easy I would not have procrastinated for a month. 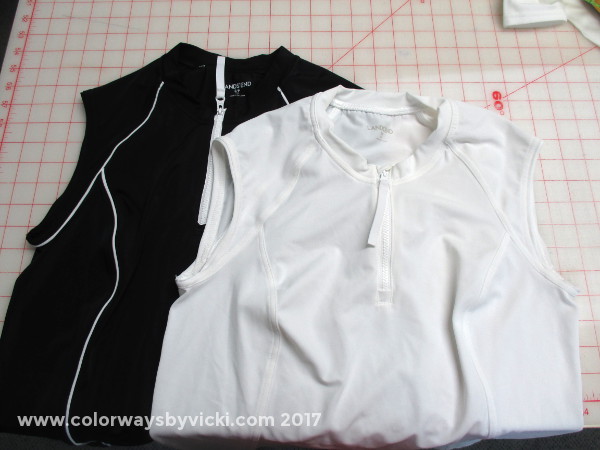 I also made good progress on quilting this weekend but I would have been happy with my accomplishments with just these things!
|
FeedsTo subscribe click the RSS Feed button and copy the URL of that page into your blog reader.
In Bloglovin you need to search "Colorways By Vicki Welsh" to find the blog. About Vicki
I'm Vicki Welsh and I've been making things as long as I can remember. I used to be a garment maker but transitioned to quilts about 20 years ago. Currently I'm into fabric dyeing, quilting, Zentangle, fabric postcards, fused glass and mosaic. I document my adventures here. Categories
All
Archives
April 2024
|
 RSS Feed