Adding backing on the longarm
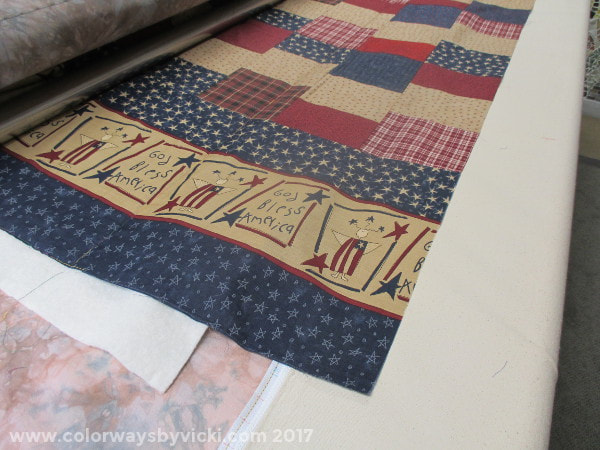
Ack! If you are a longarm quilter this will eventually happen to you. The first reaction is to panic, scream profanities, cry and start thinking about the hours that it's going to take to fix it.
Don't sweat it! This is easily fixable and you don't have to take the quilt off the machine.
I use zippers to load my quilts but you can do this by unpinning and re-pinning to the leaders or attaching and re-attaching with Red Snappers.
The first thing you need is more backing fabric. Cut a strip of fabric wider than that you need. I needed an extra 3" but cut a new piece about 8" to allow for seaming and pinning to the zippered leader.
For my quilt I had a piece of dark blue that I used as my extension. I didn't have anymore of the backing fabric so I went with something totally different.
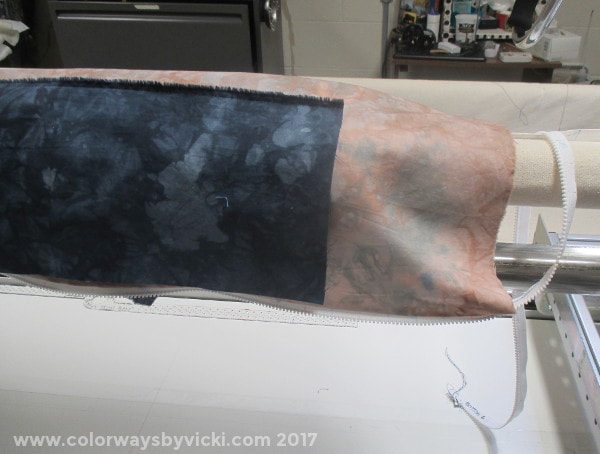
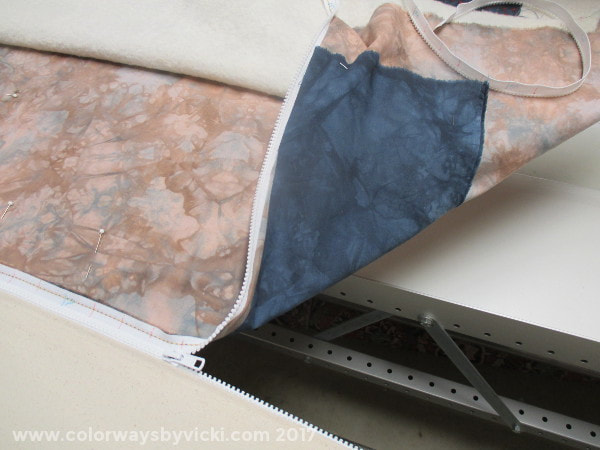
When we are quilting on the longarm the right side of the backing is facing down and we need to sew our extension on right sides together. That means that the extension needs to be pinned on the under side of the loaded quilt.
The easiest way to do this is too unzip the backing and flip the edge back over the takeup roller. Now the backing is facing right side up.
Position the extension fabric on the backing right sides together.
(Yes, Mine is a little short but it's plenty wide for the quilt.)
The easiest way to do this is too unzip the backing and flip the edge back over the takeup roller. Now the backing is facing right side up.
Position the extension fabric on the backing right sides together.
(Yes, Mine is a little short but it's plenty wide for the quilt.)
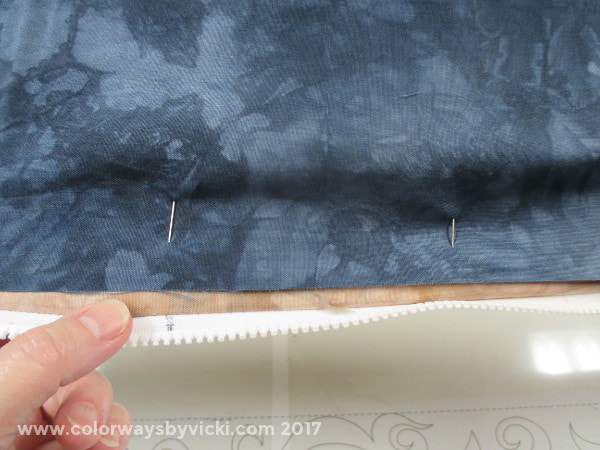
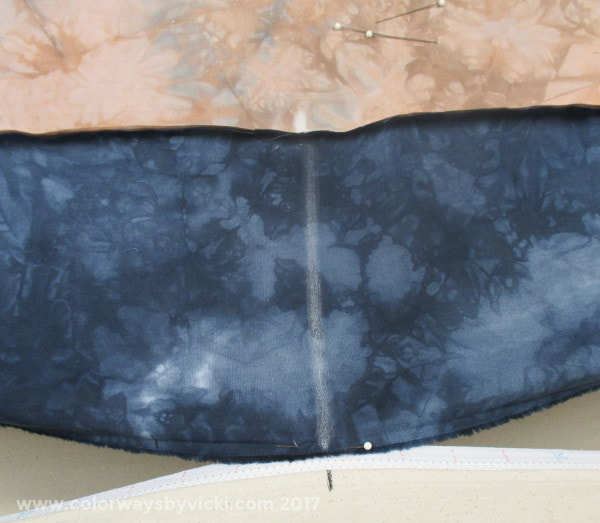
Let's take a closer look.
I"m aligning the edge of the extension about 1/4" away from the edge of the zipper and you can see that I'm pinning from the wrong side of the backing because that's the side that's going to be facing up when it's loaded. Pin the extension in place all across the width of the backing.
I"m aligning the edge of the extension about 1/4" away from the edge of the zipper and you can see that I'm pinning from the wrong side of the backing because that's the side that's going to be facing up when it's loaded. Pin the extension in place all across the width of the backing.
Here's another view in case that last one isn't perfectly clear. Pins are on the wrong side of the back. I also placed a few pins along the loose edge of the extension. That's to keep the fabric from getting in the way while we seam it.
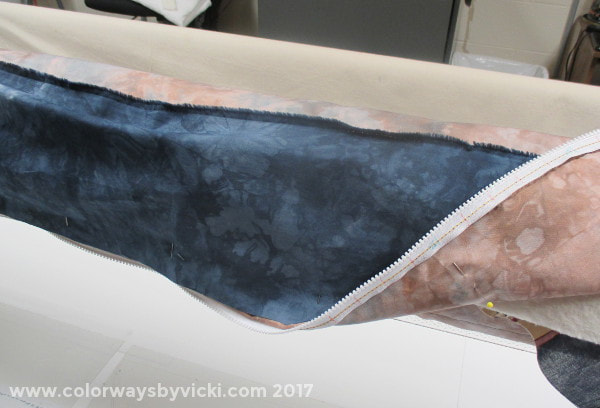
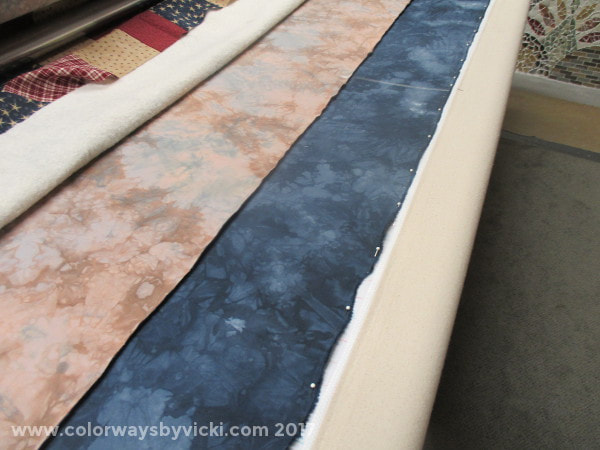
Now we can zip it back in place. (Or pin it back to leader if that's how you roll.) You can see the extension pinned in place on the right (under) side of the backing. If you look to the left edge of the photo you can also see one of the pins used to keep the extension from flopping down and getting in our way.
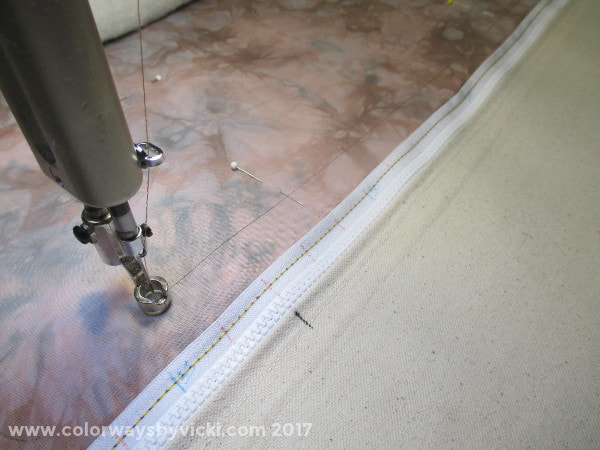
Now, using the channel locks, stitch all the way across the backing close to the zipper edge. You can see that I have about a 1" seam allowance here. I want to get close to the edge but I don't want to catch the zipper or be short on the extension fabric. That's why I cut an extra wide extension.
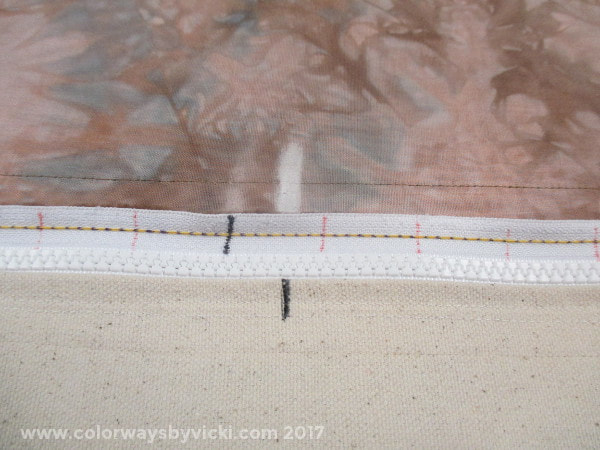
Use the center mark on the leader and mark a corresponding mark on the backing. This will help us to keep the backing straight when we re-pin it. (Ignore the center mark on the zipper. That zipper is about to go away.)
Cut the backing off the zipper leaving about a 1/4" seam allowance. The take the zipper off the leader. We don't need that anymore.
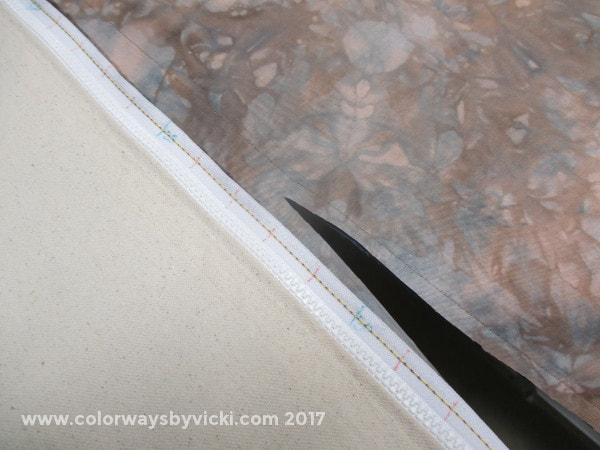
Extend the center mark from the original backing through the new extension and pin the new extension to the zipper edge at the mark. Then pin each side from the center out.
Voila!
That wasn't so bad, was it? It's a lot better than taking the whole thing off the machine to sew the new piece on and then re-pinning and re-loading. Aside from cutting the fabric I never had to leave FloMo's side.
I just used my fingernail to sort of press the seam allowance to one side.
That wasn't so bad, was it? It's a lot better than taking the whole thing off the machine to sew the new piece on and then re-pinning and re-loading. Aside from cutting the fabric I never had to leave FloMo's side.
I just used my fingernail to sort of press the seam allowance to one side.

Basted and ready for quilting.
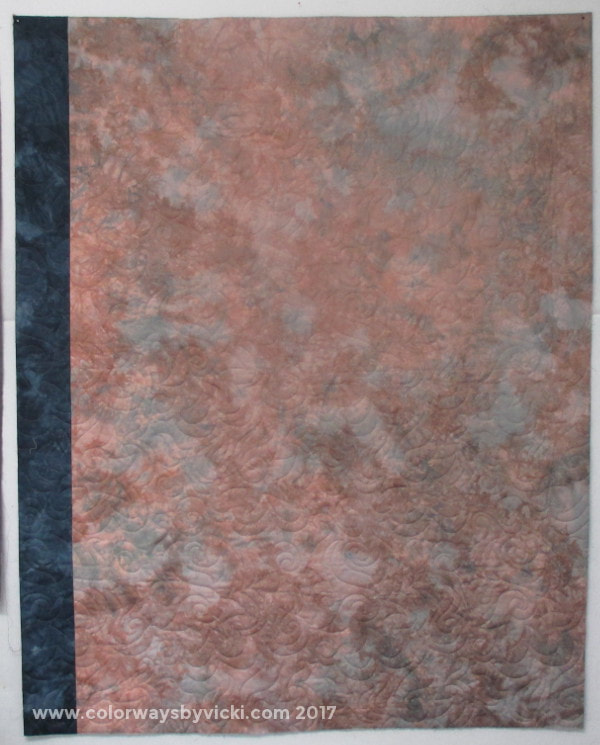
Here is the finished quilt. I don't mind the different color on this charity quilt but I use leftover backing fabric when I have it.
The next time you find yourself short of backing. Don't panic! You can fix it in about a half hour.
The next time you find yourself short of backing. Don't panic! You can fix it in about a half hour.