Wavy Crosshatch on the Longarm

I belong to a wonderful local quilt club called Country School Quilters. I joined in 1998 when I first moved to Montpelier, VA and I felt welcome from the first.
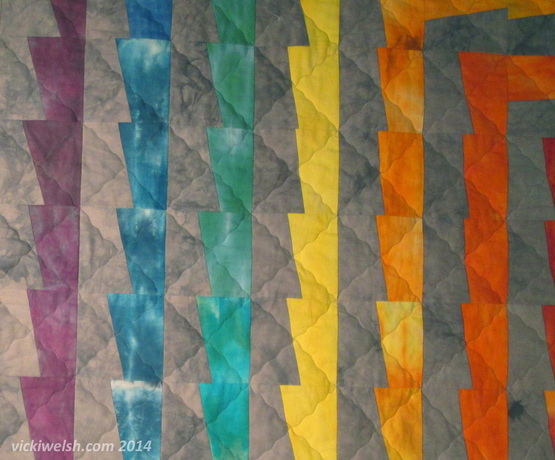
A few years ago we started making quilts to donate at the local Veteran's Hospital. I volunteered to quilt as many as I could each year. Through that I've had to develop some fast free-motion quilting motifs. This wavy crosshatch is one of my favorites.
This one is good for short or longarm machines.
The wavy crosshatch is best for quilts pieced in a grid with blocks (or sub-units) that are small enough to provide the grid for your quilting path. It can be done on squares or rectangles or even diamonds (across the seams). I

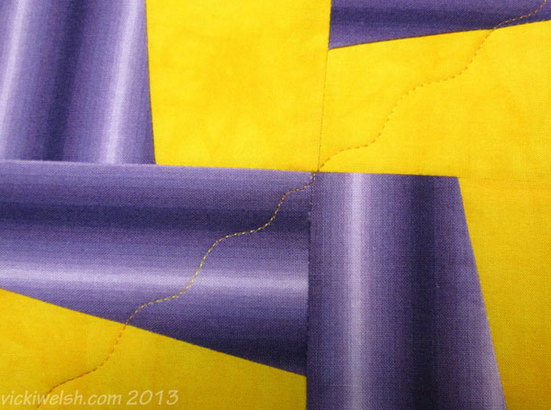
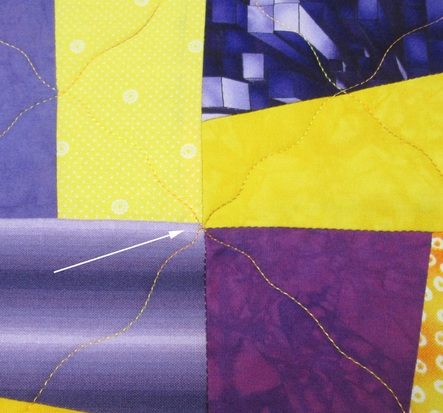
This stitch is perfect for a beginner. It's a wavy line! It's OK if the waves are a little uneven. This is a very organic quilting effect and you will never notice variations. Just make a nice gentle wave. The objective it to work from point to point with this wavy line. This is a great way to practice meeting at points and with that mastered you will see improvement in many of your quilting motifs.
You can quilt this one row at a time ir across as many blocks as your machine depth allows. If you work it one row at a time you will zig-zag to the right and then zig-zag to the left and you are done. I like to work it across multiple rows because I have only have to match point at the top and bottom of sections rather than on every row.
In this example I started on the top left and quilted diagonally down to the right as far as I could go then headed up and tot he right going back and forth until I got to the end of the quilt. Without cutting the thread I traveled down one block.
In this example I started on the top left and quilted diagonally down to the right as far as I could go then headed up and tot he right going back and forth until I got to the end of the quilt. Without cutting the thread I traveled down one block.
Follow the orange line to see the stitching path back to the left. At the left side there's no need to travel on the edge. Just start back in the other direction.
The third pass in marked in green. Look at the right side where the green line "ends" at the top edge. No worries, just head back down to the right until you hit the edge of the quilt and travel down the side one block.
The 4th pass in turquoise.
The 5th pass in blue.
The last pass in purple. When you roll the quilt forward and start the next section you want to try to have the lines meet the points from the previous section.
Skill Building:
If you are a beginner wanting to use this as a skill building stitch there are 2 key things to work on.
- Your stitch: Work on getting the waves in your line as smooth and even as possible. You don't want perfection but you want to get to the point where you can look at your like and see that the person quilting it was relaxed and comfortable.

- Meeting at the corners. As you quilt each row start trying to aim your stitching for the corners of the blocks. This is most important at the top and bottom of the rows. You will eventually get good enough that people will not be able to tell that you did this stitch in rows. It will look like you quilted it diagonally across the quilt.
- When you are ready to start using rulers the cross hatch is a great way to start. Do this exact same thing just with straight lines using the ruler.
Learning to handle the machine on the diagonal is a big deal in longarm quilting. It's easy going left and right and front to back but diagonal straight lines are very difficult to do free motion. This pattern will help develop your diagonal quilting skills and you will finish some quilts really quickly.


