Big Fabric Flowers
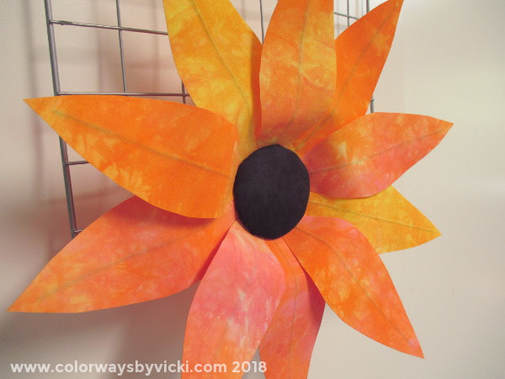
When I was designing my booth for the AQS Virginia Beach show I had an idea that fabric flowers would be a great way to show off the fabric.
I found this Martha Stewart tutorial that gave me the basic instructions that I needed and then added my own twist to get hanging flowers instead of standing flowers.
This tutorial will build on the original Martha Stewart instructions so you will need those also.
At the end of this article you will find downloadable patterns for 4 different fabric styles.
The supplies needed are:
Fabric
HeatNBond Ultra Hold
20 gauge floral wire
Cardboard scraps and something to cut it with
Batting scraps
Wire cutters
Iron and ironing surface
Stapler
Glue gun
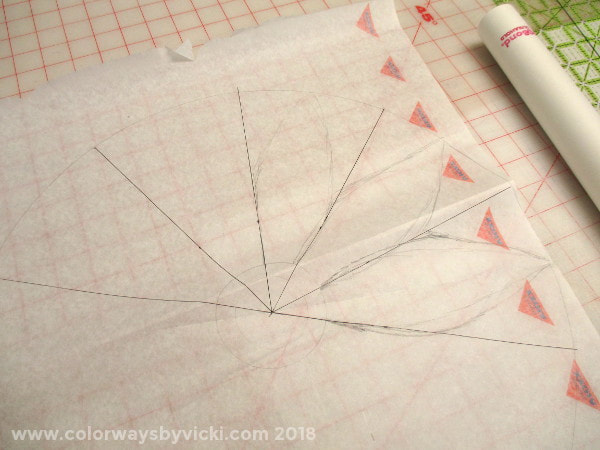
Step 1: Draft the pattern
For this flower I wanted to have a flower that was about 16" in diameter with a 3" center and I wanted 10 petals.
I drew a 16" diameter circle with a 3" center and then divided the circle in 10 even sections using a protractor creating 36 degree wedges.
You only need a few sections drawn because you are only using this to draft 1 template.
I folded one wedge in half to get a center line and drafted in the petal.
The petal overlaps the wedge so that there will not be any gaps in my finished flower.
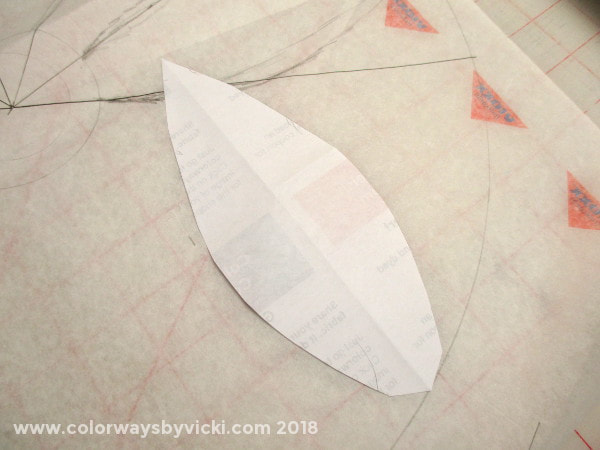
Step 2: Create a pattern
I want my petal symmetrical so I folded a piece of paper in half and traced half the petal and then cut it out.
At the base of the petal I made sure that it was as wide as the wedge where it meets the 3" circle and then added a short point. This gives me enough fabric to stick to the center base.
I want my petal symmetrical so I folded a piece of paper in half and traced half the petal and then cut it out.
At the base of the petal I made sure that it was as wide as the wedge where it meets the 3" circle and then added a short point. This gives me enough fabric to stick to the center base.
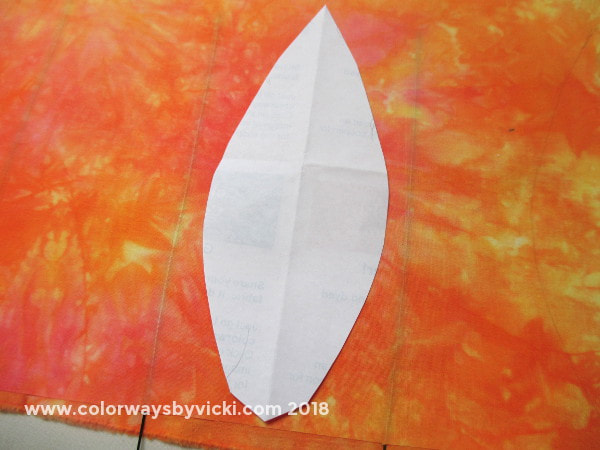
Step 3: Fuse the fabric
Following the directions in the original tutorial, fuse two pieces of fabric together with a wire in the middle. The wire should be long enough to go within 1/2" of the tip of the flower (not sticking out of the top) and stick out at the bottom of the flower. It will be cut to the proper length later.
I fused one long strip of the fabric with the wires spaced more than the width of a petal apart.
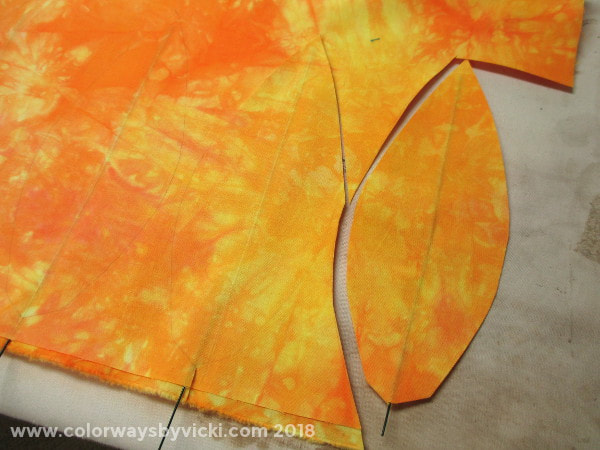
Step 4 - Cut out the petals
Trace the petal shape on the fabric making sure that the wire stays centered on the petal and that the end of the wire is below the tip of the flower. At the bottom trim the wire to about 1/2".
At this point I pressed the petals again just to make sure that the fabrics are permanently fused.
Trace the petal shape on the fabric making sure that the wire stays centered on the petal and that the end of the wire is below the tip of the flower. At the bottom trim the wire to about 1/2".
At this point I pressed the petals again just to make sure that the fabrics are permanently fused.
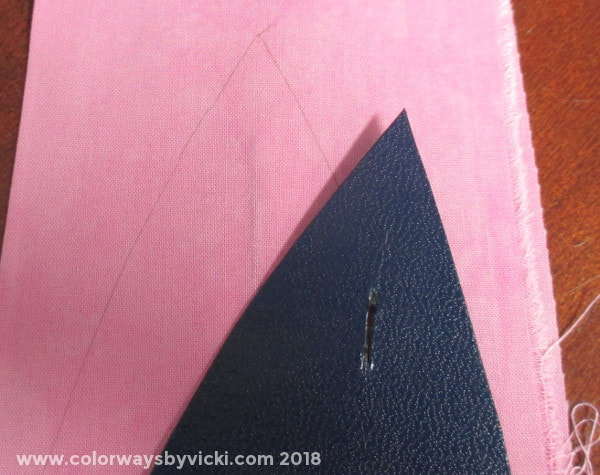
In the second iteration of this flower I cut the pattern template from a stiff plastic so that it would be easier to trace around and I cut a slit where the stem would be so that I could quickly align the template and know that the stem was perfectly centered.
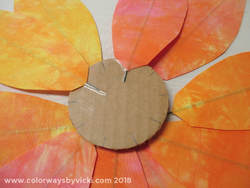
Step 5: Attach the petals to the cardboard base.
Cut 2 3" circles from cardboard and on one mark segments dividing the circle into 10 equal sections.
Align a petal with one of the marks making sure that the base of the petal is on the cardboard. Tape it in place. On later flowers I used the glue gun to attach the petals to the cardboard.
Place 5 petals on first putting one on every other mark.
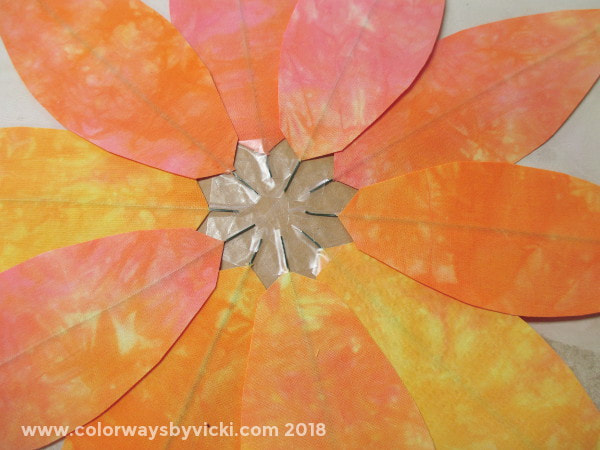
Add the other 5 petals in the empty marks. You can add your petals any way you want but you will see at the end why I did them for this flower in this way.
Step 6: Make the center
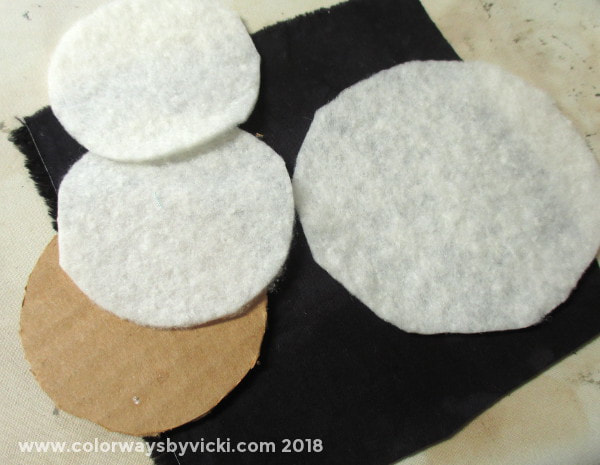
For the flower center you need the second cardboard circle, a 5" square of fabric and 3 pieces of batting. Two batting pieces of are cut 3" in diameter and one is cut 4".
Lay the fabric right side down. Put the 4" batting in the center of the fabric square and the center the 3" batting circles in the center of that and top with the cardboard.
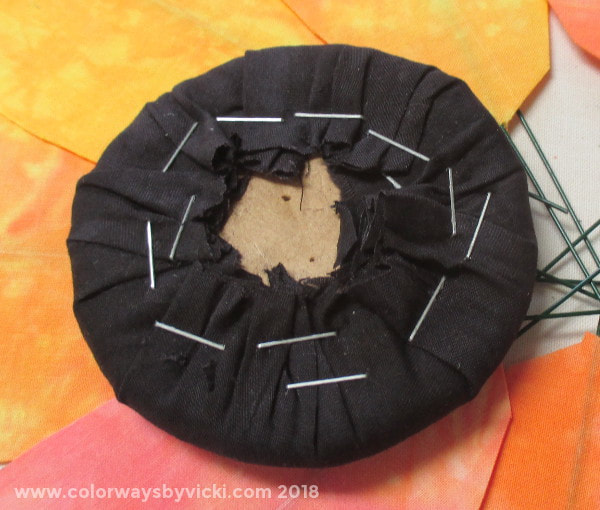
Pull the fabric to the back of the cardboard the same way you would cover a seat cushion. Staple or glue the fabric in place and trim away the excess.
Step 7: Glue the center in place
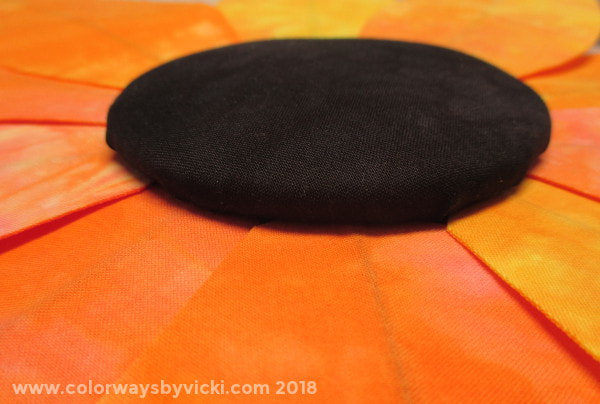
Using a glue gun and a generous amount of glue, position the center so that it's aligned with the cardboard base on the back and glue it in place.
Using a glue gun and a generous amount of glue, position the center so that it's aligned with the cardboard base on the back and glue it in place.
Step 8: Attach the hanger
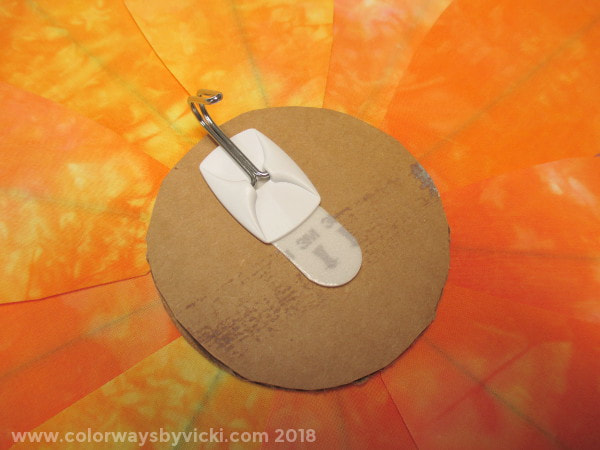
A Command wire hanger is perfect for hanging these.
A Command wire hanger is perfect for hanging these.
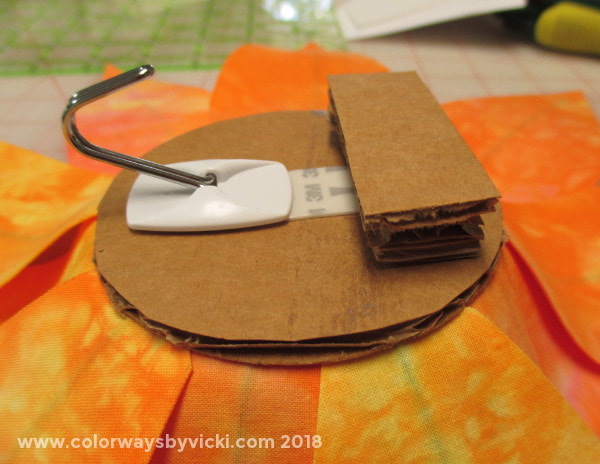
I'm hanging my flowers from a wire grid and I found that if I added 3 layers of cardboard scraps glued to the back that the flower will hang straight and not flop forward.
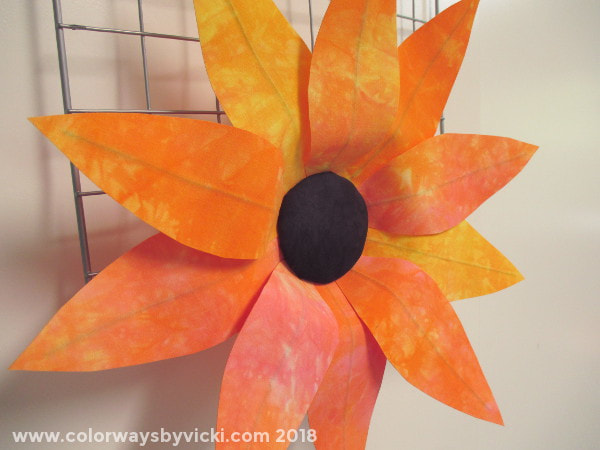
With the extra 3 cardboard layers as a wedge, the flower hangs straight. The wire in the petals lets you shape the flower any way that you want.
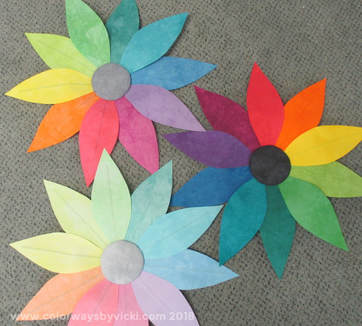
The reason that my first flower has 10 petals is that it was designed specifically to show off my Color Wheel line of fabrics. The Munsell Color System recognizes 5 primaries so in each of these flowers the primary colors are int he front and the secondary colors behind.
Get the petal template for this flower here.
Get the petal template for this flower here.
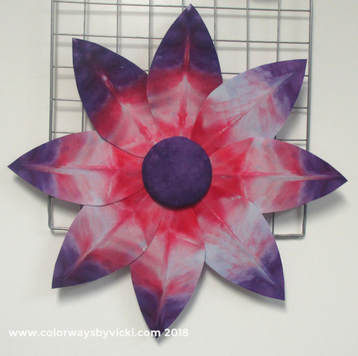
Get the petal template for this 8-petal flower here.
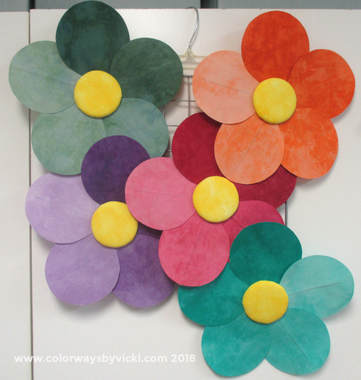
Get the petal template for this 5-petal flower here.
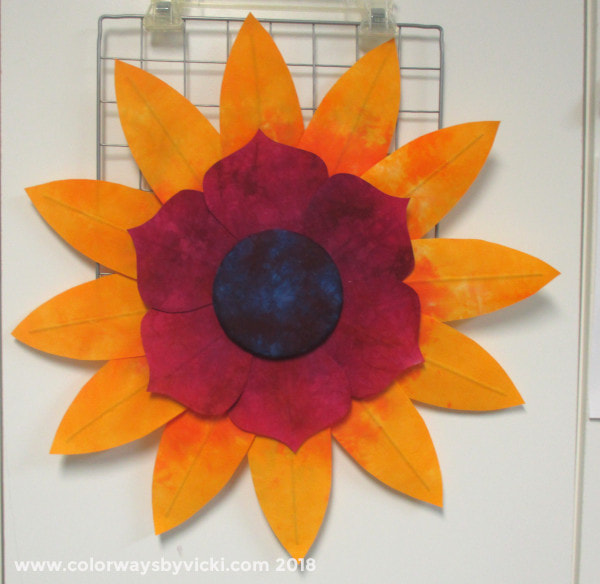
Get the petal template for the sunflower here.