Fireworks Postcard
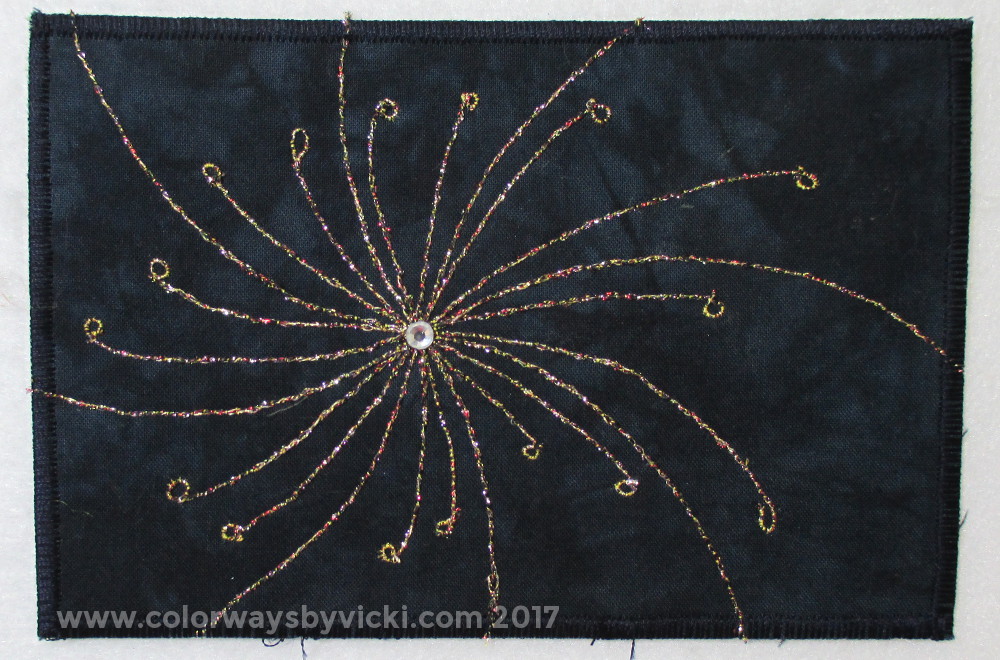
I've had the idea of a fireworks postcard in the back of my mind for a long time but I couldn't quite figure out how to do it. That was all resolved recently as I've been using my longarm rulers to quilt Spirograph-type designs. Working on those helped me solve how I could stitch out fireworks. This isn't a thorough A to Z instruction for making fabric postcards but it will show how I stitched out this particular design and might give you some tips for stitching some designs that you've been wanting to do.
The card started with hand dyed dark blue fabric fused to heavy interfacting (Timtex, Peltex, Stiffy). There's no heavy interfacing more economical than Stiffy from Long Creek Mills. Their 35 yard bolt is not much more expensive than 10 yards of Timtex. I'm on my second bolt!
My process is to fuse Mistyfuse to the back of a fat quarter of fabric and then fuse the fabric to Stiffy. Then I cut it into 4" x 6" postcard pieces.There's nothing fused to the back yet.
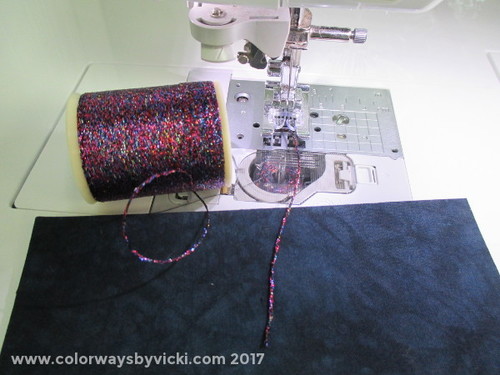
I picked Superior Razzle Dazzle thread for my fireworks. This thread has to be hand wound on the bobbin so the stitching is done from the back.
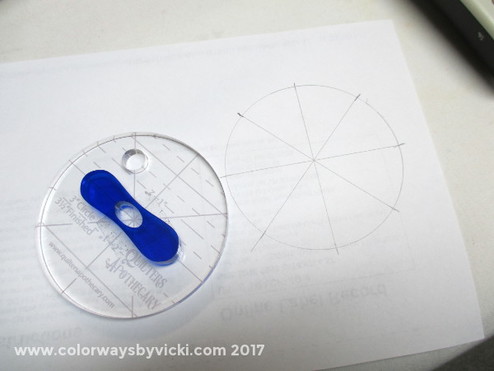
Draw or trace a circle that's about 2.5" in diameter. I had the perfect size longarm ruler that conveniently has markings to divide the circle into eighths. The eighth markings are key. If you don't have a template with the markings just cut out the circle and fold it in half, then half again to get quarters and in half again to get eighths. Use a pencil or something pointy to poke out a hole in the center.
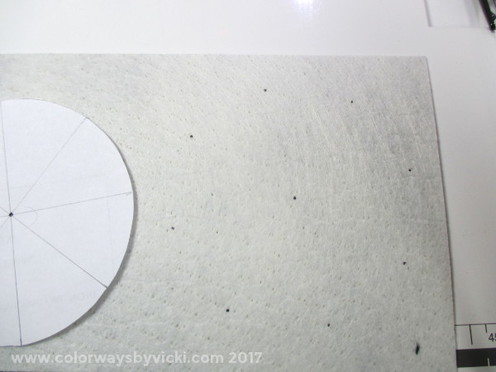
Using the circle template, position it on the back of the card in a position so that the center of the circle is where you want the center of your fireworks. If you want it perfectly centered draw diagonal lines from corner to corner on the card. Where they cross will be the center of the card. I placed mine off center so I didn't have to do that extra step.
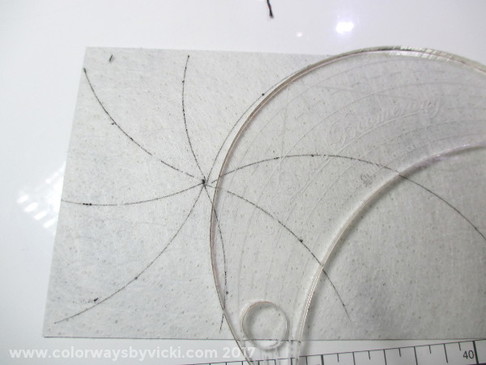
Find something with a gentle curve. I used another longarm ruler but you could use a salad plate or any other round template.
Draw 8 radiating lines connecting the center to the dots you made around the circle template. Carry the lines all the way to the edges of the postcard.
Draw 8 radiating lines connecting the center to the dots you made around the circle template. Carry the lines all the way to the edges of the postcard.
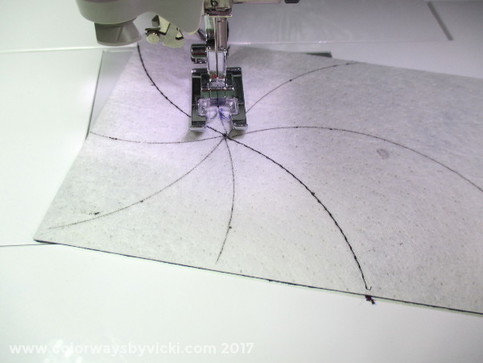
The decorative thread is in the bobbin so you are stitching from the back. You might want to do a couple of practice pieces on scraps so that you can get the tension right. In this image I'm using black thread but I switched to gold metallic because it did show some on the front of the card. The extra sparkle from the metallic thread looked better than the dull black.
Stitch over all lines. I did it in 4 continuous lines from edge to edge, crossing in the middle.
Stitch over all lines. I did it in 4 continuous lines from edge to edge, crossing in the middle.
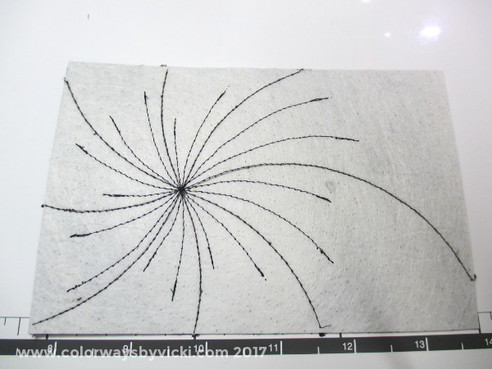
That wasn't enough stitching for me so I went back and added 2 spokes in each of the 8 wedges. I experimented with lines all the way to the edge, lines ending in loops and these lines that are back-tracked.
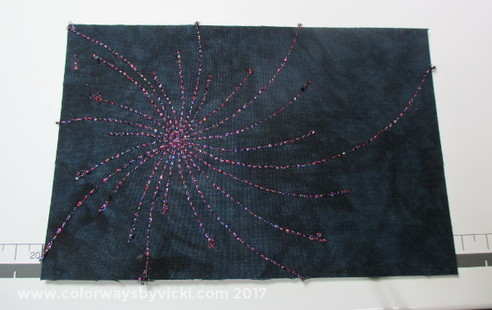
This is the front of my first prototype card. With this one I decided to change to a brighter thread and to experiment with adding loops to the end of the added stitching. I did not draw the added stitched lines. They are done free motion and it's easy to eyeball the spacing.
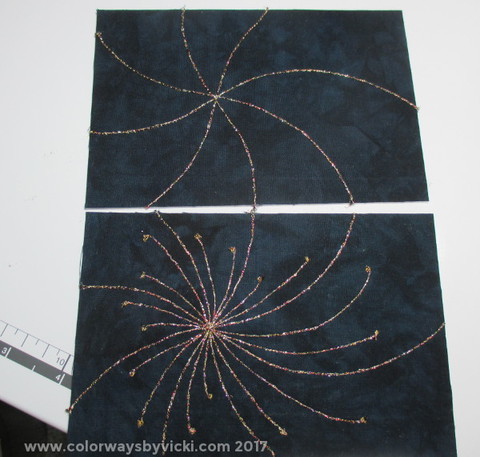
This is the version that I liked best. Here you can see it from the front after each set of stitches.
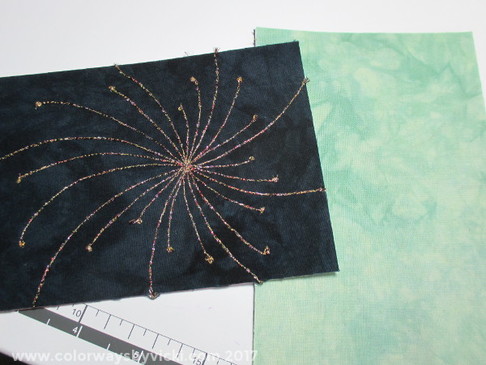
Now it's time to fuse on the back.
For my postcard backs I pick out a light hand dyed fabric and fuse the whole thing with Mistyfuse. Then I cut the 4" x 6" postcard rectangles. I actually do several fabrics at once so that I have a bit of a stockpile of postcard backs when I need them.
For my postcard backs I pick out a light hand dyed fabric and fuse the whole thing with Mistyfuse. Then I cut the 4" x 6" postcard rectangles. I actually do several fabrics at once so that I have a bit of a stockpile of postcard backs when I need them.
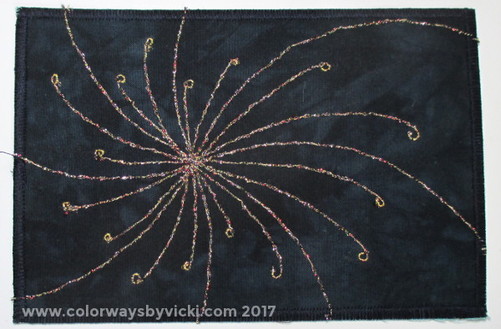
The next step is to stitch around the edges. I often use the edging to create a frame in a contrasting color but since this is a night sky I chose navy blue thread. I use a sating stitch with the zig zag setting on my sewing machine. I set it to a width of 4.0 and length of .02. I find I get the best results when I use the same thread top and bottom. If the tension is off at all you won't notice.
There's no rule that you have to finish the edges. I've gotten and sent postcards with a simple straight stitch close to the edges and that looks great too.
There's no rule that you have to finish the edges. I've gotten and sent postcards with a simple straight stitch close to the edges and that looks great too.
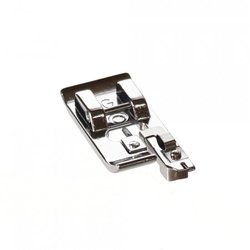
If your machine has an overcasting foot it's perfect for doing postcard edges. Look in the middle of the oval stitching area and you can see a pin right in the middle of that open area. As the machine zig zags the thread catches over that pin on the right side and that keeps it from drawing up the edges of your postcard (or whatever you are stitching).This helps me keep perfectly straight satin stitching.
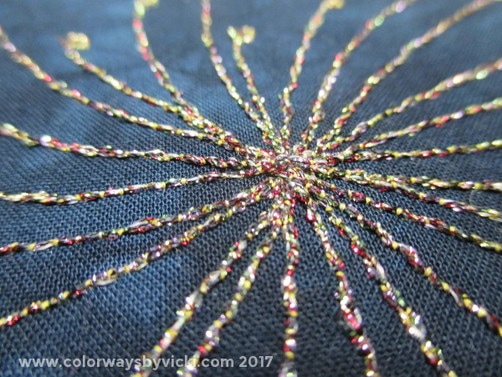
But my card needed a little more bling. I wanted a crystal right in the middle. The problem is that I had this huge build up of thread in the center and I knew that a crystal wouldn't stay fused there.
To solve that problem I first used whatever small tool was handy (screwdriver blade) to mash at the center to flatten it out. This thread is pretty flexible and squishy so I got it pretty flat.
To solve that problem I first used whatever small tool was handy (screwdriver blade) to mash at the center to flatten it out. This thread is pretty flexible and squishy so I got it pretty flat.
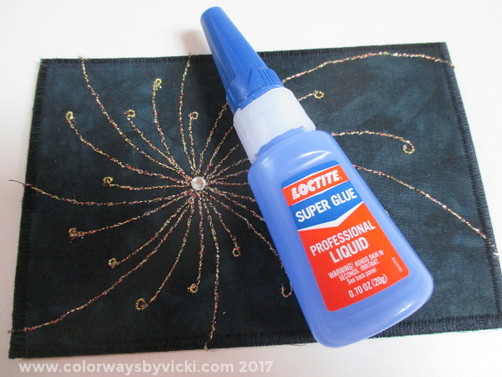
When I'm mailing cards with crystals I'm never really confident about the crystals staying on in the mail so I super glue them on instead. Loctite is my favorite brand of super glue. It seems to hold everything. I use it on glass and I've even used it to glue acrylic rulers back together.
For these cards I first put a drop right in the middle of the fireworks blast to seal the mashed threads. Once that dried I put a drop on the back of the crystal and put it in place. Tweezers were critical here.
These crystals are stuck for good now.
For these cards I first put a drop right in the middle of the fireworks blast to seal the mashed threads. Once that dried I put a drop on the back of the crystal and put it in place. Tweezers were critical here.
These crystals are stuck for good now.
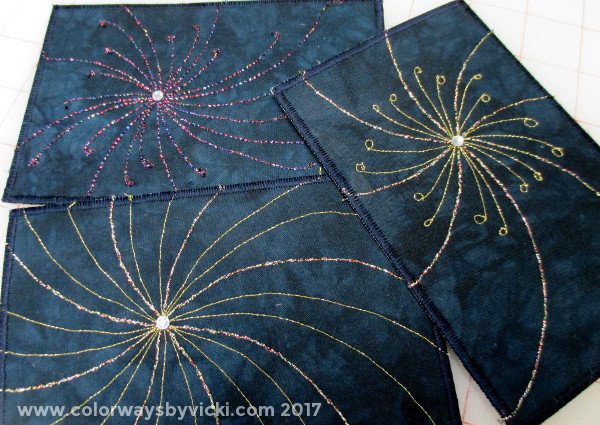
The crystals even make the rejects look fine. These didn't turn out the way I expected but they are still fine for birthday cards or cards for our Airbnb guests.