Double Wavy Crosshatch on the Longarm
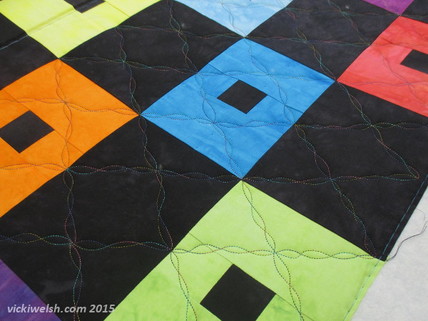
Now that I’m teaching free-motion quilting to new owners at Virginia Longarm I make sure that I quilt all of my quick quilts free-motion I started this one off thinking I would do a wavy crosshatch. But that wasn’t enough. It needed more. This tutorial will show that you have to do a little different approach with the double wavy crosshatch.
I wanted a simple grid that didn't go through the center little black square. I also wanted the wavy cross hatch to be double. Simple, right?
I wanted a simple grid that didn't go through the center little black square. I also wanted the wavy cross hatch to be double. Simple, right?
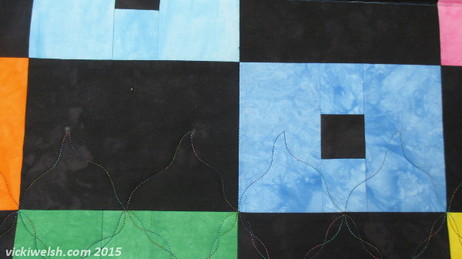
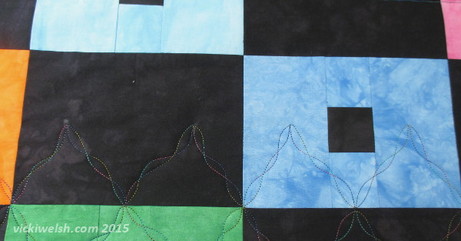
After I did the first block I saw the intersection on the left. Now, that might be OK for most people but it wasn’t OK for me. I wanted intersection like the one on the right. To do that you have to stitch this in half-block rows.
Let's walk through it step by step.
Let's walk through it step by step.
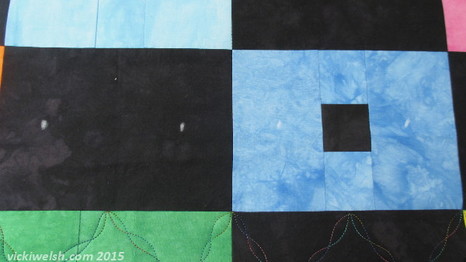
Some blocks will have natural turn points within the piecing but this block doesn’t. No problem! Just mark the turn points with a dot of chalk. After the second row you will be able to do it by sight.
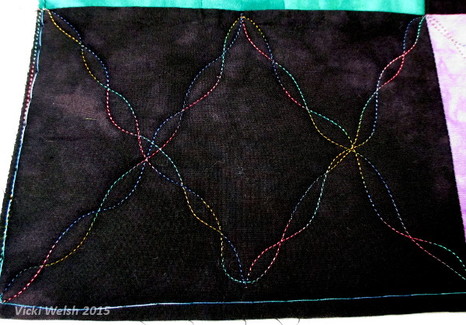
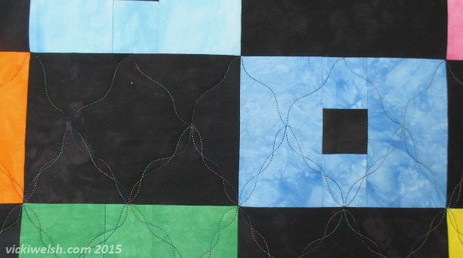
Stitch wavy line tent shapes turning at block corners, the middle of the block and the chalk dots. This pattern will give you a lot of practice controlling your longarm to meet at points.
Turnaround and stitch the same lines with opposite waves. For this block I found a 3-curve wave to be most comfortable to stitch.
Now stitch the top half of the block in the same way meeting the two points in the center of the block.
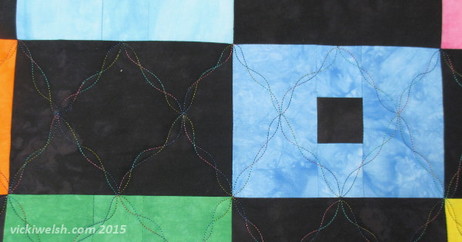
One last pass and the row is done.