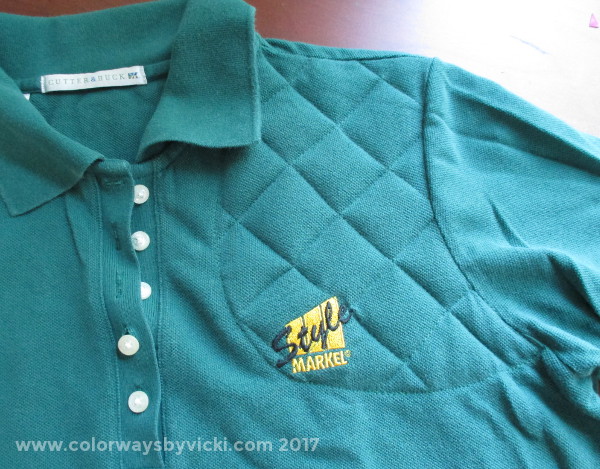
Make a Shooting Shirt
|
This tutorial is a bit incongruous with the rest on my website content but it's not incongruous for my life. I am learning sporting clay shooting and needed some extra padding on my shooting shoulder. My instructor recommended a shooting vest but since my super-power is sewing (not shooting yet) I figured I could make one for less than the $50+ price for a vest. Here's how I did it. Note: I'm a left-handed shooter (even though I'm right handed with everything else) so I'm making the pad on the left side of my shirt. These instructions work on either side, just make the proper adjustments as you make your own hunting shirt. |
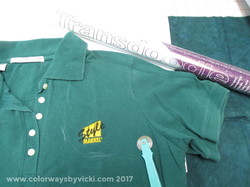
First, find a comfortable shirt. It can be a knit or woven. Just find something in your closet that fits comfortably and you are willing to dedicate to your sport.
Find a piece of woven fabric to use on the inside of the shirt to mount the pad. I found a dark green fabric that's close to the color of the shirt.
Now, try on the shirt and use some chalk to mark the outline of the pad area. The pad will extend into the seam allowance at the shoulder and sleeve. Don't let it extend all the way to the armpit seam. You don't need padding there and the bulk will be annoying.
Trace the size of the pad to the lining fabric. If you are worried about right and wrong sides of the lining fabric, trace the lines to the WRONG side of the lining fabric. At the shoulder and sleeve trace the seam lines. If you don't have tracing paper, put a piece of paper under the shirt and poke holes through the shirt into the paper around the edges of the pad. Poke the holes about 1/4 inch apart.
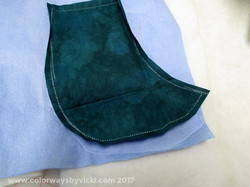
Cut out the fabric about 1/4 bigger than the outline all around. The chalked line in this photo is the actual size of the pad, the lining needs to be 1/4" bigger on all sides.
Cut out the padding to the exact size of the pad. For my padding I used 3 layers of Hobbs 80/20 batting. Why? Because that's what I had close by.
I do think that a poly or poly/blend fiber will work best. If you don't have batting I think a great alternative would be a couple of layers of poly-fleece maybe from a discarded blanket or fleece shirt. Three layers of cotton/poly sweatshirt fabric might also work. The concern there might be the weight. The main features you want to look for are cheap and spongy/squishy. You want something that has some recovery when it's squished.
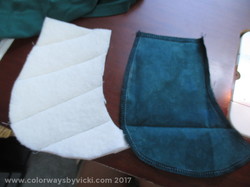
Layer the padding layers and stitch a few rows of stitching just to hold them together. When stitching thick things like this use a but longer stitch length. I use a 3.5 stitch length.
Finish the edges of the lining layer so they will not ravel. I used a serger but you could zig zag the edges. If you are using a non-raveling fabric, like a microfiber you do not need to do this step.
Finish the edges of the lining layer so they will not ravel. I used a serger but you could zig zag the edges. If you are using a non-raveling fabric, like a microfiber you do not need to do this step.
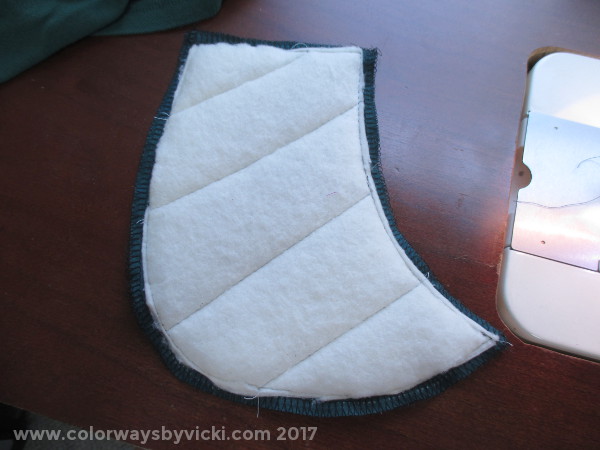
Center the padding on the back side of the lining and stitch all the way around.
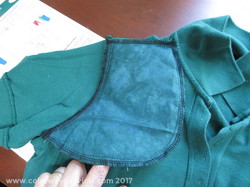
Turn the shirt wrong side out and position the pad in the shirt. The edges of the pad will overlap the sleeve and shoulder seams. Pin the pad in place on those seams and then stitch the pad in place on those 2 seam allowances. Just in the seam allowance. This stitching does not go through the shirt.
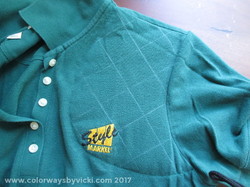
Turn the shirt right side out. Smooth out the shirt in the pad area and pin it in place then stitch around the rest of the pad stitching only through the front and edges of the pad. I used the padding to guide me and stitched right next to the padding edge so that I was only capturing the edge of the lining.
Next I marked of a grid that's about 1.5" square in the diagonal.
Next I marked of a grid that's about 1.5" square in the diagonal.
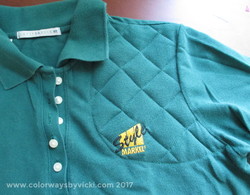
Stitch the quilting through the front and pad. You don't want anything too dense so that it keeps it's squishiness but you need a little something to keep the pad from wadding up during washing.
When I was first shooting without a pad I had some nerve issues with tingling in my fingers. It wasn't caused by shooting. It's just a problem that I have. With the padded shirt I had no problems on my last trip to the course.
When I was first shooting without a pad I had some nerve issues with tingling in my fingers. It wasn't caused by shooting. It's just a problem that I have. With the padded shirt I had no problems on my last trip to the course.
