Attaching a quilt back to zippers with a serger or sewing machine
I think it's pretty common knowledge now that I attach my quilt backs to my zippers with a stapler. But when I teach at Virginia Longarm I have to take quilt sandwiches for the students to practice on and at the end of class they get to take them home. That means that we spend a lot of time at the end of class removing staples. Justifiably, Virginia Longarm isn't thrilled with the idea of staples being loose in the showroom. One of them might find it's way in a customer quilt.
I had to come up with a better method and remembered that my serger has a chain stitch setting and that would be an ideal way to do them.
I had to come up with a better method and remembered that my serger has a chain stitch setting and that would be an ideal way to do them.
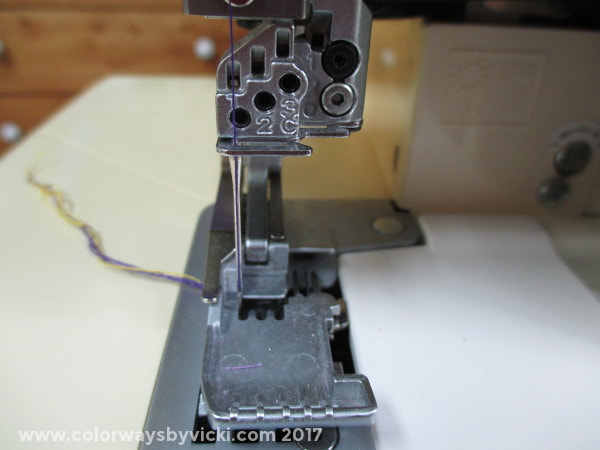
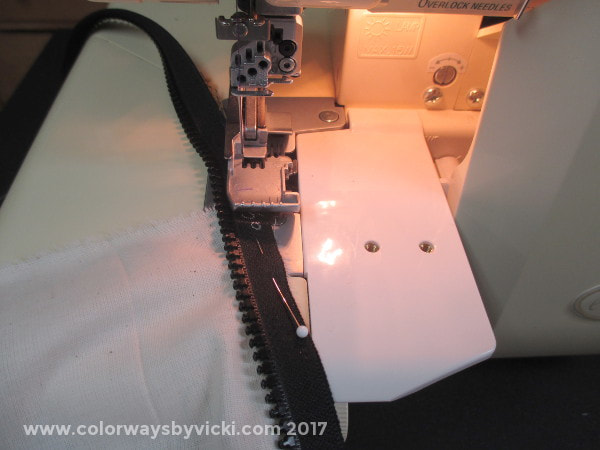
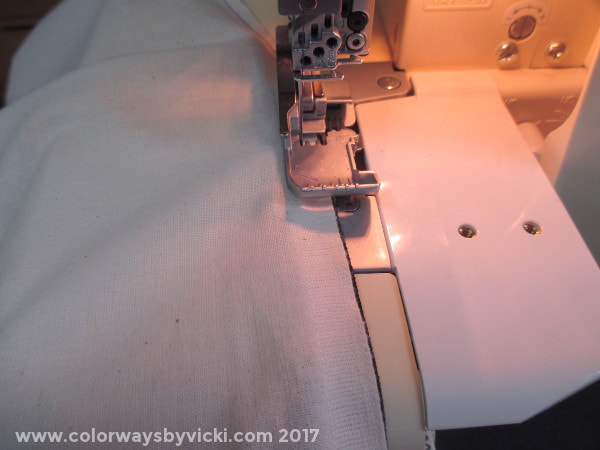
Starting with the serger set up. I have it set for a chain stitch and the needle is in the far left position. The needle is in the left position because the zipper teeth have to run along the left edge of the foot and the needle needs to be far left to make sure it stitches through the zipper tape. Most importantly I used 2 different thread colors. This will make removing the stitching faster. On a regular sewing machine set it up for the longest possible stitch length.
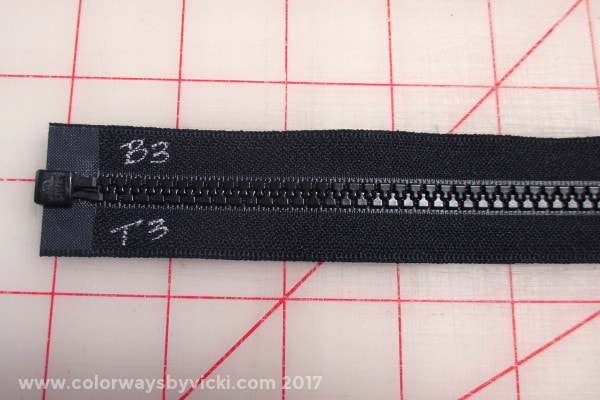
I have my zipper sets marked. The B side is attached to the bottom of the quilt back and the T attaches to the top of the quilt back. The 3 just indicates the set number to make sure I have them paired properly.
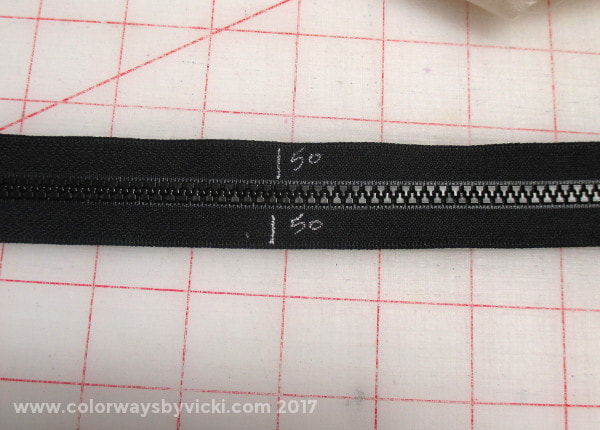
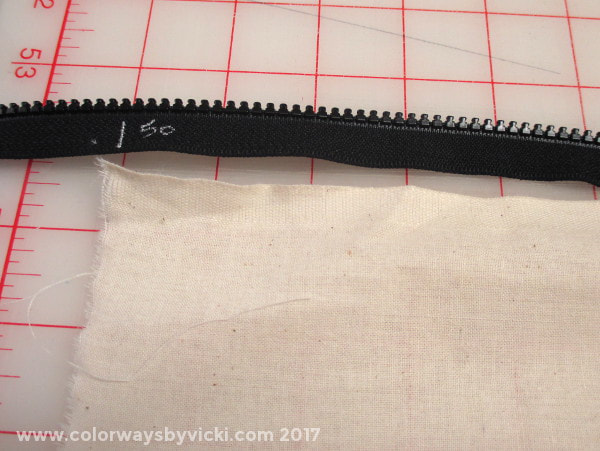
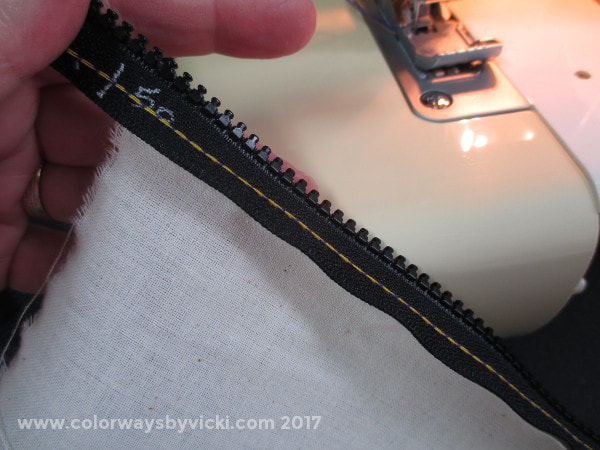
Having the sets of zippers paired correctly is important because I mark measurements on my zippers. I mark the center and then every 10 inches to either side. This mark is the 50" mark on the left (loading) side of the zippers.
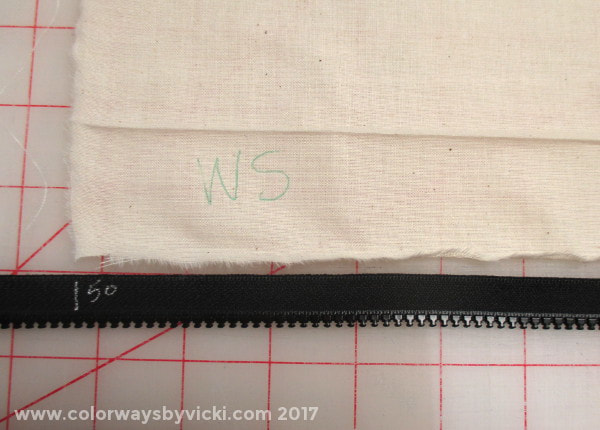
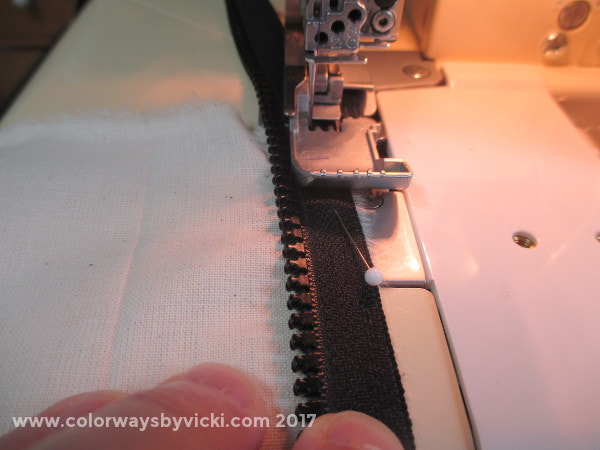
I measure the back and find the 10" mark that will put the quilt back closest to centered. On this one the 50" mark is the closest. Place the quilt back wrong side up next to the zipper. Flip the zipper on to the quilt so that the top side of the zipper is against the wrong side of the quilt back OR flip the zipper and slide it under the quilt so that the right side of the backing is against the back of the zipper. It doesn't matter. It matters that the zipper teeth are toward the inside of the quilt. The tape side of the zipper is aligned with the edge of the quilt back. Make sure the edge of the backing is aligned with the mark on the zipper. Put a pin in it to keep the ends together.
Take it to the serger and start stitching a little before the edge of the quilt and stitch onto the zipper.
Keep the edge of the quilt lined up with the edge of the zipper and sew the length of the quilt back and the off the edge of the zipper.
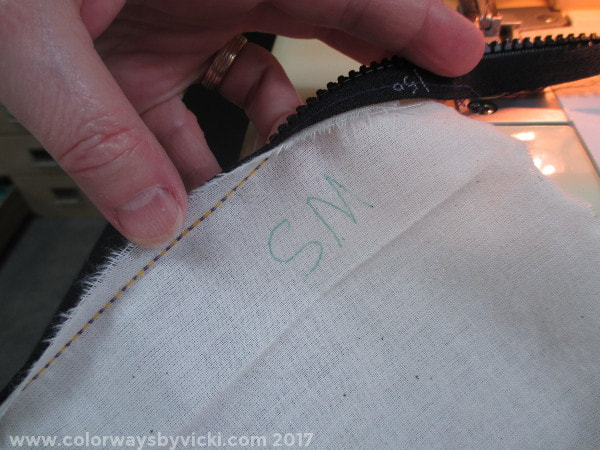
When it's done and loaded the "seam allowance" of the backing will fold back when the quilt is loaded.
Then do the same with the top edge.
Depending on whether you flip the zipper over or under the backing you will stitch from the fabric side or the zipper side. It doesn't matter. You just want all the bulk to the left of the machine.
Now you can load the quilt.
This method was a lot faster than I thought it would be and I might even consider it for some of my own quilts. Removing the stitching is so easy because I just had to find the end of the yellow thread and pull. I had all 4 sample quilt sandwiches removed for the students in 15 minutes.
This method was a lot faster than I thought it would be and I might even consider it for some of my own quilts. Removing the stitching is so easy because I just had to find the end of the yellow thread and pull. I had all 4 sample quilt sandwiches removed for the students in 15 minutes.
