Plaid Christmas Tree Postcard
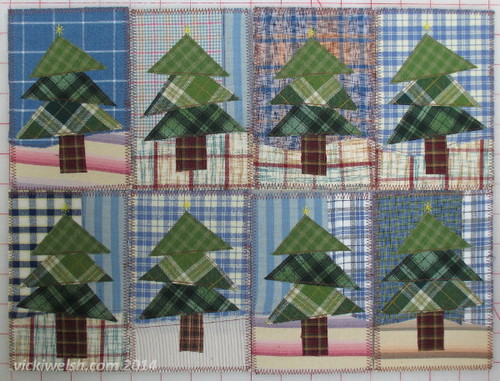
These cards were so much fun to make!
I have a bin of plaids and I decided that this year one of my card designs needed to come from that bin. I hadn't planned on trees but I saw the 3 green plaid fabrics and had to go with it. With today's design I'm going to show you exactly how I did them.
I started with 4 color families of fabrics: blue (sky), tan (snow), brown (trunk) and green (trees). I fused Mistyfuse to the back of all of the fabrics.
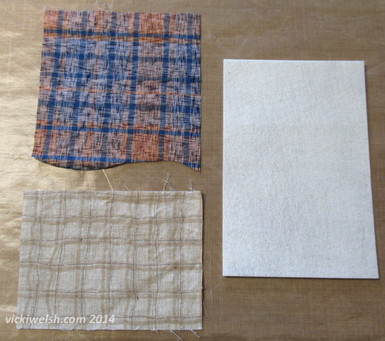
Cut a rectangle of "snow" fabric and a larger rectangle of sky fabric. Contour the bottom edge of the sky (or top edge of snow) for a wavy horizon line to make snow drifts. Cut a piece of heavy duty stabilizer (like Timtex or Stiffy) for the postcard base. The postcard base is 4" x 6".
You will also need brown plaid for the trunk and a variety of greens for the tree. Pre-fuse all of them with Mistyfuse or your favorite fusible webbing product.
You will also need brown plaid for the trunk and a variety of greens for the tree. Pre-fuse all of them with Mistyfuse or your favorite fusible webbing product.
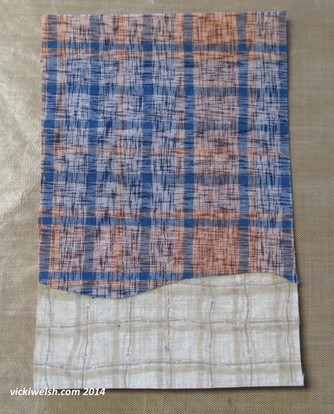
Fuse the snow and sky to the interfacing and trim all of the excess fabric from around the edges of the interfacing.
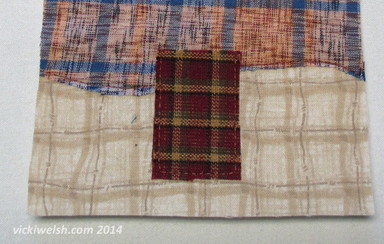
Every edge is cut raw edge and all of the raw edges are top stitched. You could use a zig zag or other decorative stitch. I wanted these done fast so I'm straight stitching. I selected a dark brown for all of my stitching. Topstitch the edge of the sky. The first design element to add is the trunk. Free form cut the trunk, fuse in in place and topstitch the sides and bottom edge. The top edge will be covered up.
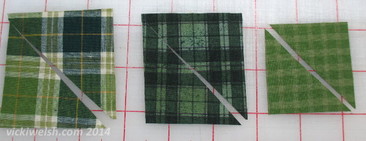
Now it's time for the tree. Cut a square from 3 different green fabrics. Cut these free form for more interest and vary the sizes from about 2 1/2" down to 2". Cut each square on the diagonal. Your tree branches will be on the diagonal making the design much more interesting.
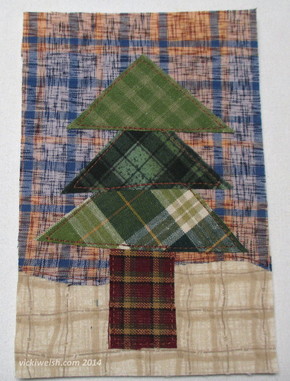
Fuse the tree limbs in place with the largest triangle on the bottom and smallest on top. You can top stitch these as you go or do the whole tree at once. Play around with the tilt of the branches for different looks. Wonky is good with these trees.
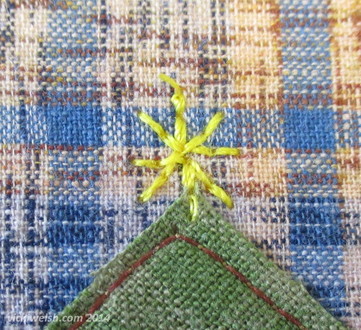
Top off the tree with a star. I have a single asterisk motif on my machine and used that but this could be done with some simple hand stitches too.
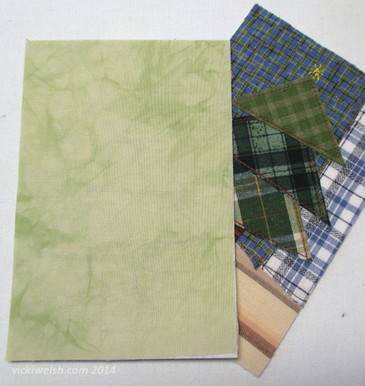
Fuse a backing on the other side to cover all fo the stitching. I generally fuse Mistyfuse to a large piece of fabric and cut out as many postcard backs as I can at once.
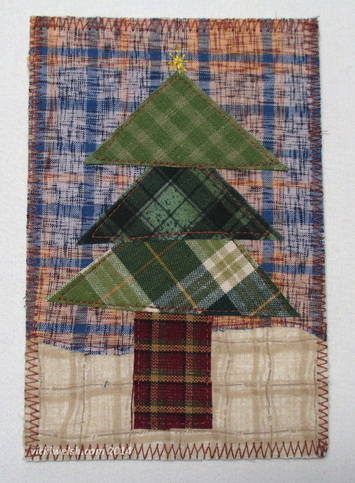
Normally I finish off the edges with a satin stitch but I wanted this card to look more rustic. For that I used a wide zig zag stitch. I can see now that I had a few tension issues but I worked that out before I finished the other 35 cards I made in this design.
It's a really simple card and would look totally different but just as good in batiks, 30's repros or even solids.
It's a really simple card and would look totally different but just as good in batiks, 30's repros or even solids.