Trash to Treasure Postcards
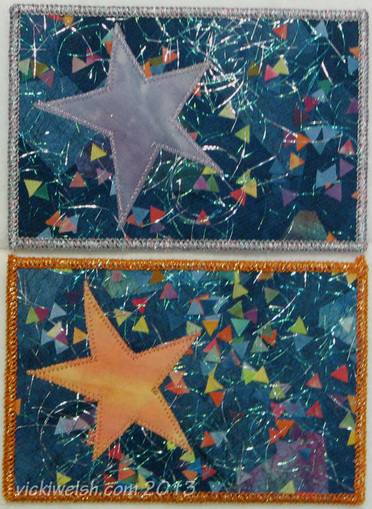
In 2013 I made a quilt called Spinning Stars that became my niece's high school graduation quilt. I had a lovely pile of colorful dog ears from all of the trimmings and I just couldn't throw them out.
They became these postcards. I like making this style of card so much that I thought I'd share a tutorial.
You'll need:
Timtex, Stiff or some other stiff interfacing for the center
Mistyfuse
Confetti fabric or thread bits
Fabric scraps for the background
Fabric for the stars
Glittery threads or Angelina fibers
A piece of tulle
Decorative thread for the edging
Fabric for the backing
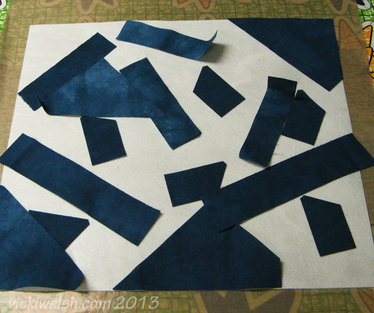
I start with a base of stiff interfacing. I use Stiffy from LongCreek Mills because it's so inexpensive but Timtex also works great. I cut the base about 20" x 18" and that will give me about 15 cards. I fuse a layer of Mistyfuse over the interfacing. I like Mistyfuse because it's so light and it doesn't gunk up my needed when I sew through it. 4
For my base fabric I am using the scraps from cutting my background fabric for the quilt.
For my base fabric I am using the scraps from cutting my background fabric for the quilt.
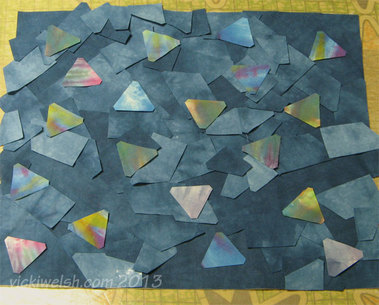
I pulled medium to dark value blue scraps with some star point reject fabrics and spread enough to fully cover the interfacing. Now, fuse it all in place. Next I added a layer of black Mistyfuse on top of the blue fabrics. Another benefit of Mistyfuse is that's it's quite sheer and you don't really see it on the fabric.
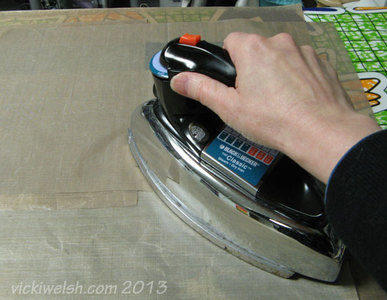
Mistyfuse is not paperbacked so fuse it with a teflon sheet on top.
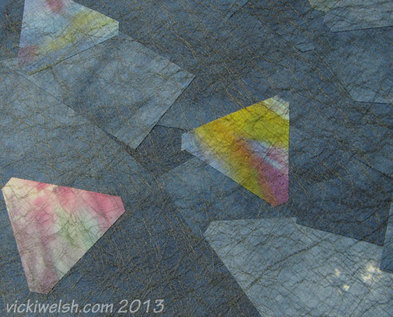
Here's what it looks like after the black Mistyfuse is added.
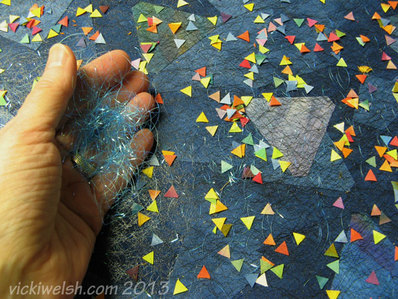
Now for the fun part! I sprinkled the dog ears all around but wanted to add some sparkle. I have a good stash of Glitter Hologram thread. I could just unwind a bunch of it and spread it around the surface but I think the effect is better if the thread is in smaller bits. I unwind lots of it on my cutting mat and chop it up with my rotary cutter and then sprinkle the bits all over the surface. Angelina Fibers would work well too.
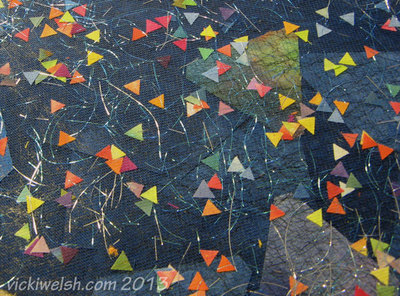
To hold it all together fuse on a layer of tulle. I chose a bright blue. At this point I could have quilted the entire piece with some metallic thread to hold it all together more secure but I wanted these to be fast cards. The fusible web and tulle will hold it all together long enough for me to finish the cards.
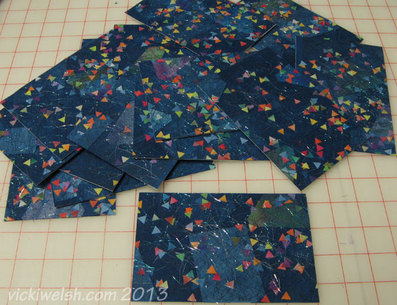
Next cut them up into 4" x 6" postcard sized pieces and to decide how you want to decorate them. I chose to applique stars.
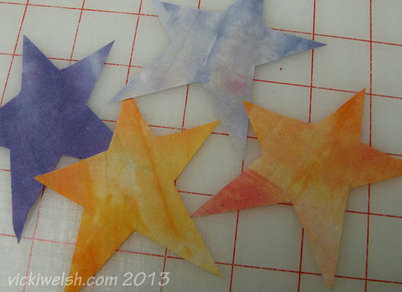
Since the quilt is called Dancing Stars and the cards look like a night sky, I just had to add a big star. I found some hand dyed scraps and free-form cut some stars. I made some in gold and some in purple. You could fuse Mistyfuse to the back of the fabric before you cut out the stars.
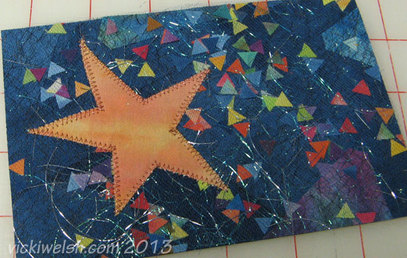
I didn't even fuse these. I just placed them on the card and zig-zag stitched around the star with metallic thread. I tried a straight stitch but it did not look nice and the metallic thread made a huge difference too.
Now they are almost done! For the backs I add fusible web to a large piece of light value fabric and cut it into 4" x 6" pieces. Fuse a back on each card.
Now they are almost done! For the backs I add fusible web to a large piece of light value fabric and cut it into 4" x 6" pieces. Fuse a back on each card.
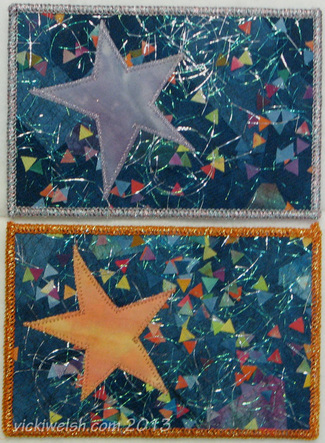
I finished the edges with my serger using Razzle Dazzle thread in the upper looper but a serger is not required. You can zig zag the edges or even straight stitch the edges to finish off a postcard.
If you've never tried making postcards I hope you will give them a try sometime. They are a fun way to experiment with techniques and products and people love getting them in the mail. Some people buy clear envelopes to mail them but I send mine through the mail nekked with a first class stamp and they usually arrive just fine. Occasionally I also leave one for my mail lady so that she's really happy to take them and mail them for me!
If you've never tried making postcards I hope you will give them a try sometime. They are a fun way to experiment with techniques and products and people love getting them in the mail. Some people buy clear envelopes to mail them but I send mine through the mail nekked with a first class stamp and they usually arrive just fine. Occasionally I also leave one for my mail lady so that she's really happy to take them and mail them for me!