Holiday Ornament Postcard
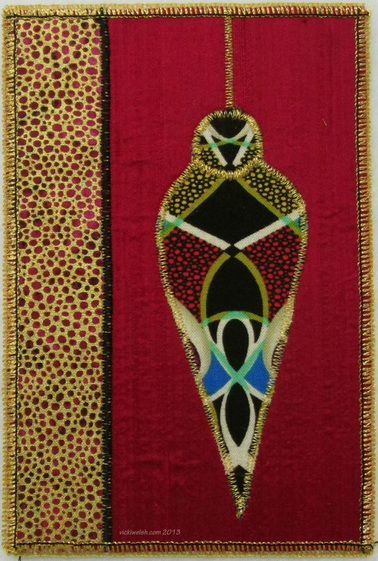
It may look fancy but this is really a quite simple card to make. It's simple enough that you could easily make a dozen of these to send to your family and friends.
The secret to these is the fabric. The red background is silk from my stash. The silk adds a nice elegance to the card. I didn't have enough silk to cover completely all of the cards so I added a strip of a metallic print. I think it adds a lot of extra spark to, what might have been, a flat looking card.
The secret to these is the fabric. The red background is silk from my stash. The silk adds a nice elegance to the card. I didn't have enough silk to cover completely all of the cards so I added a strip of a metallic print. I think it adds a lot of extra spark to, what might have been, a flat looking card.
|
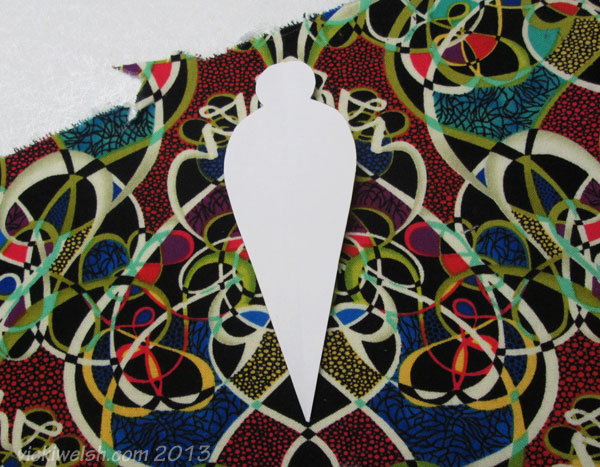
But the real secret to these cards is the fabric for the ornament. This fabric is one of the fabrics from Paula Nadelstern's Palindromes line. I decided to make an ornament shape and cut out as many as I could from the symmetrical areas of the fabric.
My first step was to fuse Mistyfuse to the back of the fabric. I didn't want to waste a lot of Mistyfuse so I cut chunks of the fabric around the symmetrical areas where I was going to cut the ornaments. I spread a layer of Mistyfuse on my pressing sheets. Then I spread the fabric chunks on the Mistyfuse, covered the whole thing with another pressing sheet and used a dry iron to fuse the Mistyfuse to the back of the fabric. Next I created a template for my ornament. An index card is perfect. I folded it in half lengthwise, drew my design and cut it out through both layers to ensure that I had a perfectly symmetrical pattern. You could do this even easier with any pretty patterned fabric and a die cutter. |
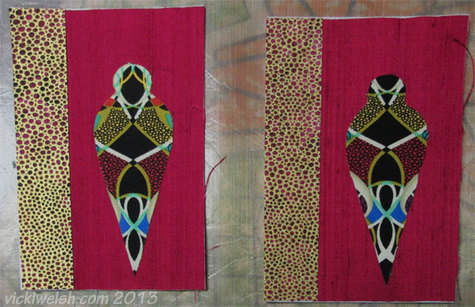
Now it's time to fuse it all together. I cut the 4 x 6 postcard shapes from Timtex or Stiffy and then cut and fused the 2 background fabrics. The red is a silk fabric that's cut about 3" wide and 6" long. The metallic is another fabric from Paula Nadelstern. It came out with Palindromes and I think that adding that extra fabric on the left makes the card much more interesting. Finally I fuse the ornament in place.
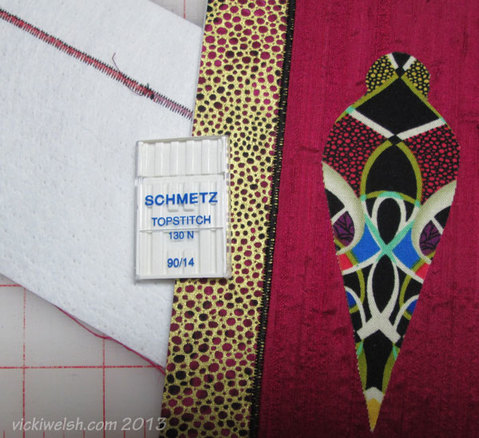
All of the fusing is raw edge and I like to add satin stitching as a finishing touch to my cards. I felt that the card needed some black so I stitched the join of the 2 background fabrics in black. A topstitch size 14 needed is perfect for this. When I started I had some trouble with skipped stitches but once I switched to this needed everything was perfect. This project is the perfect place to use up your partial bobbins. I emptied 6 bobbins on these cards. I do not worry about the color of the bobbin thread. When you do a sating stitch you are going to set the tension loose so that the top thread shows a bit on the back (for the top to look perfect) so you are already going to have some show through. The postcard back covers most of that up. I used Superior So Fine 30wt for this stitching. It's a really pretty thread with a nice sheen.
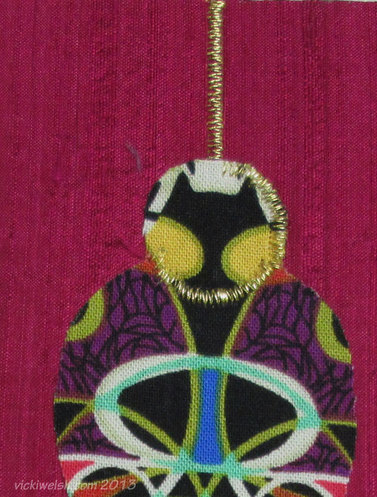
I trimmed the ornament in a gold metallic thread. I used Superior Metallic and that same topstitch #14 needle. I went around the ornament all in one pass and here's how I did it. Starting at the top of the card stitch the hanging cord to the top of the ornament. Then sew around the right side of the round "bead" and keep sewing in a circle to the left side of the ornament.
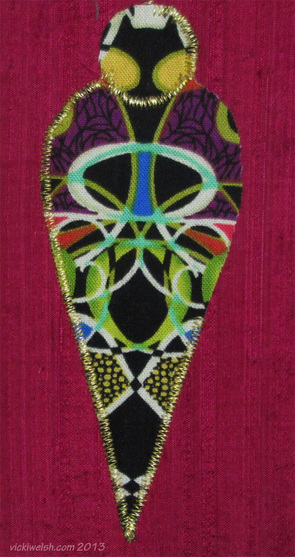
Now head down the left side of the ornament to the bottom, turn and sew up the right side back to the point where the bead and ornament meet.
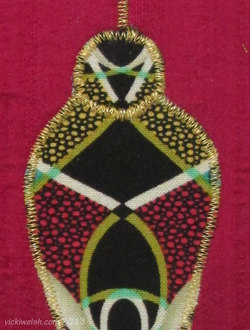
Stitch back across the bottom of the bead and up the left side of the bead to finish it off. After this I fused the back on the card.
To make my postcard backs I fuse some Mistyfuse to a large piece of fabric that and then cut the backs. Just make sure the fabric is light enough to write an address and message on.
To make my postcard backs I fuse some Mistyfuse to a large piece of fabric that and then cut the backs. Just make sure the fabric is light enough to write an address and message on.
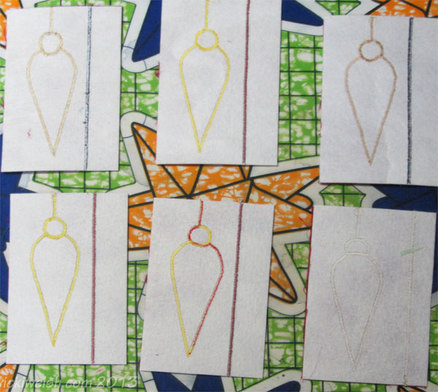
These are all ready to have the backs fused on but I'm just sharing the photo to show you that I'm serious about using up partial bobbins on my postcards.
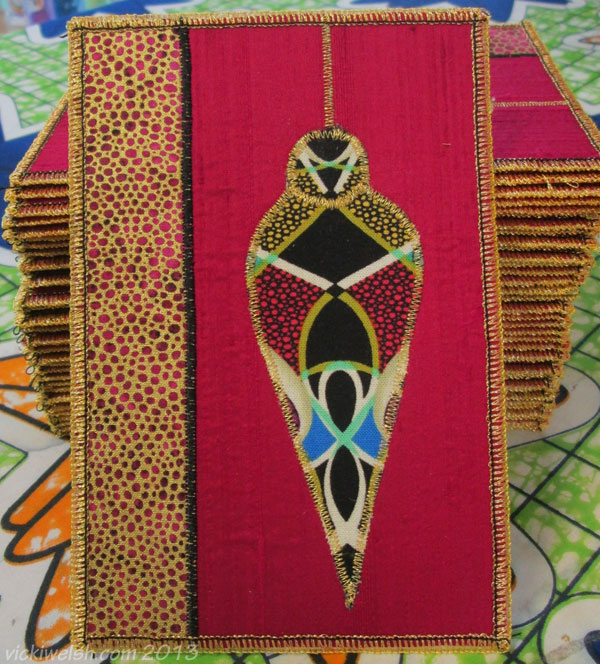
I don't want you to have to count so I'll just tell you that I made 36 of these! Why 36? Simply because that's how many ornaments that I could cut from the fabric.
