Using Channel Locks on the Longarm
Channel Locks are, in my opinion, a bit of an unsung hero of the longarm. The channel locks are on the carriage and rails and the are used to hold the machine in one position. There's one on the rails to stop left and right motion and one on the carriage to stop forward and back motion.
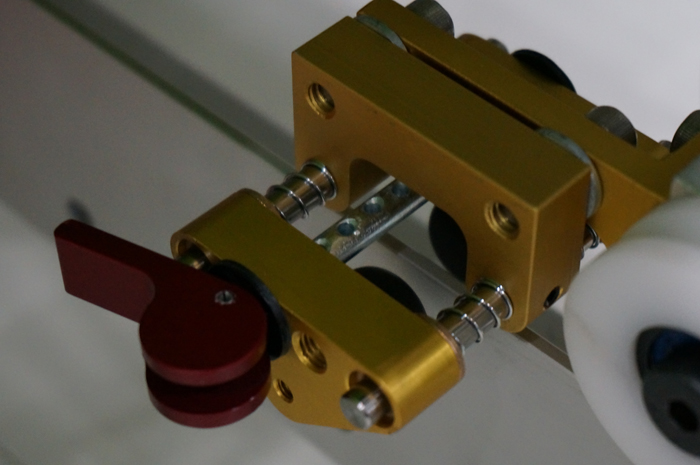
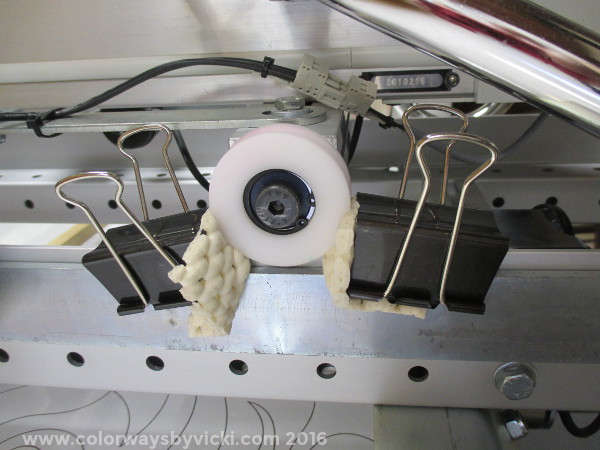
The one in the photo at left is the manual lock on the Innova machine but all longarm manufacturers have them and if they done you can make your own by using a padded binder clips on the carriage against a wheel like the photo on the right. Notice that the padding is against the wheel. I want to prevent the sharp edges of the binder clip damaging the wheels. For padding I like the rubber drawer liner material for a little extra grip.
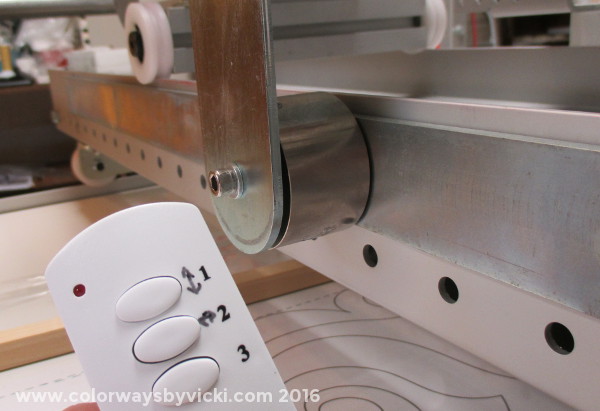
From owning my previous longarm I knew that I would use the locks a lot so I got the electric locks. Using the remote control from the front of the machine I can push a button and a large magnet snaps in place to hold the machine in place.
No matter which locks you use you CAN move the head out of the locked position with force so you need to move the head without jerking motions or pushing hard against the locks. It's not a problem for me but if you are a forceful quilter you might need to change your quilting habits a bit to use the locks.
I use the channel locks in several ways:
- When loading the quilt I use the channel locks to stitch the batting to the backing. By stitching a straight line across the top of the batting I give myself a straight line to align the top to.
- Sometimes I use the channel locks to help me mark straight horizontal or vertical lines like I did with my Easy Longarm Piano Keys.
- In basting to make sure that the horizontal seams are perfectly square. You can see how I do that in one of the steps in this tutorial.
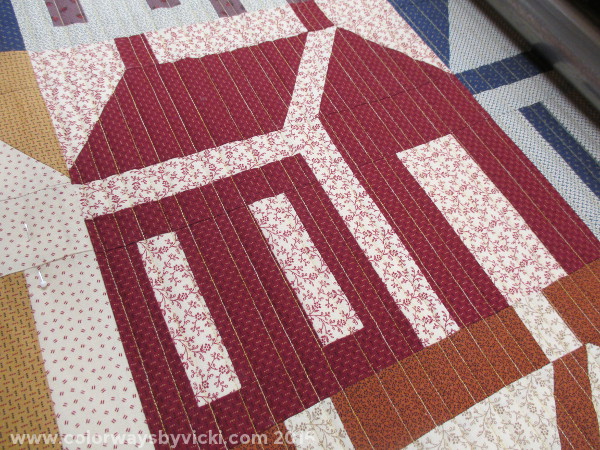
- Quilting straight, parallel lines and that's the topic of this tutorial.
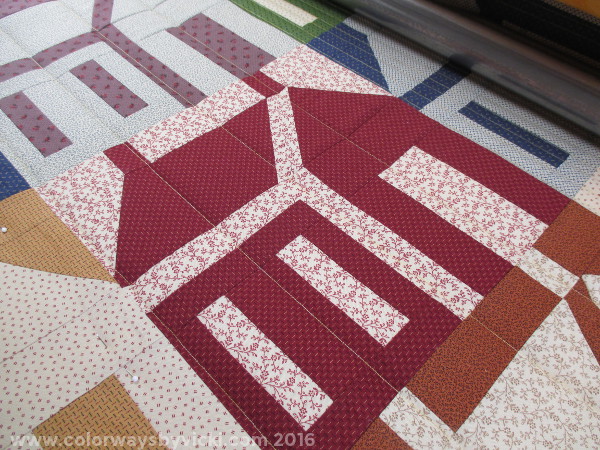
This quilt is made from 12" house blocks and I thought that parallel lines would be perfect for it.
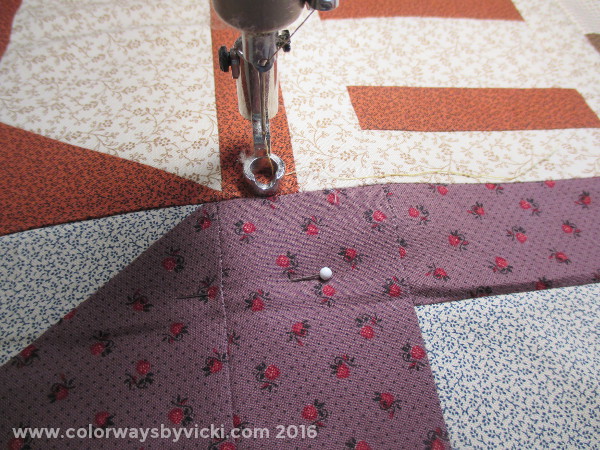
The first step is to make sure that the quilt is loaded straight and this is the same process that I use for basting quilts. Place the hopping foot along one of the main horizontal lines and long the front/back channel lock. Without stitching glide the machine along the quilt adjusting the seam line as you go. Pin every 4 - 6 inches near the line to hold things in place.
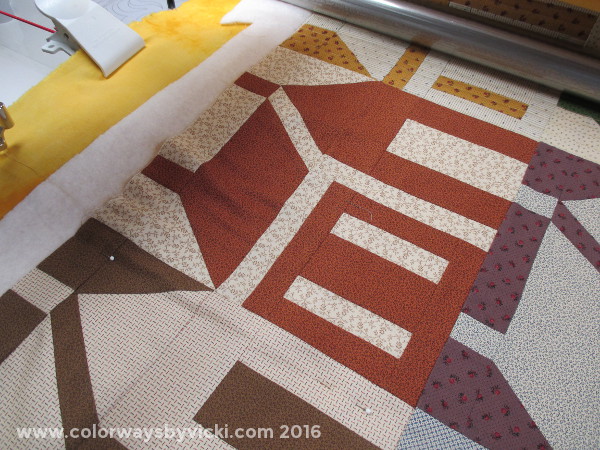
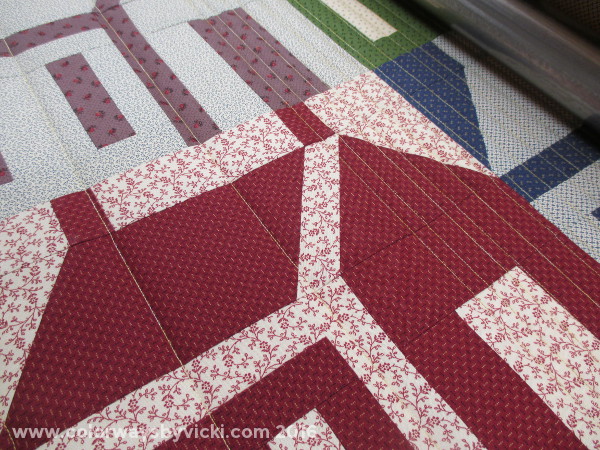
You can see a basting pin in the dark brown areal below the seamline so I know that seam is straight all across the quilt. I have a little excess on the edge of the red/tan blocks that I'll ease in as I quilt.
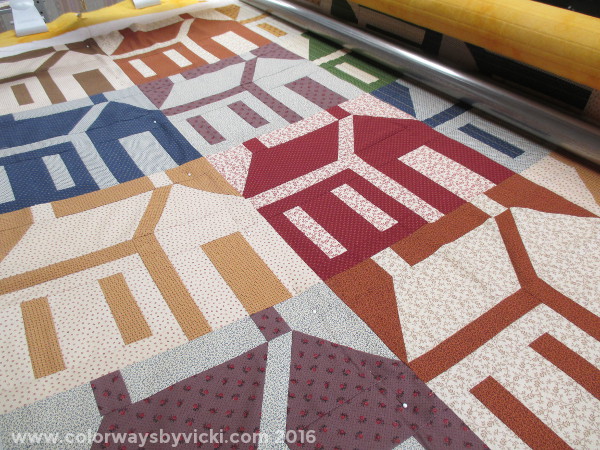
Here's the whole seamline straight and pinned in place. If I were basting the quilt I'd stitch a basting line across the quilt near my line of pins then arrange the fullness in the block and stitch another basting line across the quilt in the middle of the block.
My first row of stitching is near the pinned seamline. When stitching parallel lines on a quilt I generally avoid stitching in the ditch simply because it's easier.
Next subdivide the block in sections about 3" wide. This allows me to spread out any fullness across the width of a block. Use the channel locks for each section. If you have manual channel locks you can easily do this process from the back unless you have a lot of fullness to work in. I'm not measuring these sections. I want the lines parallel and that's why I'm using channel locks, but I don't care of they are all equidistant apart.
If you do want your lines equidistant apart then take the tine after you pin baste the seam line to mark the starting point for each line on the batting just off the edge of the quilt.
If you do want your lines equidistant apart then take the tine after you pin baste the seam line to mark the starting point for each line on the batting just off the edge of the quilt.
Now just start filling in the sections. Position the machine just off the edge of the quilt and position the foot where you want to quilt. Set the front/back lock, quilt across the quilt and off the other edge. Remove the lock, move the machine to the next position and quilt back in the other direction.
If you are quilting equidistant lines you will likely want to mark only one side of the quilt and always start from that edge.
If you are quilting equidistant lines you will likely want to mark only one side of the quilt and always start from that edge.
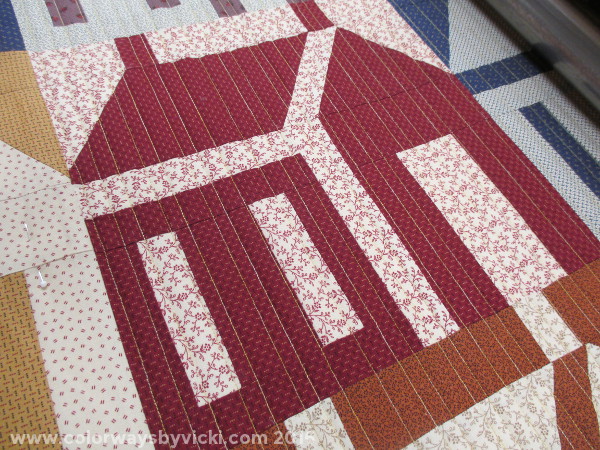
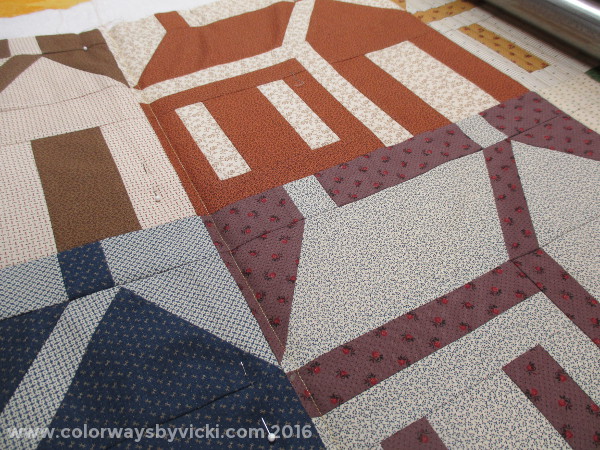
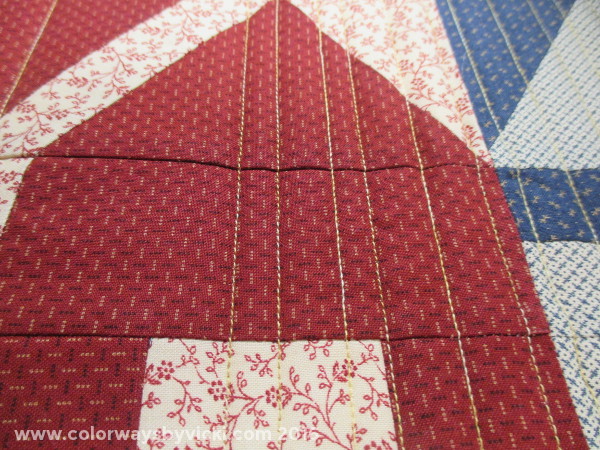
I prefer quilting random widths, especially for everyday quilts. Notice on the edge of the red block that I've quilted close to the seam of bloth blocks but didn't stitch in the ditch. This way is much easier and faster.
Continue filling in the other sections of the block. Advance the quilt, align the main horizontal seam and continue filling in.
