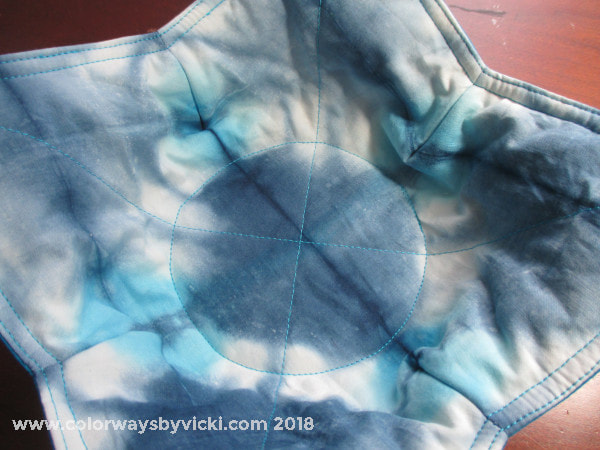
Bowl Hot Pad Pattern
|
I found these cool hot pads for bowls on the web and loved the idea. I read several online tutorials but didn't feel that any of them were particularly well made for repeated use and washing. If I'm going to use this for microwaving soup and oatmeal I know they are going to get dirty almost every time and need frequent washings.
These are my instructions for making these hot pads more durable. |
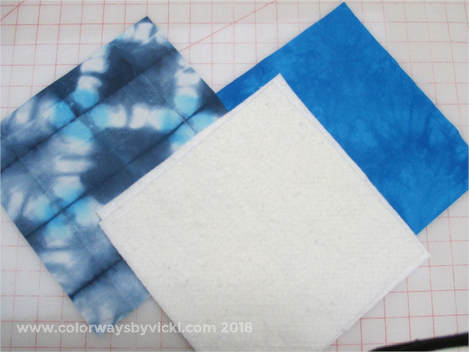
Cutting:
2 - 10" squares of cotton fabric
1 - 10" square of pre-washed COTTON batting
1 - 9.5" square of pre-washed COTTON batting
We all know that cotton batting shrinks. I am in the habit of pre-washing and drying my cotton batting for my quilts and haven't had any problems with it falling apart. Pre-shrinking for this project is necessary to keep the bowls from shrinking up too much the first time they are washed.
One piece of batting is cut 1/2" smaller to reduce some of the bulk on the edge of the bowl.
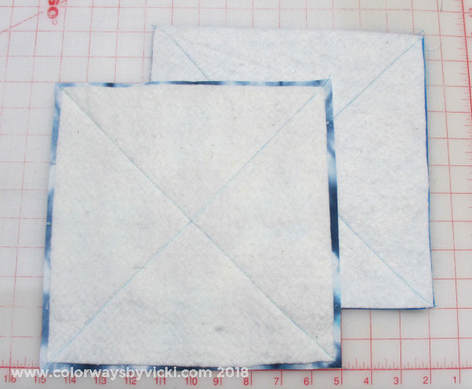
Layer a piece of batting on the back side of each piece of fabric. It doesn't matter which one gets which piece of batting. These bowls are reversible.
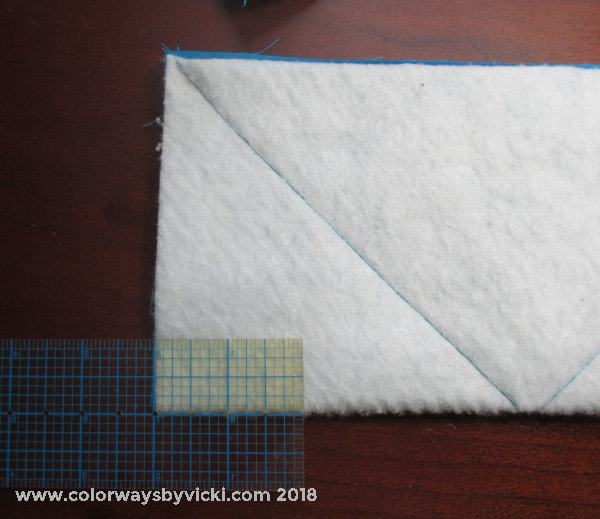
Mark an "X" diagonal on each piece and stitch on the lines to quilt the batting to the fabric. I found that a pencil was my best marking tool.
Don't like the "X"? No problem, do whatever you want to quilt the batting to the fabric.
Mark an "X" diagonal on each piece and stitch on the lines to quilt the batting to the fabric. I found that a pencil was my best marking tool.
Don't like the "X"? No problem, do whatever you want to quilt the batting to the fabric.
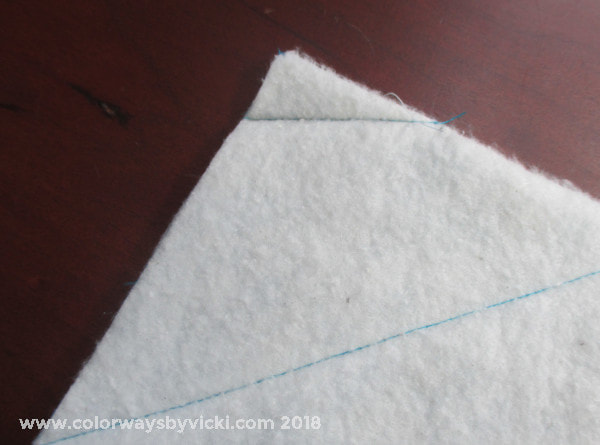
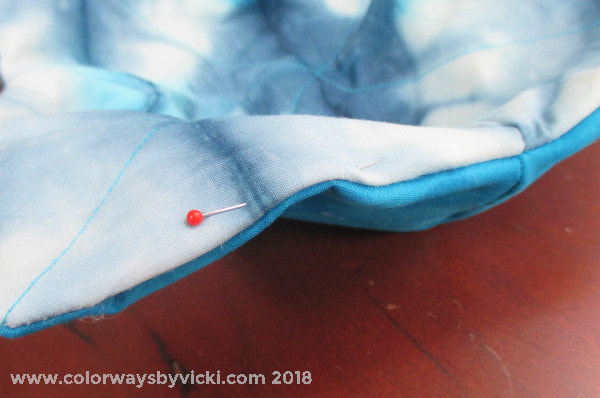
Stitch a dart on all 4 sides of each fabric. To create the dart fold the side in half, batting side out. Mark 1" from the fold on the cut edge and 2" along the fold from the edge. Draw a line to connect the 2 points and stitch. Back-stitch at the point. Don't backstitch at the edge. When we turn the bowl it will help that the stitches cam pull apart a bit on the edge.
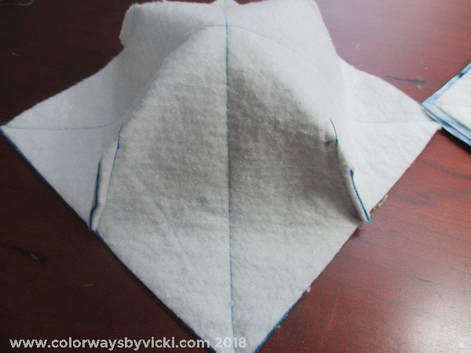
Trim away the dart leaving a 1/4" seam allowance. Here's what each piece will look like when the darts are finished.
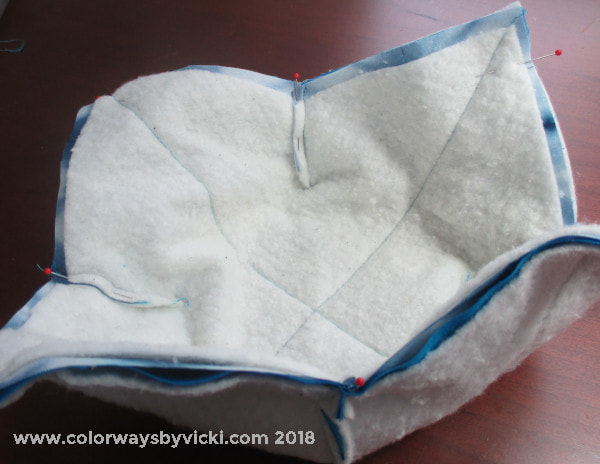
Pin the two pieces right sides together aligning the fabric edges, pin at each corner and each dart.
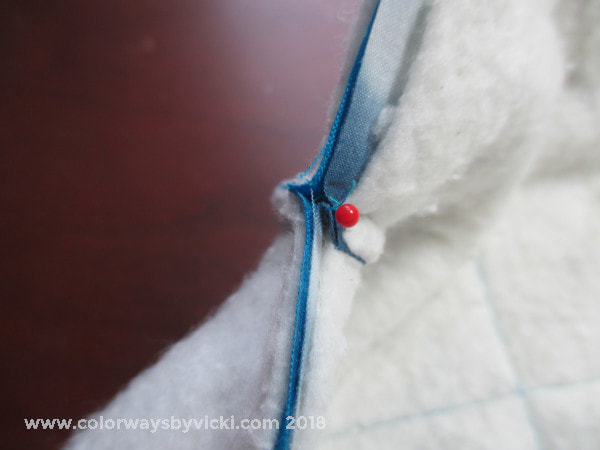
If you feel like being fussy, pin the darts so that they are folded in opposite directions. This will help control the bulk in the edge of the bowl.
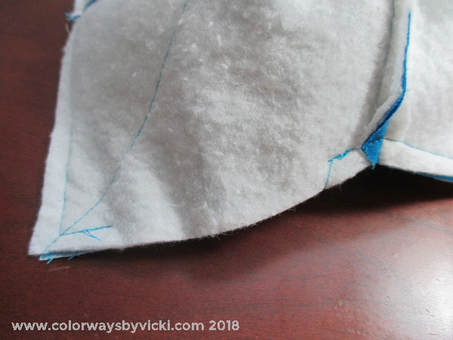
Stitch about 1/4" from the edge leaving about a 3" opening to turn it. On the piece with the smaller batting you might not catch the batting all the way around. That's OK. It will get caught in the edge stitching.
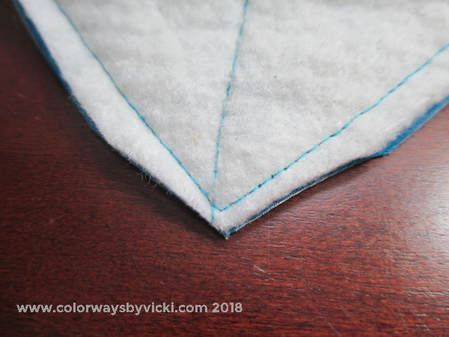
Trim the corners to remove some bulk. Don't trim too close!
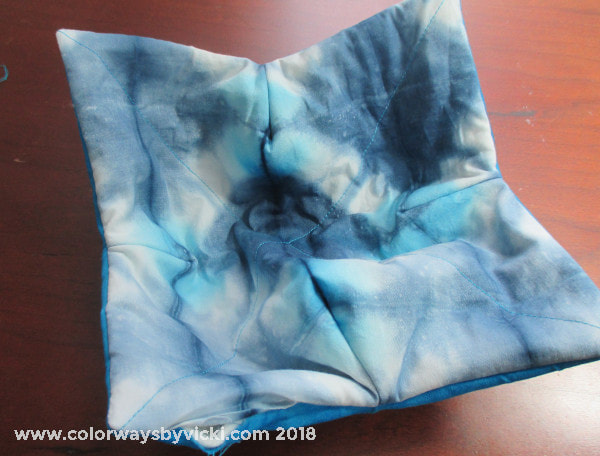
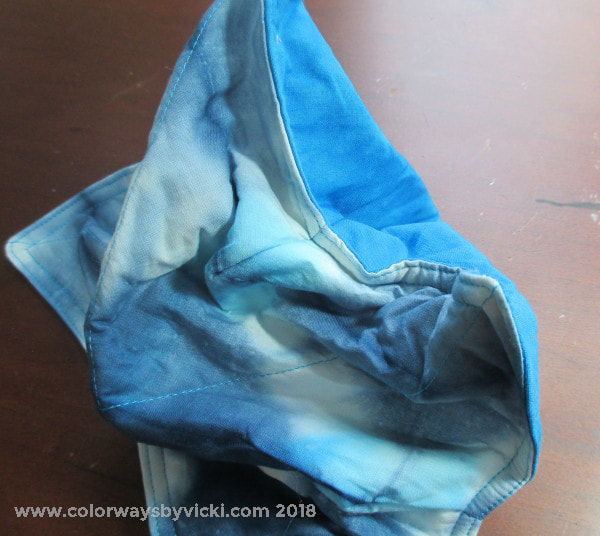
Turn the bowl (the hardest part of the whole process) and GENTLY poke out the corners. If you punch out the seam on a corner just pull that corner back through and stitch it again. Smooth out the edges, turn under the seam allowance on the open edge and pin it together.
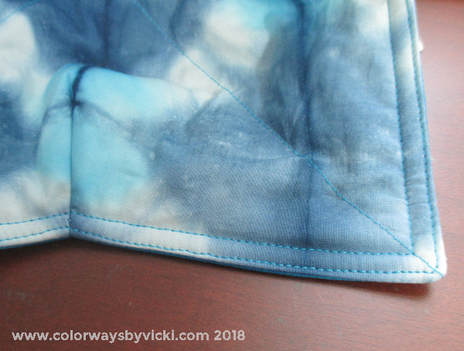
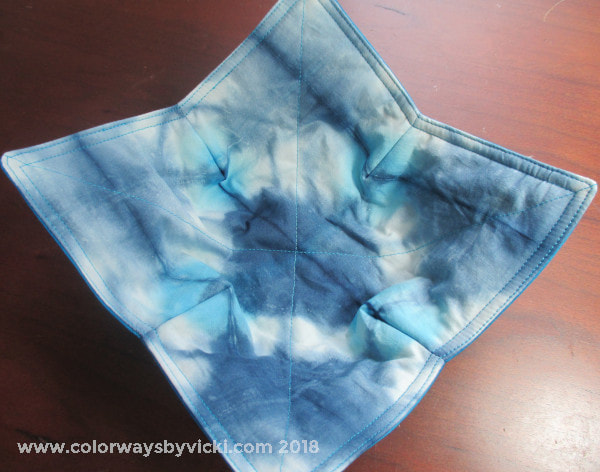
Here's another extra step that I added. Stitch twice around the edge. Once right at the edge to make sure that the opening is stitched together securely. The second line is 1/4" in and that makes sure that the batting is caught all the way around.
Plus, it's just prettier.
Plus, it's just prettier.
The bowl could be done at this point but the 2 layers are loose except on the edge and we know that in the first washing it's going to come out as a ball instead of a bowl. That's why I added this last step. Most of the people we give these two will just give up and not try to reshape the bowl.
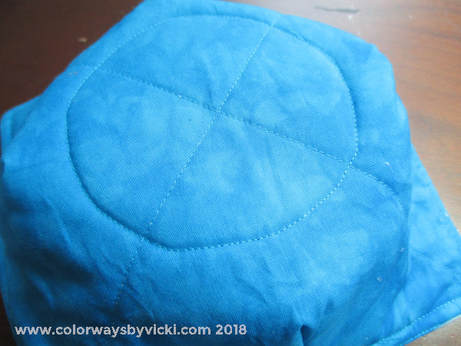
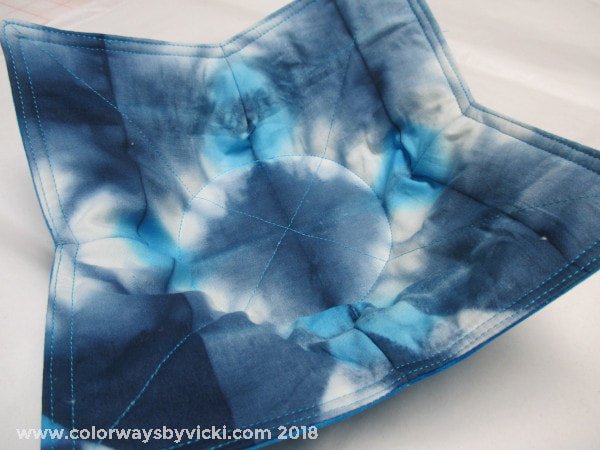
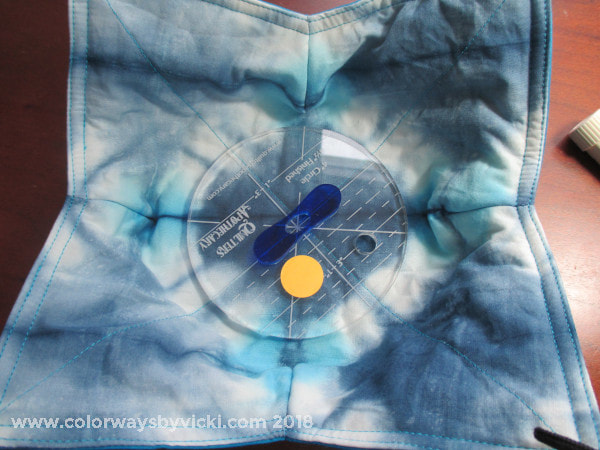
Smooth out both layers together and spread out the center flat. I found that a 4" circle template fit perfectly so I chalked a line around the template and stitched the circle through all layers. You could stitch anything in here. You just need to hold the 2 layers of the bowl together. Now the people that you make these for can use them over an over and they will think you are a genius gift giver!
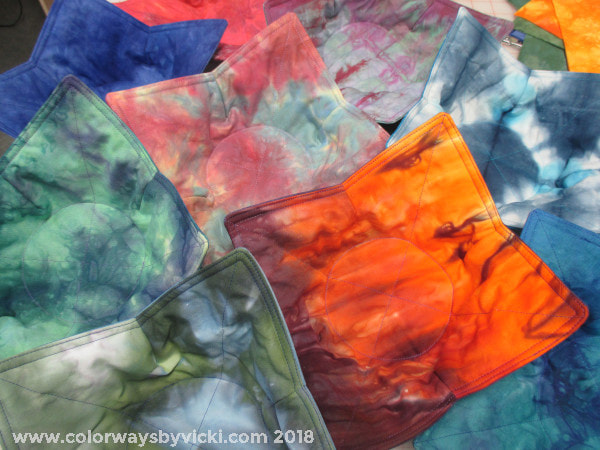
I made 11 sets in my first foray into making these. I cut them all out one evening and each bowl took no more than 20 minutes to stitch together.
