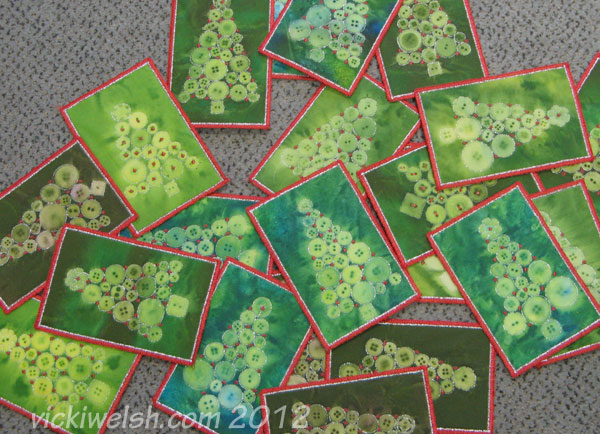
Sun Printed Button Christmas Tree Postcard
In 2012 I did lots of sun printing and in one of the sessions I made a bunch of these sun printed trees with buttons. I liked them enough that I wanted to take the time to show you how I made them.
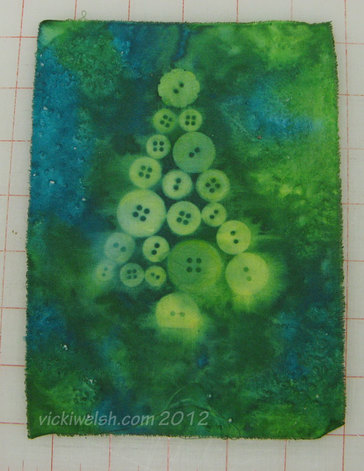
The design is sun printed on the fabric and you can easily sun print with a lamp. You can get complete sun printing instructions here. Since these will not be washed, you can use any thin acrylic paint and you do not have to heat set the fabric after it's dry. Cut a piece of fabric a bit larger than 4" x 6", grab some paint and buttons and go to it. Following the instructions in the sun printing tutorial, paint the fabric, arrange the buttons and dry it with a lamp set up.
Play around with background colors, mixing paint colors (this would look great on a bright multi-colored background) and button arrangements. You will get the best print using darker paint colors. Yellow, for example, and pale colors do not show the contrast as well.
After the fabric is dry and you have removed the buttons, trim the fabric to 4" x 6" (with the tree centered) and fuse the fabric to a 4" x 6" piece of stiff interfacing like Timtex, Peltex, Fast2Fuse or Stiffy.

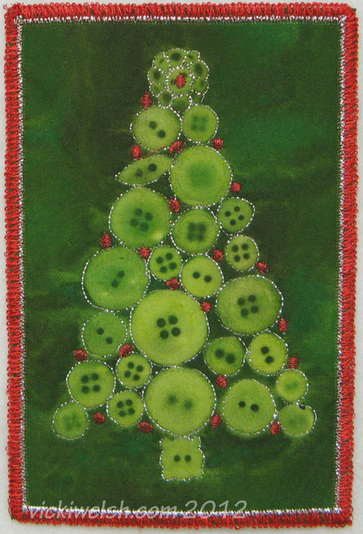
Add some garland to the tree by stitching around all of the buttons with a metallic thread. I used Glitter from Superior Threads. It's a very sparkly thread and with a size 14 topstitch needle I didn't have even 1 thread break in all 21 cards. I traveled a path around every button so that I would not have to backtrack or tie off. The tree is done in one continuous "seam". This is a good time to use up some partial bobbins. As long as the bobbin thread is light in color and will not show through the fabric you place on the back, you can use anything.
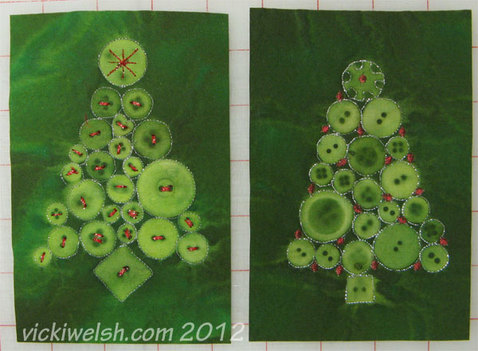
Now it's time to decorate the tree. I am showing you two different things I tried here. I did the card on the left first by basically stitching in each "buttonhole". I used a red and gold metallic thread. While I think it looks OK, I felt that it sort of hid the buttons. I made the rest of the cards like the one on the right. I like it much better. I found a satin-stitched circle motif in my machine's programmed stitches and set it to do a single motif. I placed an "ornament" in the spaces between the buttons using a red metallic thread.
Other options for decorating the tree would be to fuse crystals, hand stitch French knots or machine or hand stitched cross-stitches.
Other options for decorating the tree would be to fuse crystals, hand stitch French knots or machine or hand stitched cross-stitches.
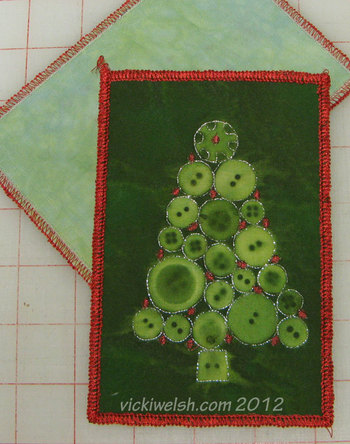
The front of the card is done! Fuse a backing fabric on the card and finish the edge. For the backing I usually apply Mistyfuse to a large piece of light colored fabric and then cut it into 4" x 6" pieces. For the edging I used some shiny red thread in my serger but you can do a sating stitch around the edge. If you don't want to do that you could even just stitch a few times around the edge with a straight stitch.
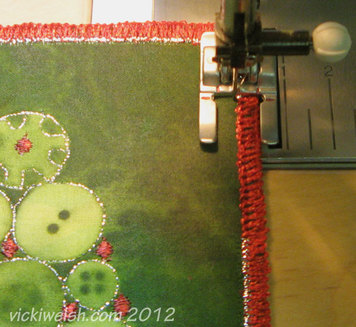
For some added sparkle I stitched an inner border of silver around the card. I used a zig zag stitch set at a length of .05 and width of 2.5. The stitching overlaps the very inner edge of my serged edge.
Of course if I had planned properly I could have put a silver thread in the needle of my serger and accomplished this effect with 1 less step.
Of course if I had planned properly I could have put a silver thread in the needle of my serger and accomplished this effect with 1 less step.
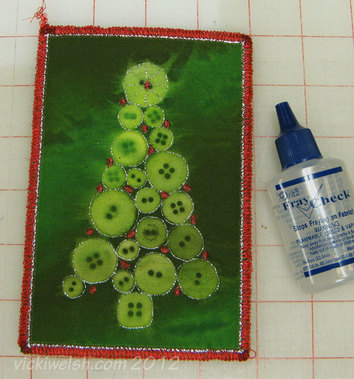
I put my cards in the mail "naked" which is why I do not over-embellish them. I like that the arrive with the postmark right on the card and it doesn't bother me that they occasionally arrive with a little dirt. I think that makes them more authentic. But I do take one additional step to make my cards as sturdy as possible. I put a drop of Fray Check on each corner front and back before I trim up any loose threads. You can see that the corners look dark here but Fray Check dries clear and you can tell in the photo of the finished card that it doesn't show. It really helps to keep any threads from coming undone in the mail.
