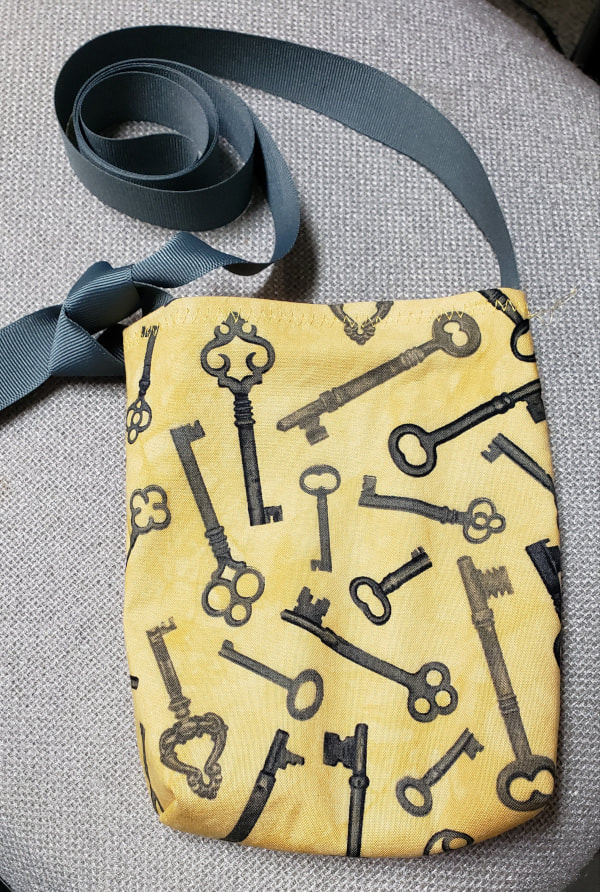
Surgery Drain Bag Tutorial
Surgery drain bags are used for people who have drains inserted after surgery. The bag is used to hold the drain while the patient showers. I had never heard of them until my Mom had surgery and the hospital gave her one of these drain bags. It was through that little bag that I found out about the From The Heart organization that serves our area of Virginia. Since the I've made dozens of these bags to donate back to the organization. Here are the instructions that I use for my bag. If you don't like this one you can find lots of other tutorials on the web.
The finished size of this bag is about 6" x 7".
I tend to make them in batches using assembly line techniques to speed up the process.
Materials:
Fabric: cut one piece of fabric 6.5" x 15"
Straps: Cut one strap 55" long and a short piece 5" long. For the straps you can make your own or use something pre-made. I like Grosgrain ribbon and get it by the 100-yard roll from Home Sew.
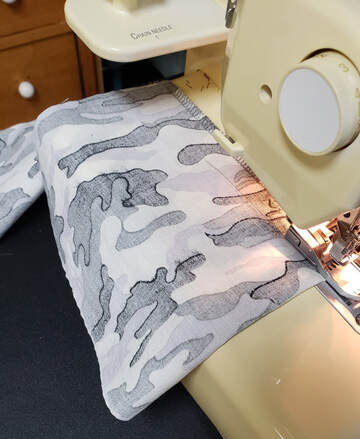
I use a serger as much as possible but you can certainly use a straight stitch with pinked edges, a sewing machine edge stitch or any other method you want.
These bags are used only for a few weeks so I don't think you need to treat it with heirloom or advanced sewing methods.
I start be folding the fabric in half, right sides together and stitch one long side.
These bags are used only for a few weeks so I don't think you need to treat it with heirloom or advanced sewing methods.
I start be folding the fabric in half, right sides together and stitch one long side.
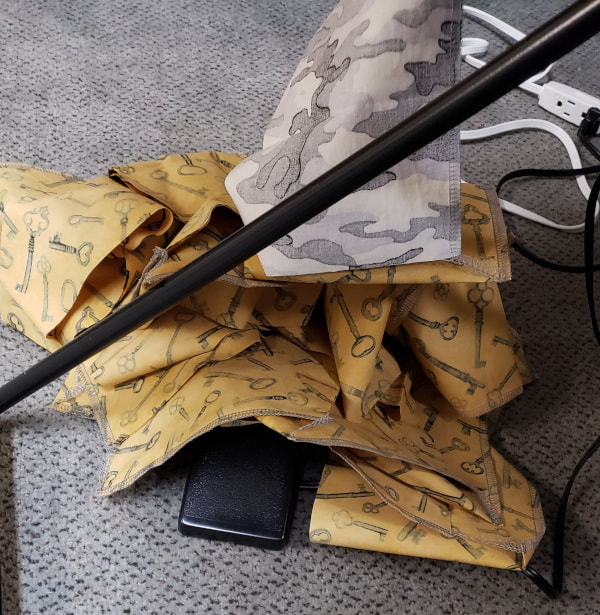
Chain piecing a batch of bags together for each step really speeds up the process.
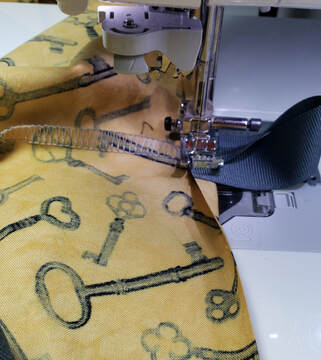
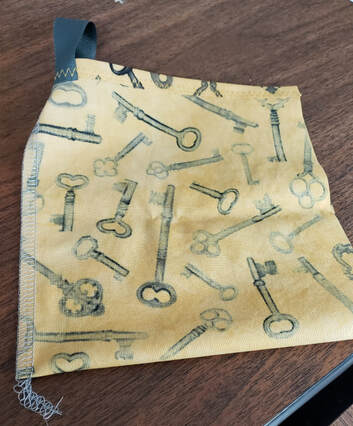
The next step is to hem the top edge and add the strap loop over the semed side. I use a 3 step wide zig zag that's usually used for elastic. I only fold down the top edge once and use this zig zag to keep the raw edge from fraying.
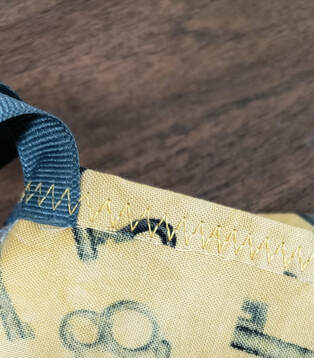
Here's a close up of the stitching. The strap loop has one raw edge positioned on each side of the seam. The zig zag will keep the ribbon raw edge from raveling as well.
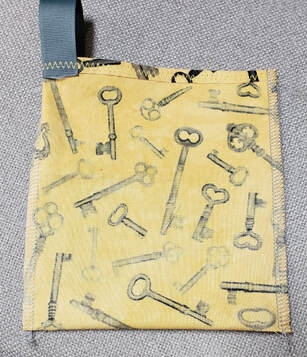
Next stitch up the other side and you have a bag.
Almost done!
Almost done!
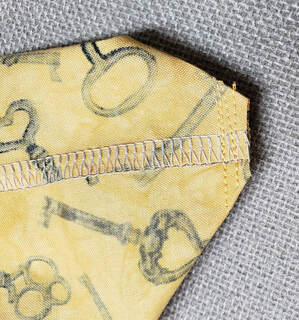
This step is optional but I like to add a box bottom to my bags. To prevent raveling and make sure that the corner is strong, I stitch back and forth a few times and then cut off the corner.

The last step is to attach the long strap. Stitch one end to the top edge over the last side that you sewed, opposite the loop. I use a zig zag for this too. It keeps the strap from fraying and also stabilizes the top edge of the last side seam.
Finish the other end of the strap. You could use Fray Check on the edge or fold it over twice and stitch it.
Finish the other end of the strap. You could use Fray Check on the edge or fold it over twice and stitch it.

With the strap designed this way, the patient can tie the strap end in the loop and adjust it for size.
