Snow Dyeing Mandalas
Lots of people like the effect of snow dyed fabric. Some want to buy the fabrics but some people want to make it themselves instead. For those who want to do snow dyeing this is not a full tutorial but here are some tips from my sessions last week. These instructions use procion MX dyes with snow but you can also use ice. For basic instructions for snow dyeing check out my Snow Dyeing Tutorial.
Soda Soaked Fabric
The fabrics has to be soda soaked first. I tried working with it dry and wet and found no real difference. I did not iron the fabric but I settled on this process:
The fabrics has to be soda soaked first. I tried working with it dry and wet and found no real difference. I did not iron the fabric but I settled on this process:
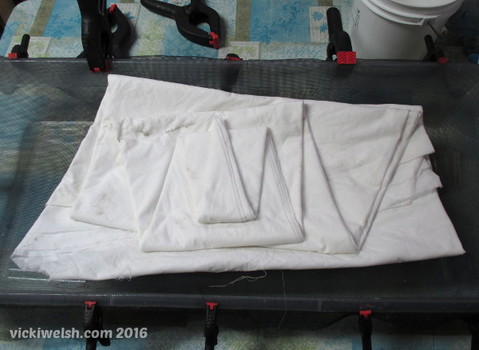
- Cut and fold the fabric into the shape. I spritzed it with a little water to help hold creases.
- Soda soak the fabric. It was much easier to handle the fabric if I folded it first and soda soaked it last. I let it sit in the soda solution a few hours to make sure it soaked through all layers.
- Drain the fabric. I set the fabric up on a grid of some sort over a bin so that the excess soda solution could drain out. I left my fabric overnight to dry out some. In the future I would consider prepping a lot of fabric ahead of time and letting it totally dry out. You can leave soda soaked fabric for months and it will be OK.
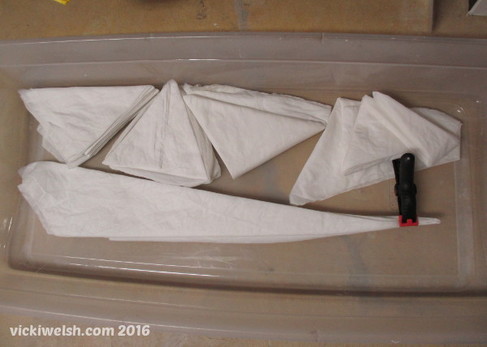
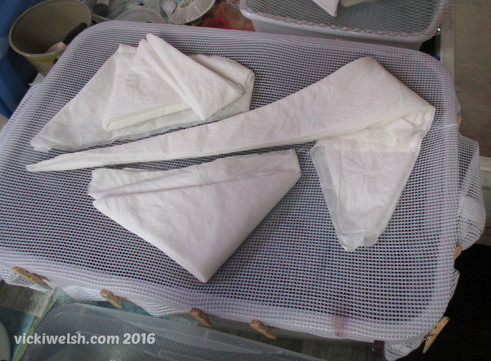
Fabrics arranged for soda soaking. Pour the soda solution over the fabrics and let sit for several hours before draining. Leftover soda solution is still good to use again.
Arranging The Fabric
I have the best results making mandalas when the fabric is elevated over a container so that as the melted snow drips through the fabric and the fabric doesn’t sit in the water. Experiment with different ways to fold and arrange the fabric.
I have the best results making mandalas when the fabric is elevated over a container so that as the melted snow drips through the fabric and the fabric doesn’t sit in the water. Experiment with different ways to fold and arrange the fabric.
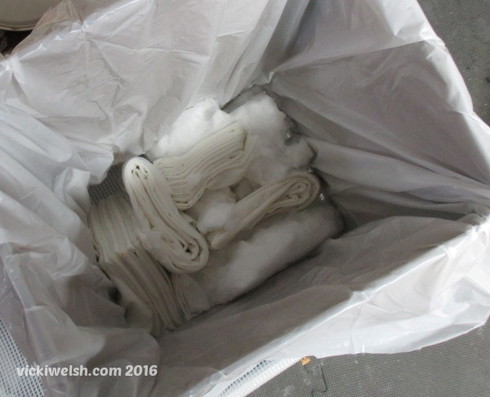
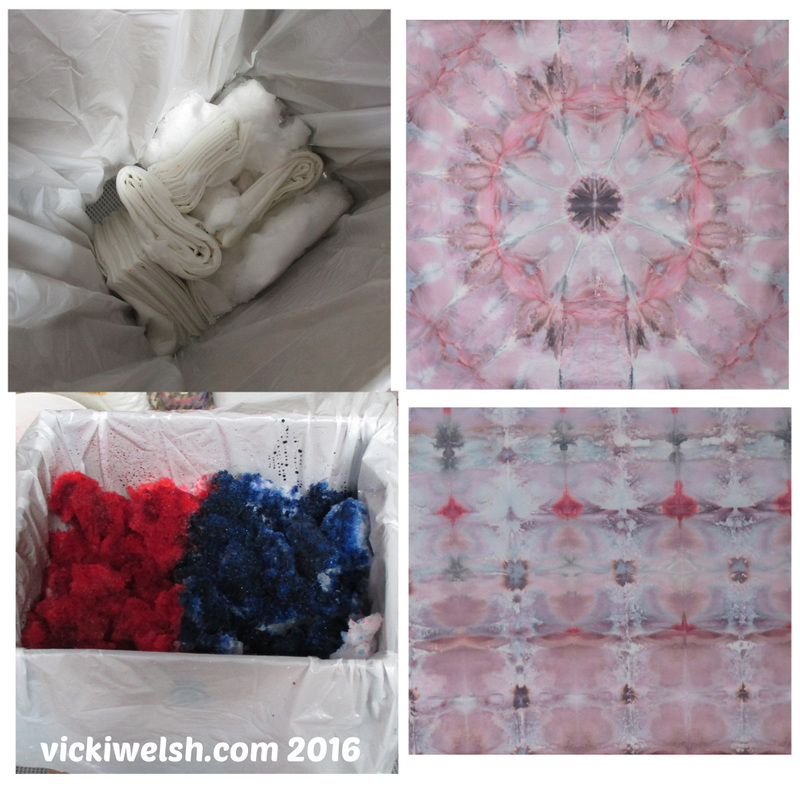
You don't have to lay the fabric flat on a surface. In this example I used a opened cardboard box lined with a trash bag to create a tube so that I could wedge some fabrics on end. It was worth it for the different effects that I got.
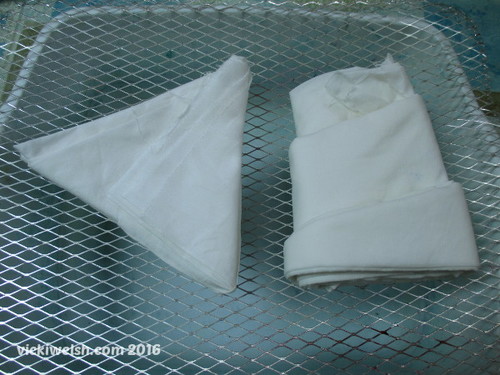
The piece on the right is a mandala that’s been rolled and then set flat. Try every idea you come up with. The results will surprise you.
Applying Dye
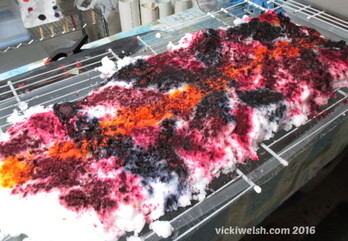
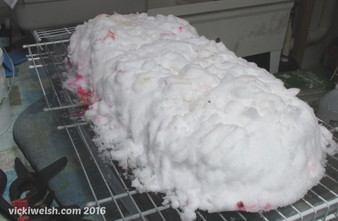
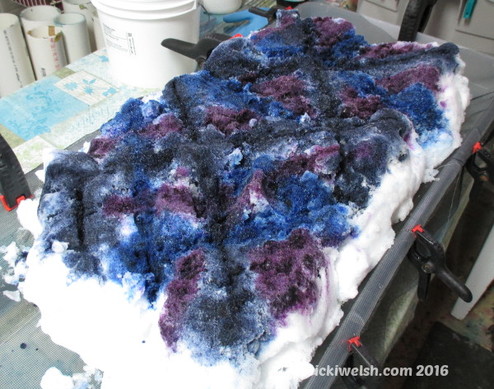
I got good results with 2 methods. In this example I poured dye concentrate on top of about 4" of snow. See the results of this one below.
I got good results with 2 methods. In this example I poured dye concentrate on top of about 4" of snow. See the results of this one below.
Things I tried but didn’t like as much:
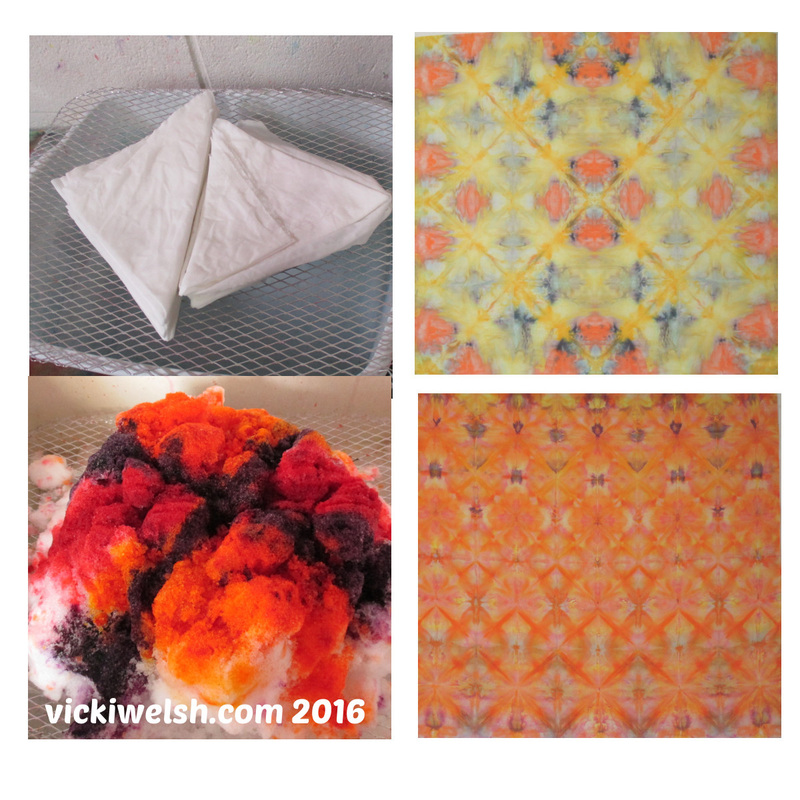
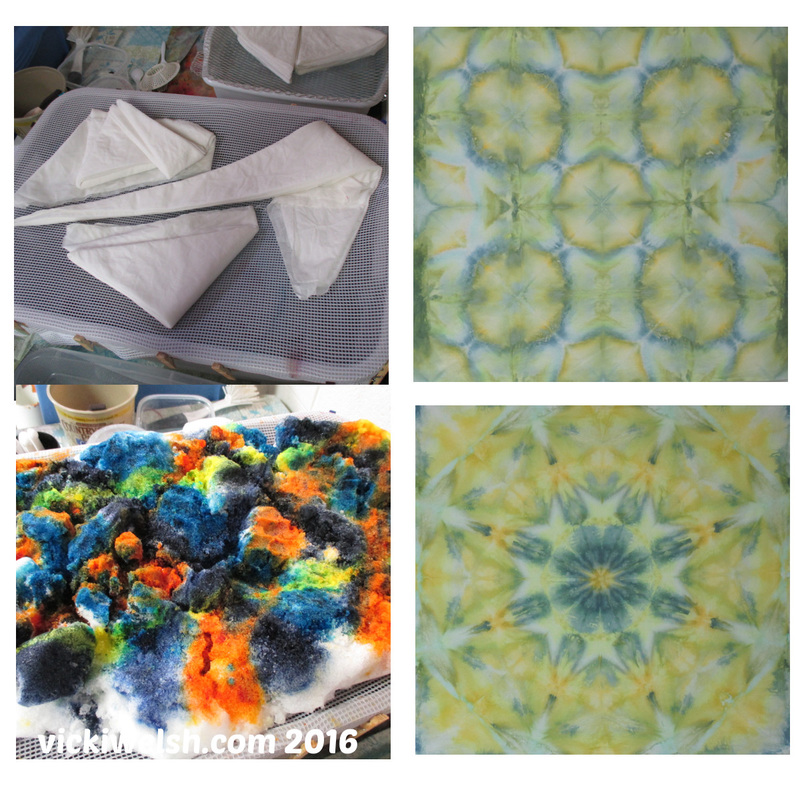
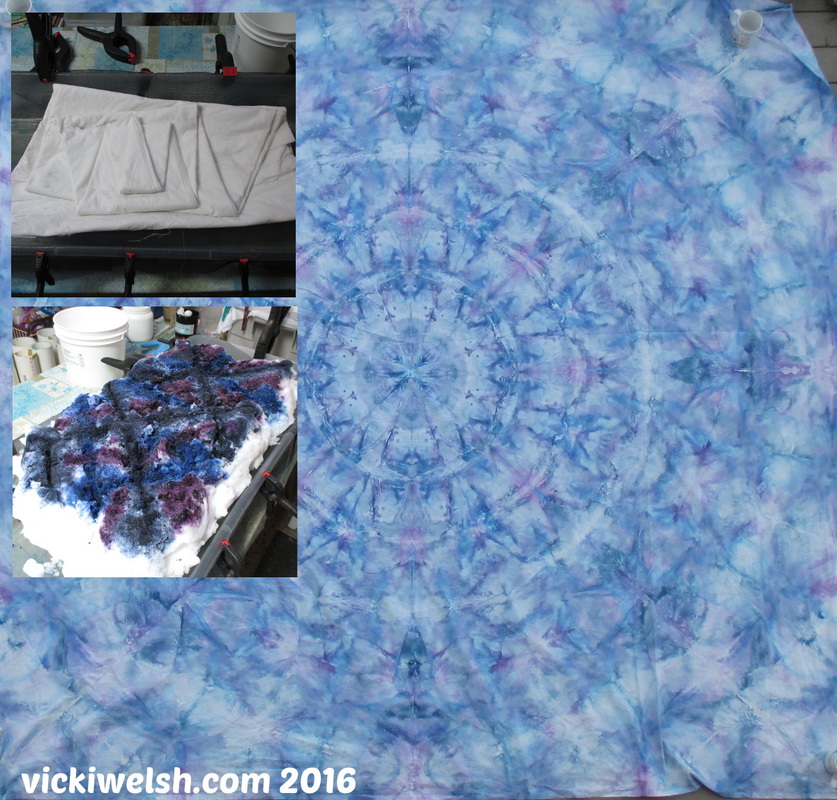
Following are some examples of mandalas and how the fabric and dye were set up for the process.
- Dye powder on top of the snow. It seems to lose a lot of color when it has to melt through 4” of snow but I think the process does need about 4” of snow for the color to migrate through all layers of fabric so put the powder closer to the fabric.
- Diluted dye just doesn’t work well at all.
- Dye powder directly on the fabric and under the snow. This left behind some dye speckles that I didn’t care for but a lot of dyers have success with this method.
Following are some examples of mandalas and how the fabric and dye were set up for the process.
