|
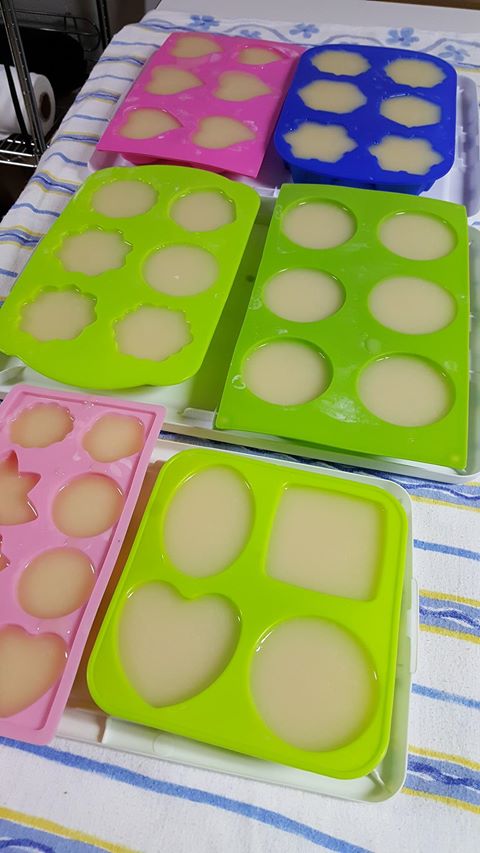
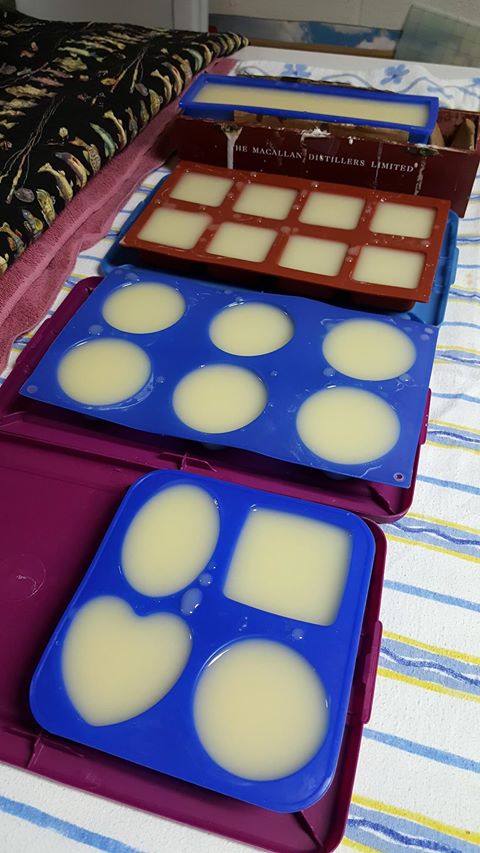
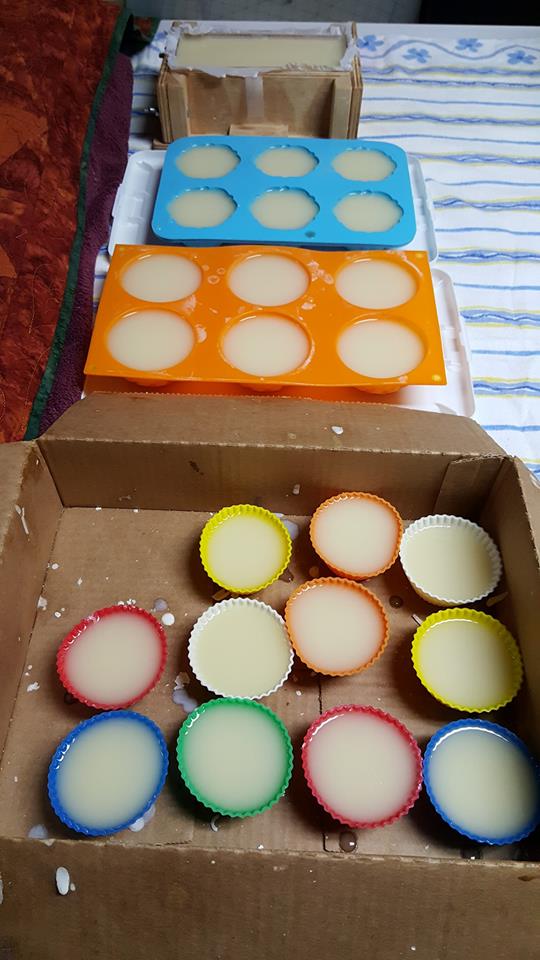
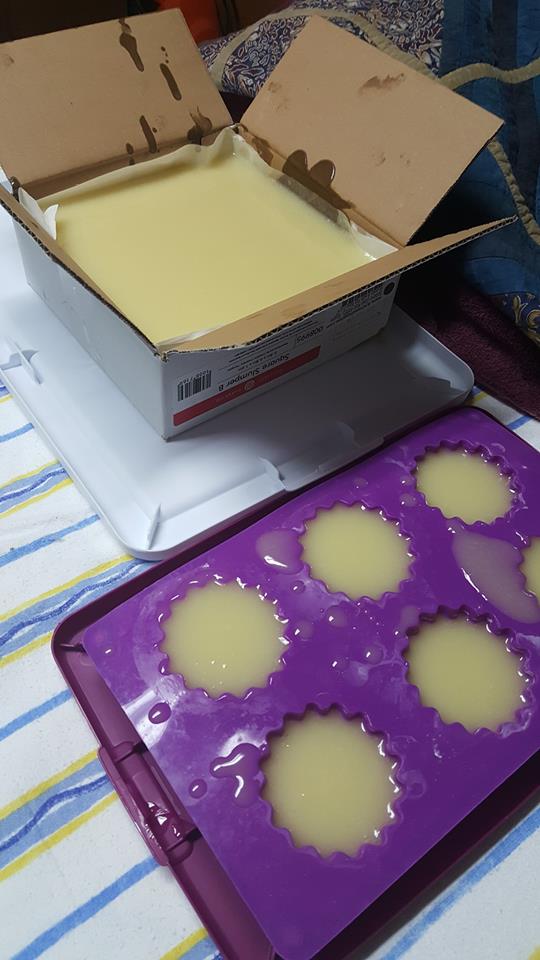
January was a light reading month for me. Of course that's because I spent most of it in the recliner watching TV and not listening to books. That's why I only finished 5 books. The truth is that I really listened to 6. Last month I finished the month with the book Cure about the science of mind over body. I got so much out of it that I actually read it twice in case I missed something. Then I started some new books. Hands down my favorite book this month is A Gentleman In Moscow. I wouldn't necessarily recommend any of the rest unless that particular genre speaks to you.  Paranoia by Joseph Finder Adam Cassidy works in the tech industry and isn't particularly driven. One day he decided to host a party for a friend in the mailroom and figures out a way to have the company foot the bill. He gets caught and that's the beginning of a tale of complex corporate espionage. This book was written in 2004 so the technology referenced is quite dated but that doesn't take away from the story because the story requires a complete willingness to accept implausibility. First the character simply isn't smart or motivated enough to do what he does and the ending is completely predictable from the minute he is hired by Trion Systems. This book was apparently made into a movie that was a box office bomb. That should have been a clue. Glad I only paid $4 for it. 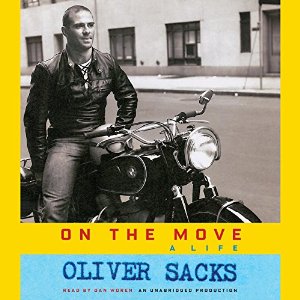 On The Move by Oliver Sacks I love biographies because usually biographies are about exceptional people and this book (actually an autobiography) is no exception. Oliver Sacks is best knows as the neurologist represented in the movie Awakenings about the encephalitis patients that he treated with L Dopa. Robin Williams played him in the movie and Robert DiNero played one of the patients. But that's a very small part of a life that included a passion for motorcycles, body building, drug addiction and an undying interest in the workings of the brain. Throw in the added complication of being gay in the 50's and 60's. It was a fascinating read.  A Gentleman in Moscow by Amor Towles What a lovely book! I was skeptical because I had read Rules of Civility and didn't really like it. This one, however, is a gem. In 1922 in the Bolshevik revolution Count Alexander Rostov is spared execution but is sentenced to life under house arrest at the Metropol Hotel. The story follows him for decades as he makes a life of meaning in his attic room. If you like audiobooks this one is beautifully narrated too. 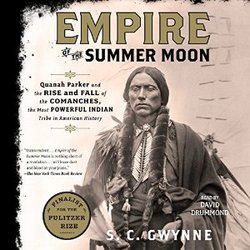 Empire of the Summer Moon by S. C. Gwynne Before reading this book you could write everything I know about Texas history on a pin head. I barely know about the Alamo. It's just not something that was taught in history class in Virginia schools in the 1960's and 1970's. This book is about the Comanche Indian tribe and their eventual defeat by the white man. The cover of the book highlights Quanah Parker, the last Comanche Chief and implies that the book is about him. But it's really a true history book going back to the Comanche's first interaction with the Mexicans, their adoption of the horse, the influx of white settlers and the ultimate clashes. If you believe the current narratives about Indian tribes being peaceful and respecting Mother Earth you do not want to read this book. It is unapologetic and truthful about the brutality and violence on ALL sides during this period. If you are into history you will like this book. If you are into "light" history this book might be a bit much. It took me a while to get through it but I'm glad I read it. 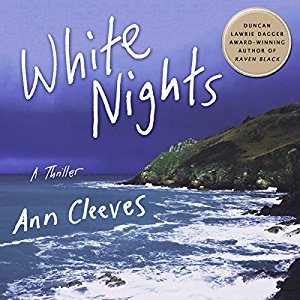 White Nights by Ann Cleeves This is the second book in the Shetland series. As that implies, these mysteries are set in the Shetland area of Scotland. In this one a mystery man shows up at a surprisingly poorly attended art exhibit and has a emotional breakdown. The next day he is found dead in a local fishing shed. Jimmy Perez is the local police officer tasked with finding out who he is and why he was murdered. Of course there are other murders to keep things going. These books aren't white knuckle mysteries. In fact, I figured out very early on who the culprit was but I didn't know why. What I like about these books is the character development. They are just the kind of people you would expect to find in any small town or village anywhere. It's a good light read and was a great follow on to Empire of the Summer Sun. I was about to have a clean crisis here because I was running out of soap. Making soap was yet another task on the list of things I wanted to do the week after Christmas. I finally got to it yesterday. If you are interested in making your own soap I have instructions here. When I started making soap for myself I'd make about 2 lbs. in a batch and I'd make a few batches at a time. Over time people have asked for it and while I don't actively advertise it, I do sell some. My soap is fragrance-free so that appeals to the allergic types, like me. One day when I was making soap I realized that I could easily double or triple the batches so now I make double batches. My bowls aren't big enough for triple batches. I have several recipes only because I like making different things but when I'm in the shower I couldn't tell you which soap I'm using. I make my recipes to have certain properties of cleanliness, creaminess, hardness, conditioning and bubbles so they are really all about the same. These are the first 2 batches that I made yesterday. The process is to measure the oils/fats and the water/lye. I melt the oils while I mix the lye and then it has to cool to about 100 degrees before I can mix it together. Because of the wait time I can easily make 2 different batches at a time. While the first is cooling I weigh out the ingredients, melt the oils and mix the lye for the second batch and get all of the molds ready. By the time I do that the first batch is ready to mix and pour and once those are done I can mix and pour the second batch. These photos are right before I cover then with plastic wrap covered cardboard "lids" and then cover them in several layers of blankets. They will stay covered for 24 hours and then uncovered for another day or so before I unmold them. Then they cure at least 3 weeks. I still had ingredients left so I kept going and made 2 more double batches. It's the most soap I've ever made at one time. I even ran out of molds so for the last batch I lined a box with freezer paper. I like the silicone molds because they are easy to pop the soap out but it's no problem cutting a big slab either.
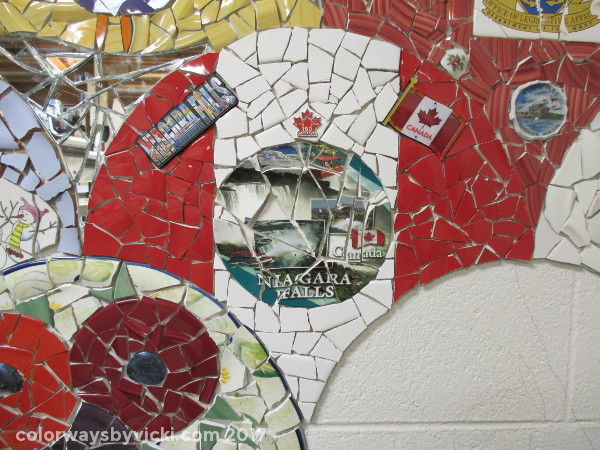
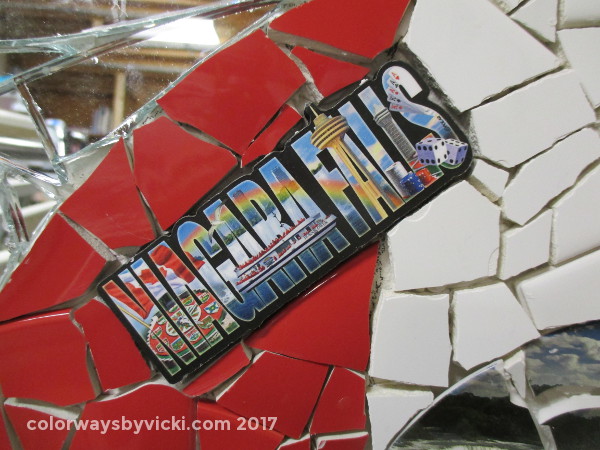
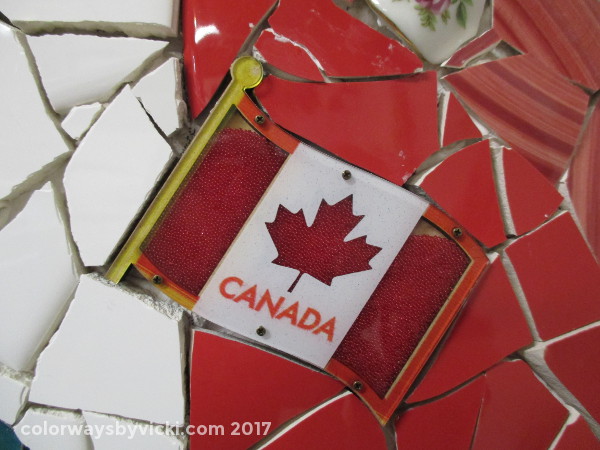
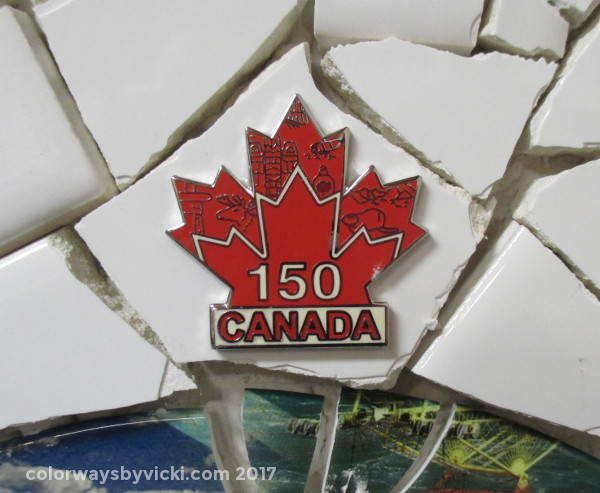
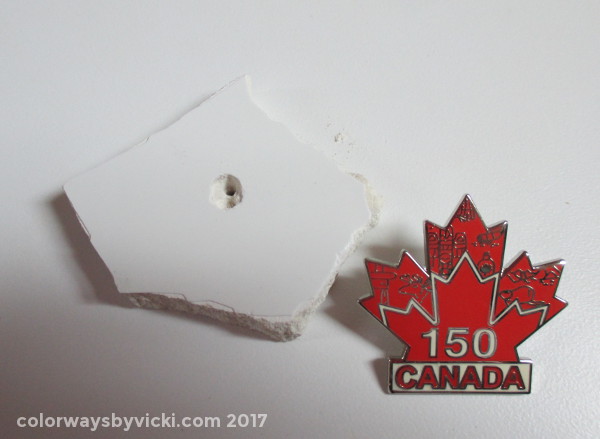
That's about 16 lbs. of soap once it's cured. It shrinks considerably during that process and can lose up to 10% of it's weight. I read on a message board once that someone had soap lose 50% of weight but I can't imagine how that happens since the shrinkage is due to water evaporation and I've never seen a recipe with 50% water. But I'm no professional so I'll take her word for it. Either way, I love it when I have 3 shelves full of soap in the basement and today those shelves are bare. This week is a busy week. I am getting ready for Birds of a Feather next week. I'll be selling some of my Crystal mandalas and teaching 2 classes. If you are in the Newport News area, Thursday afternoon is open to the public. You can come shop and stay for charity bingo that bight. Finally a new section of the wall is finished. Only one left to go and the the signature corner. I still don't know what I'm doing in that last section but I'll get it figured out soon. In October we went with our friends to visit Niagara Falls. We stayed on the Canada side and visited a couple of other Canadian attractions while we were there. In one of the Niagara gift shops I found the plate and I knew I had another section of my wall designed. Niagara has all of the great tourist trap elements like the wax museum, Rainforest Cafe and lots of gambling. I had to pick up a couple of other elements (refrigerator magnets) that reflected the the area. I really wanted to emphasize Canada so that where the little flag came in. I had these things all glued to the wall before I decided on the red and white flag elements as the background. But before I could do the background I got sick....and this time, that was a good thing! Because I was surprised with the last element for this section. Fellow blogger Judy Stupak is also a postcard maker and in 2016 she coordinated tracking the miles that fabric postcards traveled and the total was over a million miles. I entered the mileage for my Christmas postcards. She decided to draw names from the participants and I was a winner. I received some lovely red and white fabric and this lapel pin celebrating Canada's 150th birthday. I knew immediately that it had to be on my wall and with it positioned above the plate it looks like a crown. The problem was that lapel pins have pin backs. I solved that by drilling a hole and little recess into a piece of tile. Then I just super glued it all together. Perfect.
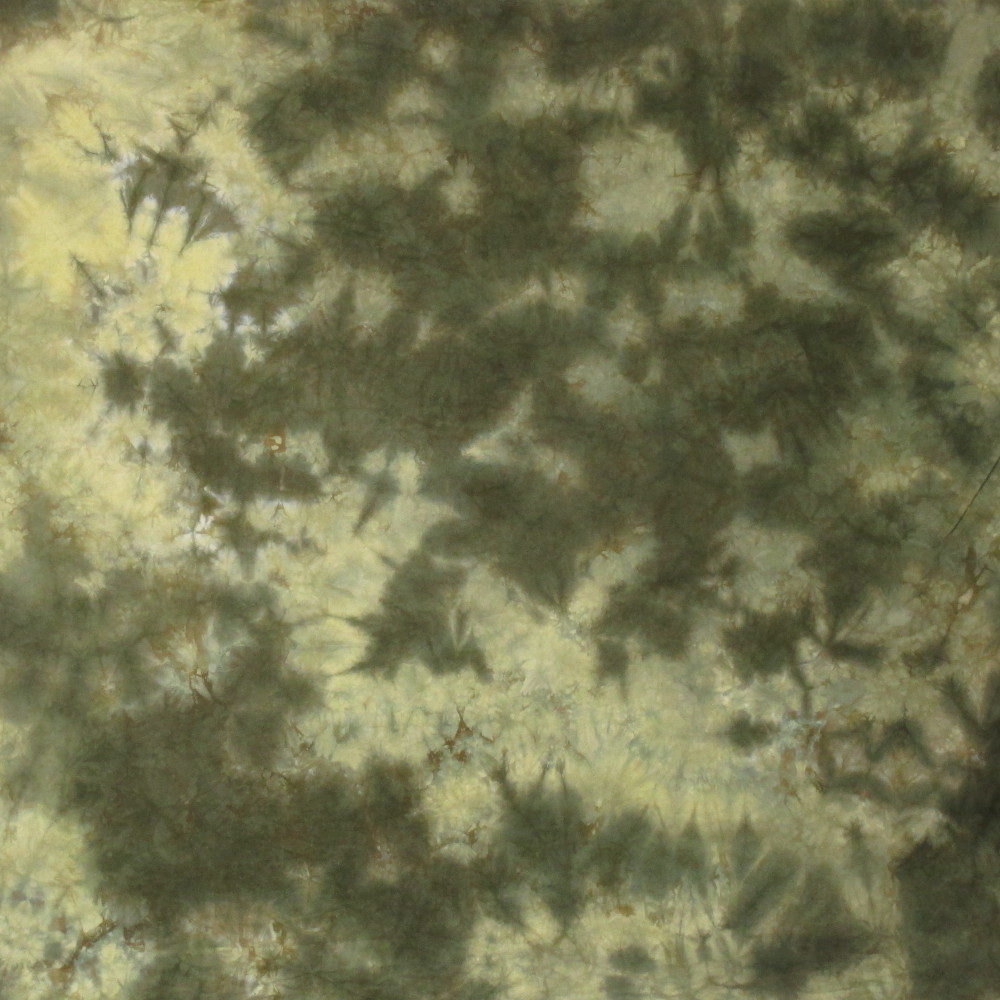
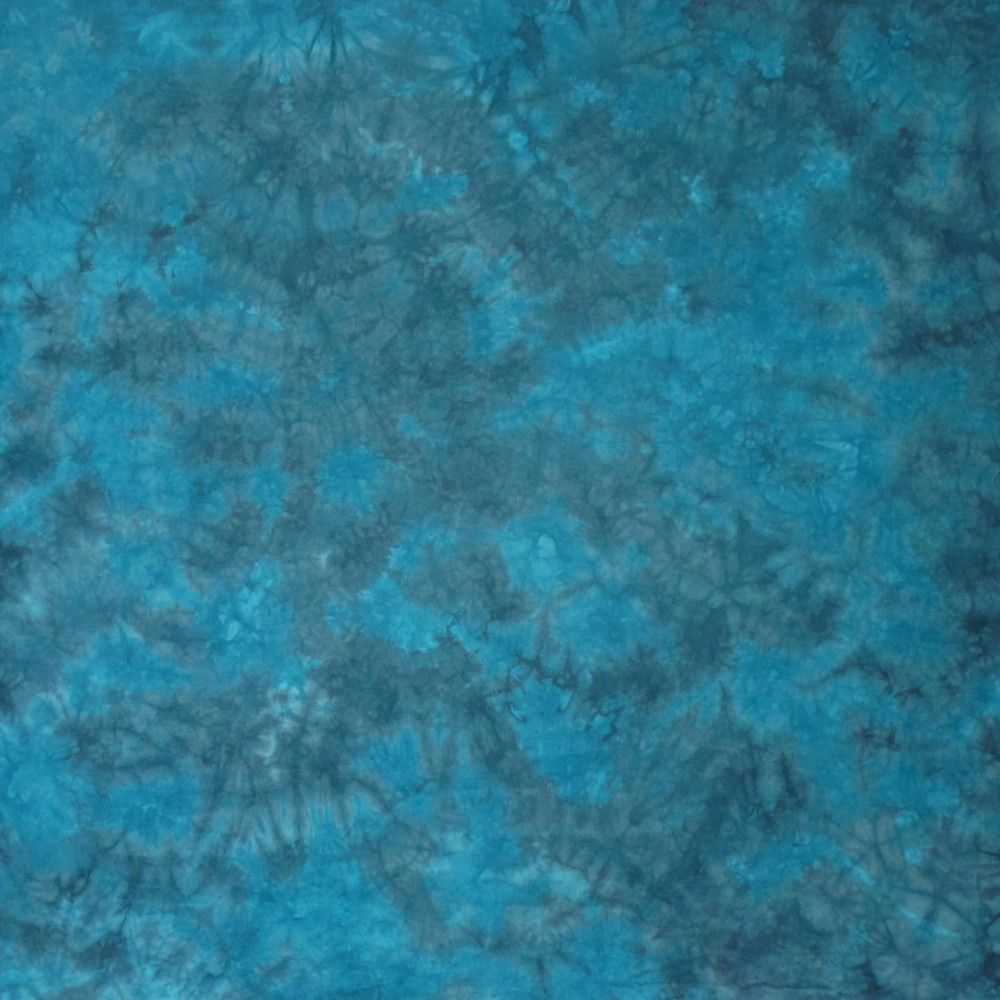
Oh what a treat it was to be in the dyeing studio again yesterday. I dyed 34 yards and still have more backlog to finish up next week. On today's agenda is to whittle away a little more at this ironing pile but first I'm going to meet a friend at the VMFA to see the Jasper Johns and Edvard Munch exhibit. They honestly aren't my "thing" but I feel like I should take advantage of it while it's here and I get to catch up with a friend I haven't seen in a couple of years.
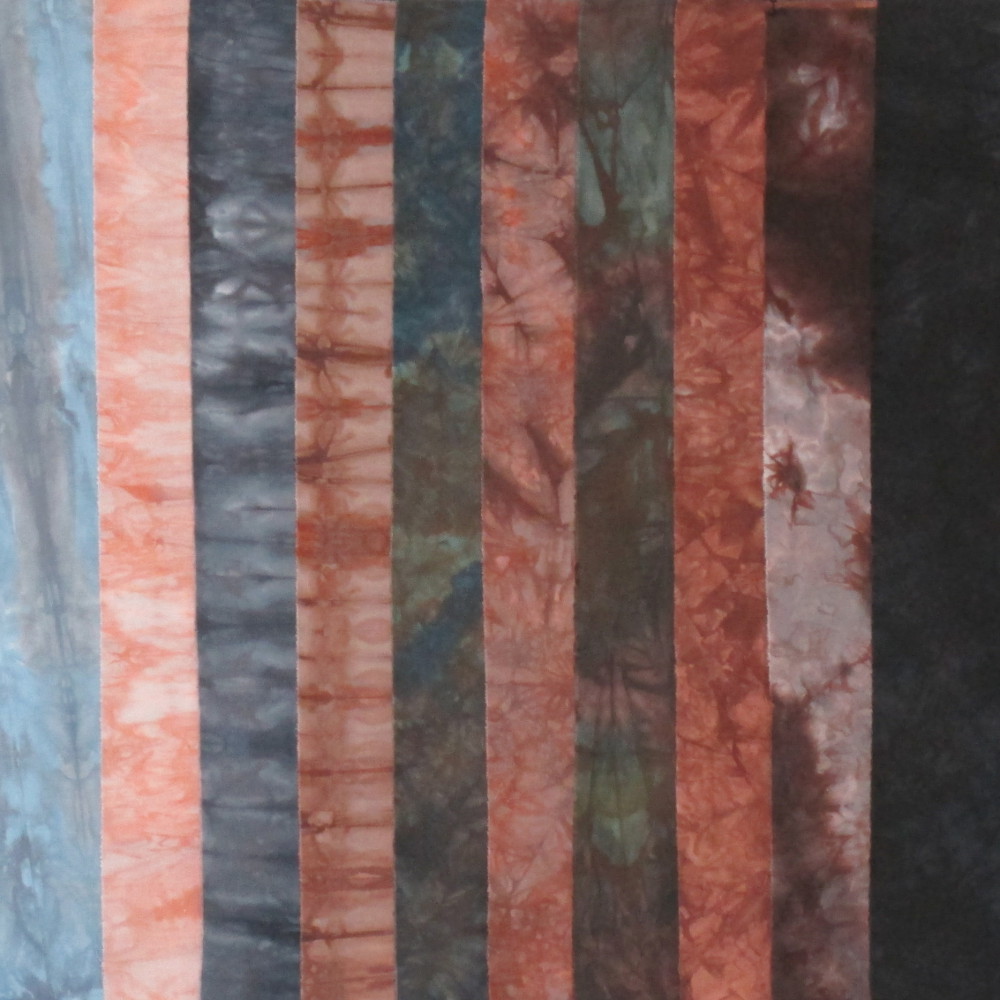
After that I'll be ironing and I might even load a couple of veteran's quilts to quilt up quickly this weekend. This is a big day for me. It means that I'm starting to dig myself out of the giant list of things I need to catch up on. I have a 2 foot stack of fabric that needs to be ironed and listed. These fabrics didn't shrink the pile much but it's a start. First up is a new set of Pebbles and Rocks fabrics in a Stash Pack. This one is for all of you art quilters. The pack contains 10 fat eighths, one of each fabric in the photo. You are seeing abut a 2" wide strip of each fabric to give you an idea of the color and texture variation in the pack.
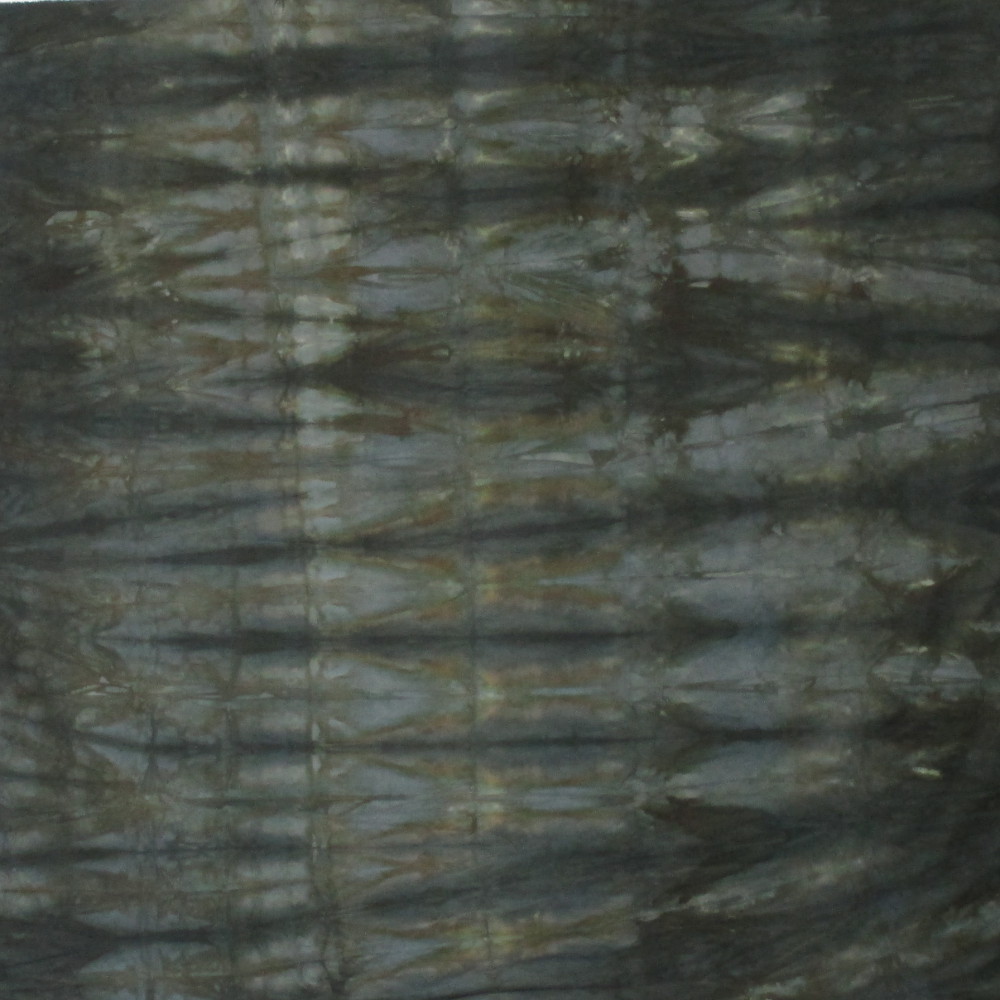
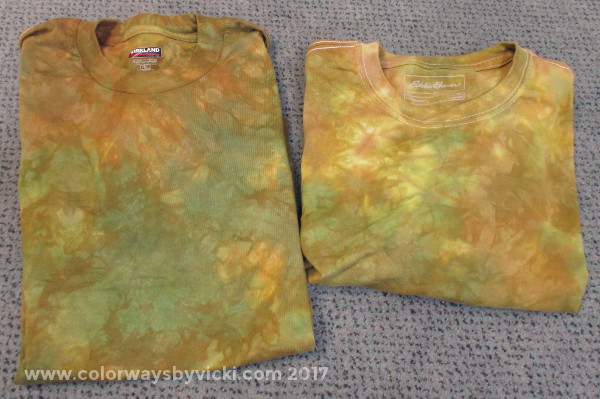
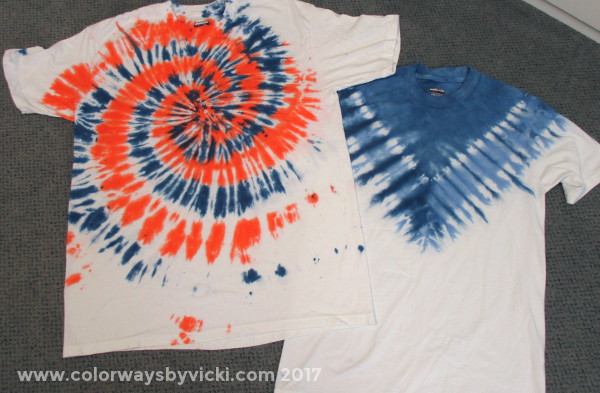
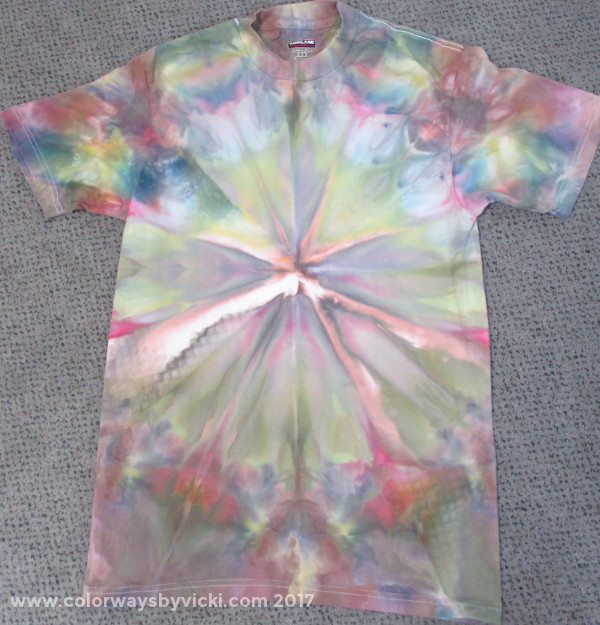
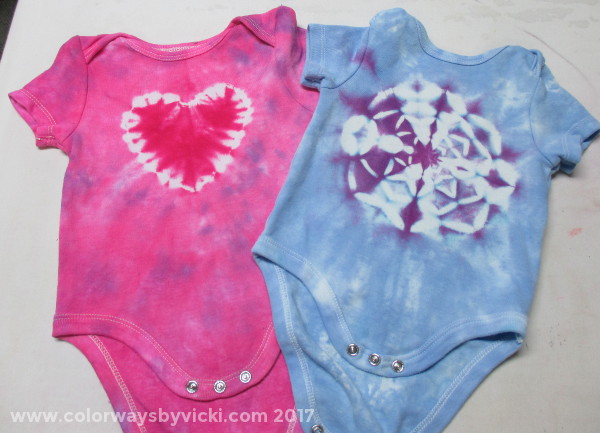
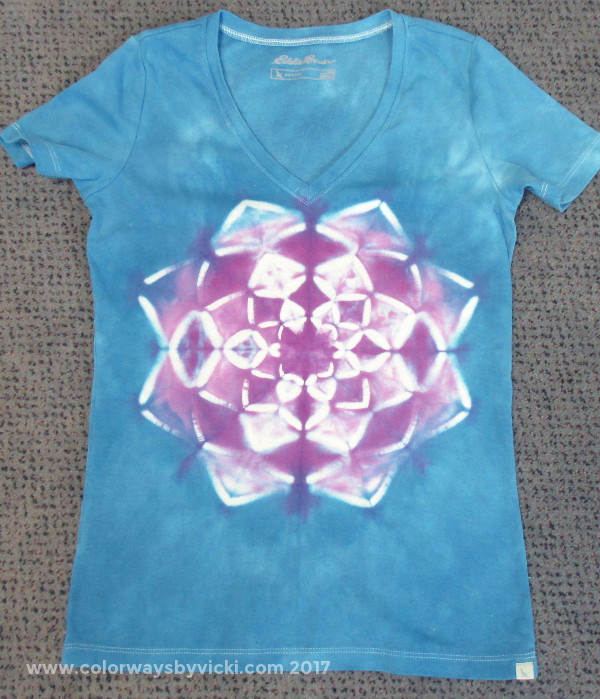
Next up are new one yard cuts. I call these Stars. Most of my fabrics are smaller cuts but sometimes you need a little more. That's what the stars are for and here are 3 new ones. I didn't get anything productive done yesterday because I finally had lunch with my cousin (after postponing 3 times) and last night I taught my online selling class at Visual Arts. I don't mind not accomplishing much because it was fabulous to get out! Class was fun once I rode around the block 3 times to find parking. But this morning I found more photos that I had not edited yet. I think all of these are from December and they are all shirts. Let's start withe the most important and most boring. Gotta keep the husband happy and he specifically requested cammo. He picked the 3 colors and is thrilled with his new shirts. Nothing's easier than these! I showed this spiral yesterday but the right side was covered. This was another shirt that I wanted to do leaving some of the shirt white. I'm sure I'm going to play with this concept more. This one doesn't speak to everyone but I love it! It was folded the way that I fold the mandalas and it was part of the December snow dyeing session. I think it's really cool. I also bought some hemostats to use instead of tying. The two pieces on the left are my first attempts at using hemostats. The shirt on the right is the blue and white one in the second photo. When I want to make sure that color doesn't get where I don't want it I wrap it in plastic. Baby onesies are so cute to dye. One of my friends is a first time grandmother and I sent these to her. The heart is tied and the mandala is the clamped on on the left in the photo above. Not the most successful clamping but I learned something and this will be fine once the baby pukes on it. This is my shirt and it's the middle one in the photo above. I'm quite pleased with this one!
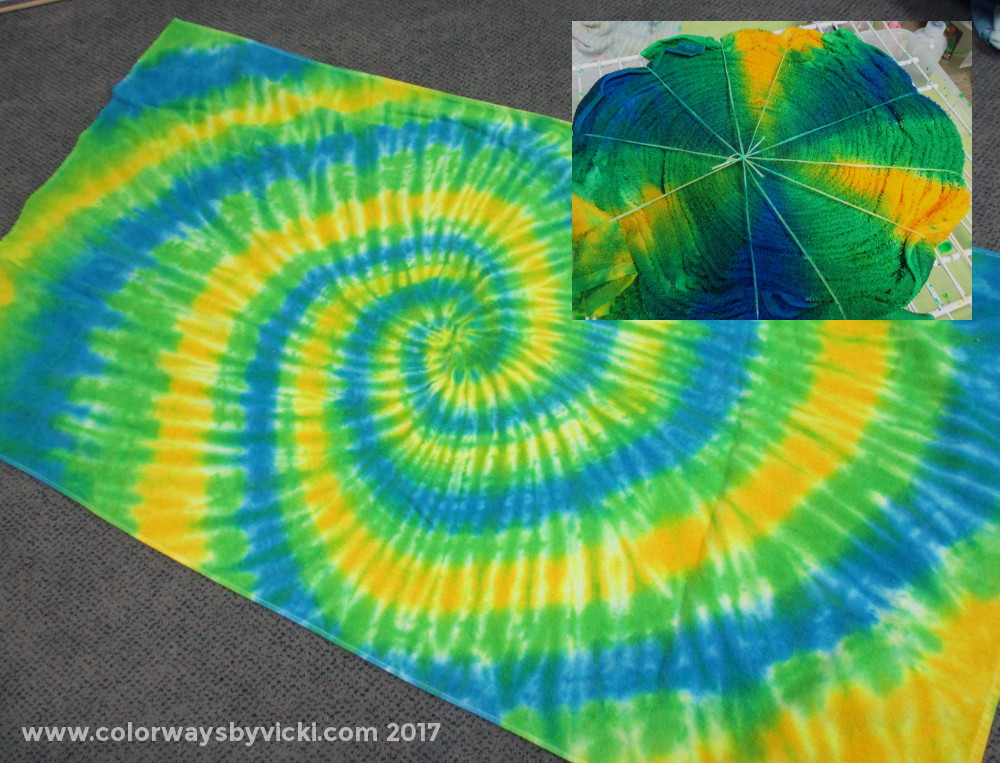
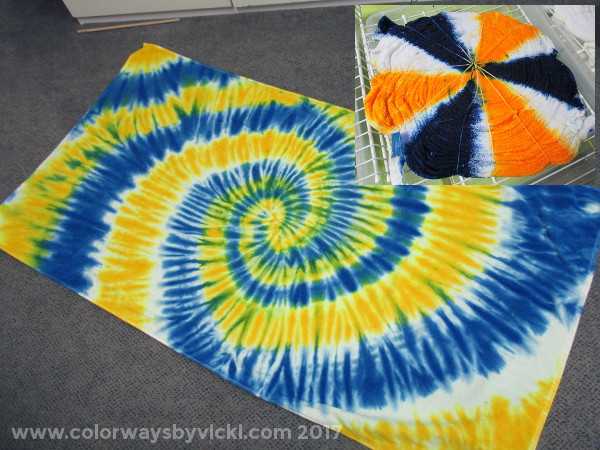
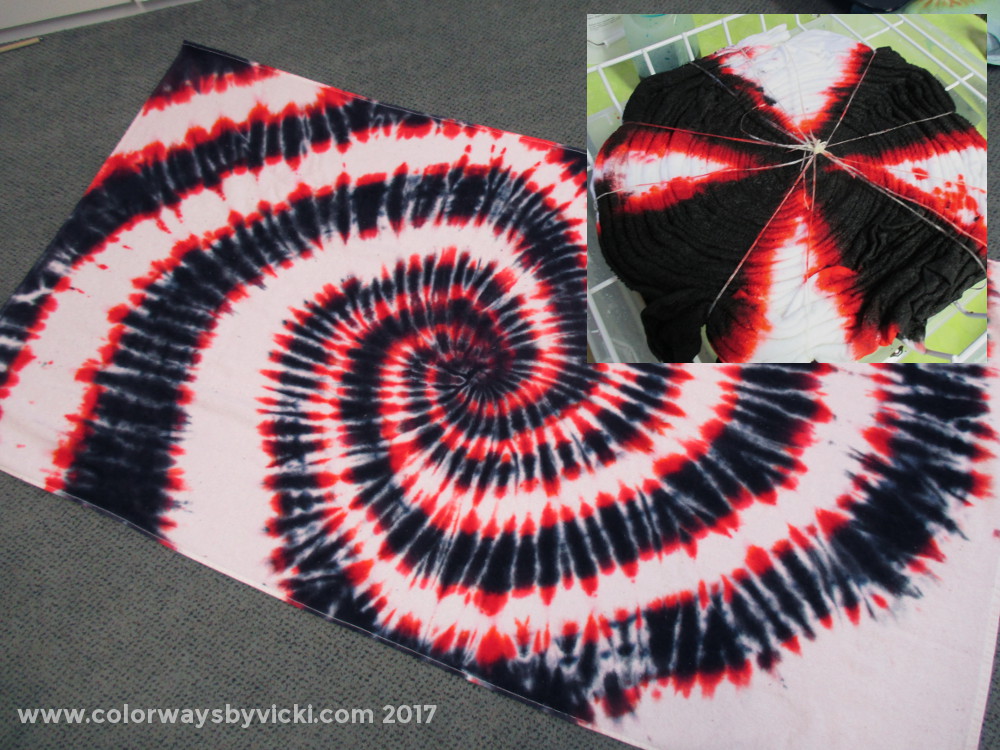
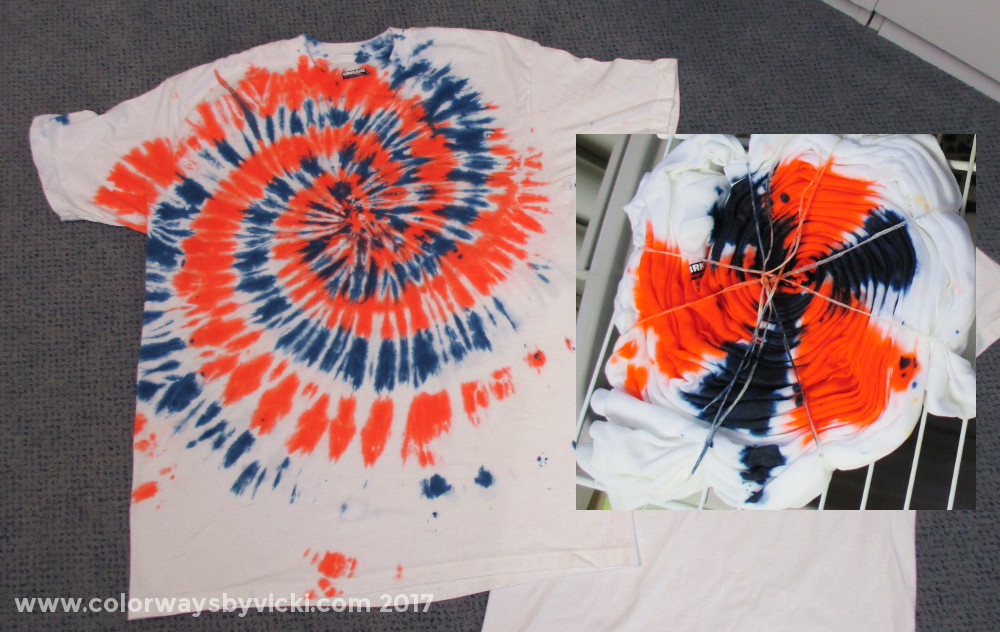
Today I'm prepping my dyeing and will do my dyeing tomorrow. Maybe, just maybe, I can do something fun tonight. Now that I've returned to mostly normal I've started to dig out of my backlog of stuff. I have yards and yards of fabric to iron and post and, it turns out, lots of photos to edit and post from past dyeing sessions. Here are the first of the dyeing photos. I'm making a lot of tie dye beach towels for my family's beach trip in May. I thought this was going to be a surprise for them but realized last week that my brother reads my blog so it won't be a surprise for everyone. I'm dyeing them all in spiral motifs. I have the most recent 3 to share today and even remembered to take a photo of the dye application so you can see how I made them. I think I still have about 8 beach towels left to dye before May. Most of the spirals that I dye are done with full color saturation like this one. I'm starting to play around with keeping some white areas and that's what I did with this one. The white doesn't show as much as you would expect. This one turned out even better than I expected. I love the bits of red outlining the black spirals. I do need to get better at taking the time to make sure my twisted fabric stays round after I soda soak it. Flat spirals aren't ideal and I think that's happening from the way I handle it after I soda soak it and before I dye it. I saw some shirts on the Facebook Tie-Dyeing group where the spiral didn't go all the way to the edge of the shirt. I liked the effect and decided to try it on a shirt for Chris in UVA colors. Pretty cool.
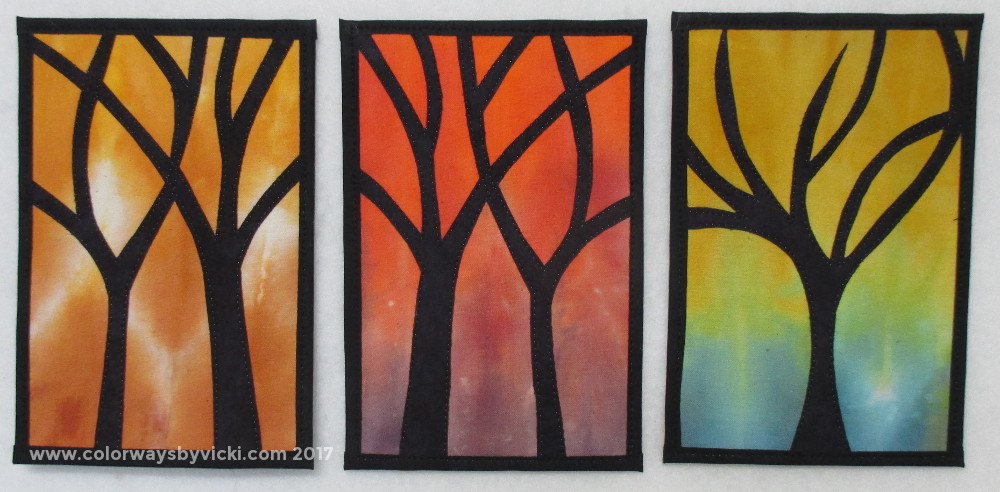
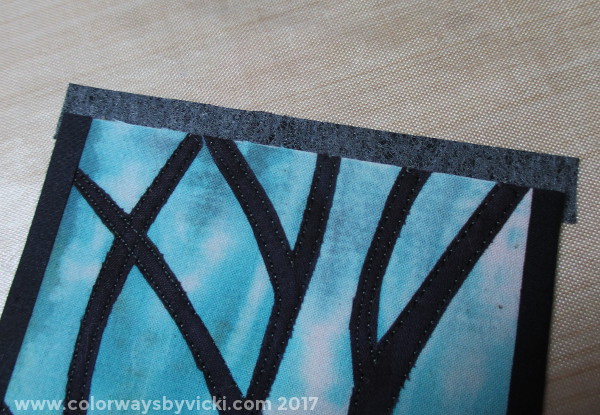
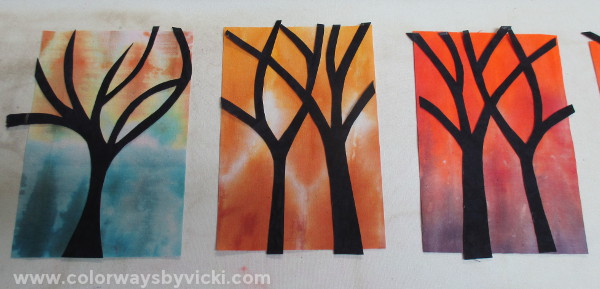
Tomorrow I may have some more dyeing results or even a couple of new things in the shop. It all depends on what I get done this afternoon before I head off to teach as Visual Arts tonight. I was making such good progress on the postcards that I finished them yesterday between football games. I used 2 different tree silhouette patterns and 3 different backgrounds. I felt like the edges needed to be as solid as the trees. In other words, not a stitched edge. I cut 1/2 inch strips of fused fabric and wrapped it around the edges fusing it in place. This wasn't particularly easy but I like how it looks. After the edges were fused and trimmed I topstitched all the way around to make sure it stayed in place.
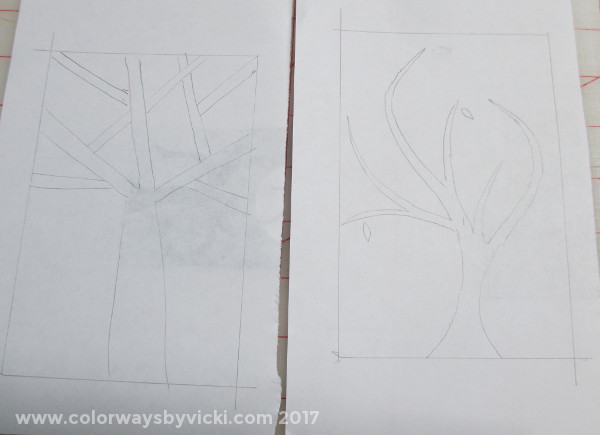
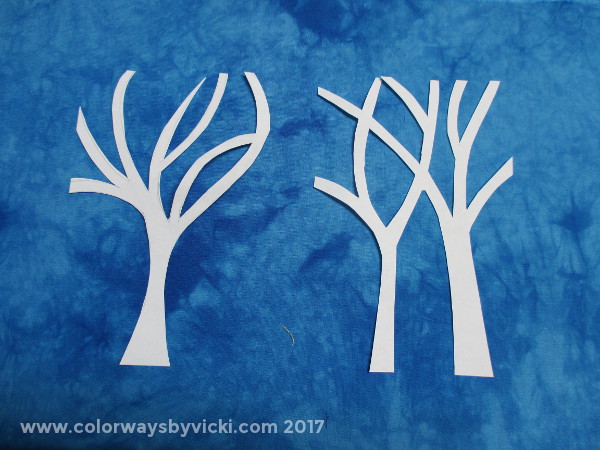
I made a dozen of these cards simply because that's how many trees I was able to cut from my black fabric. I'll use them for birthday cards and cards for our Airbnb guests so they won't last long. If you want to see how these were made check out yesterday's post. I made it all day yesterday without a nap. That's a major milestone and it's good because I'm teaching all day today at The Longarm Network and it would be nice not to need a nap there. Wonder what they would think if I brought a yoga mat and rolled it out in the floor for an afternoon nap like when I was in 1st grade? I thought about starting to mark my mandala fabric today but I felt that it needed more math ability than I was capable of. So it seemed logical to start something else....some postcards. I need some new ones for guests and birthday cards. While roaming the web over the past week I found a new quilt made by Rachel Derstine and thought the technique would be great for new postcards. With her permission I moved on to start making a much simpler postcard version. First step was to draw some tree designs. I drew some 4 x 6 squares on scrap paper and drafted some ideas. These 2 were rejects. These 2 passed muster. Now I needed to transfer the design to my fused fabric. Since these are on regular paper I quickly found out that tracing around them wasn't going to work well. I remembered that I had some ink pads and, surprisingly, they are still working! Stamping over the tree shapes gave me a perfect outline for cutting them out. I have a fat quarter of the black fabric and will get 12 trees cut out of it. This is a project that I'll work on while watching TV this weekend. I'm using some of my "waste fabrics" for the background. These aren't fused yet. I just wanted to see how they will look. I'll finish cutting out trees before I start putting them all together.
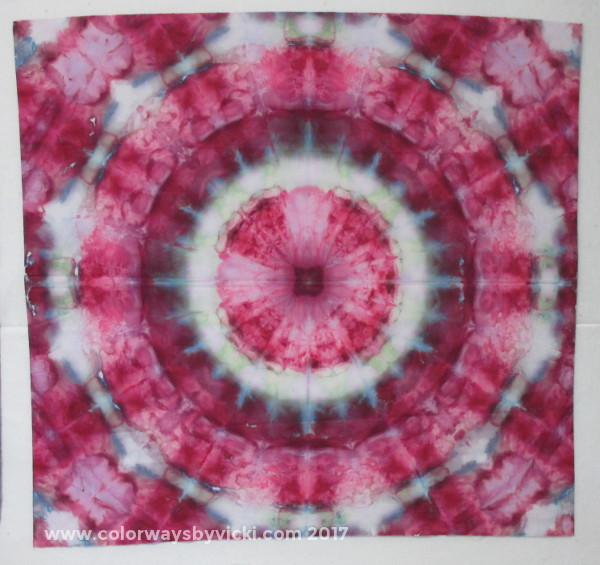
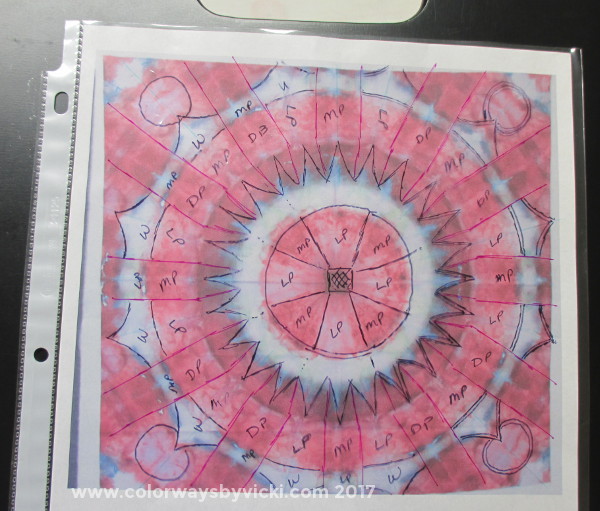
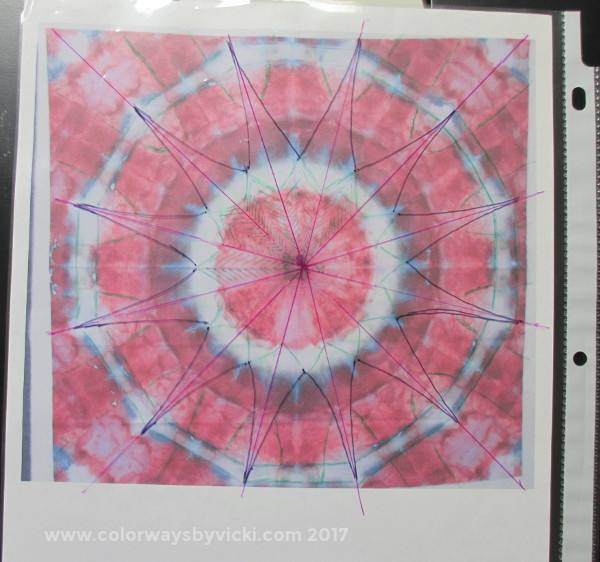
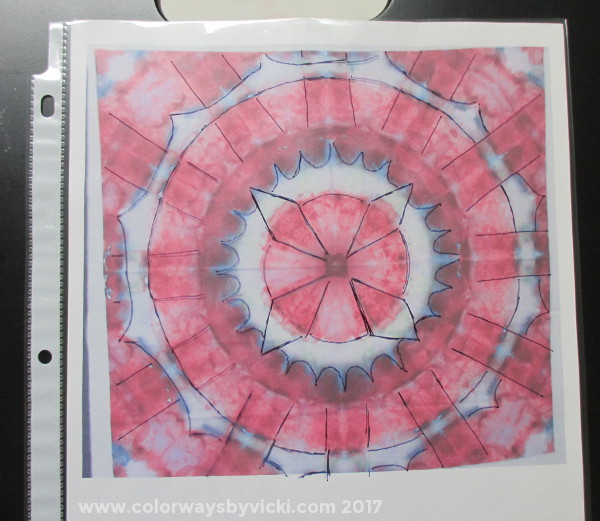
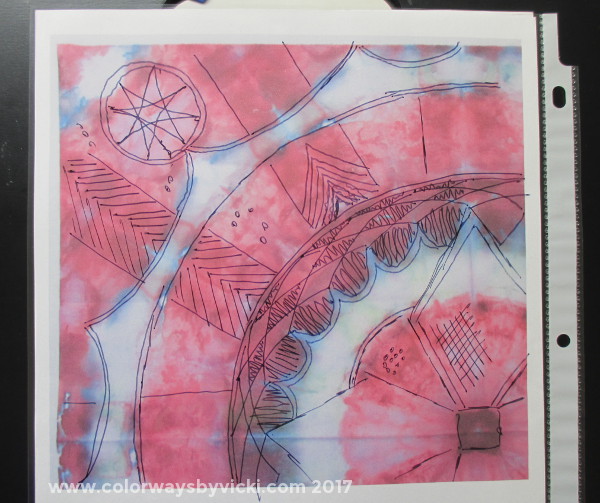
The antibiotics are kicking in and I started feeling better yesterday and started wading through an endless list of chores that need to be done around here. But I had to have a little creative time so I decided to finally start planning to quilt one of my Crystal mandalas. Since I have nothing else to share today I thought I'd share how I plan quilting for any quilt. I picked this one a few months ago and I picked it specifically because it doesn't have a defined star pattern. I don't particularly like it so that gives my the freedom to not agonize over it. I just need to get one done! I work on quilting designs by printing the image on a piece of paper and I use page protector sleeves for my drawing surface. I only need one print out and I can draw on both sides of the plastic sleeve. Fine point Sharpie markers work best for me for drawing. I usually try to make myself draw at least 3 options just to give myself a challenge. This was my first try. In the second iteration I decided to force in a star and see if I liked it. Then I put it aside for several weeks. Yesterday I decided to pull it out again and without looking at the first 2 I drafted this. Then I realized how close it is to the first one and that was my sign to go with it! My next step is to print off a larger image of one corner to start working on detail idea. I'm not one to spend a lot of time on every detail. I just want to get the bones in place and I'll decide on everything else once I get it loaded. I will use a Crayola washable marker to mark the bones on the fabric and then I'll be ready to quilt.
|
FeedsTo subscribe click the RSS Feed button and copy the URL of that page into your blog reader.
In Bloglovin you need to search "Colorways By Vicki Welsh" to find the blog. About Vicki
I'm Vicki Welsh and I've been making things as long as I can remember. I used to be a garment maker but transitioned to quilts about 20 years ago. Currently I'm into fabric dyeing, quilting, Zentangle, fabric postcards, fused glass and mosaic. I document my adventures here. Categories
All
Archives
July 2024
|


 RSS Feed