|
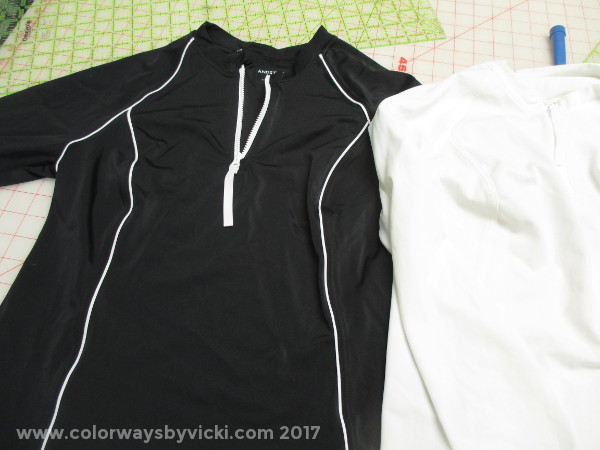
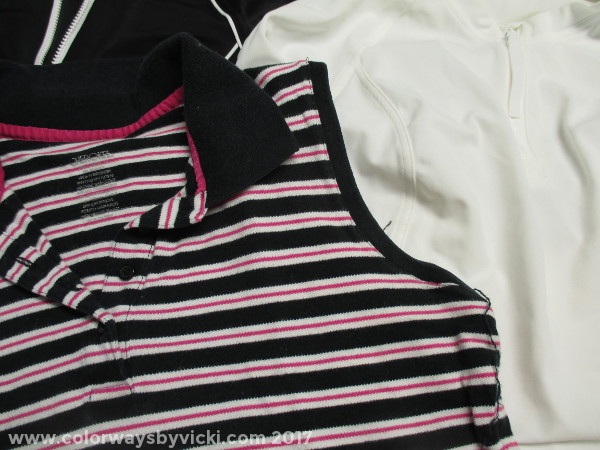
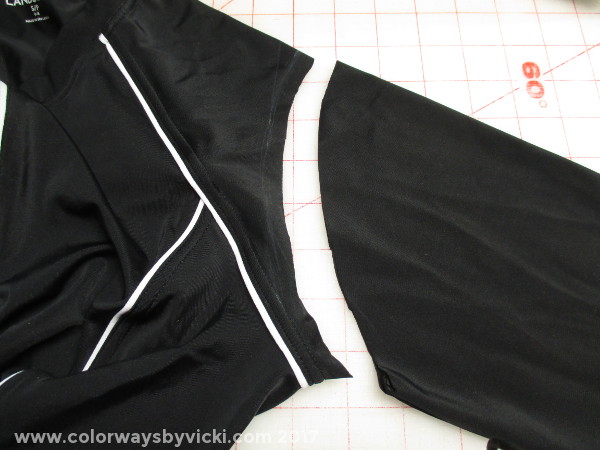
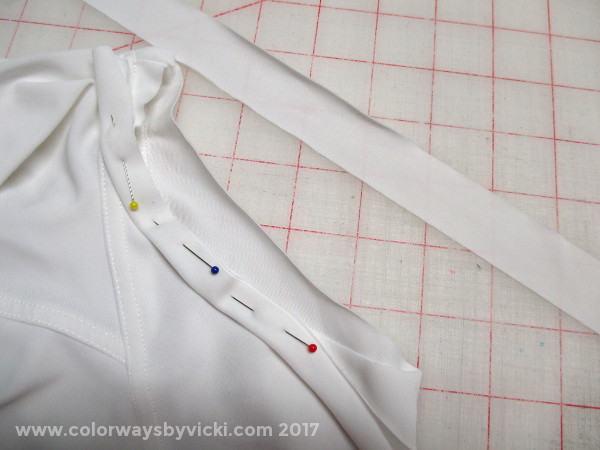
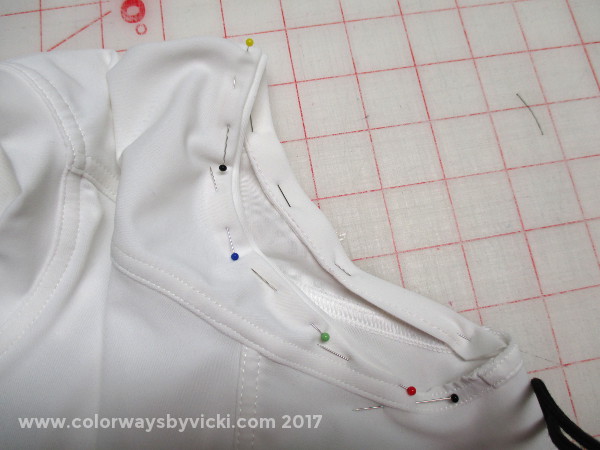
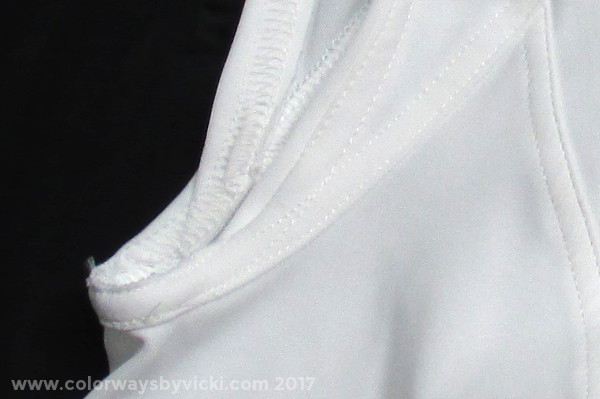
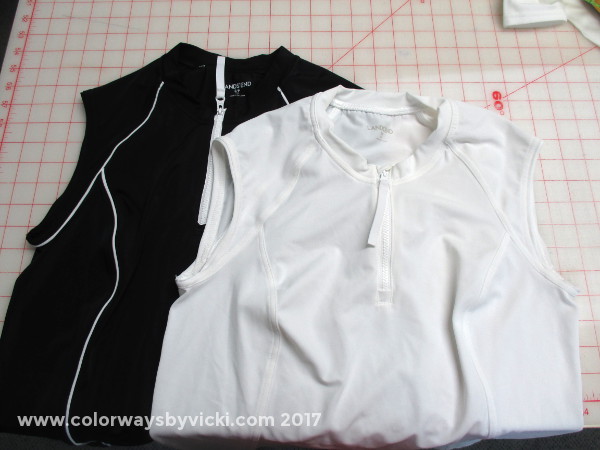
Sometimes you just have to buckle down and get some things done and that's part of what I did this weekend. 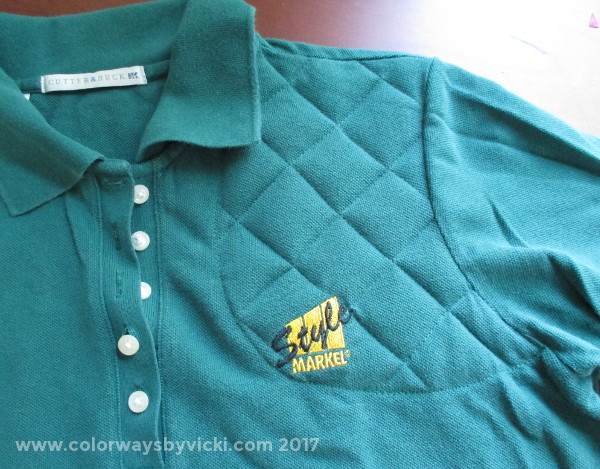 First, I needed a shooting shirt. Yes, you read that right. Here's the backstory: Chris is an avid hunter and I totally enjoy the bounty from his hunting trips. I like wild turkey better than a Butterball and I love pheasant and goose. But I have absolutely no interest in hunting. That means that there is a shotgun locked away in the house and in theory I could use it in an emergency but we have always laughed that the best I could do with it it to use it as a bat. For a while I've had a mild interest in at least learning the basics of handling a gun just so I wouldn't be afraid of it. Then my friend said she wanted to learn to shoot. Last year was her 50th birthday so I gave us shooting lessons for her birthday. We had a lesson in sporting clays and a surprising thing happened. I absolutely loved it! I was awful at it, but I really liked it. I spend my entire day looking at things between 6" and 3' from my face so giving my eyes the challenge of focusing on moving targets at a distance, an occasionally being able to hit one, was a great change from a normal day. So I wanted to start practice shooting and kept trying to get Chris to go with me. I was completely stonewalled. Then a couple of months ago another friend said she wanted to go so we set up a private lesson. Kate was our instructor and she is one of the best teachers on any subject that I've ever had. We had a great day. Kate figured out that I'm a left handed shooter and actually got me hitting clays. But again Chris was stonewalling shooting with me. Finally one day I assured him that there was absolutely no way in hell that I would ever go hunting with him. I'm not getting up at 0-dark:30 in the winter to do anything, especially sit outside in the cold and I wasn't going to stand alone in the middle of a dove field where there might be snakes. I'm happy to eat the harvest but I don't want to kill birds myself. I'm happy with the little orange discs. The next day he brought home a case of ammo for me. Seriously. Dudes are funny. Back to the shirt. When I took the lesson with Kate I had some numbness in my left arm from the kickback of the gun. It's not the fault of the gun or anything. It's an ongoing problem I have with TMJ, tendinitis and muscle issues on my left side. Kate suggested a padded hunting vest or shirt. When I saw the prices, I decided that I could figure out how to make one myself. And I did! I wore it yesterday when I went to practice and it worked perfectly. I'll want to make more of them so I wrote up a tutorial if anyone else in interested. I was feeling so pleased with myself that I moved on to these shirts. I love these sun protection shirts from Land's End. They are great for yard work or kayaking or just covering up in the sun. I put these on when I don't want to bother with sunscreen. But I wanted a couple of sleeveless ones. I can't put sunscreen on my neck and chest so I need to keep that area covered all the time. They don't have sleeveless versions of these so I decided to make them myself. First I needed a pattern and found this sleeveless shirt that I like a lot. I chalked the curve onto the black shirt and then tried on the black shirt to see if I liked where it fell. I added a little more shoulder width and then cut off the sleeve 1/4" away from the chalked like. I spread out the sleeve perfectly flat making sure the front and back were lined up exactly right before making the cut. Then I used that sleeve as my pattern for the 3 other sleeves. I took one sleeve and cut 2 1" strips along the length of the sleeve. I got both pieces from 1 sleeve. In this photo the armhole is at the top of the image. Look in the black shirt photo above and you can see that the white piping comes right into the armpit. At the bottom of the armhole I wanted that piped seam to be the bottom of the opening. So now, back to the white shirt with the armpit at the top of the photo. I folded the 1" strip in half and pinned and basted it to the edge of the armhole opening. The cut edges are all lined up together. I did not take the new edging all the way around, only to where that shoulder seam comes into the armhole. Then I folded the edge to the inside of the armhole and pinned everything in place. You can see on the back side of the armhole where I cut the facing piece and that it's hidden inside the armhole. Next I got out the serger and used a double needed cover stitch. You could also use twin needle on the sewing machine. That gives you 2 straight lines in the front and a zigzag in the back. Here's a close up of the top stitching and the facing sewn down on the inside of the armhole. If I had knows that it would be so fast and easy I would not have procrastinated for a month. I also made good progress on quilting this weekend but I would have been happy with my accomplishments with just these things!
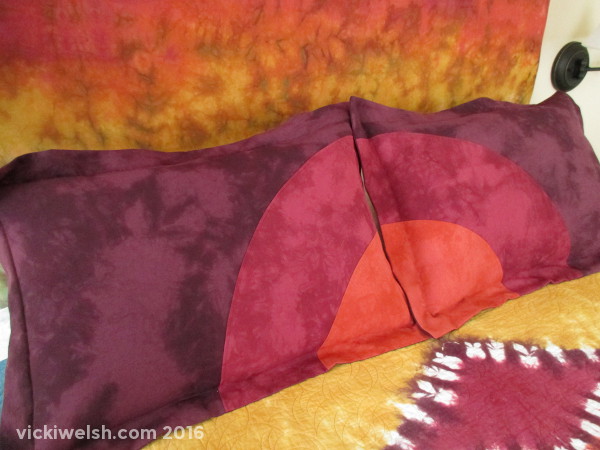
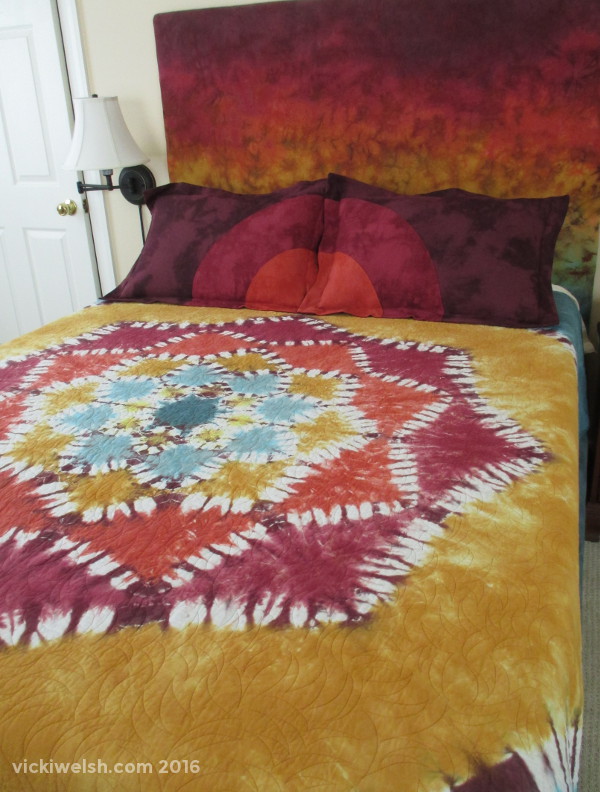
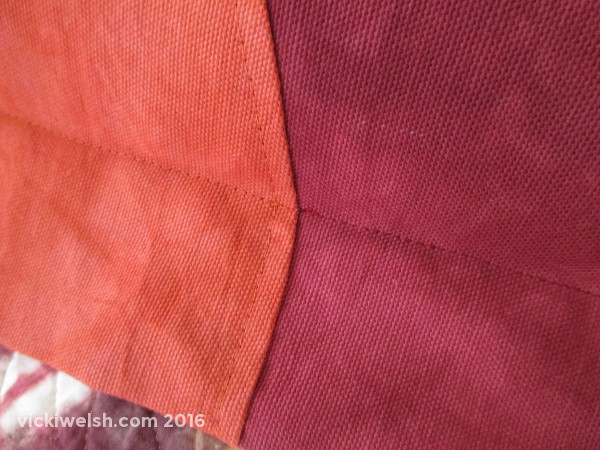
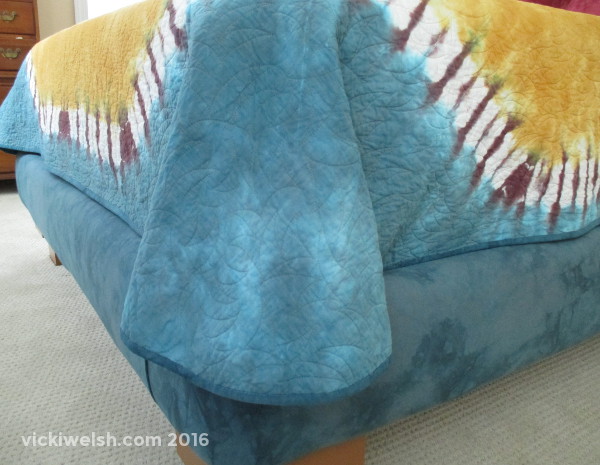
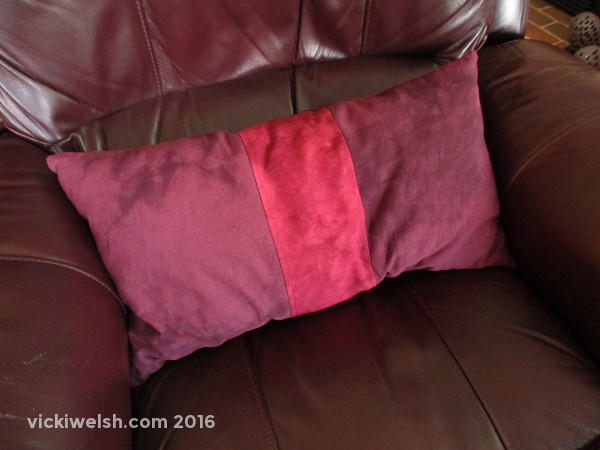
It's ridiculous that it took me 3 years to make these pillow shams for the guest room but I'm glad to have had a quick project to work on this week while I finish up work on the website. Even with piecing curves and inserting zippers in the back these could have been done in one afternoon.....3 years ago. They were needed because the pillows kind of stuck out on the bed. I know why I procrastinated. I couldn't settle on a design. I was making them much more complex than they needed to be. In the end I just followed the name of the color palette - Red Sunset. The quilt is double sided. You can see the other side and more photos of the bed and headboard on the Gallery Page. I even took an extra 10 minutes to change threads for top stitching the flange in place. I prefer flanges to ruffles. They are easier and I'm just not a ruffle kind of girl. I had a small panic this week with the quilt. The mattress that I bought for this bed is REALLY firm. Too firm. So I bought a foam topper to help out. I completely forgot about the size of the quilt. I made it to tuck under the mattress as you can see on the Gallery Page. Fortunately the topper wasn't a half inch thicker! The fabric also matches our red recliners so I recovered my chair pillow so it would match better.
At least I have 1 thing off the UFO list for April! |
FeedsTo subscribe click the RSS Feed button and copy the URL of that page into your blog reader.
In Bloglovin you need to search "Colorways By Vicki Welsh" to find the blog. About Vicki
I'm Vicki Welsh and I've been making things as long as I can remember. I used to be a garment maker but transitioned to quilts about 20 years ago. Currently I'm into fabric dyeing, quilting, Zentangle, fabric postcards, fused glass and mosaic. I document my adventures here. Categories
All
Archives
July 2024
|
 RSS Feed