 I work on veterans quilts when I'm at the sewing days with my quilt club. One a month we get together on a Friday and Saturday for some sewing and a lot of talking. This is the one that I'm currently working on but it's going to be done next month. I don't like to cut there (for some weird reason) so I like to make kits and have them ready. Last week while watching TV I got into EQ to design some simple quilt layouts that I might use. I already have 6 tutorials that I can use but I thought I'd see what else I can come up with. Here's what I came up with. 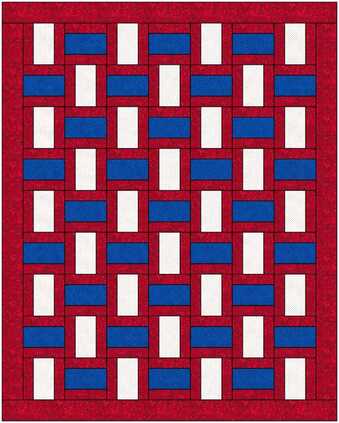 I have some patriotic batiks and I'm thinking this simple layout might work well. 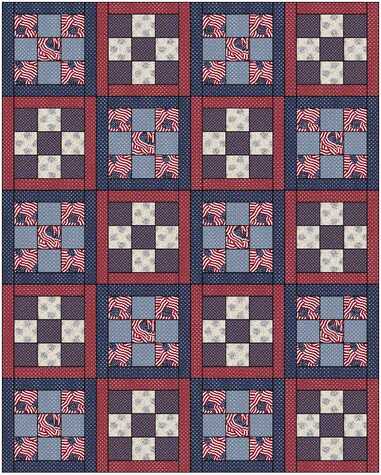 This is a layout that one of our club members did a few years ago and there's nothing easier than a 9 patch! 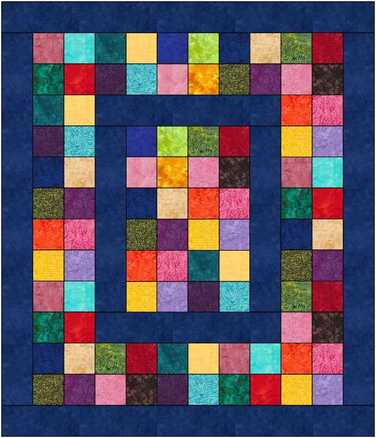 I'm thinking of using this one for some of my stash of plaid fabrics with this simple layout and combine them with a hand dyed fabric for the frames. 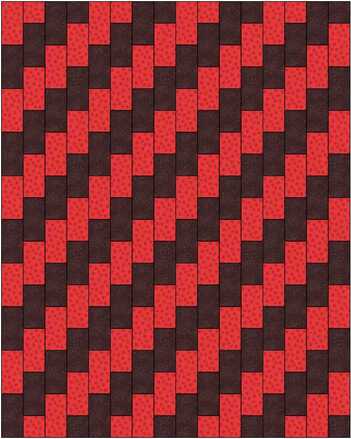 For some reason I bought an Accuquilt die for a rectangle.It was stupid to buy such a simple shape. I really prefer to use the Accuquilt for things like triangles and diamonds. But I have this and it's about time that I use it. There are as many possibilities for a rectangle shape as there are for squares. 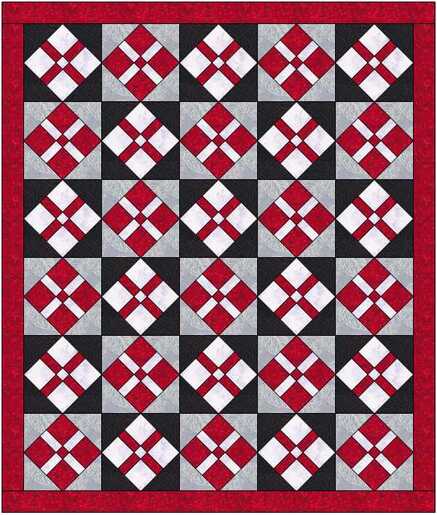 I have 2 bins of black, white and red prints and this could be fun to make. I'm going to pull out some fabrics and cut for a couple of days and see how many kits I can put together.  The first fabrics will be these. My friend Anne and I bought fat quarter packs of these several years ago. She needed my pack to finish a quilt for her brother-in-law. These are the leftovers. I'm going to figure out a way to use them in a veterans quilt.
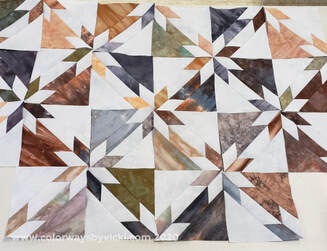
Another good day of yard work the ended too tired to stand and quilt or do much of anything else for that matter. It seemed like a good opportunity to do another EQ lesson. I was really looking forward to this one because it's on making wedge quilts. It's yet another capability that I knew was there but had absolutely no idea how to do. 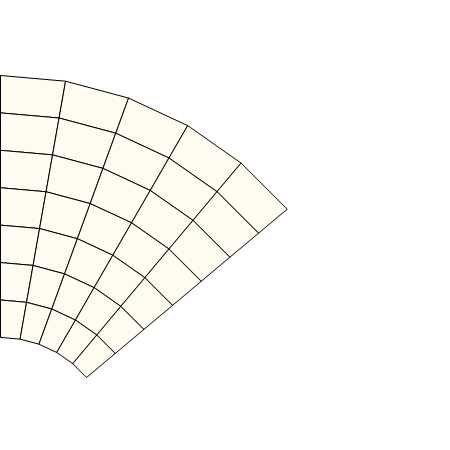 It started with drawing and cloning the wedges using a base grid. The clone and rotate feature is brilliant! 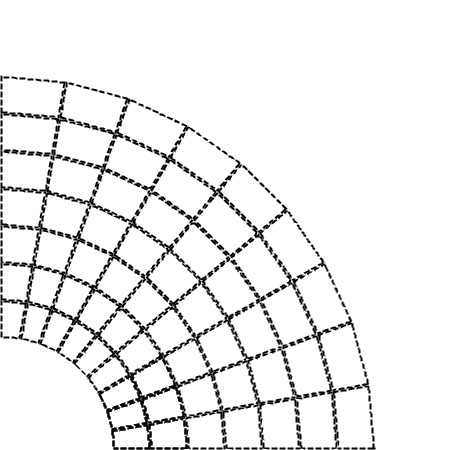 Woohoo! A beautiful quarter circle and it was so easy. 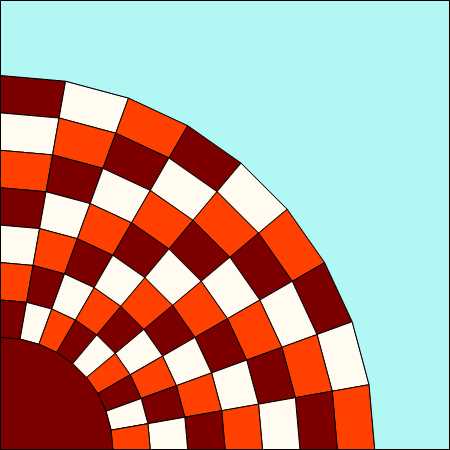 I colored it in using the same colors used in the lesson book. 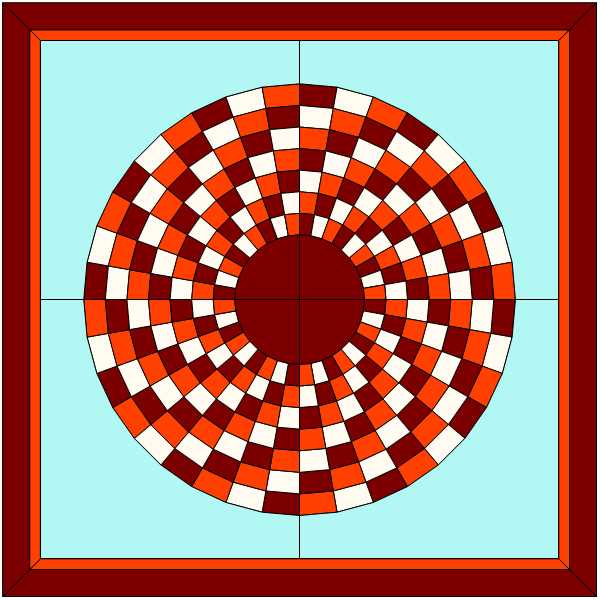 And created the quilt just like in the lesson and then I realized why I liked these colors so much. 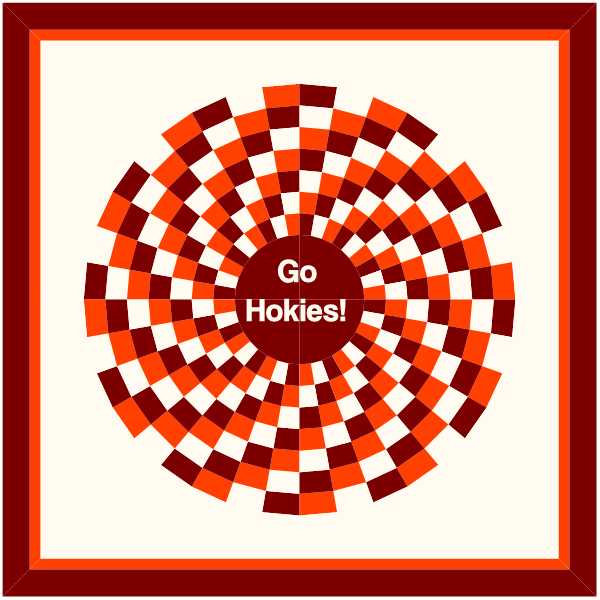 There we go! I found the lettering option on my own but it was worth the effort. No, I'd never make this quilt but it made me happy for a day to think about it. Moving on to the next lesson part. 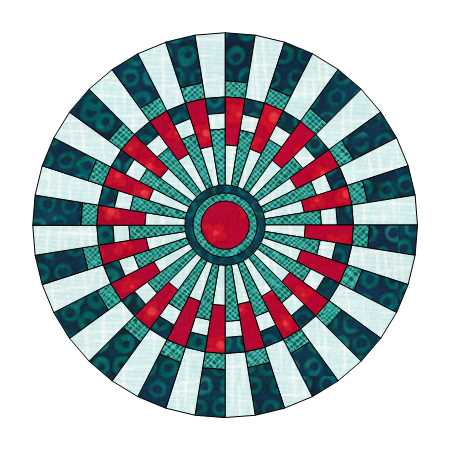 Part 2 was about making wedges that are pieced differently. 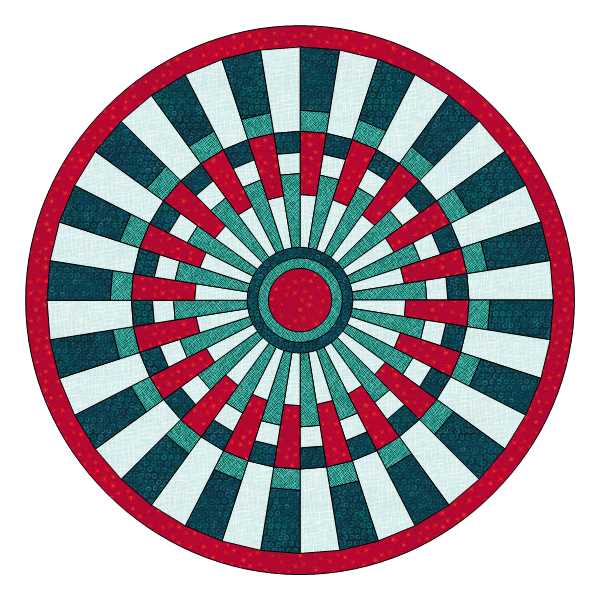 And then adding binding. I like this and hope to use it sometime to design a quilt of my own. I'd like to do foundation pieced wedges I think. 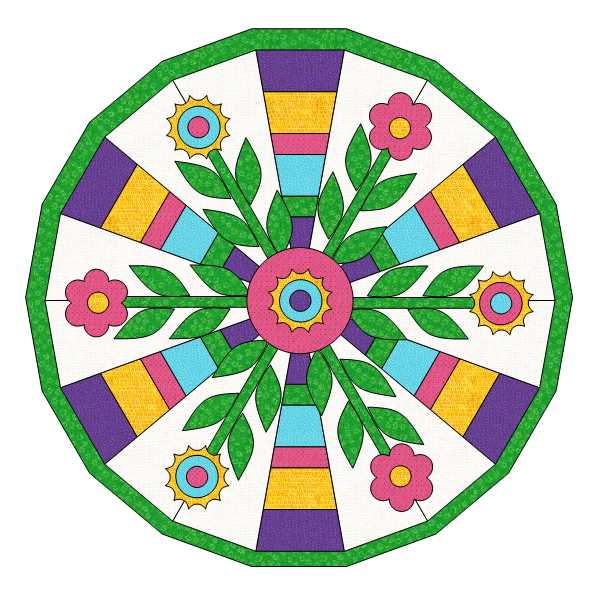 The last part of the lesson was about adding applique. This would be fun for designing Christmas tree skirts.
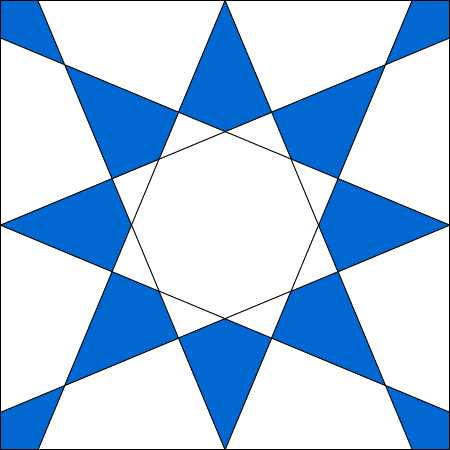
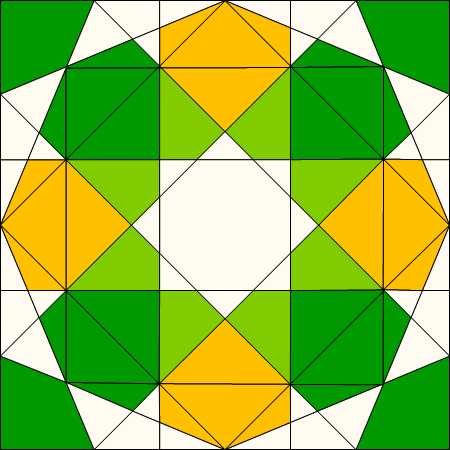
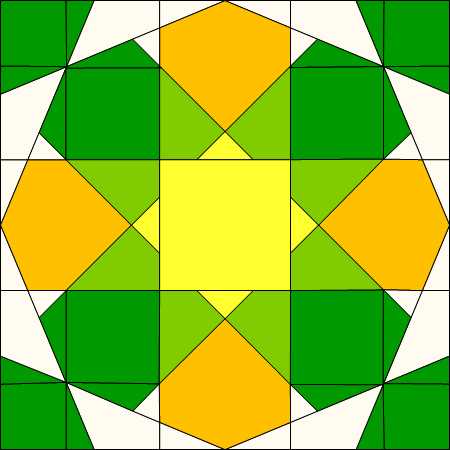
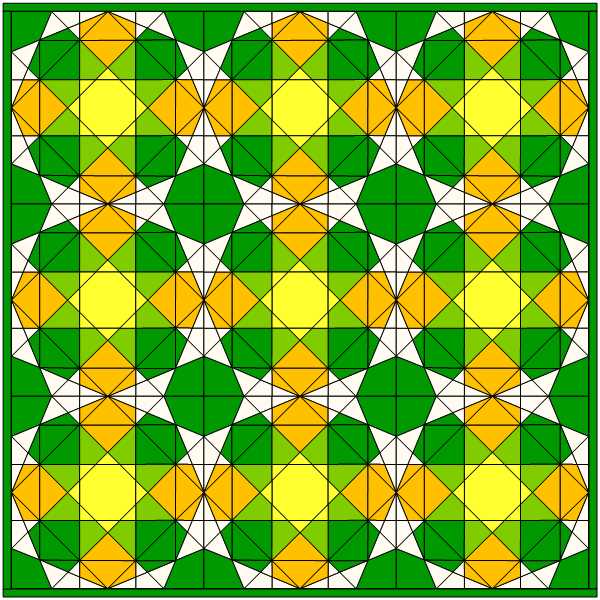
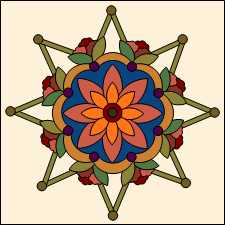
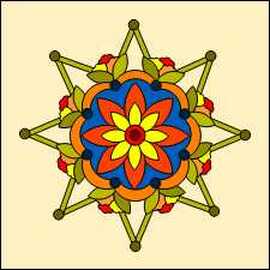
I'm halfway through the first book now and I have to say that it's money well spent. I know I'll never remember the specific little things but I will know that something I want to do can be done and I'll easily be able to find instructions through the lessons. Next up is designing pictorial quilts. I finally parked myself in front of the computer without going in the internet. It turns out that you can get a lot done when you stay off the internet. I did my EQ3 lesson where I learned a few more things that I didn't know before. Imagine that! 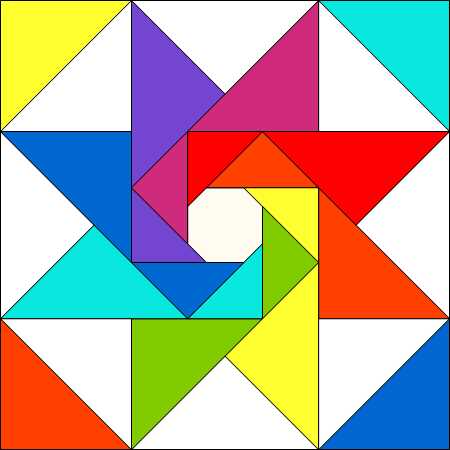 Lesson 3 is about creating blocks using guidelines and drafting from the center. I did not know that I could draw my own guidelines! 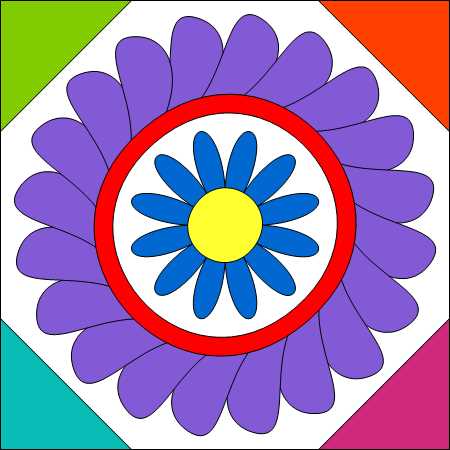 Then we created this applique block. I've never done applique blocks before and certainly never used wreath maker. It's exceptionally cool! 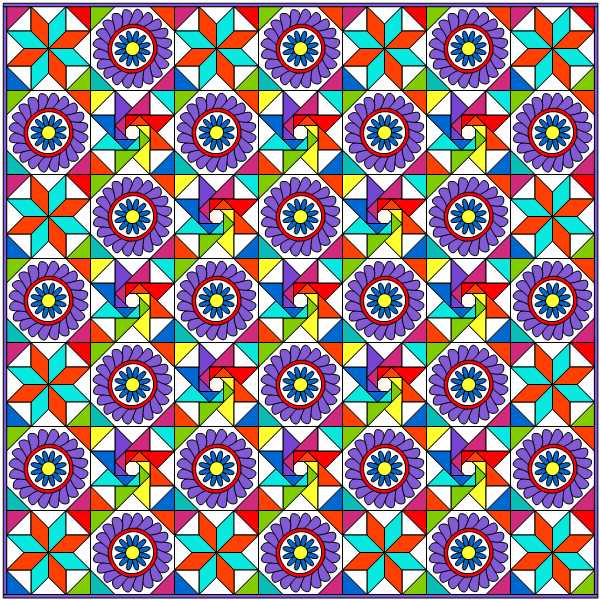 This is the quilt put together as piecing and applique. I don't particularly like the quilt but that wasn't the purpose. 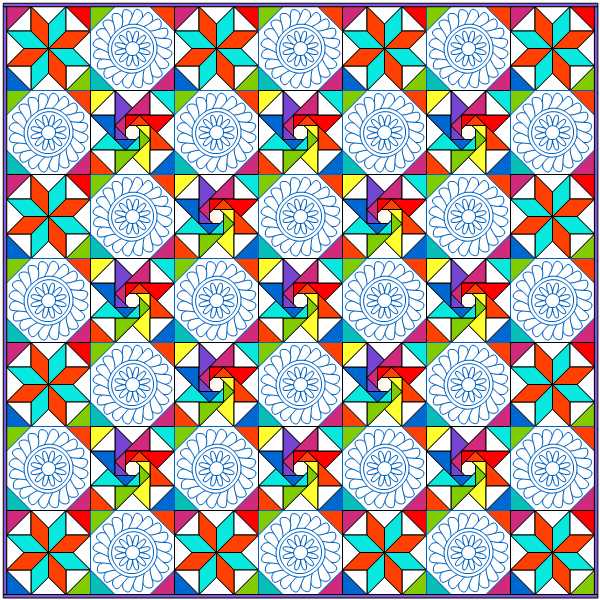 The final part of the lesson was how to turn the applique block into quilting lines. That was new to me also. After I finished this I got to thinking about a book my friend loaned me and whether I could draft some of the designs in EQ. 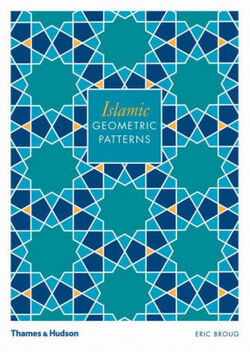 Instagram is all atwitter over this book. People are making carved stamps from it. I thought to try to design pieced blocks from it. Now I know that this has probably been done and all of the blocks are probably already in the EQ library. That's not the point. The point is the exercise and it was a darned good exercise. I did the first two patterns in the book. The third pattern is based on a hexagon so I'll have to wait a couple of chapters to learn how to do that. Here are the first two patterns in the book. I don't know if I'll be able to design all of them but I'll give it a try. I couldn't have done it without learning about guidelines in this lesson so that's good.
The second lesson the EQ8 Designing Quilts book is Using Borders to Create Negative Space for Modern Quilt Layouts. 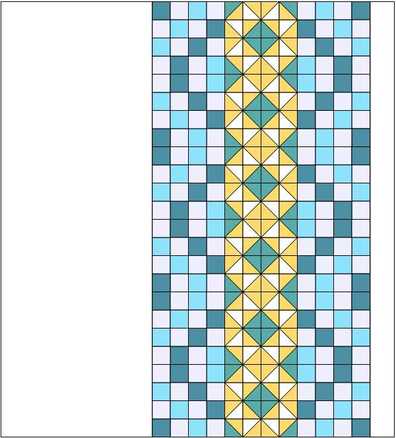 I already knew how to use borders like this but I did learn a couple of cool things like how to change the default widest width for borders. I didn't even know that settings for worktable options existed! We added 2 blocks from the library to get the above layout. 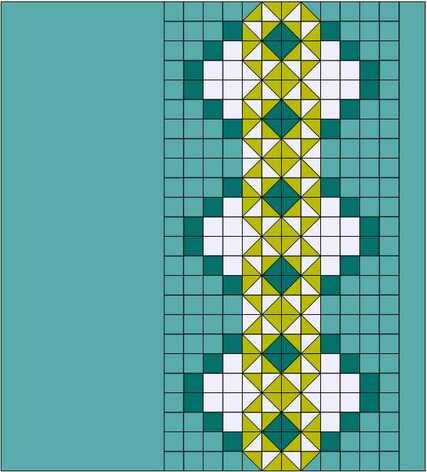 Then we played around with color and rotating the blocks to get this. 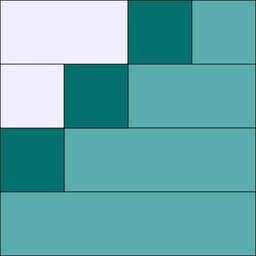 The we simplified the block for piecing...also nothing new. 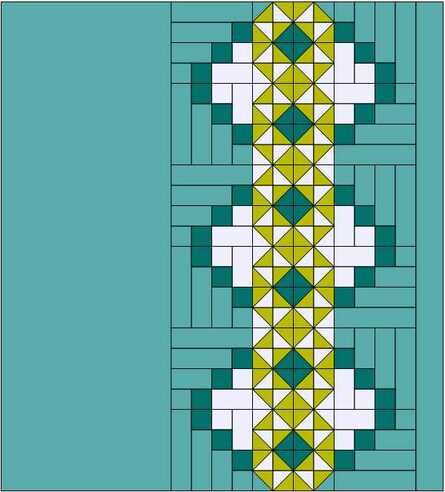 But I did learn how to replace the blocks in the quilt and keep the rotation! This is also in the Quilt Worktable Options (the setting gear on the left tool bar). I wanted to play with this "modern" style layout some more and I had visited Mom that day and saw that she had a big box of 2 1/2" squares. That seemed like good inspiration so I thought I'd see if I could come up with something to do with them.....not that I'm volunteering to take them or anything. I simply used them for inspiration. I'm not about to sign up to takes someone else's scraps when I have plenty of my own.  Veteran's quilts are 48 x 60 so I decided on a block that's 8" x 10" for ease of designing. 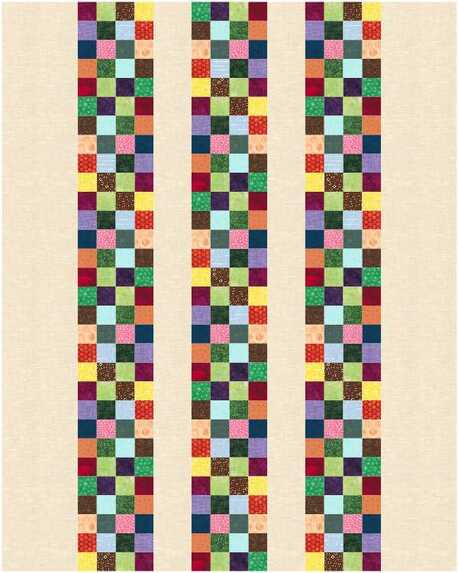 This version is symmetrical so a little more traditional. The 2 outside borders are 8" wide (finished) and the 2 narrow sashings are 4" finished. 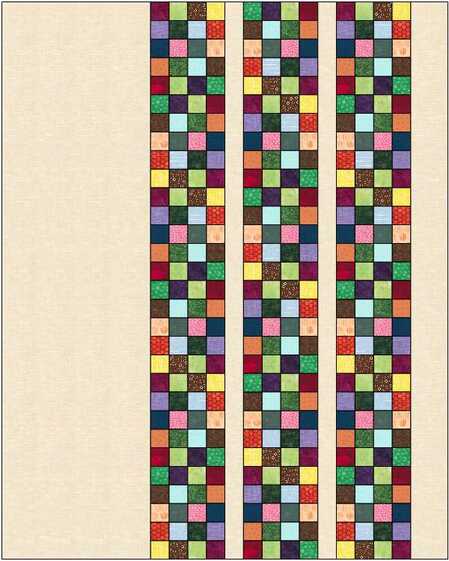 This version is more like the one in the lesson. The borders left to right are 16", 2", 2" and 4" - all finished widths. Not bad. 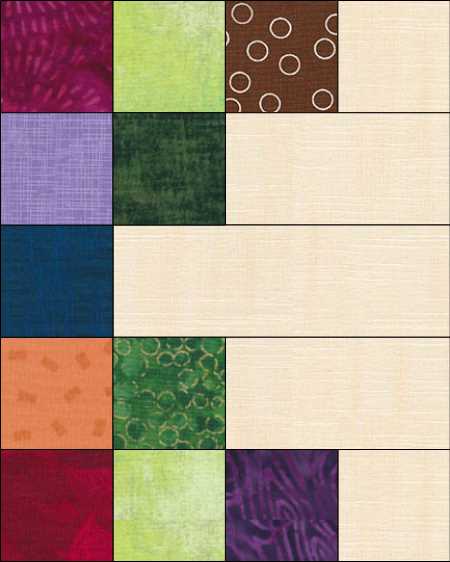 Then I played around with the block a bit and came up with this version. 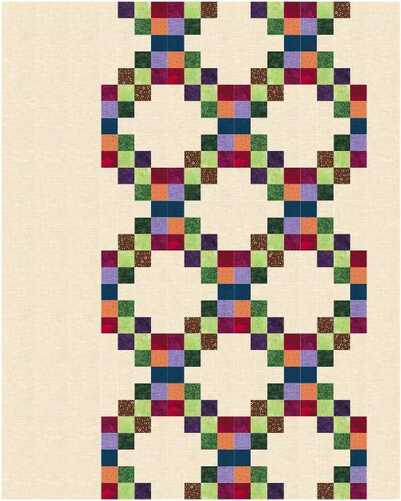 This is the result of the new block set 4 blocks wide and 6 blocks long. The border on the left is 12" and on the right is 4", finished. I rather like this. 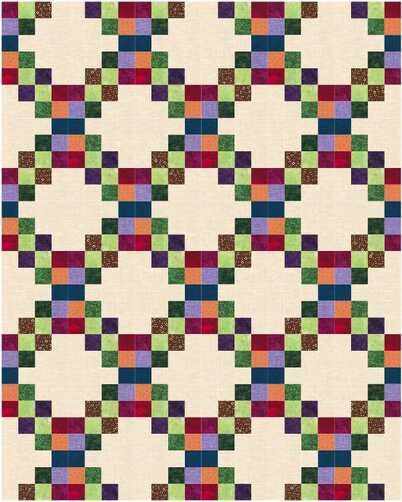 Or, back to a traditional layout with 6 blocks across and 6 down. I like this. I actually like all of them but I'm still not volunteering to make any of them!
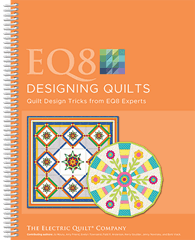 I think I mentioned a couple of weeks ago that one of my goals for the year was to learn more of the features of EQ8. I thought about looking for some online classes but eventually settled on using a book. I know I won't actually retain a lot of the information but hopefully I can remember that something I want to do is possible and I'll have the book as a reference. There are actually 2 of these workbooks and I bought both. The first book has 8 chapters/projects and I got started last night. I can already tell that this is going to be a great exercise.
In this first lesson I've already learned how to resize an applique on the background. I didn't even have a clue that it was possible to do that! 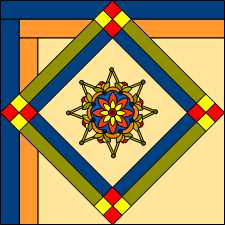 I learned about framing blocks with Serendipity. I knew about Serendipity but have really only used it to merge blocks. I didn't know that it was a feature to frame blocks like this or to do any of the 5 other things it can do! 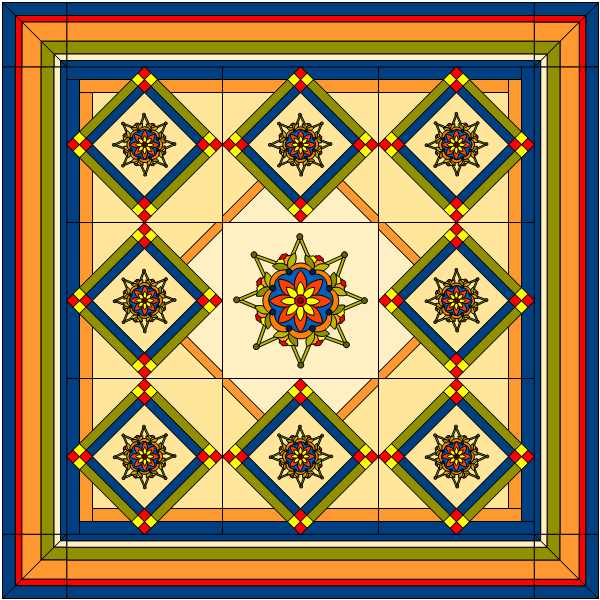 The lesson finished off with Auto Borders. I remember using borders some in an earlier version but I think it's much more advanced than what I remember. This Auto Border feature is a rabbit hole that you could sink into for several hours.
It's already worth the $30 that I spent on the book. Next up is creating negative spaces for modern quilts. I think I know how to do this one but I'm sure I'll learn something new. |
FeedsTo subscribe click the RSS Feed button and copy the URL of that page into your blog reader.
In Bloglovin you need to search "Colorways By Vicki Welsh" to find the blog. About Vicki
I'm Vicki Welsh and I've been making things as long as I can remember. I used to be a garment maker but transitioned to quilts about 20 years ago. Currently I'm into fabric dyeing, quilting, Zentangle, fabric postcards, fused glass and mosaic. I document my adventures here. Categories
All
Archives
July 2024
|
 RSS Feed