|
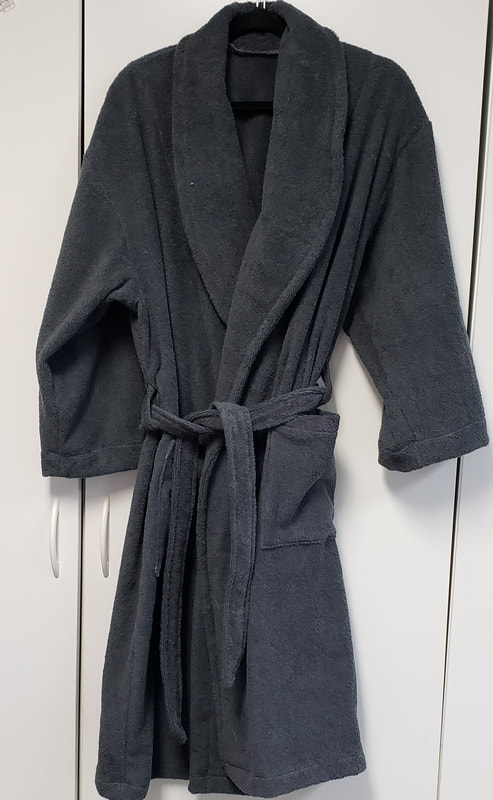
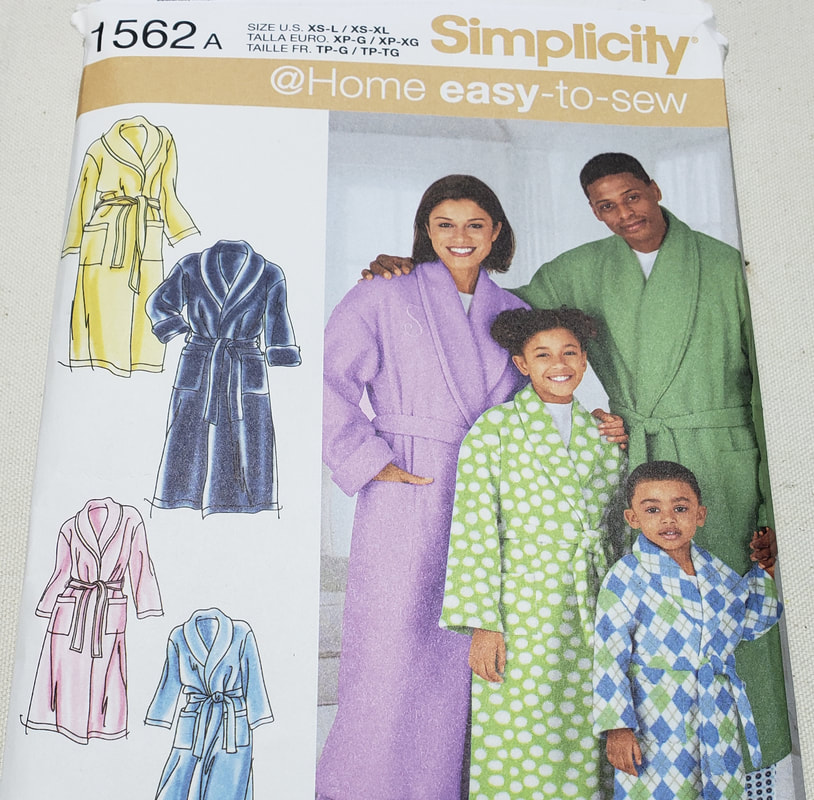
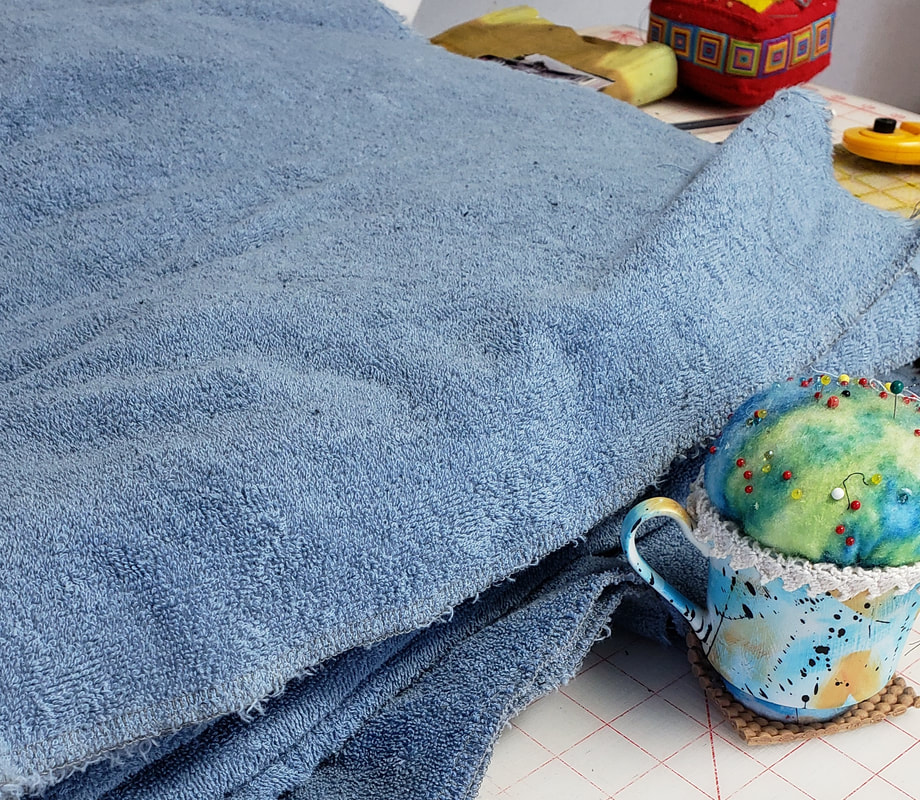
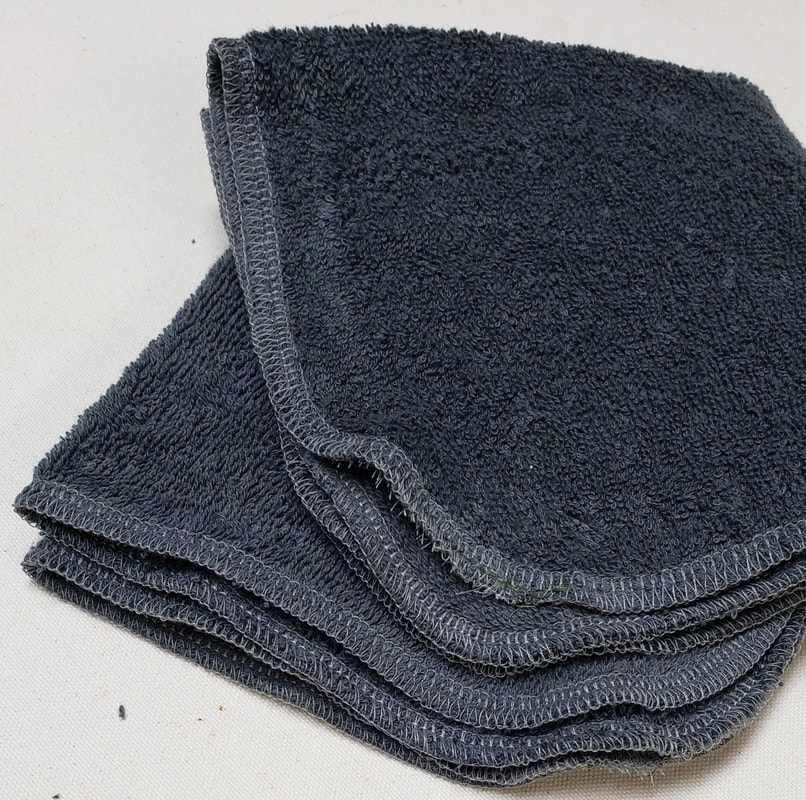
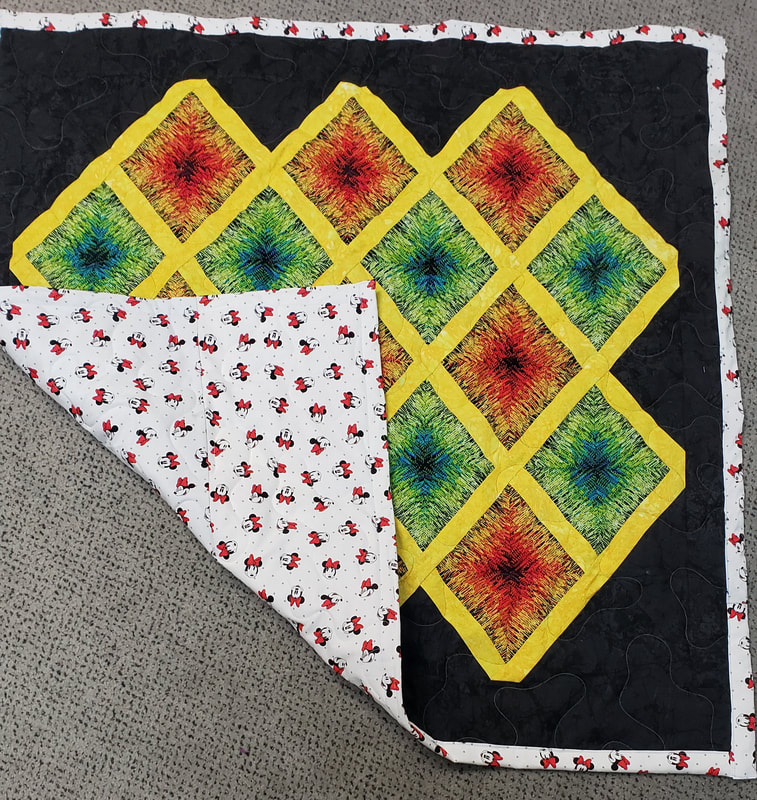
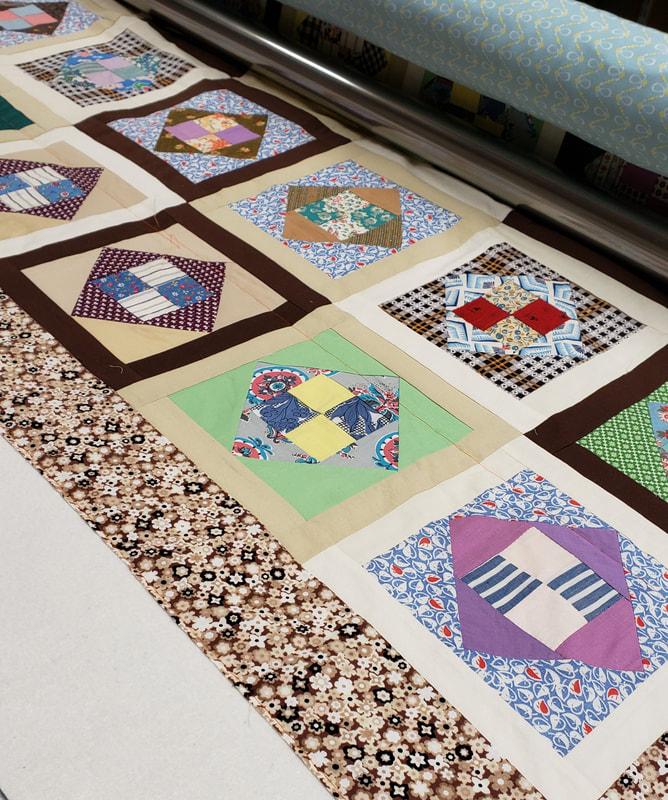
Yes I did. I made a bathrobe! I wanted one and I bought one from Target and I hate it. I really wanted cotton and all they had was poly. I shopped online for a cotton one but the ones with good reviews are very expensive so I decided to just make one. Yes, I picked gray. I almost bought white but I found myself thinking of all the ways that I could dye it. I know that dyeing toweling is a PITA so I changed my mind and bought an undyeable color. Plus, I like gray a lot in my wearables. I used this pattern and I can tell you that the yardage on the directions is not enough! I had enough for my robe because I shortened it by 5". I got this fabric from Joann and I have to tell you that it's really good quality. But I have to go back today and buy another yard so that Chris will get two sleeves in his robe. With coupons, these robes cost about $40 each but they are really luxurious. I had just enough leftover to serge two new washcloths. See that gray speck? I have those all over my sewing room! I need to get Chris' robe done before the cleaning lady comes on Wednesday so she can clean up all the stuff that I miss. I have vacuumed once already but these bits seem to be everywhere. Another quickie project that I finished this week is this pet blanket that I will donate. The top is a reject sample that I made for Paula Nadelstern. I rejected it, she never saw it. I made another version for her with a different background that looked a lot better. Since then I've been moving this top around from stack to stack in my sewing room. When I cleaned some shelves it surfaced again and I decided to finally do something with it. The trash can was one idea but then I decided on a pet blanket. The backing is a fabric that I bought to make a doll dress for Ella and it got permanently stained when I prewashed it. I reordered the fabric for her dress but didn't throw the ruined piece away. It was fine for the back. I loaded it on the longarm, used a remnant of poly batting and stipple quilted it. I trimmed the batting to the edge of the top and then used the backing to fold to the front and topstitch. The whole thing took about 2 hours. I'm glad to have the top and the ruined fabric out of my stash. Last night before sitting down to crochet I got this quilt loaded. Mom made it to donate. These blocks are made from feedsacks and were donated (dropped on) our quilt club. Mom took them and made them into a "sofa size" quilt. With the leftovers she's making a veterans quilt top. I'll get this quilted for her this weekend and, hopefully, get Chris' robe made. Those seem like sufficient goals to accomplish before the Super Bowl.
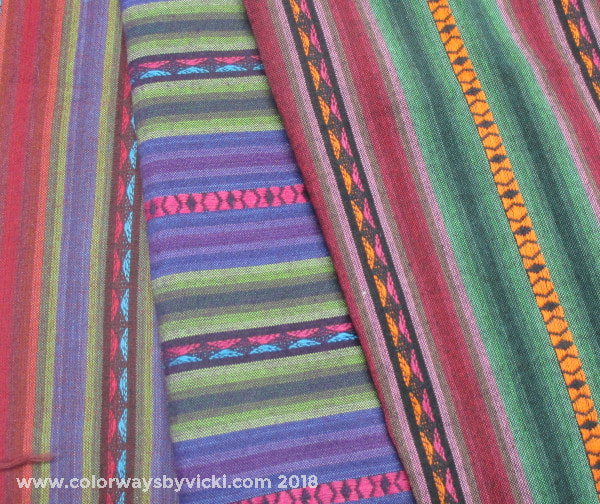
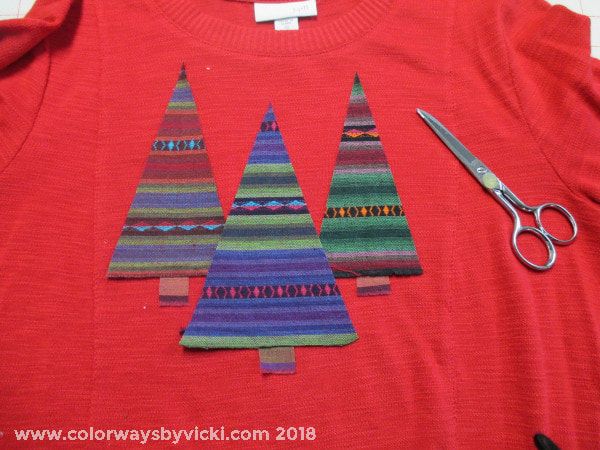
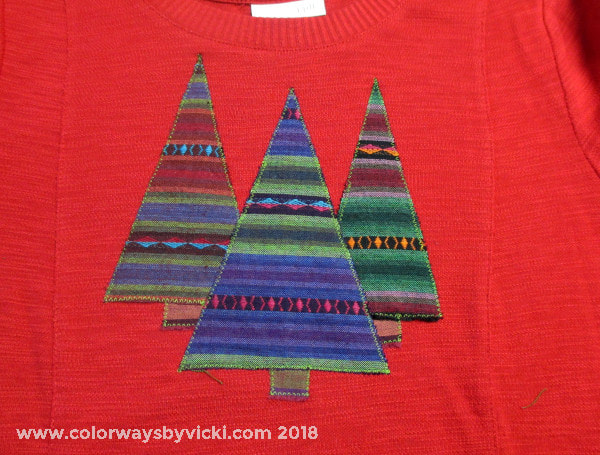
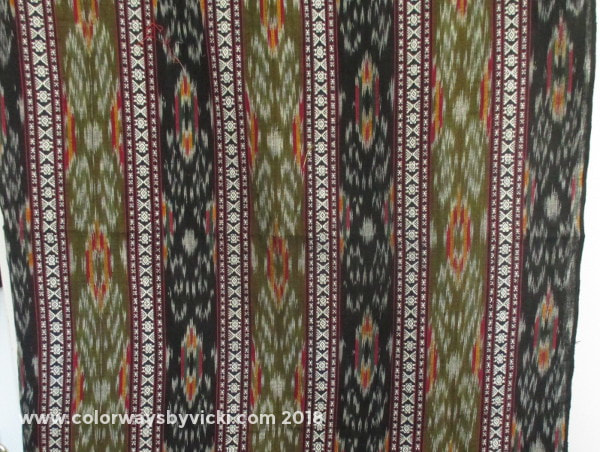
I bought some new clothes recently and I have a rule that new clothes have to fit into existing spaces. So if a drawer is full I have to get rid of some items to make room for new ones. I can't stand clothes clutter. All of the new clothes fit fine because I had recently done a purge but as I was putting things away (including a new red tunic) I found another red tunic that I had never worn! Ugh, I hate it when I do that. What a waste! I know I had not worn it because the pockets were still stitched together and also I because I don't love it. But it's a perfectly good sweater/tunic and I thought that maybe I could make a Christmas sweater out of it. It is red, after all. I remembered a sweater that I saw at a show recently that had 3 simple tree on it. I wanted and easy project and that seemed perfect. First I had to find the fabric. I wanted a plaid or stripe so I pulled out those bins and found this set of 3 woven ikat fabrics. (I also found something else for another quick project that I'll share tomorrow.) These are perfect for the look I want...more homespun, less sparkle. Had I planned this project properly I would have put some Mistyfuse on the back of the tree fabric before I cut it out, but I didn't do that. I just cut out the tree shapes, arranged them on the shirt and pinned them in place. Then I tried on the shirt to check/adjust placement. Once it was time to stitch I realized that i needed some sort of stabilizer or I'd stretch the sweater during the stitching. Had I taken more than 5 seconds to think about that I would have used Sulky Solvy as my stabilizer because it's so easy to wash out. But I didn't and the closest thing to hand was tissue paper. I pinned a big hunk of tissue paper to the back side of the sweater front and pinned it in place. I did do one test seam on a scrap of sweater fabric and once I had the stitch length and width just right, I zig zagged away. Start to finish, the whole effort (including cleaning up the plaid fabrics strewn everywhere) took less than 2 hours. Now I have something to wear to the quilt club meeting next week.
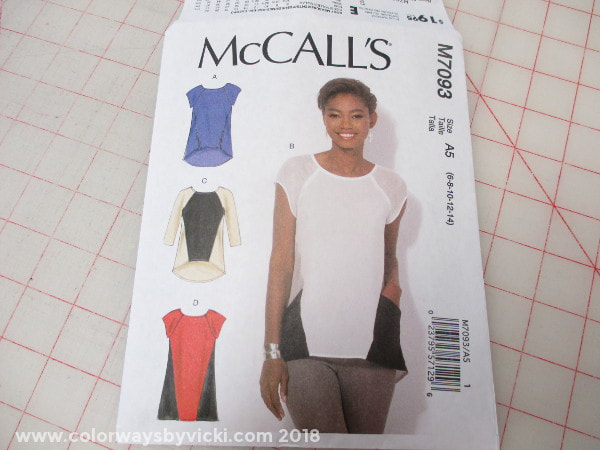
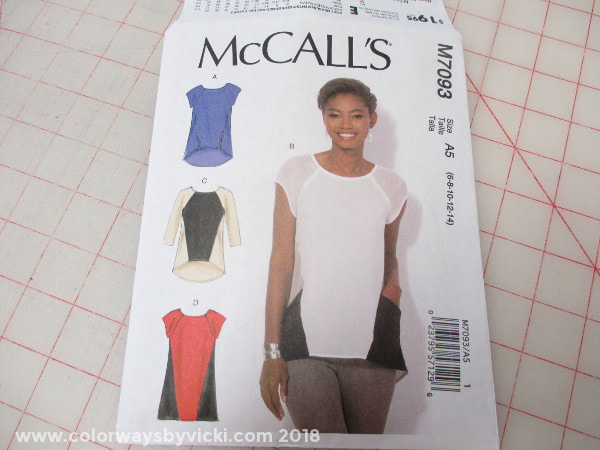
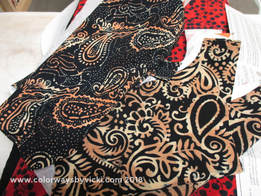 I shared last week that I had cut out my second tunic. I made a few alterations to shorten it and widen it at the hip (darn it). I did this one color blocked with 2 "matching" prints. I love these Sew Batik rayons and I love that they are named in such a way that you can easily identify the coordinating fabrics. I washed and machine dried all of the fabrics so that I can treat the tops the same. I've washed the blue one and it didn't require any ironing at all. That makes these absolutely perfect summer tops! I worked on this in bits of time over the past week and, in total time, it went together really quickly. Here's the pattern. I made this one color blocked like the red/black one but the short version like view B without the pockets. The next one will be a longer version to wear with leggings and I'll do it black and red just like view D. Another change I made was to draft a neck facing. The pattern calls for a bias strip for the neck but I felt it was a little too bulky. A 1: facing worked out perfectly and was actually easier. It still cracks me up to sew 5/8" seams. They seem so HUGE! I remember when I started quilting and was told to use 1/4" seam allowances and I was sure that every quilt I made would fall apart. Of course even a simple garment can't be sewn without some sort of snafu. Don't we all love picking out black stitching on black fabric!
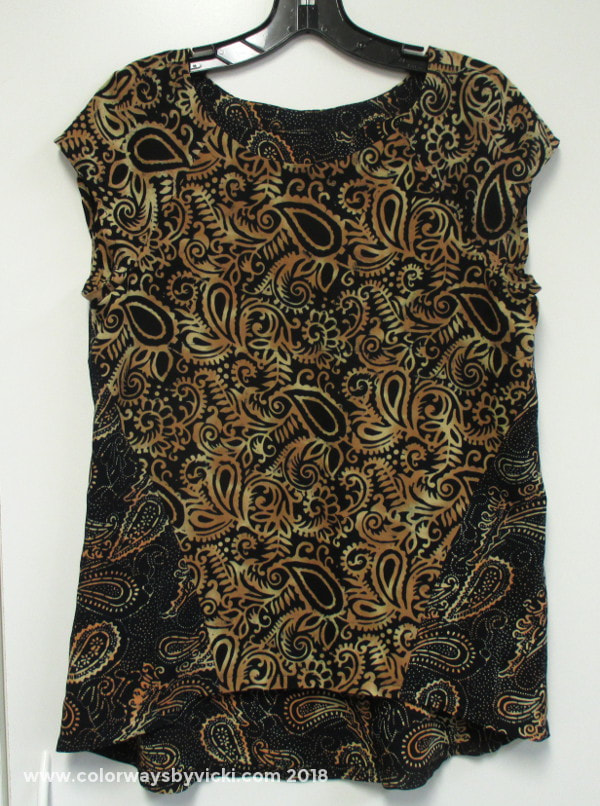
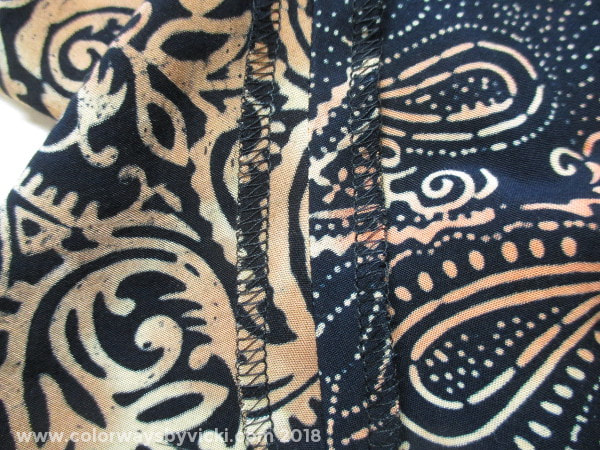
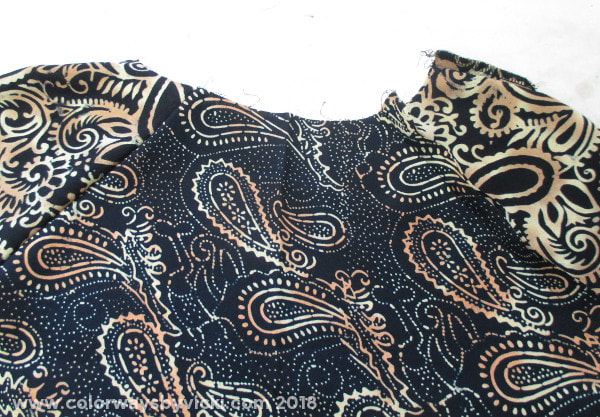
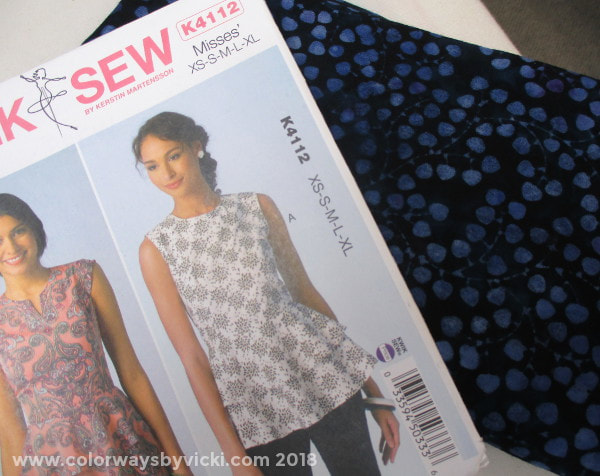
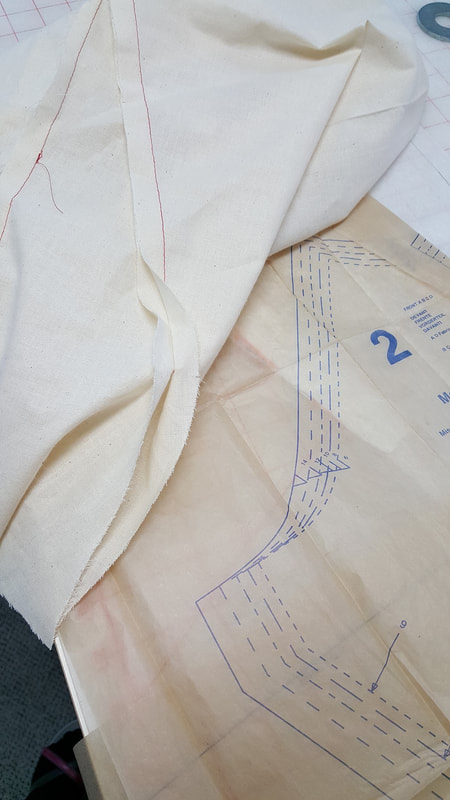
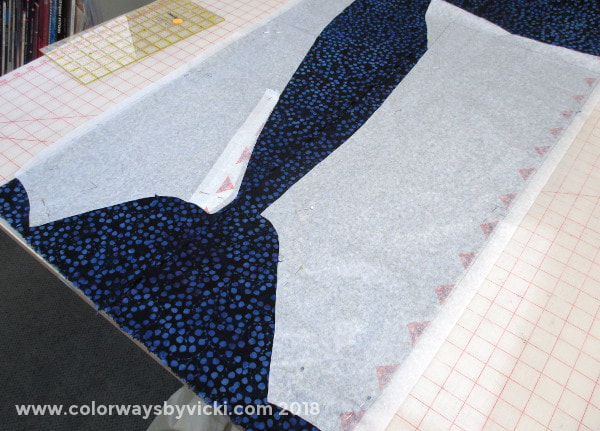
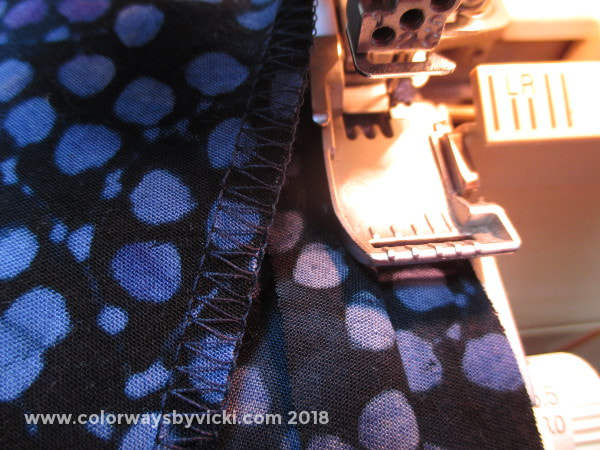
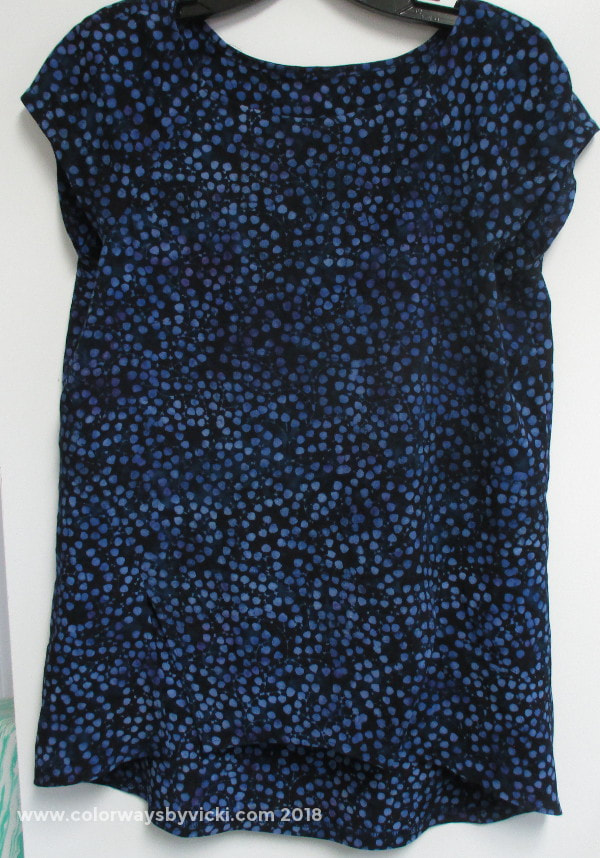
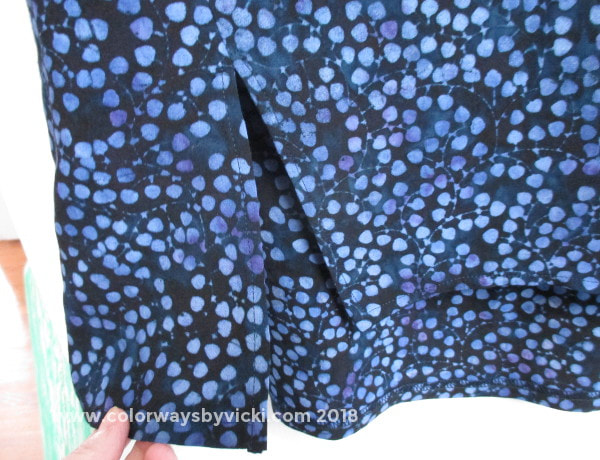
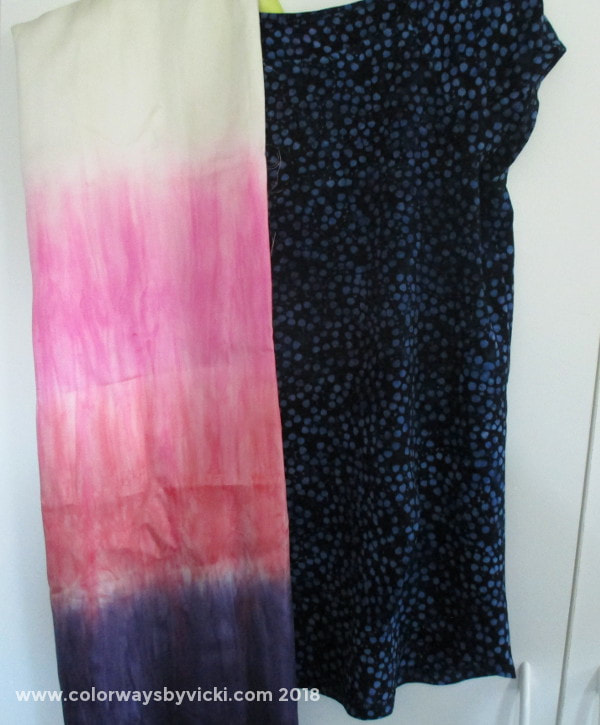
Now if the weather would just warm up enough to wear my new tops. You might remember that in February, while at Birds of a Feather, I bought this rayon batik and pattern while under the peer-pressure influence of my friend. Like the batik fabrics I cut yesterday, I didn't want this fabric sitting around too long. But on further investigation I didn't want to make this top because it has a long zipper down the back and I don't like wearing things with long zippers. I'm all about comfort in my life now. So off to the web I went and found this pattern. I love tunics and thought this might be a pattern that I could make over and over. If this goes well, that long tunic, View D, could be the ohly thing I wear this summer over leggings. While I prewashed and machine dried the fabric I made a muslin. I used to make garments all the time and fitting was a big deal for me. I'm narrow in the back than my bust size needs and I'm short. So muslins are a must. Plus it let me practice with that gigantic 5/8th seam allowance! I remember when I started making quilt I thought that skinny 1/4" seam allowance was insane. Now the 5/8" seems almost wasteful. The hardest part of the whole thing was getting the batik fabric folded on grain. You can see on the top pattern piece where I made the bust alteration. I even got to use my serger for exactly what I bought it for - finishing seam allowances! From making the muslin to hanging it on this hanger took only about 3 hours. You can't see the seam details here but I love how it turned out. It fits great and is flattering. If you scroll back up to the pattern photo, I made view A. I'll shorten the next one a bit, but otherwise I love it. Here's the front hem detail. For the next one I will change the neckline finish to a facing but otherwise, I'll be able to simply cut and sew. You will not be surprised to hear that I have a small stash of garment fabrics that I kept and this gradient silk is one of them. I think it would look great in this pattern. I think this Ikat would look great with black in the long view D. I don't really need new projects but the speed and low cost of these would make my summer wardrobe really easy!
|
FeedsTo subscribe click the RSS Feed button and copy the URL of that page into your blog reader.
In Bloglovin you need to search "Colorways By Vicki Welsh" to find the blog. About Vicki
I'm Vicki Welsh and I've been making things as long as I can remember. I used to be a garment maker but transitioned to quilts about 20 years ago. Currently I'm into fabric dyeing, quilting, Zentangle, fabric postcards, fused glass and mosaic. I document my adventures here. Categories
All
Archives
July 2024
|
 RSS Feed