|
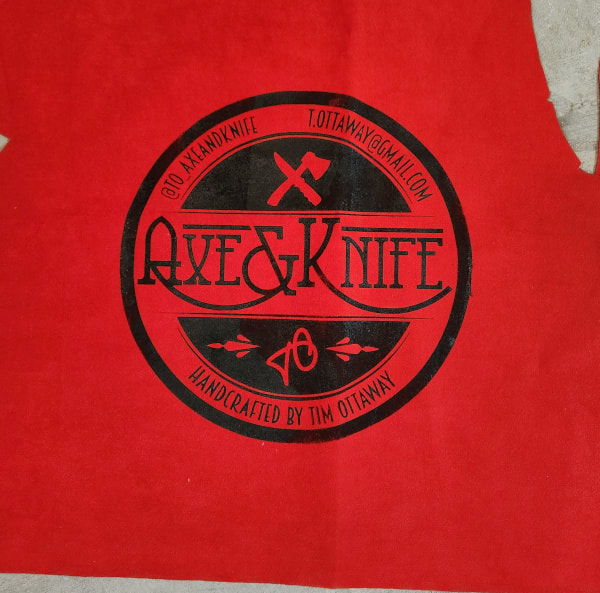
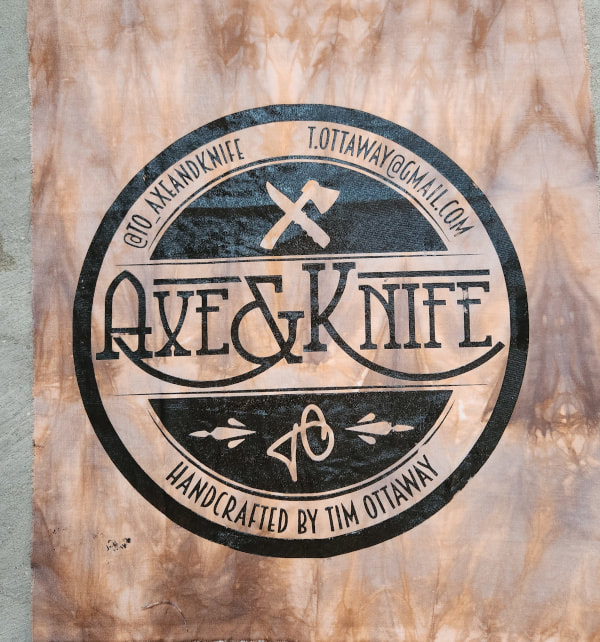
Well, this week I am. This is my brother's logo. In case you are confused about his business, he makes axes and knives. He said a few months ago that he looked into getting some shirts printed with the logo but he was a little shocked by the price. He has a BIG birthday coming up Saturday and I thought it would be a good idea to try to screen print some shirts for him. Little did I know what a huge project it was going to be! MY SIL and niece have a Cricut machine so if I could get the logo file they agreed to cut it in vinyl for me. When I emailed him to get the logo I figured out that he would know why. Fortunately, he had food poisoning that week and wasn't alert enough to figure it out. For screen printing, the image has to be cut in reverse and this particular one is a total pain to weed and transfer. The tiny triangles in the "A"s and the holes of the "B" helped me practice my profanity vocabulary. I'm trying to learn Spanish and I should have looked up some Spanish profanity for this project to learn new words. I actually weeded 2 of these because I used the first one to practice. Transferring to the screen is no picnic either. After it's on the screen, you cover the rest of the screen in painter's tape. My first practice pieces were in black ink on different fabrics. I wanted to see how many prints I can do with one screen and the answer is lots. Here's where I also learned that my ink is old and needed to be thinned out pretty substantially. A close inspection of my practice pieces show that there are some coverage inconsistencies and smudges. It was clear that practicing was needed. Then I decided to start on the shirts. I frequently dye shirts for him. Nothing fancy, he just likes some hand dyed texture in dullish colors. I got a pack of tshirts and dyed all 6 of them. I printed 3 of them and hated how they were looking so I washed out all of the ink, re-washed the shirts and started again. My problem with the first printing was my print surface. I was using this little ironing board and the cover was too loose and gave me an uneven surface. I got my staple gun out and stapled the cover tight and that solved my problem. I never use this as an ironing board so now I have a new print board! Because his business is a steel-based business, I wanted the color to be gray. Here are the finished shirts with the logo on the back. The funny thing is that he pulled the shirts out and looked at the front of them and was commenting on the colors. Chris finally told him to check out the back. I think he loved them. While I was weeding the design, I took the waste piece with his initials and put that on another screen and printed this for his birthday postcard. I was so stressed getting the shirts done last weekend that I forgot to write a birthday note or sign the card! He can hang it in his shop somewhere to remind him how cool I am.
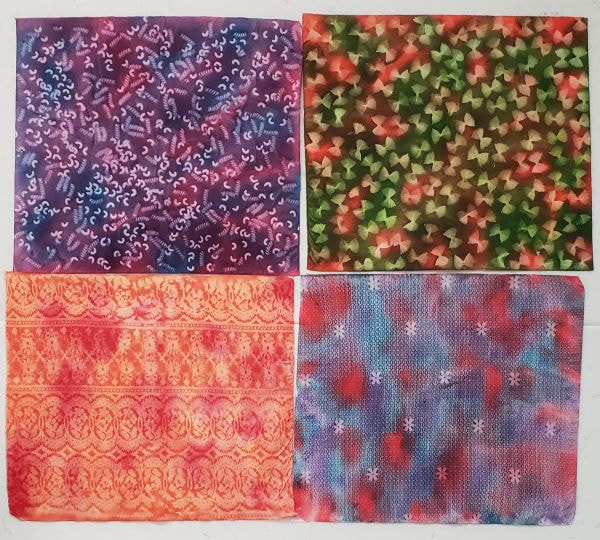
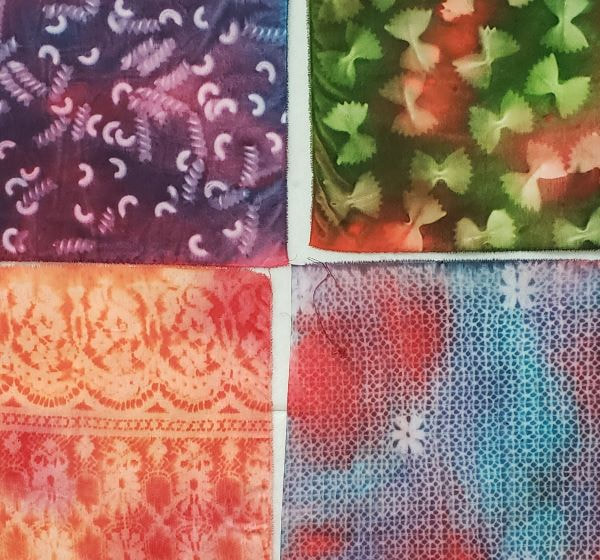
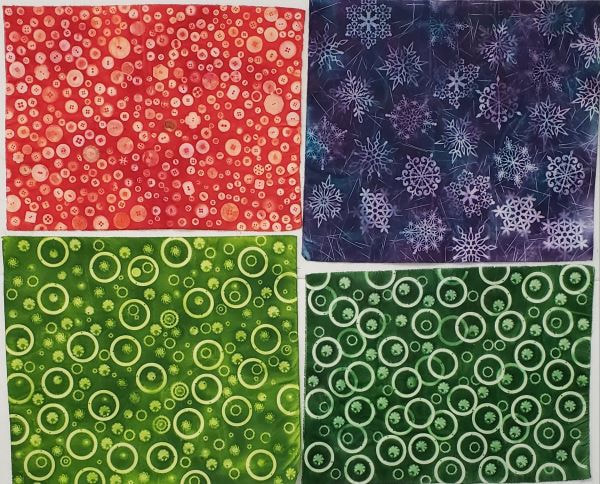
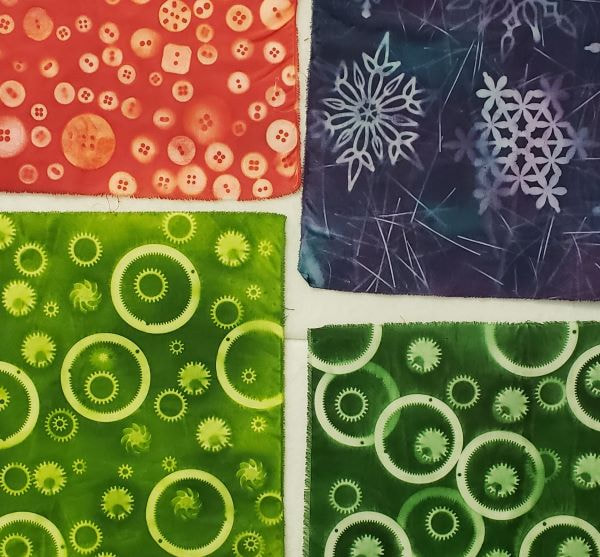
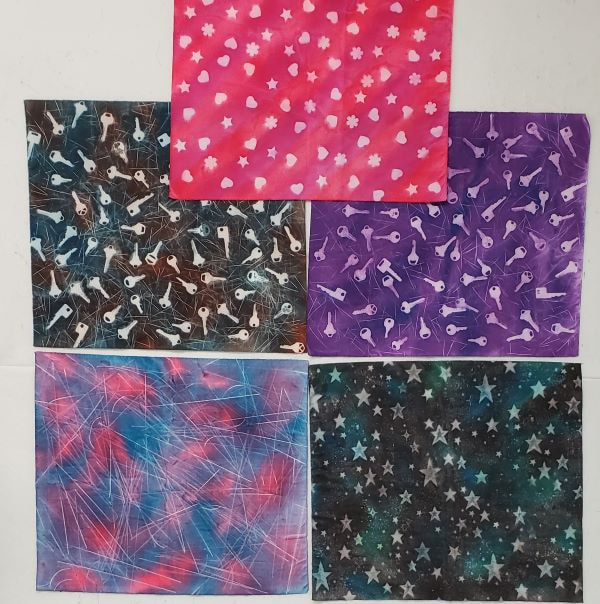
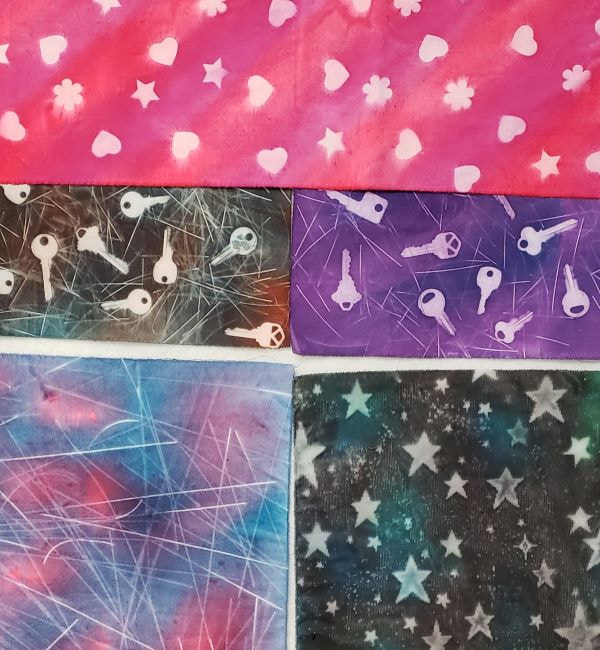
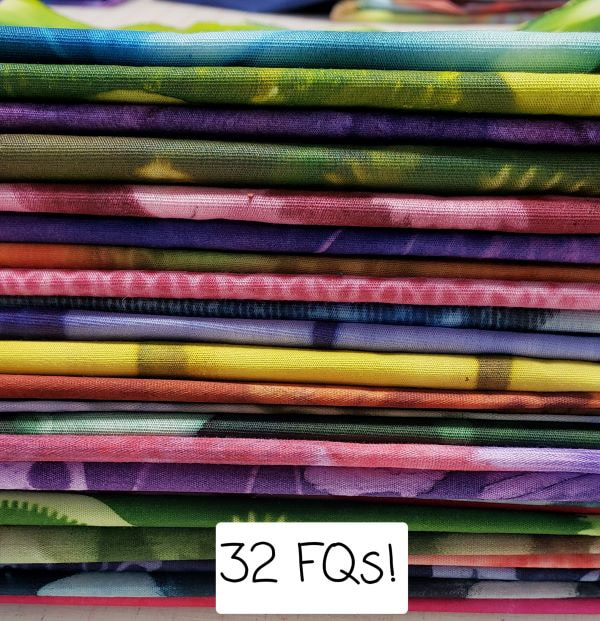
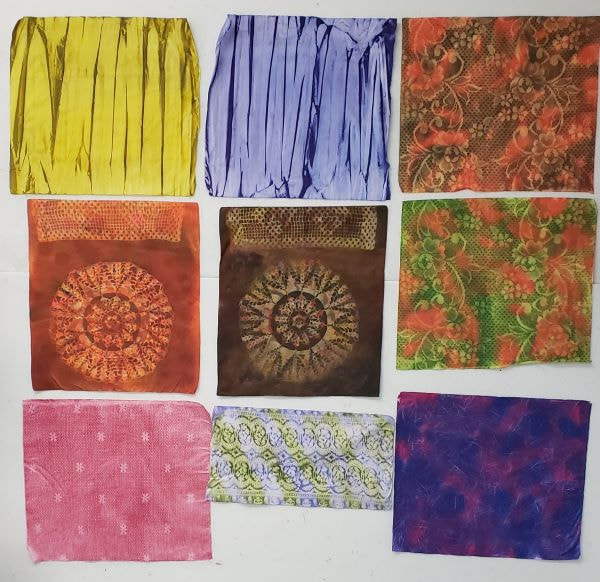
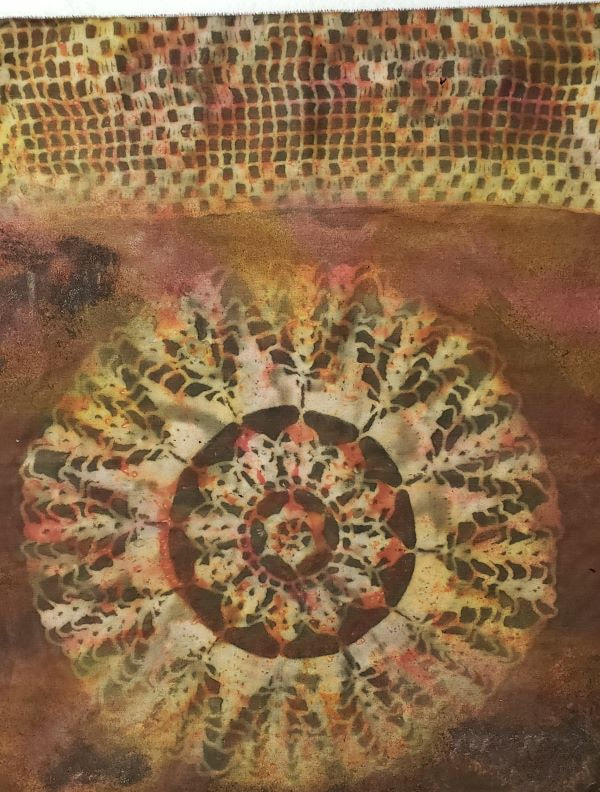
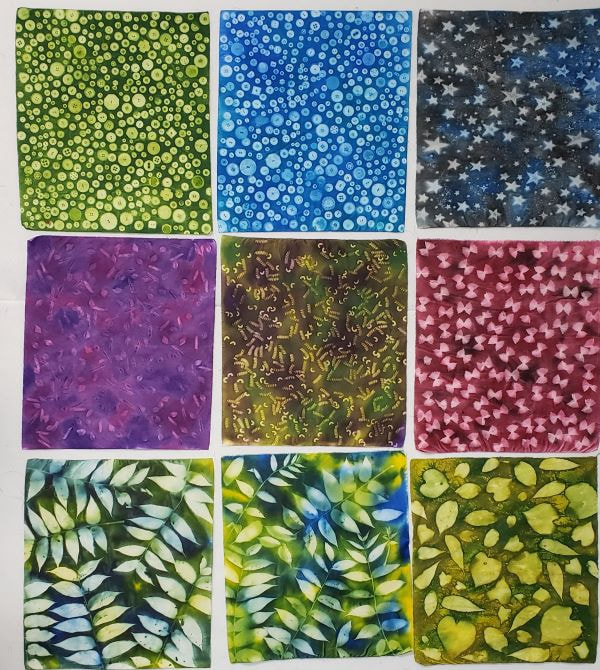
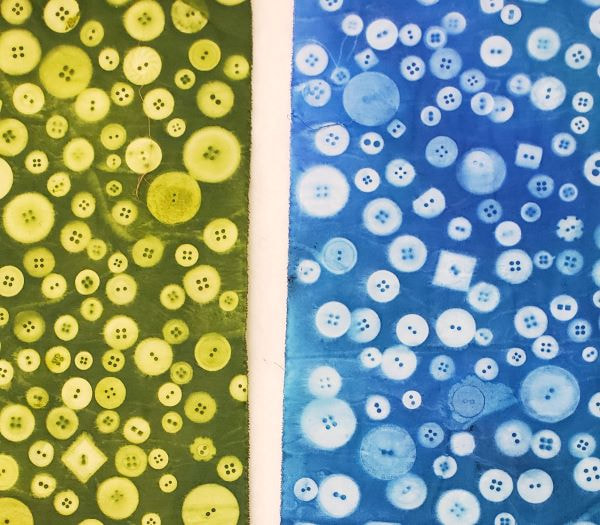
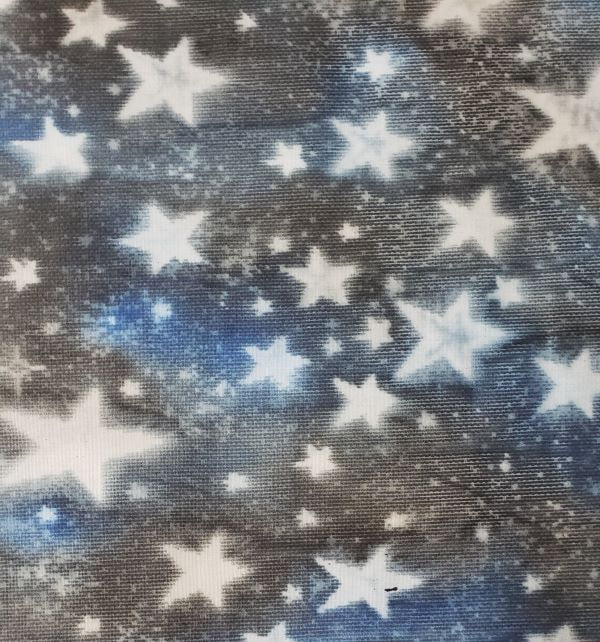
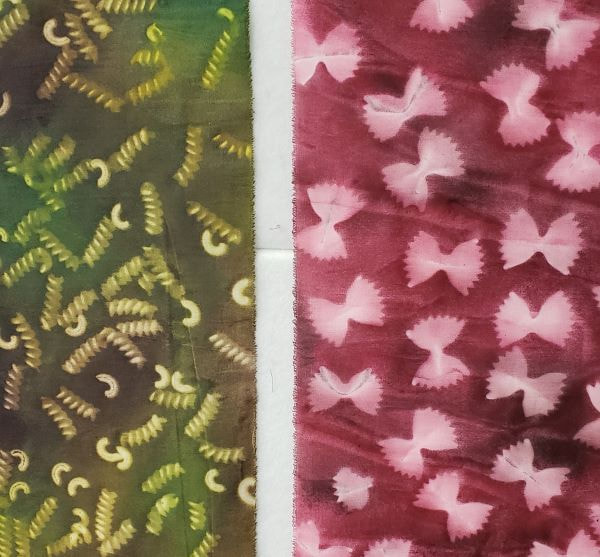
One thing that came out of this project is the recognition that I need a Cricut machine too. I might be getting into that later this summer. `This pat weekend I needed to clean up all of the sun printing paraphernalia out of the garage. There's a lot of it that I didn't want to bring back in the house so I decided to see if I could use up most of the remaining paint. I really don't see myself doing any more sun printing for a while and I'll buy any specific paint that I need when that time comes. The paint I had was in my stash over 2 years. I spent a couple more hours painting and printing and here are the rest of the fabrics that I made. I'm including 2 photos of each set of fabrics with one as a close up. These 4 are more pasta and lace. I kept all of the lace fabrics in my supplies but I tossed all of the pasta. All of that pasta has been in my studio for many years and I'm surprised I hadn't attracted a lot of bugs. More buttons (that I did not toss out), gears that I collected from my old asthma inhalers and wood snowflakes that a friend gave me. Estelle is going to be upset that I had forgotten about the gears, snowflakes and keys (below). I only found them after they left from the first sun printing session. The plastic gears in asthma inhalers are very cool but I'm glad to be cured of the need for them! Keys, spaghetti, foam shapes and another piece of lace. After 2 session fo sun printing I have a stash of 32 fat quarters! This will hold me for several years of postcards and other little projects.
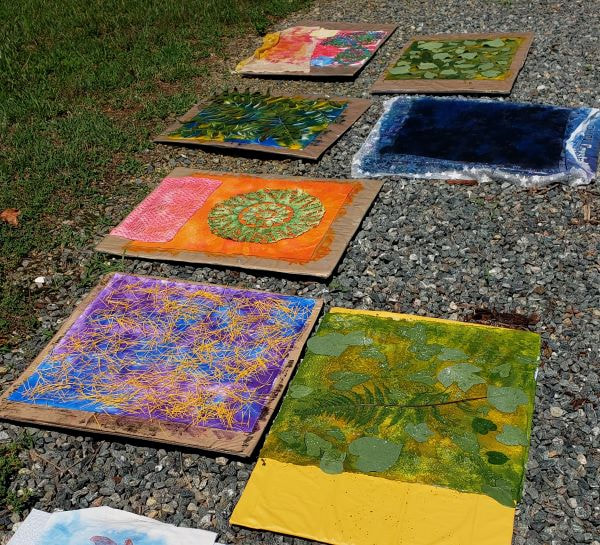
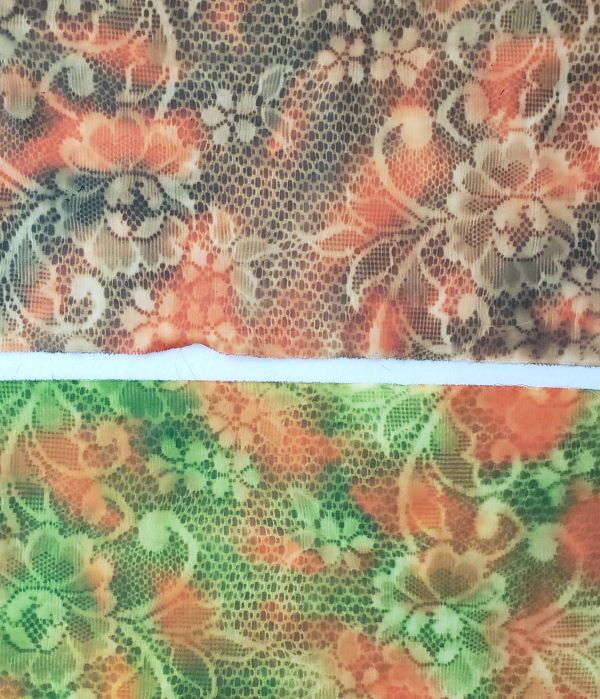
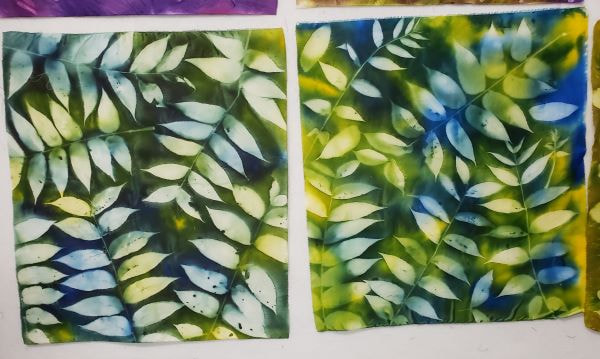
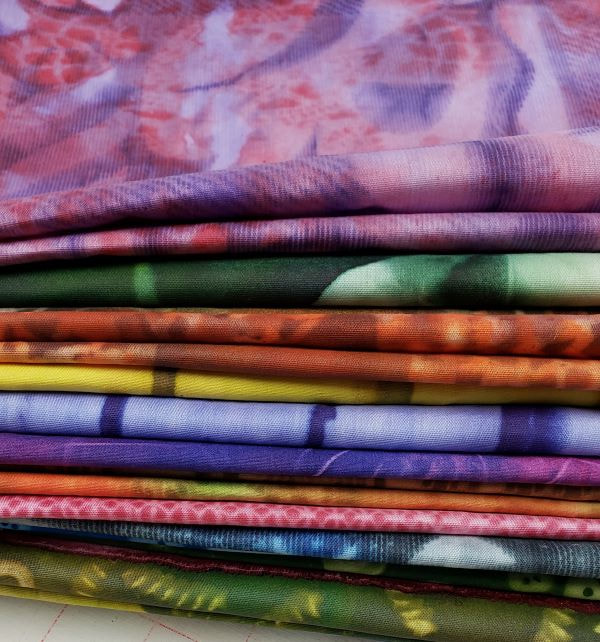
Time to get back to quilting. There was no time for a newsletter or shop post yesterday because there was fun to be had! I haven't done sun printing in a couple of years and I wanted to use my stash of paints. So I invited my friends, Estelle and Marcy, over to sun print with me. While sun printing is a lot of fun I do have some issues working with paints and have gotten to a point where I don't really do much with fabric paints anymore. I can use them outside and that's what we did yesterday. My goal is to use up my sunprinting paints and to not buy more unless I have a specific project in mind. Sun printing doesn't actually require the sun. It works by drying out the fabric and wicking the paint/liquid out from under the mask. The sun helps by drying the fabric faster but a dry hot cloudy day works well too. We lucked out with a sunny and very hot day. Our fabrics processed quickly. We used all kinds of things for masks as you will see in my fabrics. This set is mostly done with lace. Lace is great for sun printing. The two in the upper left are done by painting the fabric and then folding it up. As it dries the fabric wicks to the top of the folds. The two like this will likely become project bags. This lace is from a curtain panel from the thrift store. Doesn't it work great for sun printing? In this set I used buttons, another lace panel, pasta and leaves. Button prints are great for lots of different projects like postcards, notion bags, coasters......anything but quilts. I have a bag of buttons that I set aside for just sun printing. This one is probably my favorite. I think the original fabric was a sheer shower curtain liner cover. It might be a sheer curtain panel. Whatever the source, this will be great for a postcard background. Pasta is a surprisingly good mask for sun printing. I like using these fabrics for making potholder and kitchen things. I've had 4 bags of pasta in my stash for at least 8 years and they still don't have bugs in them. We have so may walnut trees on our property that I wanted a couple of fabrics with walnut tree leaves. I love how these turned out. Here's the stack ready for heat setting.
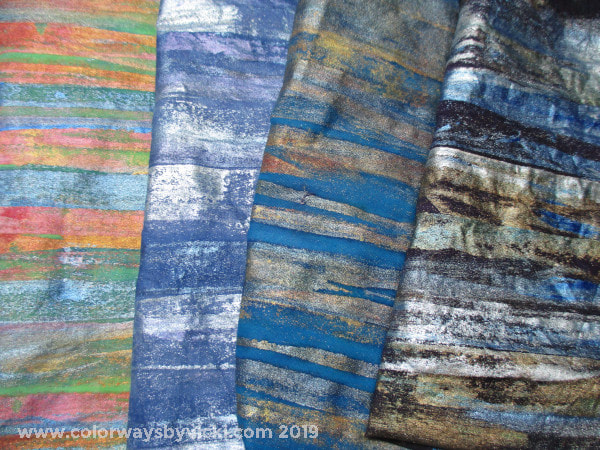
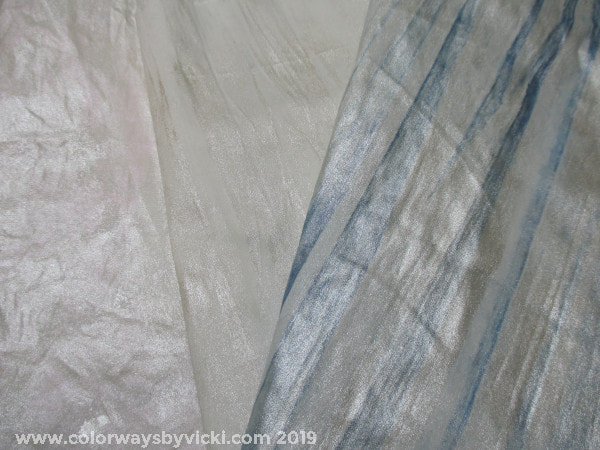
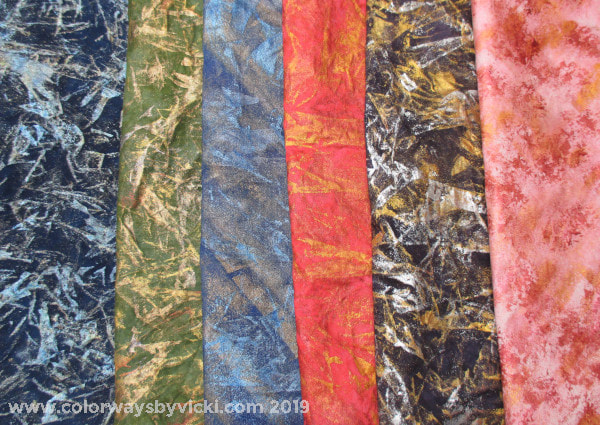
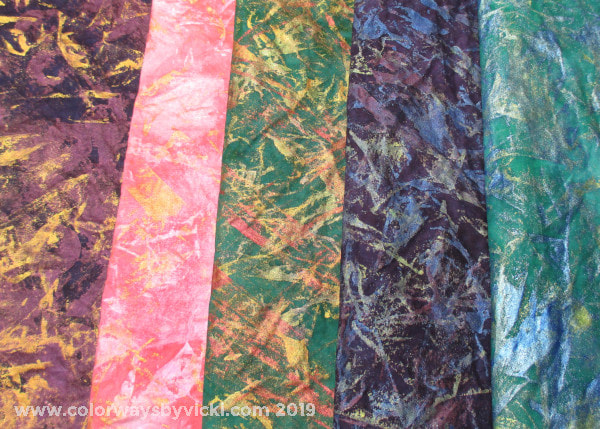
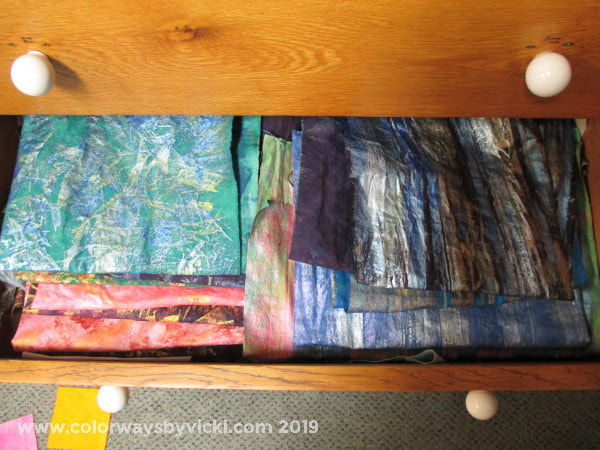
We had a fun day and I love the results but I'll have a moment of honesty. I don't use these fabrics as often as I should. I still have a small stash of sun prints left from a few years ago. I have learned that using them in a quilt is not a good idea. I made my Maine quilt from all sun prints and the fabrics do fade with washing. I will only use these for small projects and postcards. After our session I still have some paints left so I'm thinking about going out Friday and doing another session to use up the last of my paints and then I will cull some of my sun printing supplies. It's time to downsize this little hobby. I've decided that I prefer playing more with thickened dyes than with paints. I did this same downsizing exercise with my metallic paints in 2019 and I have a nice stash of metallic painted fabrics that I've used in some postcard designs. Now I'll have a new stash of sun prints and a little more breathing room in my dye studio. 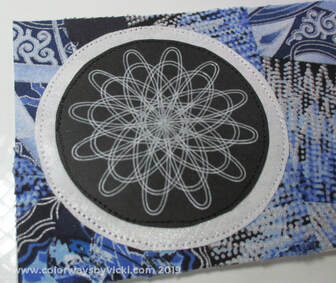 Remember when I made these cards and I talked about the pearl painted fabric that I pulled out of the Drawer of Magical Things (DMT)? While rooting around in the drawer I realized that I was low on these metallic fabrics that I made YEARS ago. 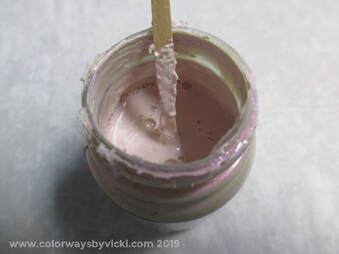 I don't do much fabric painting anymore because I'm so allergic to the VOC offgassing of things like paint and grout. When I do those things I have to wear a respirator and will still have issues. I get asthma and everything smells of burned wood for 3 or 4 days. It's gross. But occasionally it's worth it. It's been so long since I painted fabric though that many of my paints were about to dry up. I decided that I needed to use then while I could still revive them. Fabric paints are water based so all you need to do is add water to them and mix really good to get the lumps out. Since I couldn't dye yesterday I pulled some fabrics from the stash and tried to use up a lot of paints. I mostly use Jacquard fabric paints. They have some terrific metallic and pearlized paints. 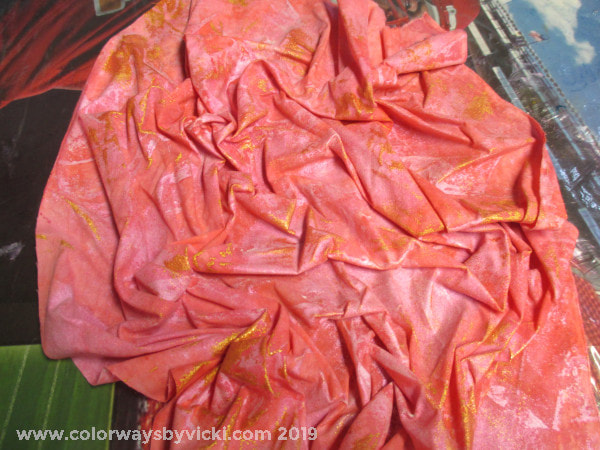 I wrote a tutorial for this several years ago that you can download here. If you intend to use metallic painted fabrics in a project that will be washed you will want to read this post on curing the paints. This is a great way to revive old fabrics that you don't like anymore. Yesterday I just pulled out some hand dyes from my stash. They start with damp fabric, scrunched or pleated and then I get busy with multiple layers of paint. I rearrange the fabric between paint applications. Here are my results from a very fun day. I love the pleated effects. Most of these will be used in future postcard designs but they are also great for little projects like book covers or zipper pouches. Since I used the pearlized fabric for my postcard I wanted to make sure to make more of that so have 3 white/near white fabrics. Mostly, though, I did scrunched versions in lots of different colors. I've got no plans for any of them. I just had fun and used up a lot of paint. Eighteen different fabrics in all! That was so much fun. Everything will smell like burned wood for a few days but it was worth it. The DMT is restocked and now it's time to get back to the Groovy quilt.
|
FeedsTo subscribe click the RSS Feed button and copy the URL of that page into your blog reader.
In Bloglovin you need to search "Colorways By Vicki Welsh" to find the blog. About Vicki
I'm Vicki Welsh and I've been making things as long as I can remember. I used to be a garment maker but transitioned to quilts about 20 years ago. Currently I'm into fabric dyeing, quilting, Zentangle, fabric postcards, fused glass and mosaic. I document my adventures here. Categories
All
Archives
July 2024
|




 RSS Feed