|
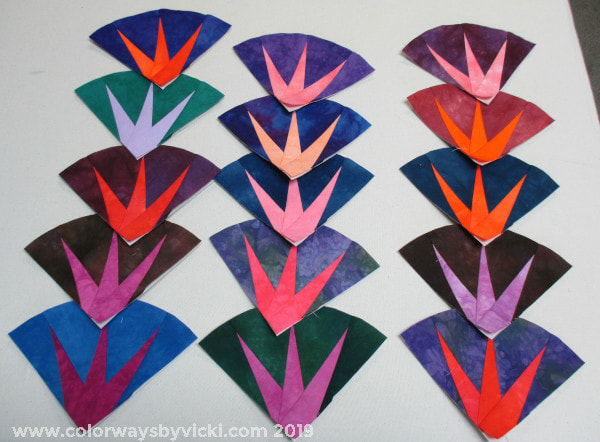
Well, this weekend didn't go quite as planned. My dentist appointments last weekend turned into more involved work. It all went great but it took more time and it all happened sooner than I expected. So that took up all of Friday. I got to go to CSQ sewing on Saturday and got all of these parts of my 4th of July quilt made. Yesterday was dedicated to getting the taxes together.
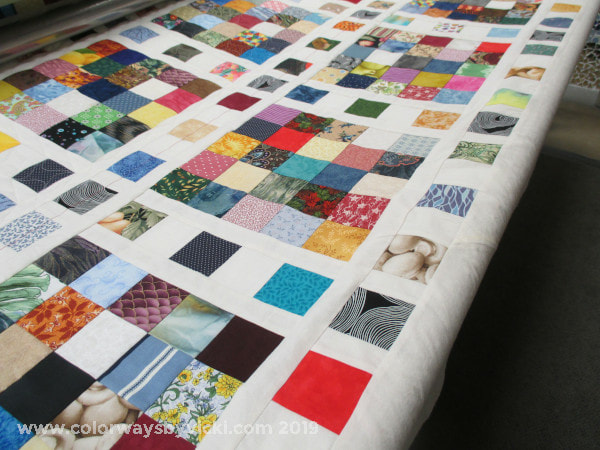
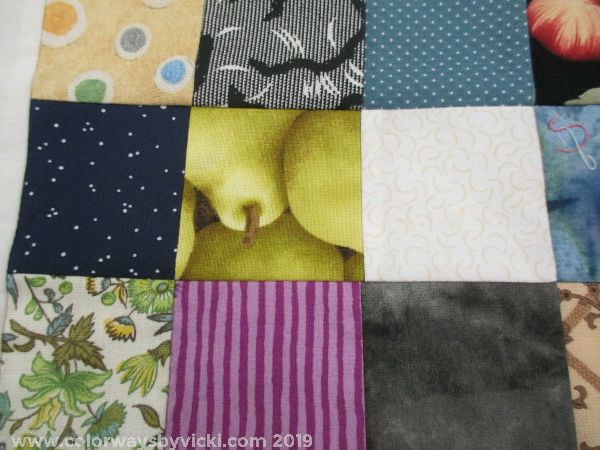
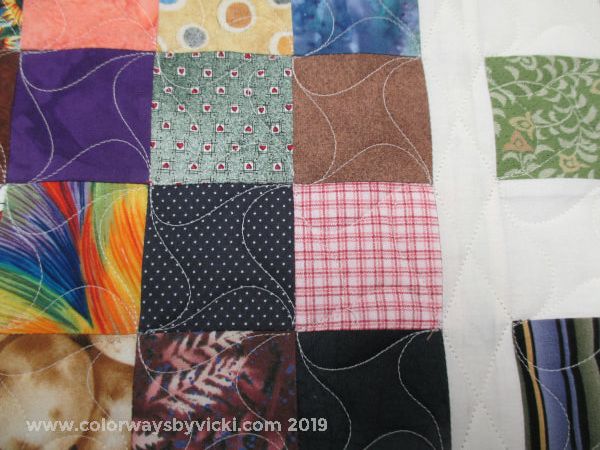
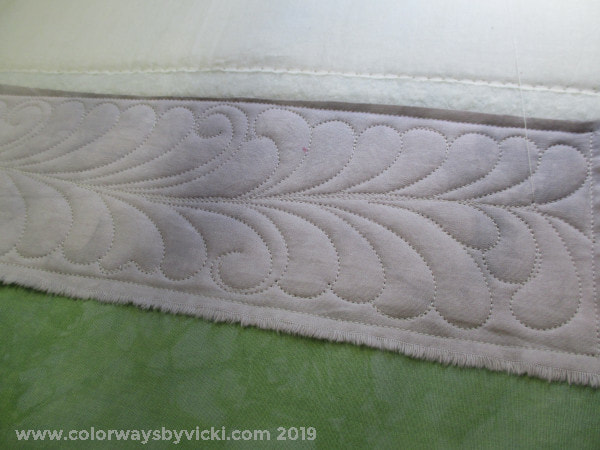
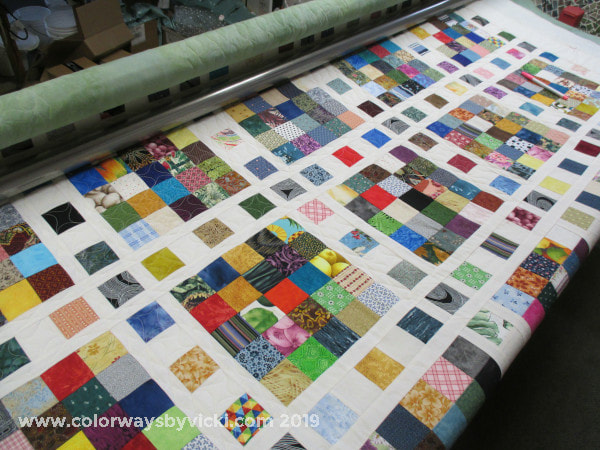
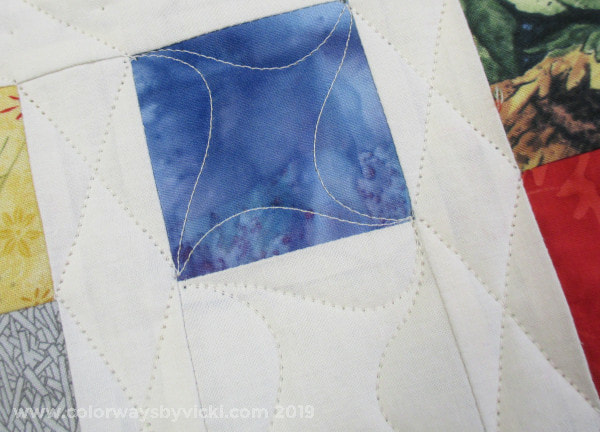
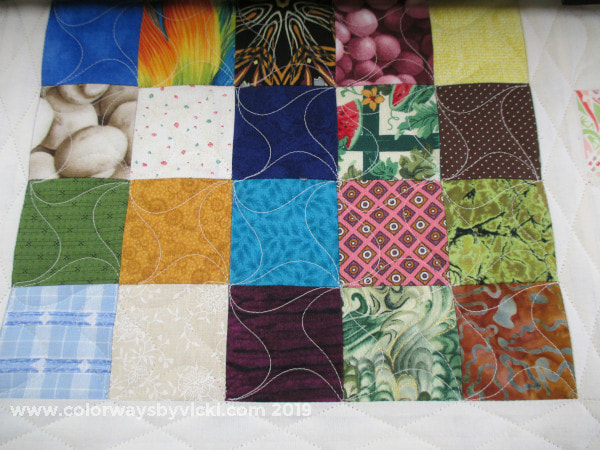
I don't know what's worse: the dentist or preparing taxes. But both are now out of the way and after I drop off the taxes today I can get on to something else! I've been working a bit every day on Mom's quilt and, as of last night, I finished all of the first pass of quilting. That includes the crosses in the narrow white borders and the Terry Twist in the borders and half of the big blocks. It's so much fun to quilt a scrap quilt and recognize some of the fabrics. There are lots of these fruit and vegetable fabrics in the quilt. Mom and I fell prey to these fabrics many years ago. We both made quilts with them but they multiply in the drawers. She's been trying to get rid of them for ages and I don't know if they are gone yet. But 2.5" squares are a great solution for ugly fabrics. They can hid a lot of ugly! Here's a close up of the quilting. This motif quilts up so quickly and I always love how it looks and I love the secondary pattern that it creates. There's a lot of ugly hidden here! Next up is the feathered border and feathered wreaths in half the blocks. I haven't quilted feathers in a long time so I did a little practice last night.
Feather quilting is kind of like riding a bike. It all comes back to you. I'm sort of focused on 3 projects this week: the gear drawings, Mom's quilt and a little on the wall. Here's what I've gotten done since the last update. It's not as much progress as I wanted but I can't sit on the floor for really long periods but and hour here and there and I got this much done. I'm still on target to finish it this Spring. I can't grout it until it's warm enough to open the windows because of VOC emissions so I can take until late April to finish the mosaic part.
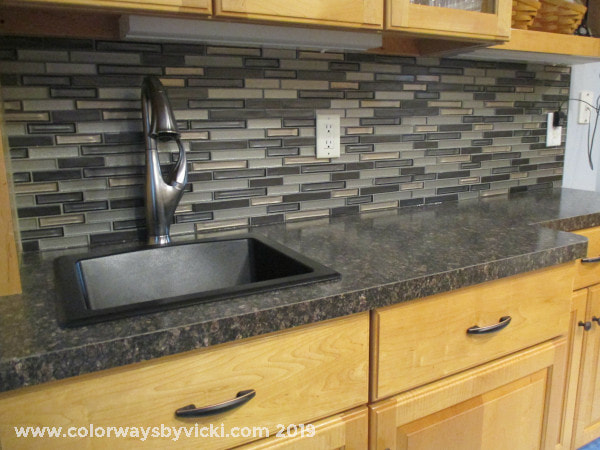
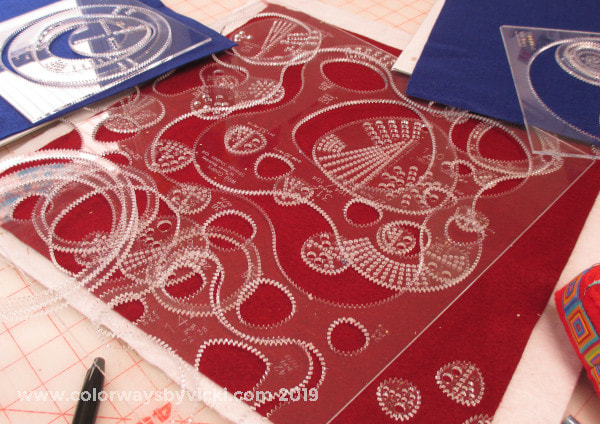
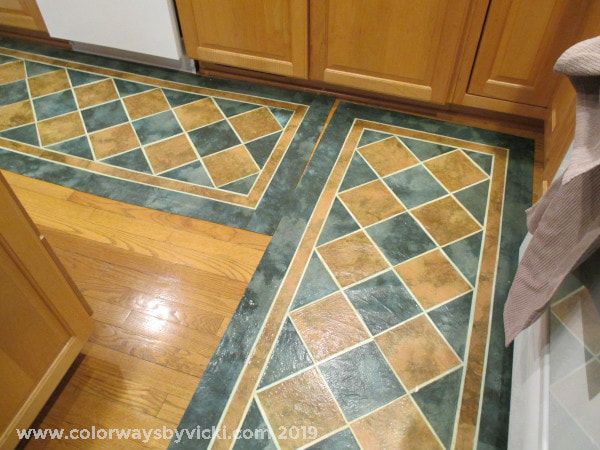
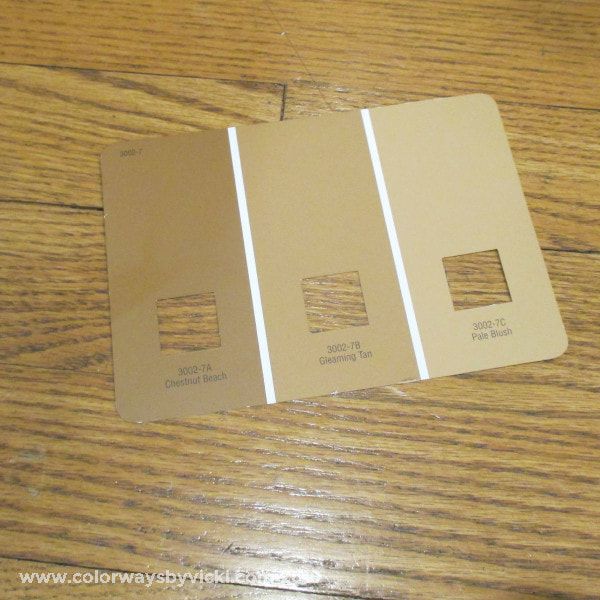
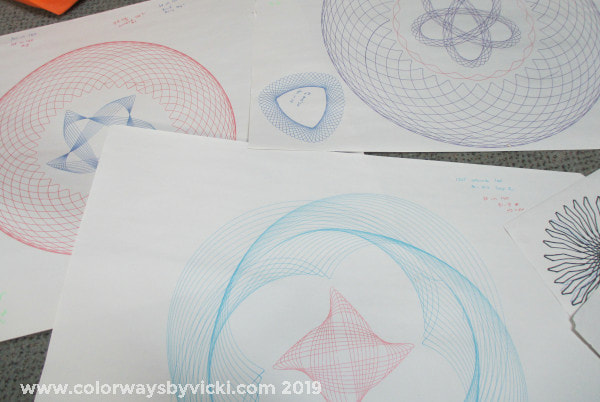
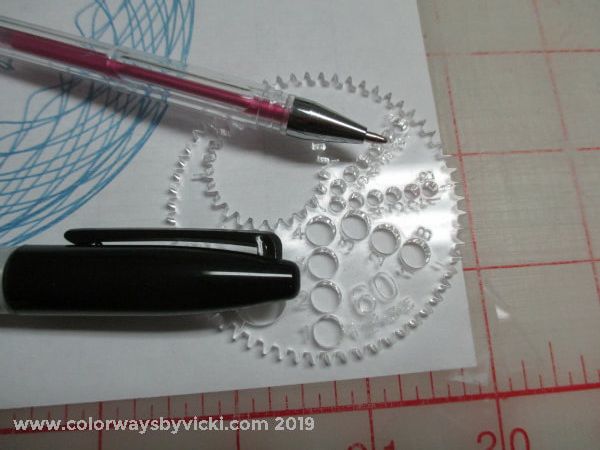
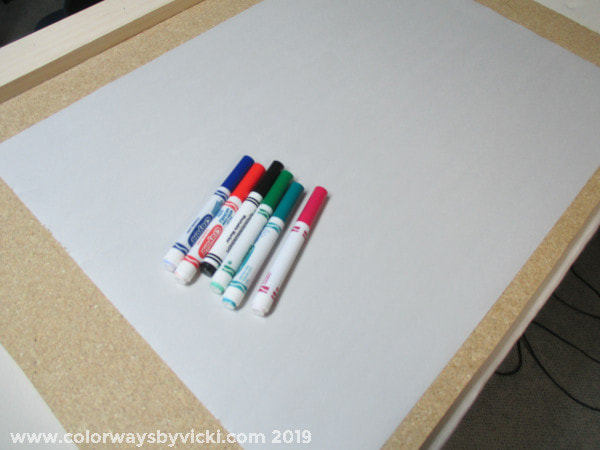
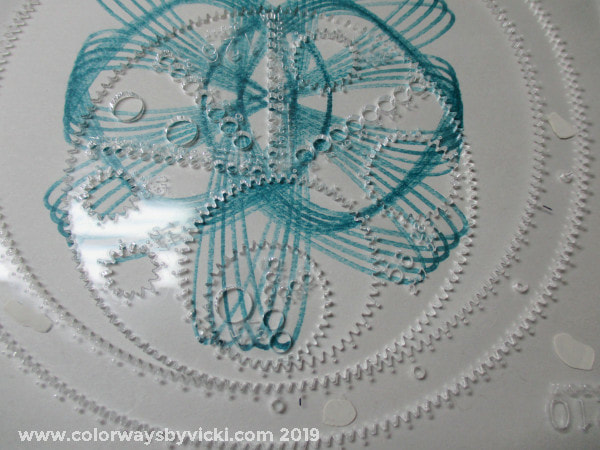
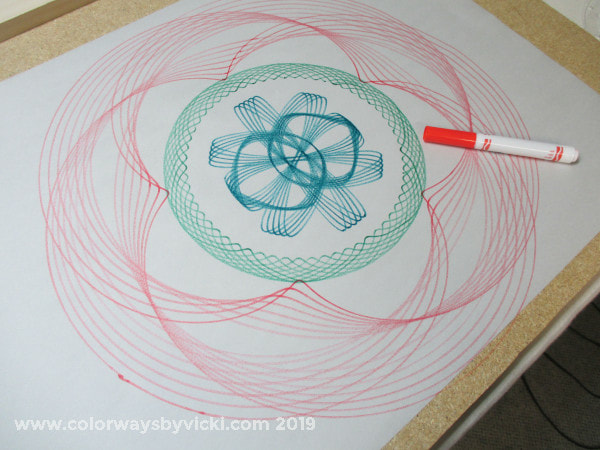
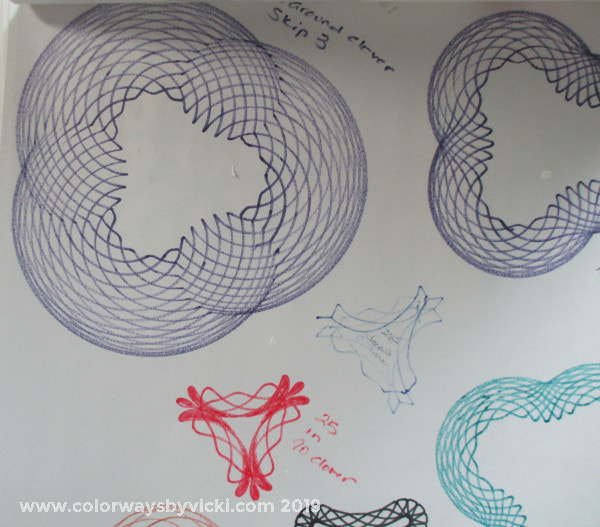
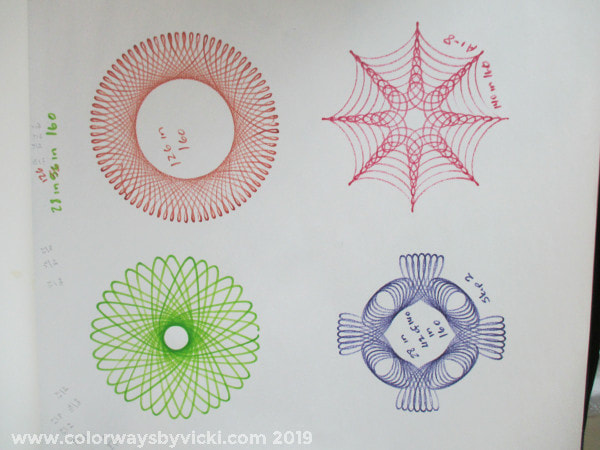
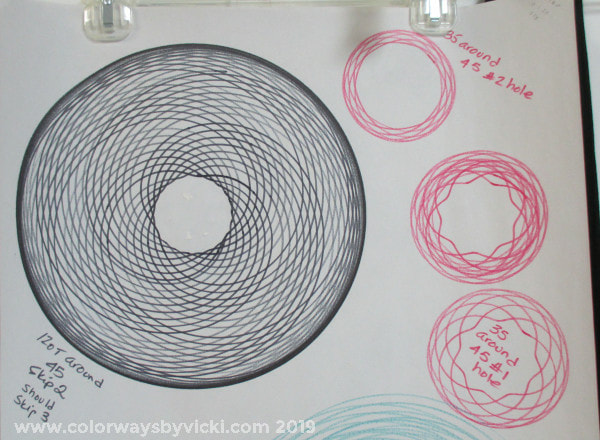
This weekend is Country School Quilter sewing weekend so I'll be working on my 4th of July quilt. that's going to take a lot of planning but I think it's going to be worth it. This project starts with my finished kitchen. We basically got new counters and backsplash. The cabinets are still in great shape even though they are 20 years old. We wanted a couple of them to be reconfigured but that's it. New hardware was enough to make them look new. We also finally got faucets that don't drip! The black sinks were a risk but so far I love them. The other catalyst for the new project are the Wild Gears that I've been playing with. Here's a new set that came in last week. So, when we put the kitchen back together I put the floor cloths back down. These were made to match the old counters and tile. This was yet another project that my friend, Anne, got me into. In the summer of 2014 we made fabric floor cloths using this book. I dyed these fabrics to match the kitchen and I love how they turned out but they were a HUUUUGGEE paint in the @$$ to make. I do love the floor cloths because they can be mopped and they last so much longer than rugs but I vowed that I'd never make another with decoupaged fabric. (You can see a couple more photos of these here.) Now that the kitchen is done I do need to make new ones so why not painted floor cloths covered in Wild Gears designs! I know! It's brilliant and, you know me, it will probably take just as long as the fabric ones. But they are going to be awesome. Commence planning. For the new ones I've decided that they will be painted to blend in with the flooring and all of the spiral motifs will be done in black Sharpie marker. I'll paint a base in a mix of these 3 browns to completely blend in with the floor. So hopefully it will look like spiral designs directly on the floor.....which is yet another idea to possibly do somewhere. You can't just start drawing on the painted canvas. I needed to have an idea of the patterns that I would get from the gears. So I started drawing and I make notations on the gears that I use as I draw. That blue one is one of my favorites. I quickly figured out that a fine point Sharpie wouldn't work. The drawings are going to be 5 - 6 feet from your eyes so I need bold lines and that means a fat Sharpie. I will need to use the big holes in the gears and that will change what designs I can do. The gears have fewer large holes than small holes, as you would expect but that limits the designs too. But I can't use Sharpie markers for practice, I'm too sensitive to the fumes from the ink. Crayola Washable Markers worked out to be the right answer. The back of the kitchen counter cutout for the stove gave me a perfectly smooth surface for drawing (my cutting table mat was too uneven) and a pack of large newsprint from the craft store gave me cheap practice paper. The Crayola marker give me a good idea of the thickness of line I'll get with the fat Sharpie. Some of the coolest designs come from running a gear in a gear in a gear. Oh yes! I might or might not put these 3 designs together. I'm just making as many designs as I can on a sheet. I use different marker colors because I make my gear notes on the side in the color that the design is drawn in. I'm going for a library of designs. It will be a month or so before I can start on the floor cloths. I will have to paint, draw and seal them outside because of the fumes so I need to wait for more comfortable weather. Meanwhile I'm practicing and here are some of the practice pieces. Some are winners. Some are losers. You will see that I'm also playing around with ideas for filling in some of the designs. I'm going to need a case of Sharpies for 15 feet of floor cloths! More to come!
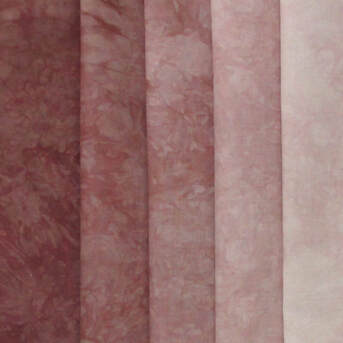
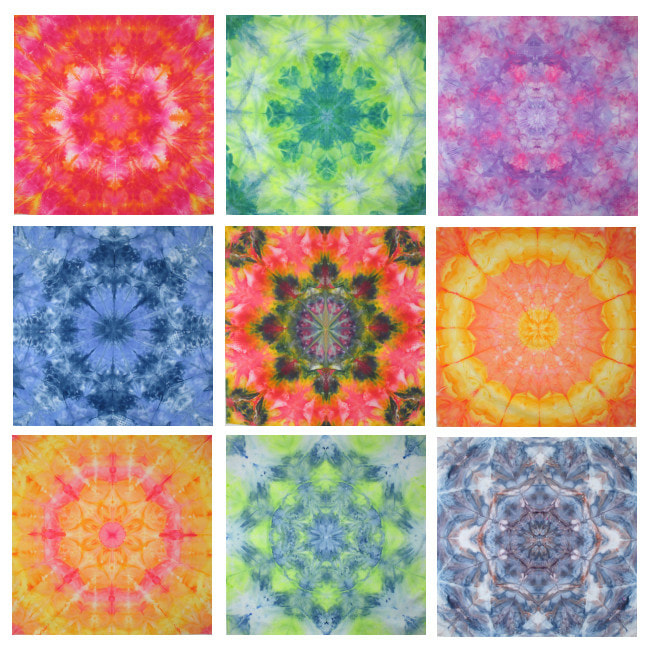
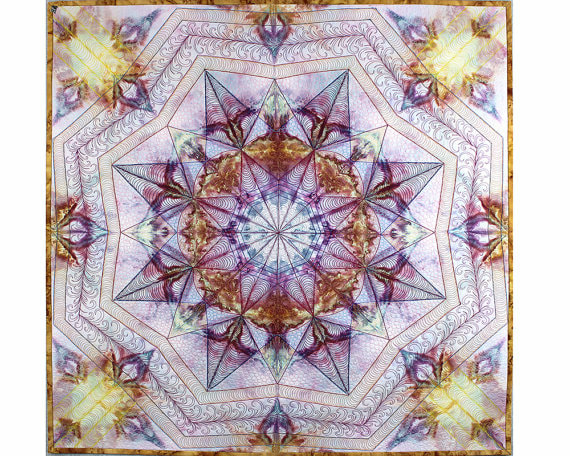
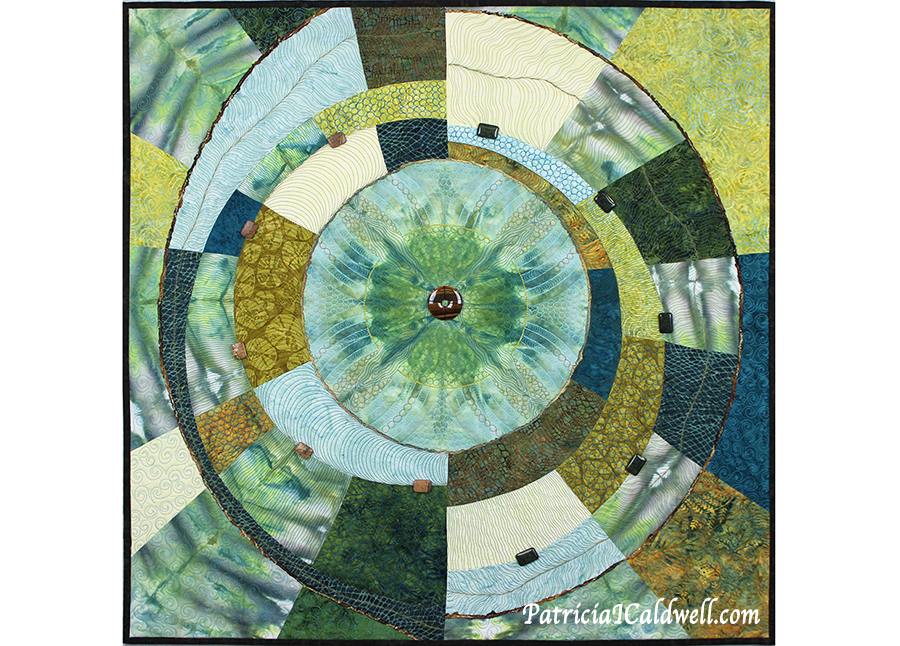
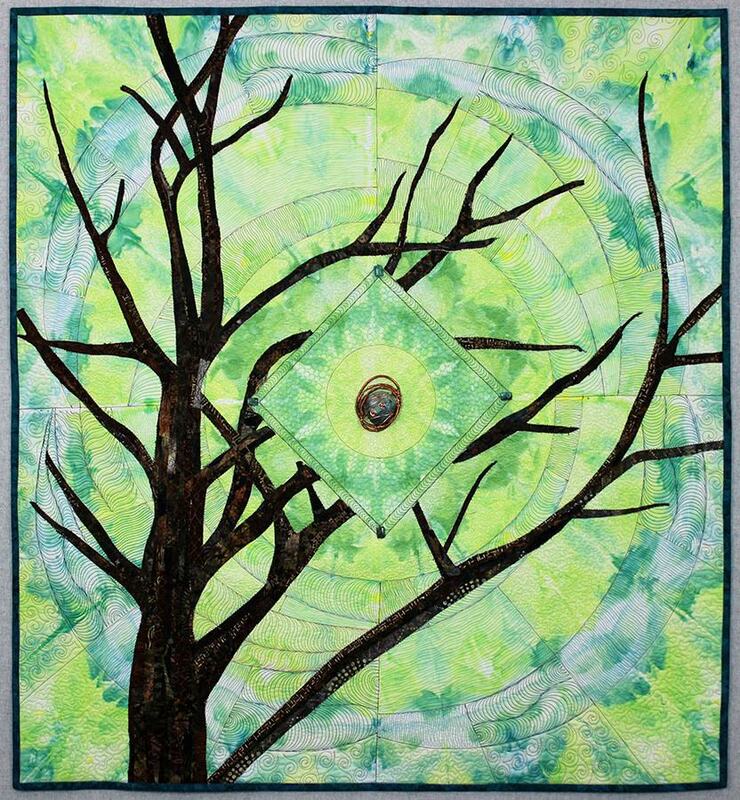
Let's start off this week with a bit of shipping news. I will not be shipping any orders March 12 - 21 so if you need anything be sure to get it this week! Fabric of the WeekMulberry is a a beautiful soft brown with lots of texture. It makes great tree bark and shadows in landscape quilts. It's on sale this week 20% off through Sunday. Click on the image to order some for your stash. New Crystals!There are over 10 new 38" square Crystals in the shop this week. Click on the photo to check them out! Not sure what to do with one? Check out these 4 made by Patricia Caldwell.
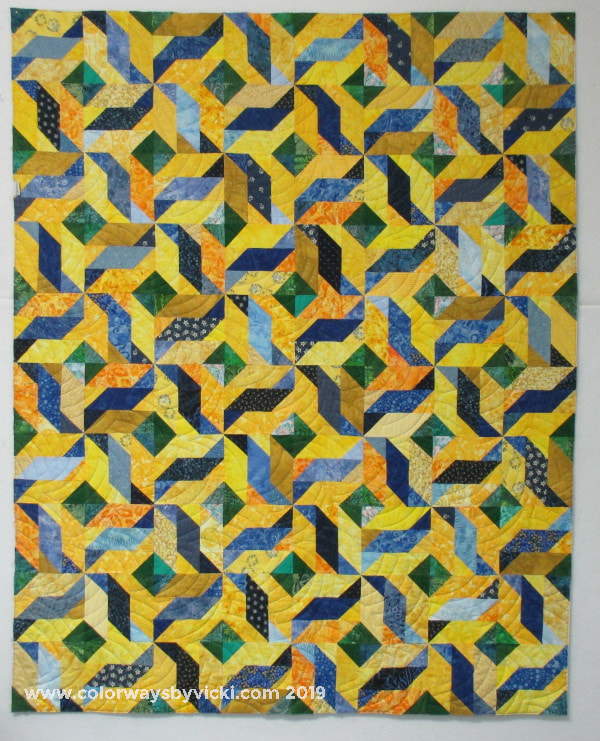
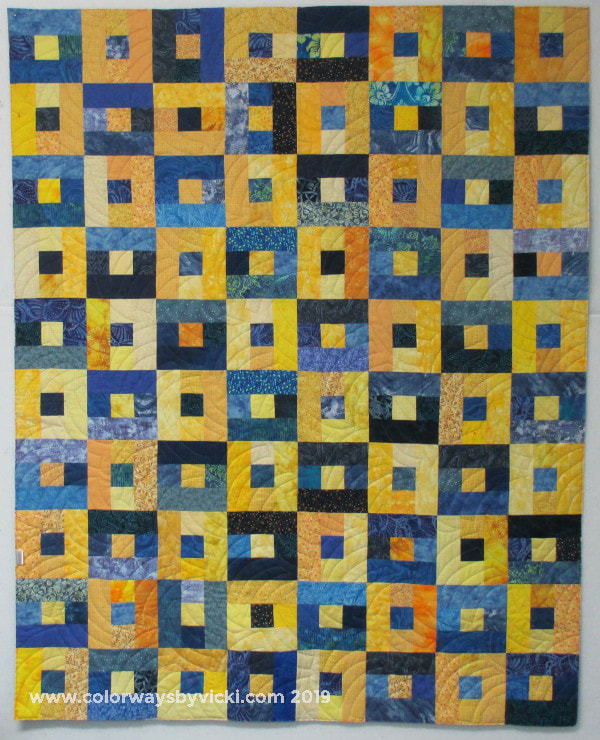
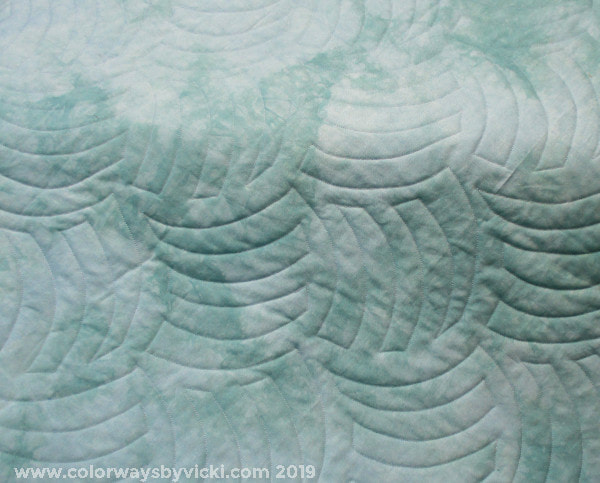
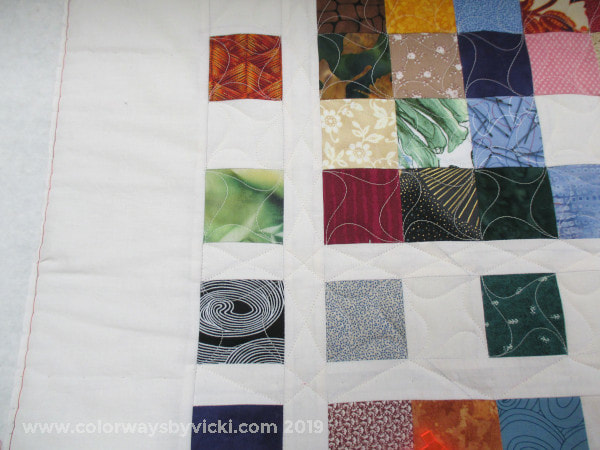
One of the fun things about quilting the veterans quilts is seeing the really creative things that people make with their scraps. Peg made this one. I think the blocks started as a quilt for her brother but she felt it was too yellow for him. I think it makes a great happy quilt for a veterans quilt. I don't remember who made this one. I picked up 18 quilt tops that day so I can't accurately remember all of them. This was made with my Blockade Quilt pattern and it looks great scrappy. These are quilted with my new favorite pantograph. This quilts up so fast! The backing fabric is bluer than it shows in this photo. This stack of quilts is ready to be delivered at the meeting next week. Thankfully 2 other quilters volunteered to help get another 8 quilts quilted. Before I put Lost My Marbles back on I decided I wanted to quilt this scrappy quilt that Mom made. I really, really love this quilt. I originally intended to do a pantograph on it but, after 8 veterans quilts with pantographs, I decided I needed a break. It's still getting simple quilting but it's a step up from a panto and I get to work from the front of the machine. I'm doing simple Terry Twist in the sashing blocks and straight line crosses in the narrow muslin sashing. I want to add feathers to this one because I haven't quilted feathers in a while. But I didn't want to feather every large block. I'm going to do Terry Twist in alternating blocks and feathered wreaths in the other blocks. But I'm doing the whole quilt in TT and sashing and then will go back and do the feather quilting. The quilt has a 4" outside border and that will get feathers too. This one should be quilted quickly. I'm not doing fancy tieoffs and burying threads. This one is meant to be quilted, washed and used. I think my cousin is going to be the recipient and she will love it.
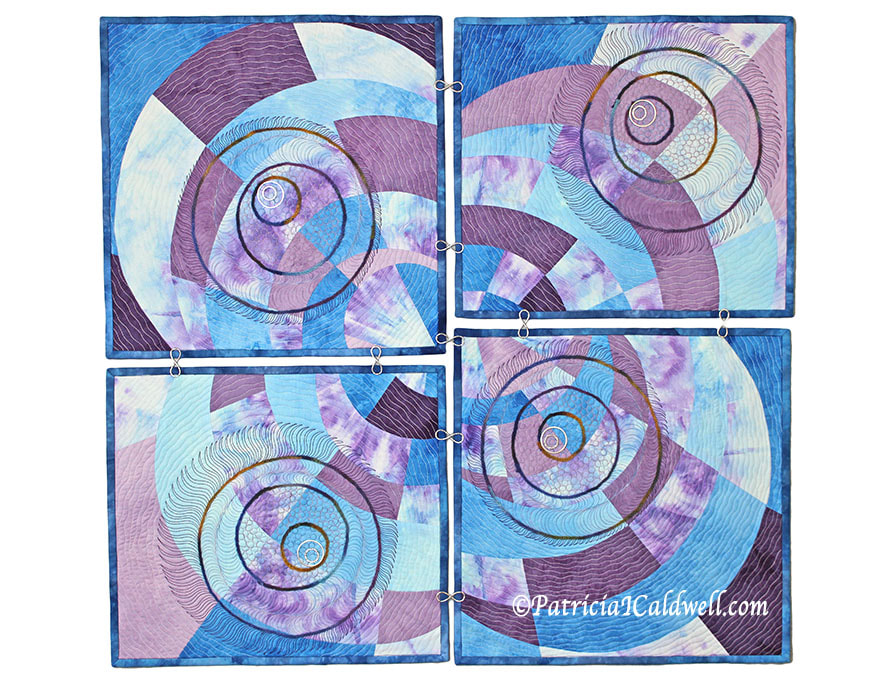
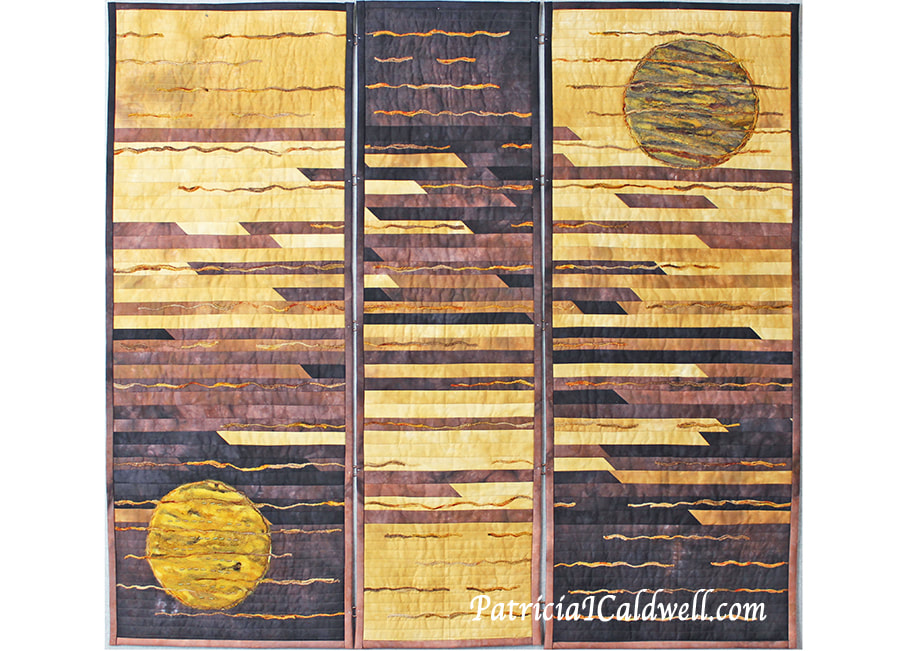
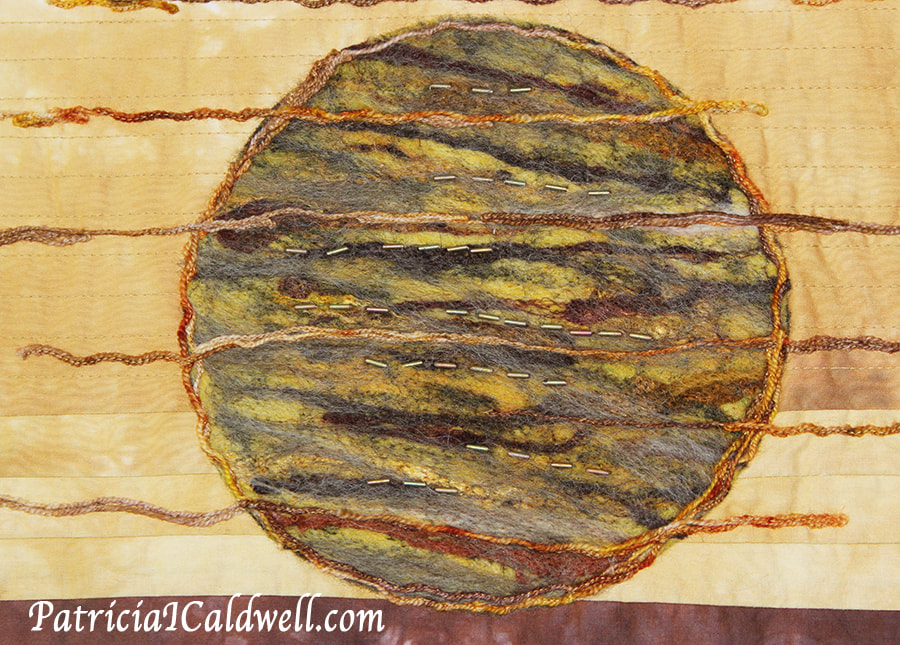
Patricia Caldwell made this triptych using a custom dyed gradient cut into strips and reassembled. She embellished with dyed yarns, dyed fibers, wool roving, beading and metal jewelry connectors. Here's a closeup to show how she made one of the felted orbs. You can see more construction photos on her Facebook page.
For sharing, Patricia received a 20% coupon for the shop that's good for 3 months! If you have made anything with my hand dyed fabric I hope you will consider sharing it in the Customer Gallery. The only rule is that projects have to be complete. It doesn't have to be made totally from hand dyed fabric, just include a recognizable amount. |
FeedsTo subscribe click the RSS Feed button and copy the URL of that page into your blog reader.
In Bloglovin you need to search "Colorways By Vicki Welsh" to find the blog. About Vicki
I'm Vicki Welsh and I've been making things as long as I can remember. I used to be a garment maker but transitioned to quilts about 20 years ago. Currently I'm into fabric dyeing, quilting, Zentangle, fabric postcards, fused glass and mosaic. I document my adventures here. Categories
All
Archives
July 2024
|


 RSS Feed