|
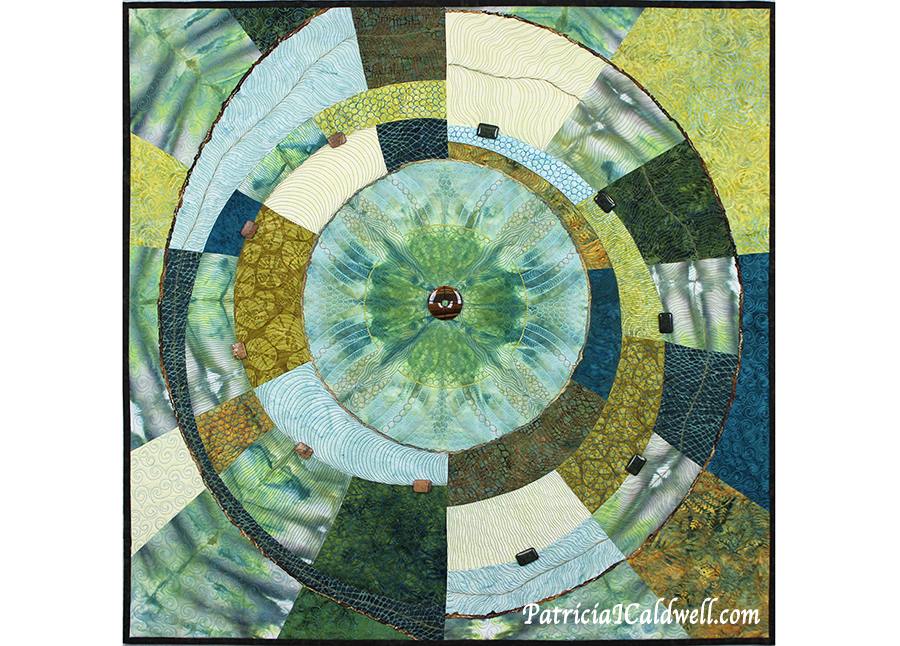
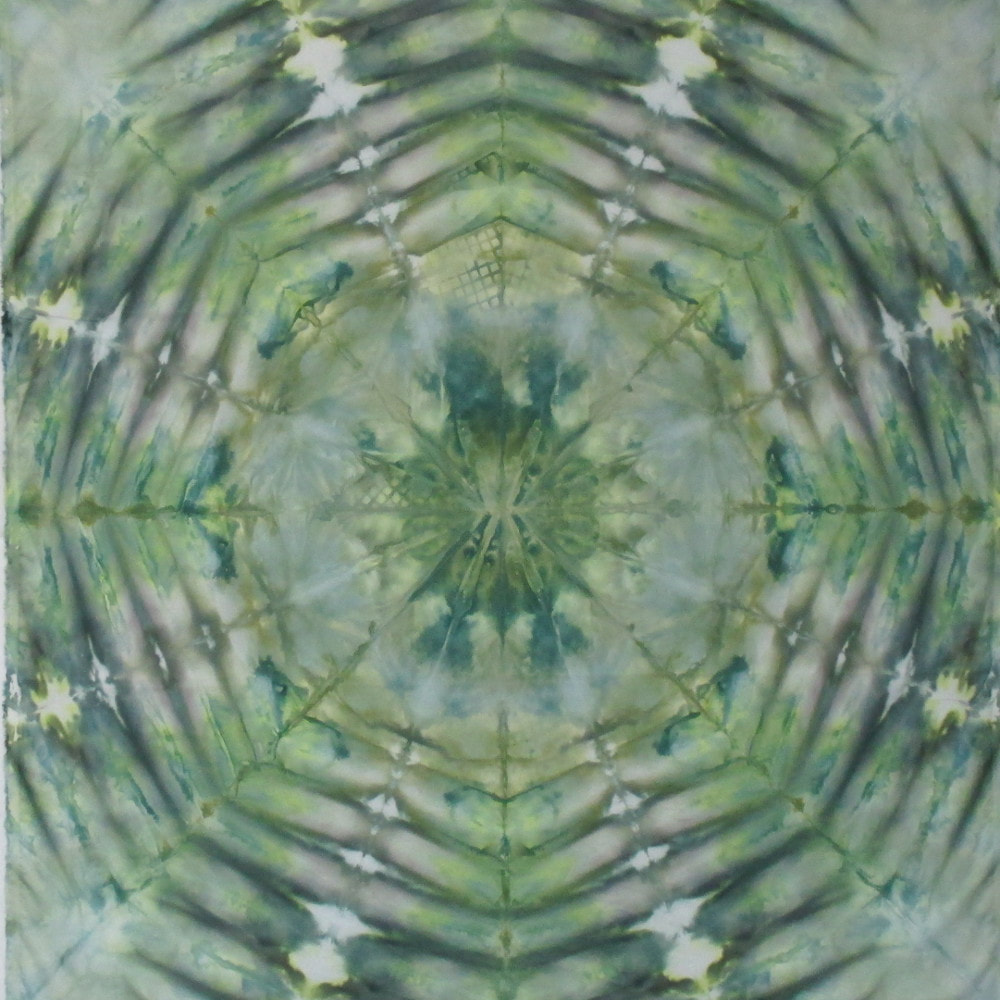
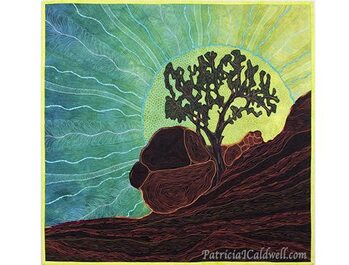
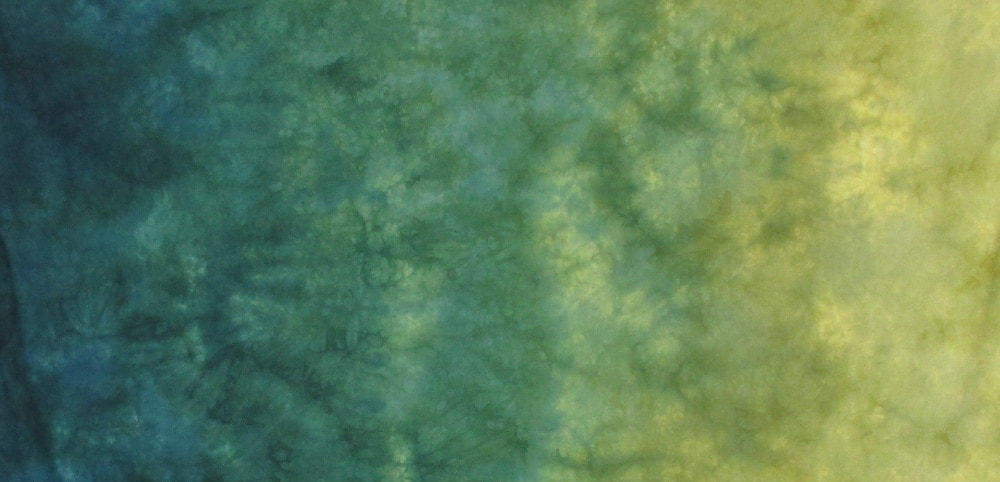
As I said last week, I'm really lucky that Patricia Caldwell is getting ready for a gallery exhibit in September! This piece is called Movement and it's special to me because she cut up a Crystal! Here's what the original fabric looked like and I think she brilliantly combined it with batiks and other fabrics. You can see more of her work and detail shots of this piece on her Facebook page. Aside from dense quilting she also couched hand dyed yards and added Jasper and Tiger Eye gemstones.
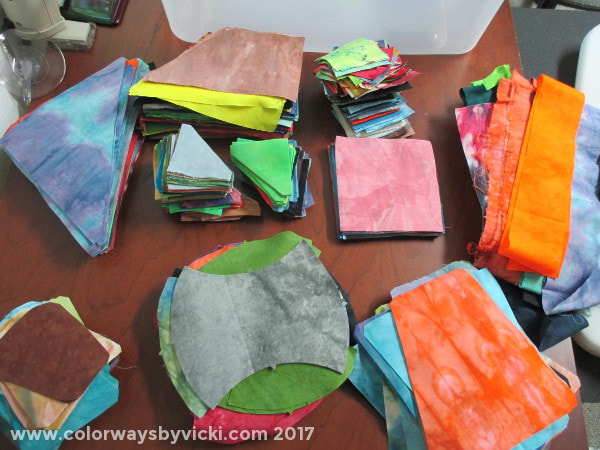
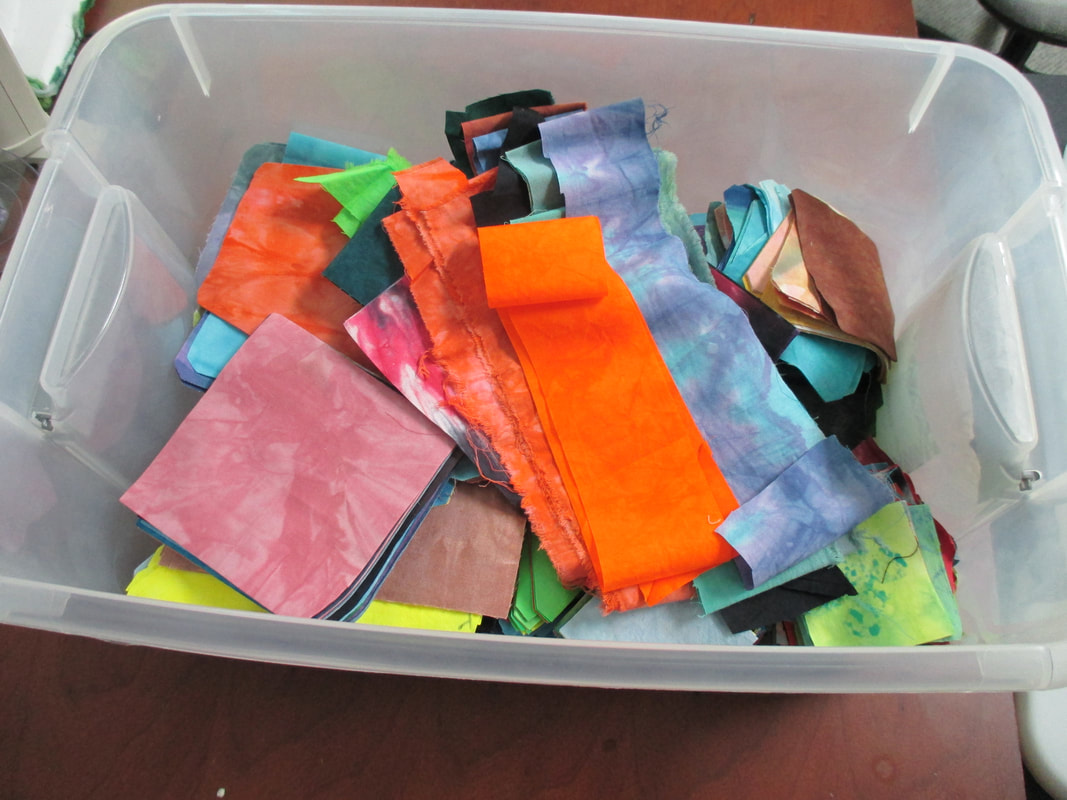
I shared last week almost all of Mom's trials and tribulations with her cataract surgery. We thought it was over that day but, no! She had yet another reaction to yet another medicine. But she's finally on the mend. While Mom was with me I was pretty good about letting her rest and relax for a couple of days after each surgery but then I started assigning tasks. She weeded a little, packaged some fabric for me for the shop, made the dog beds and then I found this project that kept her busy for a few days. I got her to clear out my whole scrap bin. I pulled out several Go dies and she took every fabric and cut whatever she could get out of every fabric in the bin. Every single fabric! It was in the middle of one of these sessions that she got the migraine from the last medicine. I knew she was feeling better then next day when I found her cutting again.
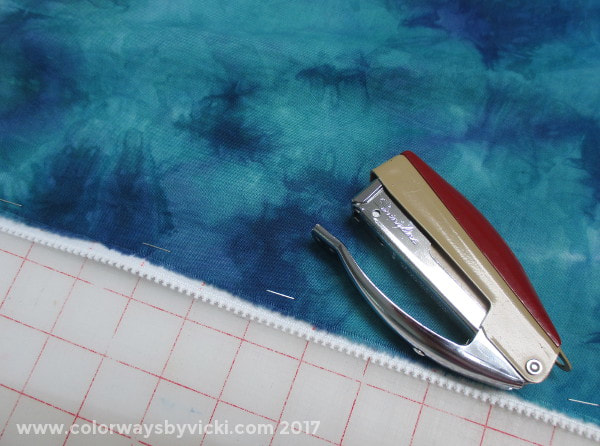
We don't have any plans for them at the moment so really she just moved them from one bin to another. I expect that I will make some scrappy veterans quilts in future Friday/Saturday sewing days at Country School. Thanks Mom! I made her promise not to do anything else to her eyes for at least 2 months. Just to add it's not a doctor issue. We love her doctor. The day she got the migraine he called 3 times, offered to see her any time over the weekend and called again the next day. It's nothing he did, she just reacts to everything. I'm thinking I should switch to him. With family history I fully expect to have glaucoma at some point. It would be nice to have a doctor that would already understand my weirdness. We are both expecting an uneventful and pain free weekend this weekend! Today's post is for the longarmers, especially the new longarmers starting to use zippered leaders. I posted last month about how I use a stapler to load my quilts to the longarm leaders. When I teach at Virginia Longarm I have to bring practice quilt sandwiches. At the end of class I take the practice pieces off the zippers for the students to take home. Removing staples takes a bit of time but, more importantly, they aren't particularly thrilled to have staples loose in the showroom. There's a risk that one finds it's way in the middle of a customer quilt.
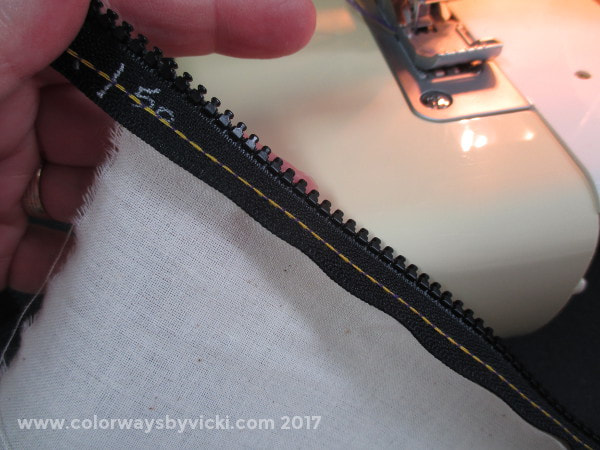
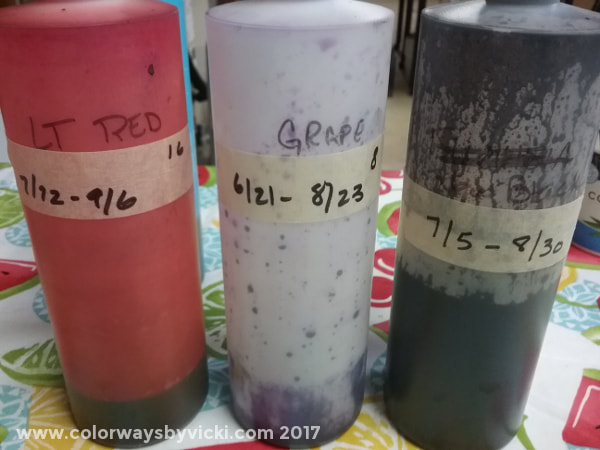
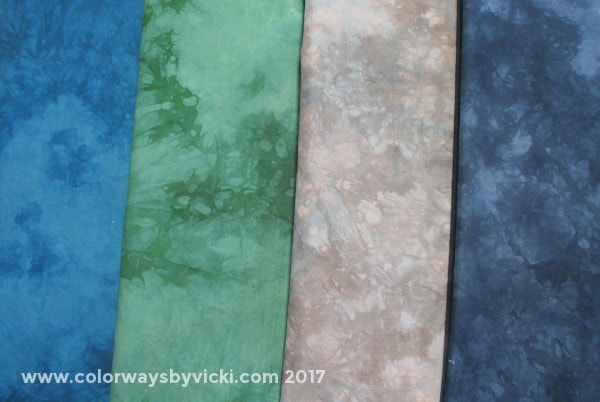
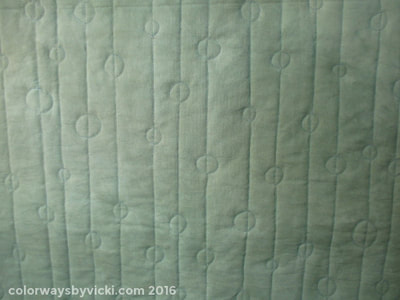
I needed to come up with a better way. I remembered that my serger has a chain stitch and that would be perfect. Today I posted a little tutorial for how I use the serger (or a regular sewing machine) to stitch a quilt back to leaders. Press the button to read the tutorial if you are interested. I mix my dyes using only the 10 pure colors from Dharma Trading and I mix all of my colors from those. That means that as soon as a dye started to loose strength that I can't use it in my recipes anymore. How do I know when they start to weaken? I tested it of course! I have a chart right here. When I mix my dye concentrates I label the bottles with the date made and the "expiration" date. I've been doing to long enough that I'm pretty good at estimating the amount of dye I use each month but I still have some dyes that occasionally expire. Expiring just means that it loses a little strength. The dye is actually good for several more weeks. It's just weaker. I can't throw dye out so I had to come up with a way to use it. Veteran's quilt backs is the answer! Country School buys the backing and batting for the veterans quilts that Terry and I quilt. I buy the backing from Marshall Dry Goods by the bolt and used to buy printed fabrics. I'd get a blue and a gold or tan and force match the quilts to the 2 backs. A couple of years ago I decided to start buying one bold of white to dye in other colors and that's what I use the expired dyes for. Now I just buy 1 printed bold of backing and 2 of white so most of our quilt backs are dyed. We still mostly need blue backs but several shades of blue. Conveniently, most of the expired dye is one of the blues or black. I will add "good" yellows or red for green and purple backs. Here are a few that I have ready and waiting for quilts. Here are just a few of ones that I've done over the past year. I think these are much better than the cheap printed backing fabric that we buy. I'm glad the CSQ members let me make the dyed backing for our quilts. I think we get prettier colors and I don't dump good dye down the drain.
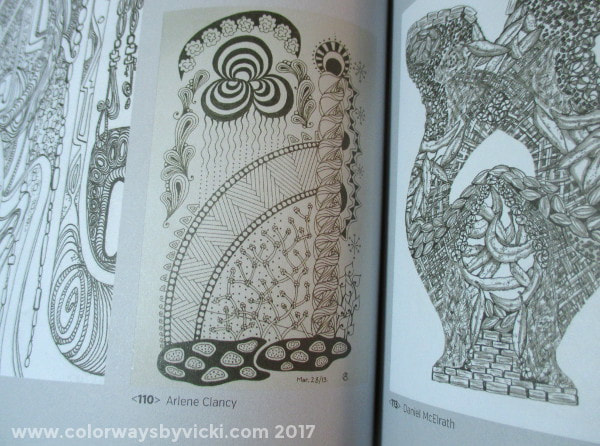
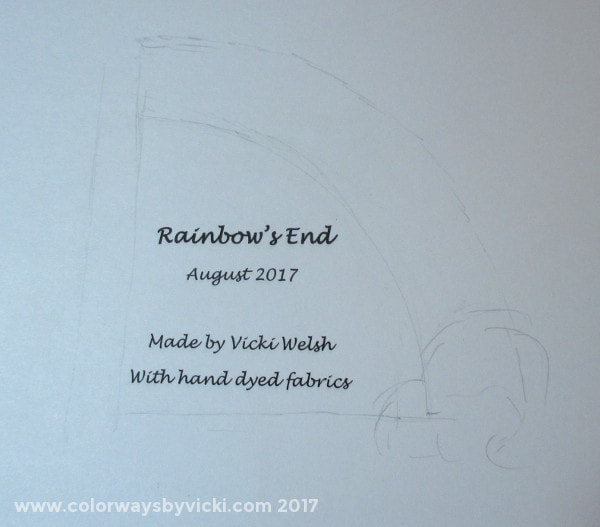
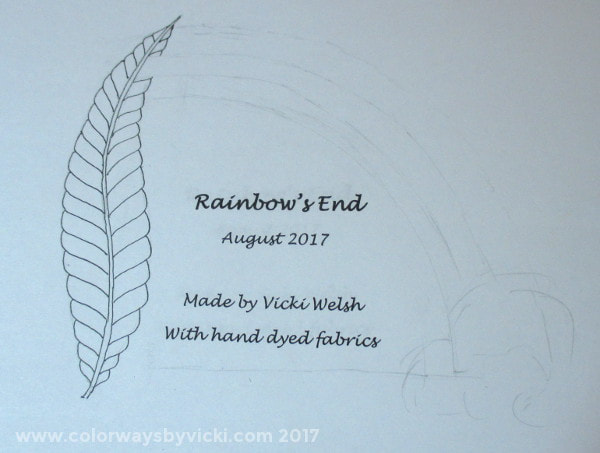
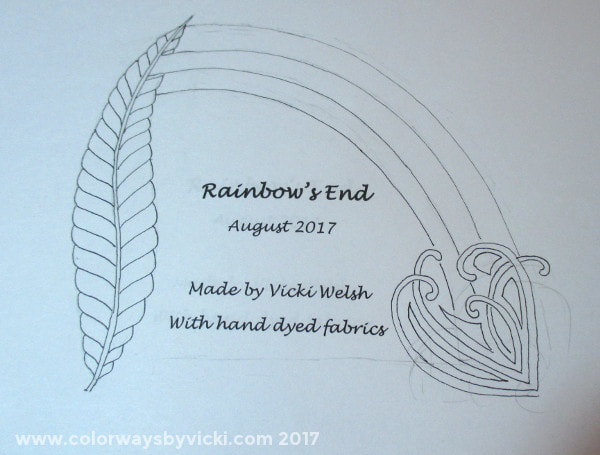
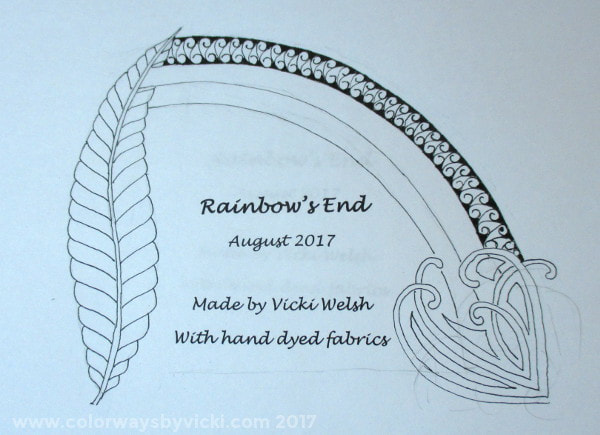
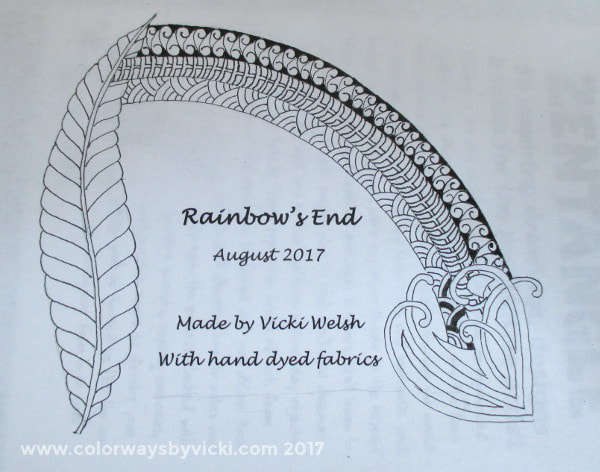
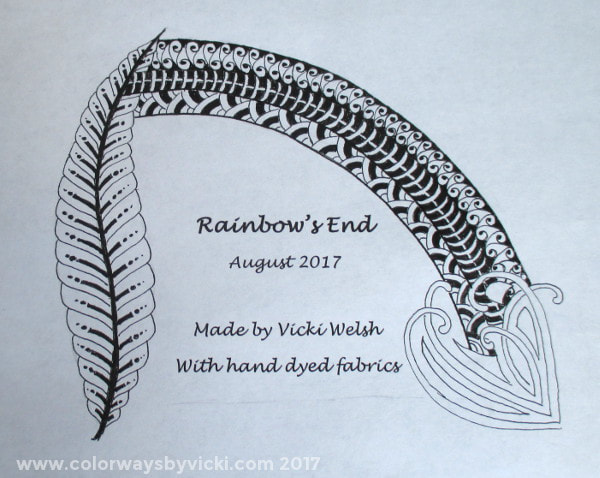
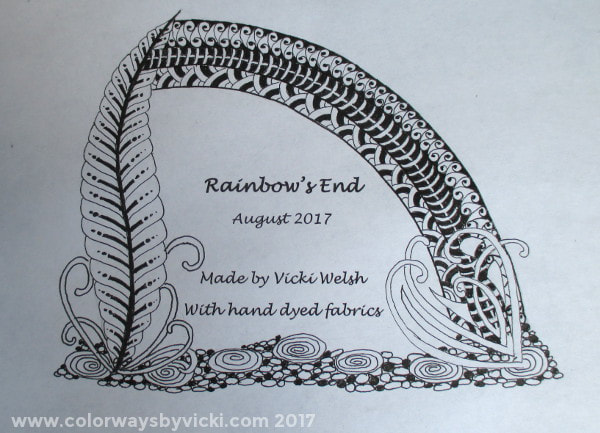
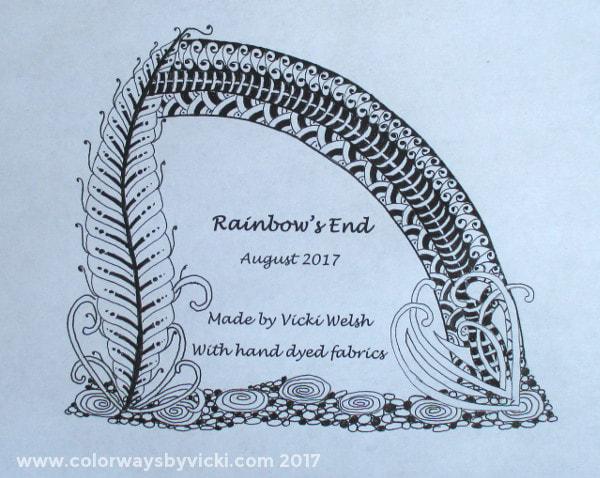
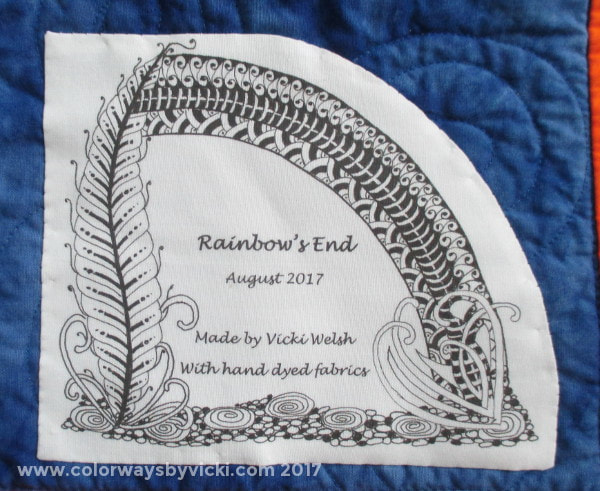
I spend so much time on the Zentangle quilt labels that I like to give them their own post. Learning to do Zentangling has taught me more than how to doodle/draw but the Zentangle system really speaks to the project manager in me to break down any overwhelming task into smaller, manageable steps. It's because of Zentangling that I was able to take on the big mosaic wall and some of my quilting projects. Because this blank page really intimidates me and every single time I start one I have a moment where I almost stop and just print a simple label. But I go back to the Zentangle method and start with the tangle. The tangle is the basic structure and I often look to Google and my books for tangle ideas. I got the heart label tangle from Zentangle that I saw on Google. My tangle/structure for this label came from my favorite book: 500 Tangled Artworks. I liked this one a lot and it became the basis for my tangle. I penciled in a vertical structure on the left side, a rainbow shape and something curvy at the end of the rainbow. Now I had a starting point and I can start looking for element ideas from the books and web. I decided that my rainbow would have 3 bands and that was important for the vertical element. I wanted one band to come into the frond that I chose for the vertical. Then I added the fluff on the right and the rainbow bands. Starting the rainbow elements. At this point all of the basic elements are done. From here I'm usually pretty relaxed about it and starrt having fun adding details. From here it's hard to make myself stop. Better but not done yet. It needed something on the bottom. I'm not overly thrilled with what I did but I don't hate it and Zntangling is as much about the process as the product. I just go where these take me and this is where I went. But is it done? Nope. Now it's done! I worked on this over 2 evenings and once I got started it was actually very relaxing to work on it. Here it is stitched on the back of the quilt.
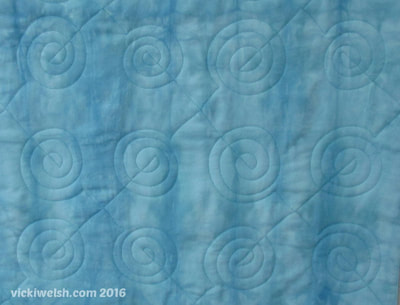
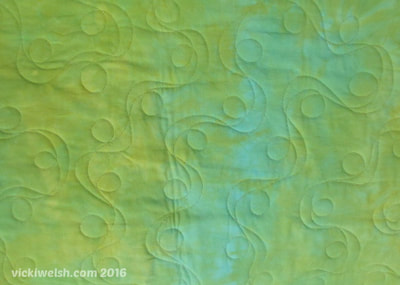
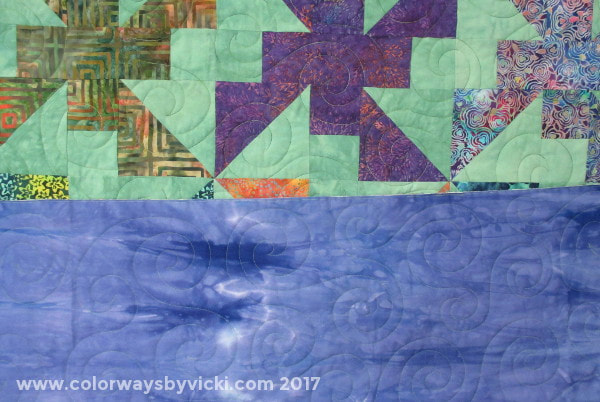
I've gotten 2 more veterans quilts do and that brings my total to 23 for the year. This one was made by Peg. She trying to work through a bin of charm squares from an exchange she participated in years ago. I quilted this in an arrow cross-hatch. This is usually a very fast quilt motif but FloMo "broke" right in the middle of the quilt. I'm lucky that I leave so close to Virginia Longarm so Greg was able to come out the next day and fix it. It was simple. The needle bar was gunked up and now I know how to fix it myself the next time. I immediately got the top quilt finished and then quilted this one with all-over swirls. Mom cut out this quilt when she was here in June for her cataract surgery that went haywire. She was back again 2 weeks ago for a follow up surgery on the same eye to insert a stent. No surprise that surgery also went a bit haywire so she stayed with me a little over a week. Once she felt a little better I put her to work and she put the binding on this one. I really love this quilt. Here's a close up of the quilting. Both quilts have this blue-purple hand dyed fabric for the backing.
Could there be anything better for me than an artist working on an exhibit deadline? I don't think so!
Patricia Caldwell is staying very busy and surprises me weekly with more of her stunning artistry. This one uses the Jenny Lake gradient as her background. Check out her Facebook page for lots of great detail shots and to see her current work. It's done! All 4836 square inches of scrappy goodness is done.
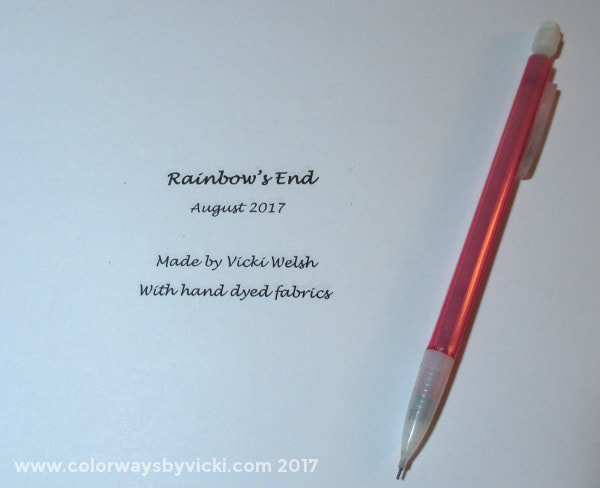
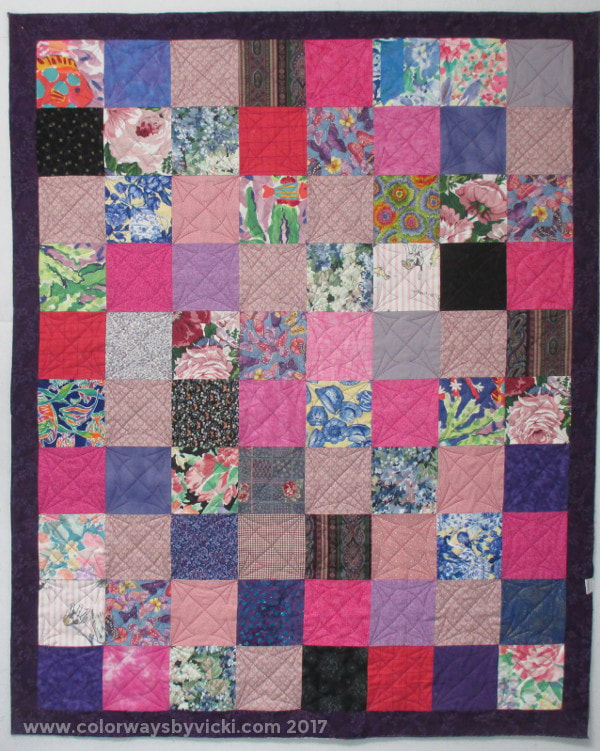
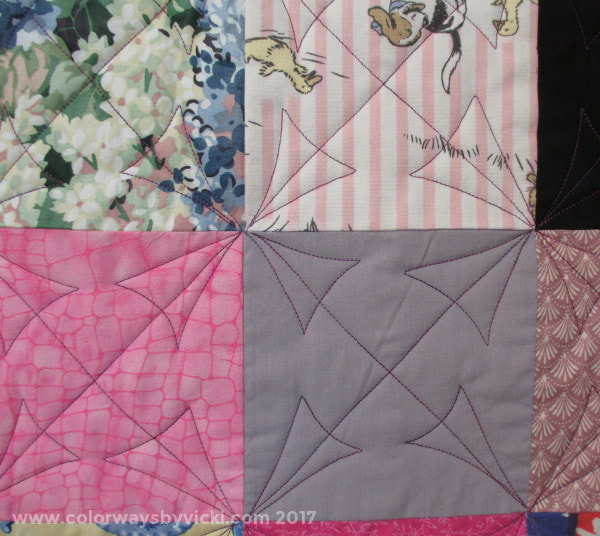
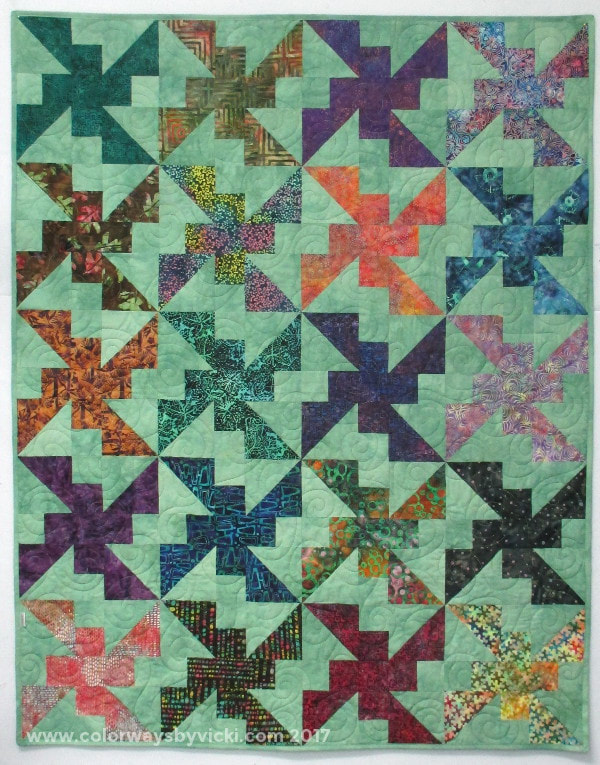
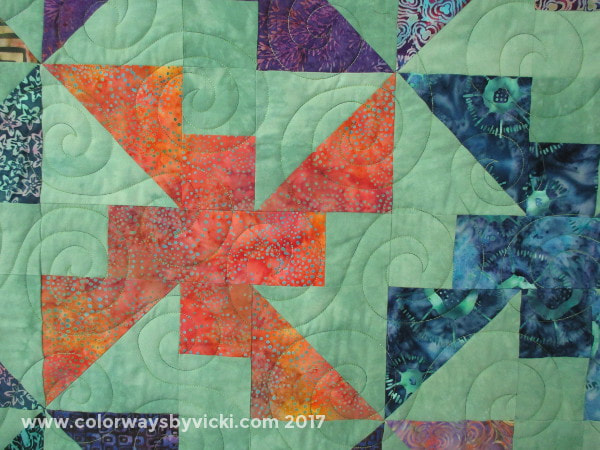
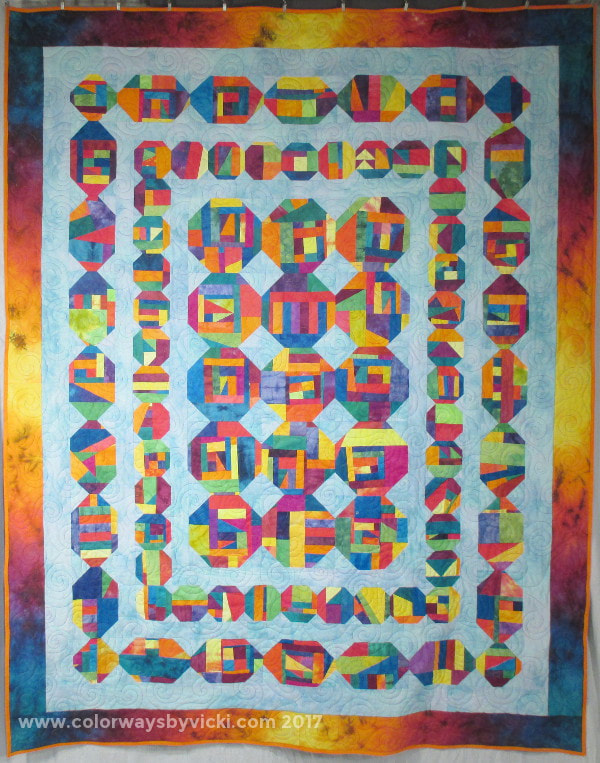
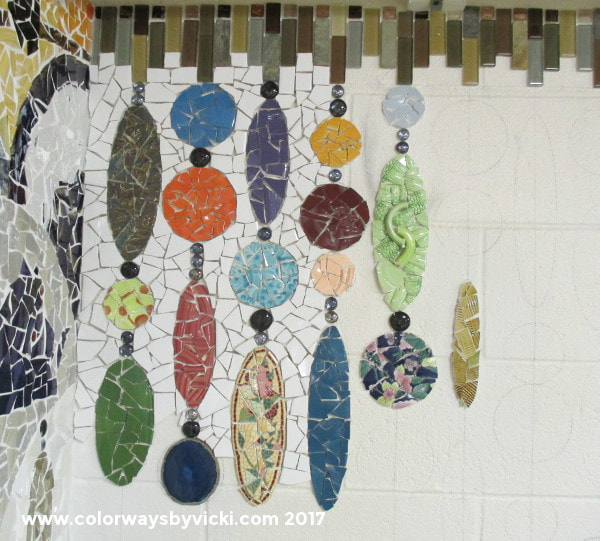
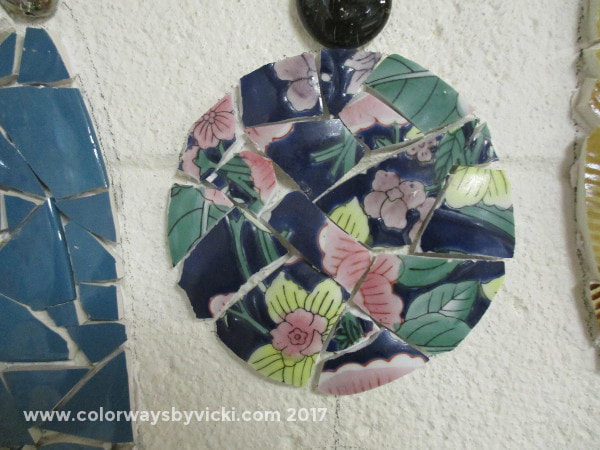
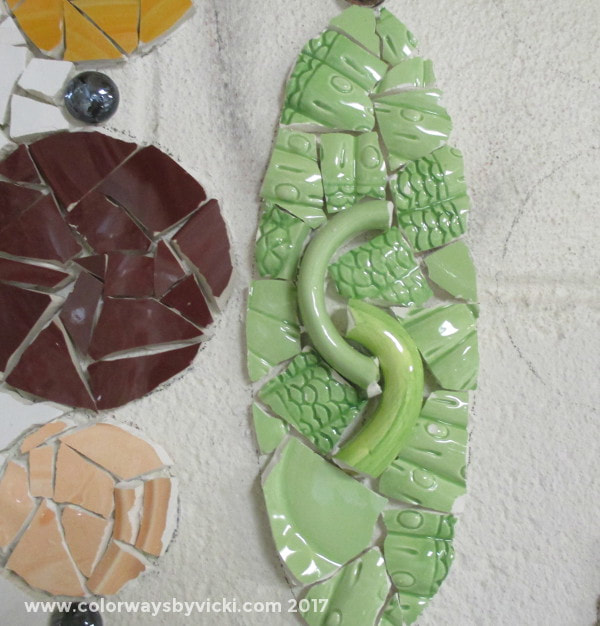
When I started putting all the Rainbow scrap fabrics together into crumb blocks I had intended to make some placemats but you can see that got totally out of hand and now I have this cute quilt. I also intended to donate this quilt to QOV or somewhere else but I'm kind of loving it too much to let it go quite yet. So I'm going to save it for a friend or family member who might need it in the future. I created a page on the website for this quilt and you can see lots more photos on the Rainbow's End page. I already have another mosaic update and this week it's a little more interesting. I've added 3 more beads. This one is made from leftover bits from a ginger jar shaped vase. This one is from a broken soup bowl. It's going to be a bit of a pain to grout but I like having the handles (from 2 bowls) in it. Now I have to do some more white.
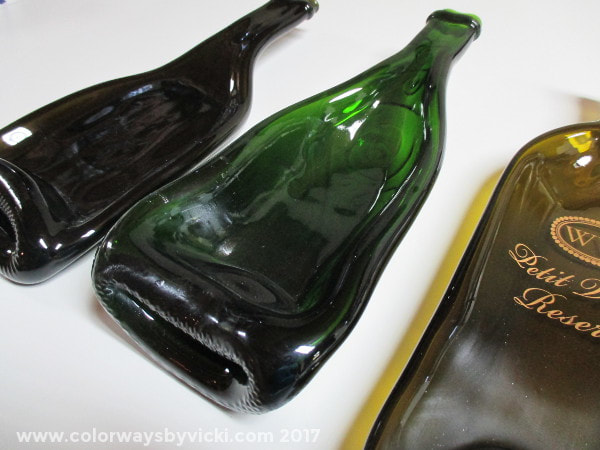
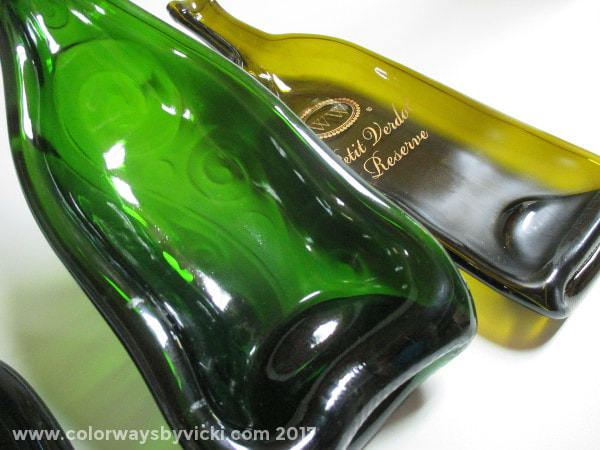
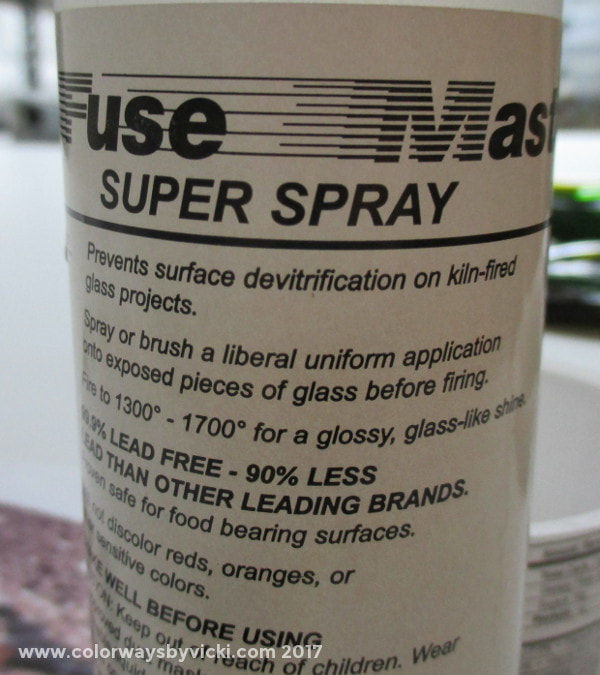
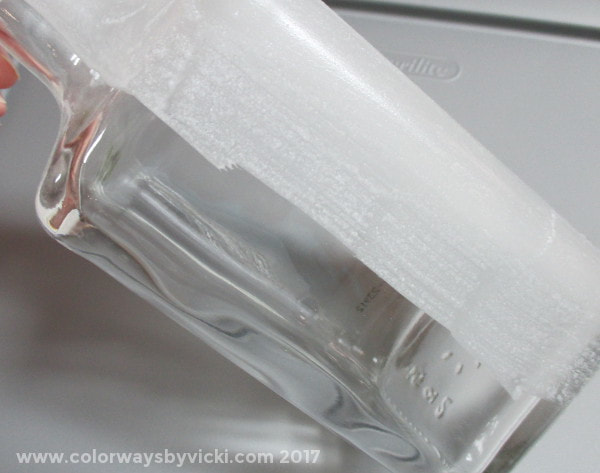
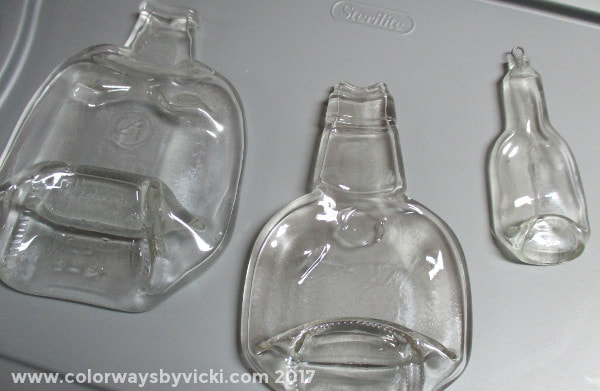
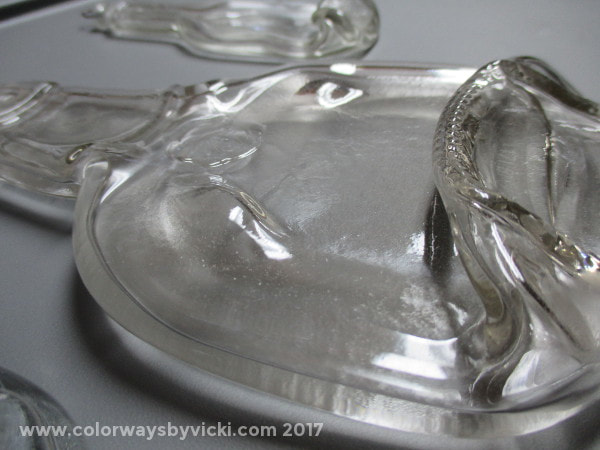
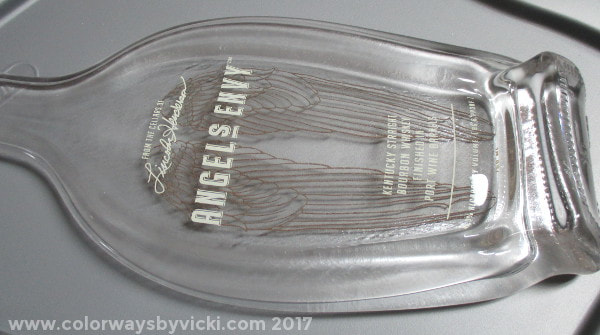
So you know about the wedding quilt. The newlyweds are also getting wedding bottles! My cousin saved and brought home 3 bottles from her son's wedding reception that I could slump for them. August is the worst time to run the kiln but we had one cool day last week and I was able to get these done before I need to deliver them this Friday. The green one is nice and shiny and has a swirl pattern on the back. Can you see the one with the one with the painted label has a dullness to it? That's devitrification. Bottle glass is really susceptible to it. I spent a ton of time trying to get a fusing schedule that would avoid that but bottle glass is of all different types and there's not one schedule that will work. Devit occurs on fusible glass too and the industry came up with some products to prevent it. This is what I use on bottles. You paint it on the top half of the bottle. There can't be one drop on the back of the bottle that will touch the mold. If there's any there it will stick permanently to the mold. I know that because I ruined a mold that way. Here's one treated and ready to be fired. In the 2 plain bottles above I was able to do this pre-treatment but I couldn't do it on the one with the label. I learned the hard way that the devit mix ruins the label. It's a trade off and the label looks so nice that I think it's a worthwhile tradeoff. I hope these will be nice wedding mementos for Clay and Lydia. I can't wait to give them the bottles and quilt this weekend and they haven't even been married a year yet. My gifts are early! The bottle in the photo above is on the left in this photo. All 3 of these clear ones were fused flat because the bottles are such odd shapes. I have no idea what I'll do with them. I did this whole group primarily because I needed to do this one for my next door neighbor. I can't do a bottle with paint on the back in a mold. I learned the hard way that they stick to the mold. So this one had to be done flat on fiber paper. It fused really nice and Melanie was very happy with it.
|
FeedsTo subscribe click the RSS Feed button and copy the URL of that page into your blog reader.
In Bloglovin you need to search "Colorways By Vicki Welsh" to find the blog. About Vicki
I'm Vicki Welsh and I've been making things as long as I can remember. I used to be a garment maker but transitioned to quilts about 20 years ago. Currently I'm into fabric dyeing, quilting, Zentangle, fabric postcards, fused glass and mosaic. I document my adventures here. Categories
All
Archives
July 2024
|

 RSS Feed