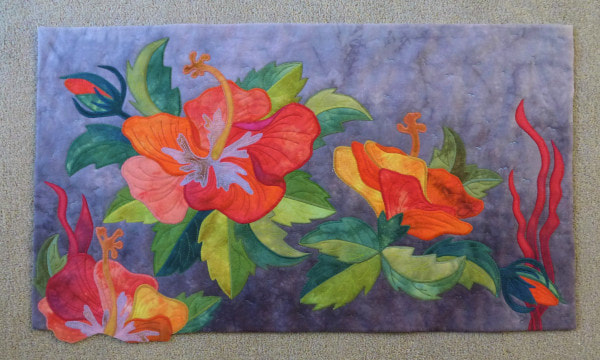
 Hallucinating Hibiscus by Irma Lubbe, 34" x 19" This week's inspiration is from Irma Lubble. She began Hallucinating Hibiscus in an workshop with Jane Sassaman. She used Groundhog Day Gradient as the background and the flowers are made with Sugar Maple and Jenny Lake Gradients.
For sharing, Irma received a 20% coupon for the shop that's good for 3 months! If you have made anything with my hand dyed fabric I hope you will consider sharing it in the Customer Gallery. The only rule is that projects have to be complete. It doesn't have to be made totally from hand dyed fabric, just include a recognizable amount. 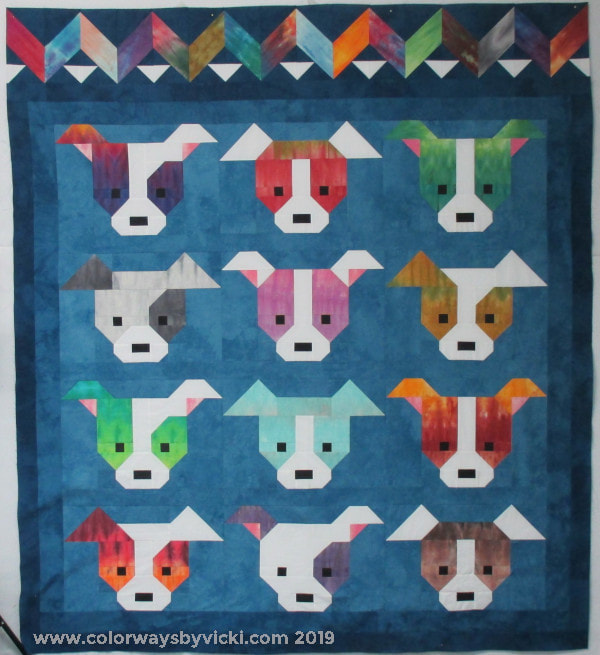 Boom! The first border is done. I'm really happy with it. 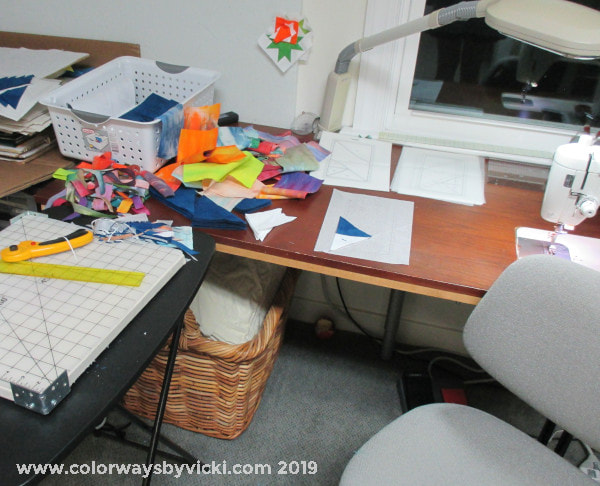 Here's my set up for foundation piecing. I like having a cutting mat close by so I can quickly trim the pieces. 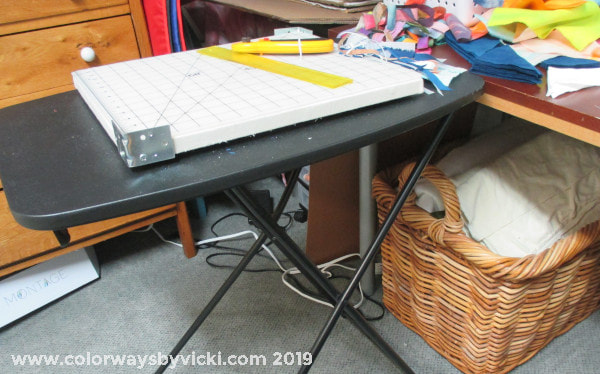 I bought this cheap little table from WalMart last year when we wanted to sew in a hotel room. I almost didn't even bother to bring it home but I'm glad I did. I use it all the time as a side table for quilting and I set the serger on it for the rare times that I need to bring it out. It folds flat and hides behind the ironing table when I don't need it.  I lay the blocks out on the floor as I make them. They get trimmed all at once. I think I'll be able to get the borders done pretty quickly.
So I finished the center of the puppy quilt and now it's time to settle on a border plan. 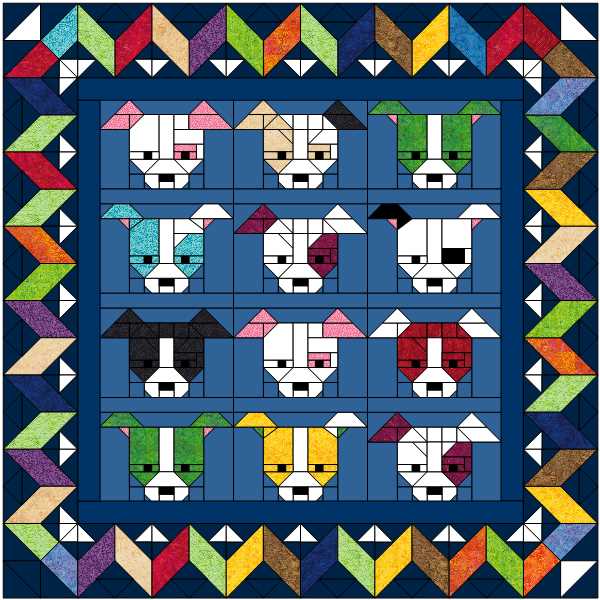 When I last worked on this quilt in EQ, this was the border plan. I still like the zig zag ribbon but I feel like it's a little too bold for the center. 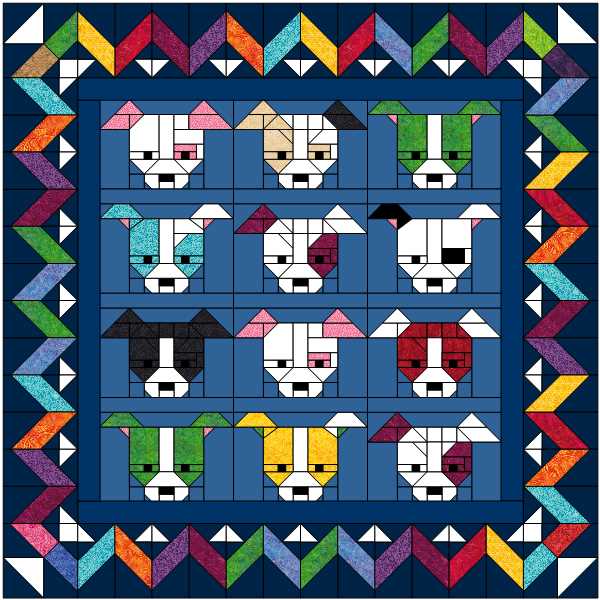 So I tried making a narrower ribbon and I like that a little better but I still feel like it's too close to the center. 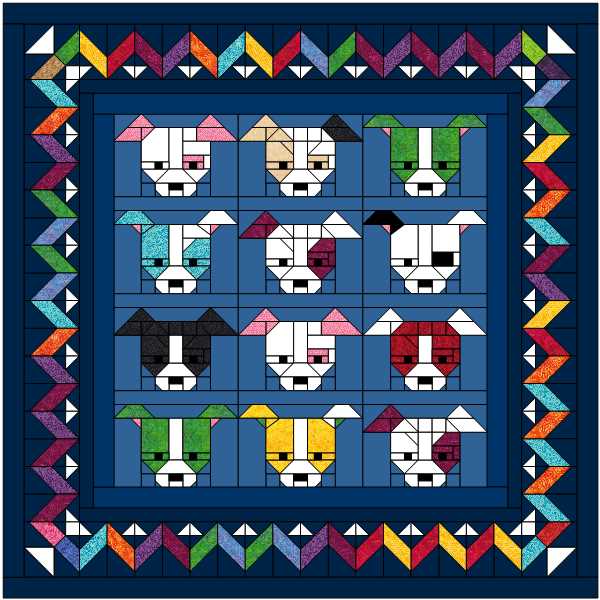 I tried adding a 2" plain dark border before the narrow ribbon border plus an outer 3" plain dark border. I like this much better but I realized that the cutting and piecing for the narrow zig zag was going to be more complicated with an odd shaped piece in the block.  I went back to the wider ribbon. I think with the inner and outer borders that the wide zig zag looks just fine. After playing with this border for so long I decided to go with it.  The first step is to cut out the fabric. I love this feature of EQ that gives cutting instructions. As soon as I saw measurements that included 16ths I knew I was going to go the foundation piecing route. 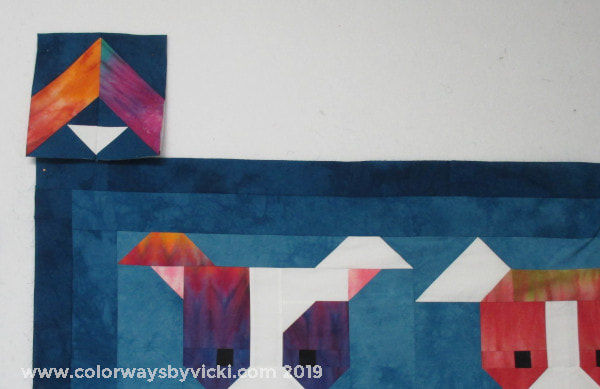 One test block and I was committed. 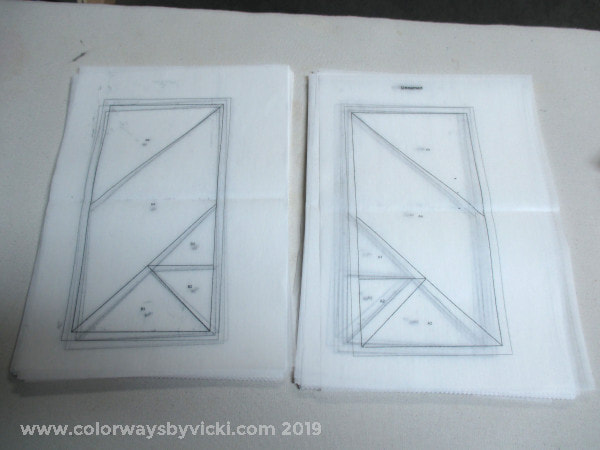 Foundations printed. 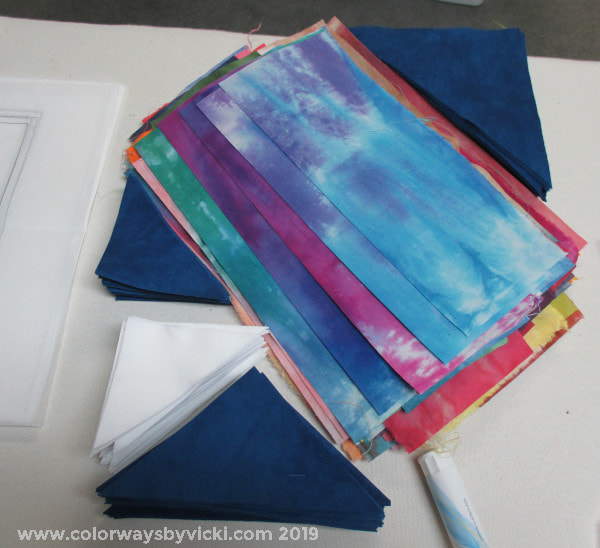 Fabrics cut and ready to sew. 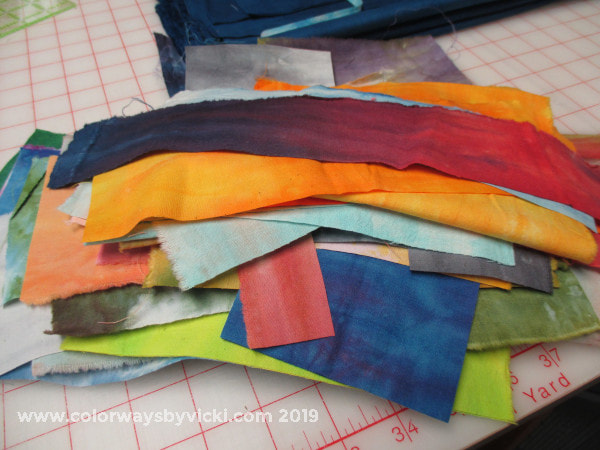  This pretty pile of "waste fabric" scraps will be making an appearance with some other fabrics on one of the Summer Giveaway days!
Once a year or so I like to post a reminder about my Bleeding Quilt article. Almost weekly I get an email from someone telling me about a quilt that was saved. The most recent one was so sweet that I wanted to share it. 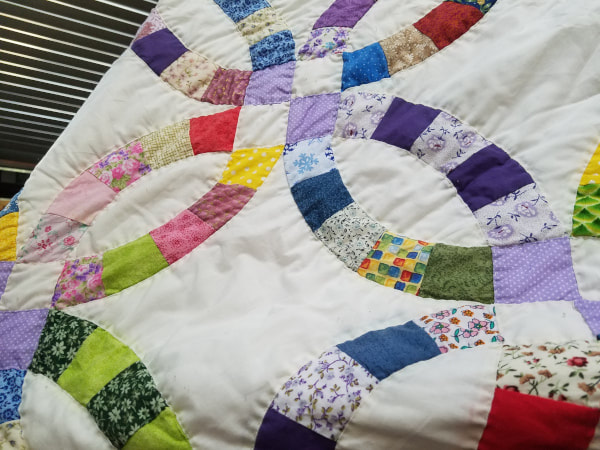 The message was from Laurie B.: Your article about the bleeding quilt saved my mom this afternoon. My mom is 81 years old and she has been working feverishly since October on her first ever quilt for my daughter who is getting married in 2 weeks. she had to spot clean a few little finger sticks of blood and when doing so we noticed that the red was bleeding and also a little blue. She was exhausted and I said "mom lets just google this" we found your article and it kind of was backwards from what we thought as we always heard set the colors with cold water and salt. We trusted you and you were a life savor. A huge project for an older women to take on for a first time. And its a king sized quilt. Can you imagine someone piecing a KING size Double Wedding Ring as her first quilt? I bow to her guts and perseverance! The wedding was this past weekend and I hope the Granddaughter appreciates what a feat this was and what a treasure this quilt is! Just goes to show that you can start any hobby at any age.  Hopefully you will never need this information but if you do the instructions are always here. If you want to share this information on your blog or website you are welcome to download this button and can link it to: https://www.colorwaysbyvicki.com/save-my-bleeding-quilt.html#/
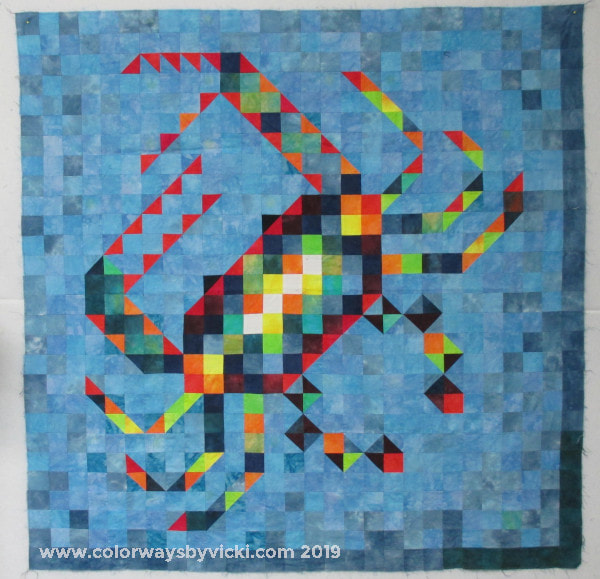 Isn't this a cute quilt? My friend, Anne, made it. She finished it a few years ago and somewhere along the line I promised to quilt it for her but I keep avoiding it because I'm at a total blank on HOW to quilt it. Well I spent the last 2 days hanging out with her at the river and she had it positioned exactly where I couldn't avoid it any longer. I'm surprised she didn't have it between the sheets of my bed but it was almost as obvious as that!
Don't get me wrong, I want to quilt it and if I had a remote idea I could get it quilted in a couple of sessions. I'm cool with figuring out the background quilting but I want to do something special to highlight the crab but I'm totally clueless....and idealess. What do you think? For those of you who want the pattern, this quilt was designed by Lisa-Marie Sanders and we had to get special permission to make this one copy. If you have to have your own crab quilt you might be able to get in touch with her here. 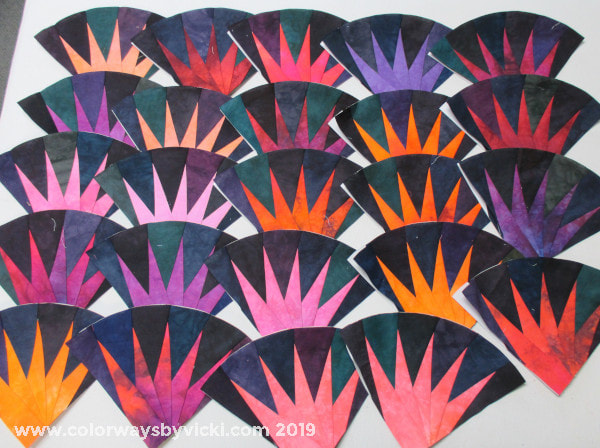 It was sewing weekend with my quilt club and I was on a mission! I missed last month because someone had just cleaned the place with about 5 gallons of PineSol and I couldn't stay in it. This month the room was back to normal. I had to stay pretty focused but I got this set of blocks done for my 4th of July quilt. 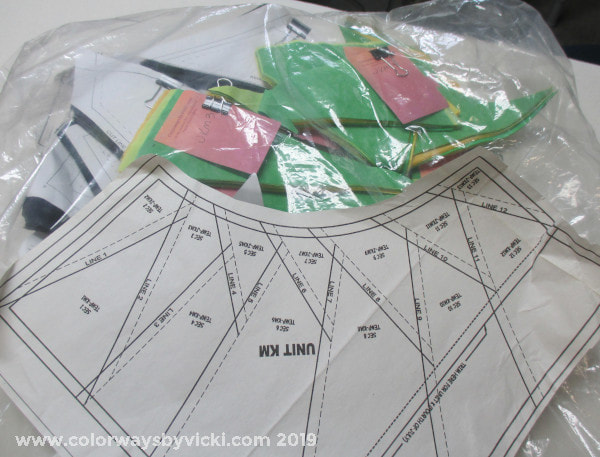 To make a quilt the size of the pattern all I'have left to do is a set of these blocks for the border. At this point I think I'll probably stop with these although I do have enough foundations for a queen size. I expect once these are done I'll be ready to move on to another foundation pieced pattern. I'll lay out the blocks and see how it all looks. But I have this pattern waiting for me and I'll probably get 4th of July done and start the new one. I just need to decide on colors.
That's all the sewing I got done this weekend. Yesterday I came to "the river" to spend some time with my friend. I'll go home this afternoon if I can pry myself away from a great view. 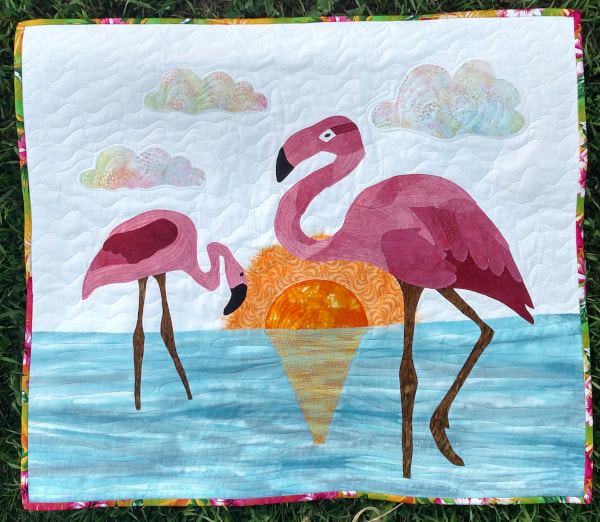 Felicia and Fiona in Florida by Jeannette Ringuette This week's featured quilt is this fun flamingo quilt by Jeannette Ringuette. It's 32" square and she used a Reflections fabric for the water and Claret Shades Pack for the birds. It is based off of the pattern Felicia by BJ Designs and Patterns. She made it as a gift to my niece who lives in Florida. She added paint around the sun and thread for the sun reflection in the water and quilted the birds to have some semblance of feathers. 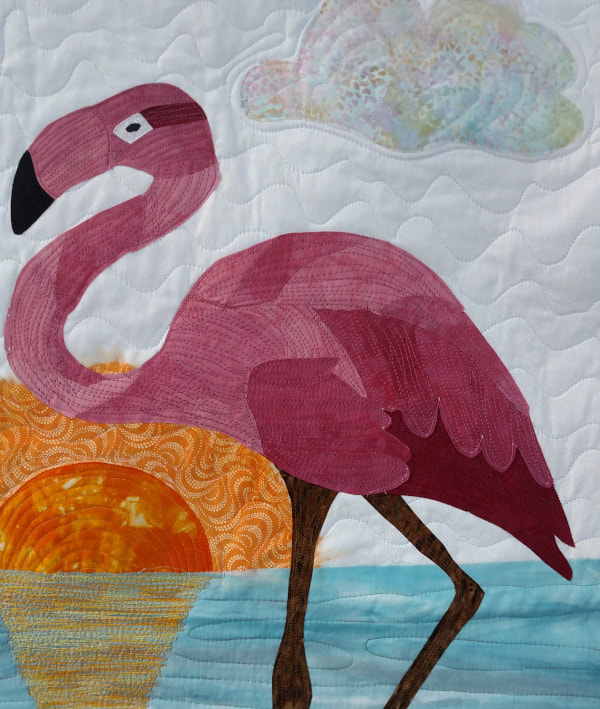 Here's a close up of the stitching and quilting detail.
For sharing, Jeannette received a 20% coupon for the shop that's good for 3 months! If you have made anything with my hand dyed fabric I hope you will consider sharing it in the Customer Gallery. The only rule is that projects have to be complete. It doesn't have to be made totally from hand dyed fabric, just include a recognizable amount. 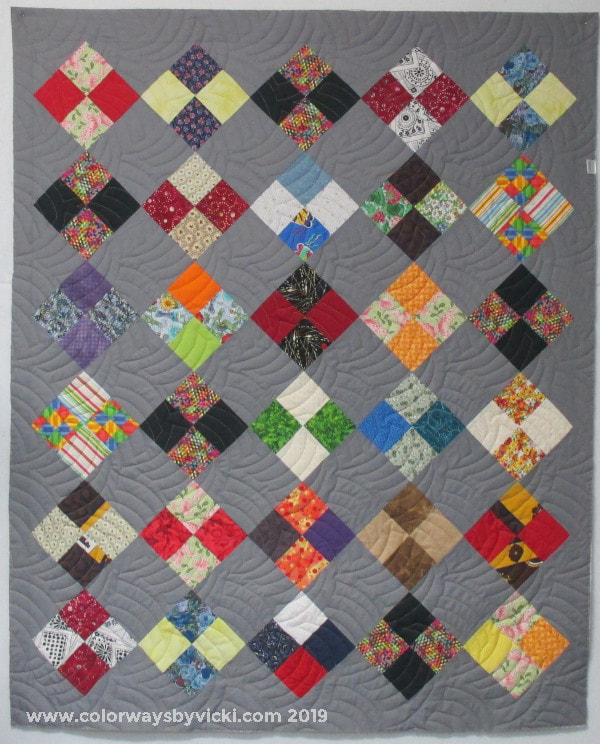 Remember Monday when I shared the Maple Leaf quilt and mentioned all the quilts that Gwen has made with 4-patch blocks? Well, here's another and it's not the last one! I really like the on-point setting.  I complained about my thread selection Monday because it didn't show at all on either of those quilts. I corrected that with these quilts by using a bright gold! For this quilt I used a pantograph that I use often and I think it might be called Woven Wind, or something like that. I'm seriously too lazy to walk downstairs to look it up. I want to get this post done quickly before I leave for the monthly sewing days with my quilt club. Anyway, I like the texture it gave this quilt. Gwen has a lot of binding to do! 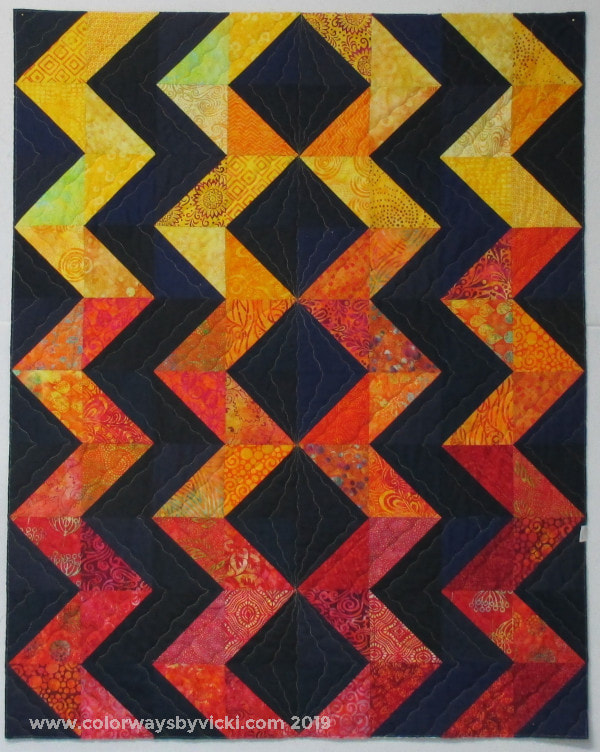 Occasionally I get a quilt that needs some "special" quilting. I just could not do a pantograph on this strong graphic one that Liz made. You know that I LOVE the gradient effect that she gave this quilt! The squiggly line quilting that I did on this one was really fast but it's a great effect. 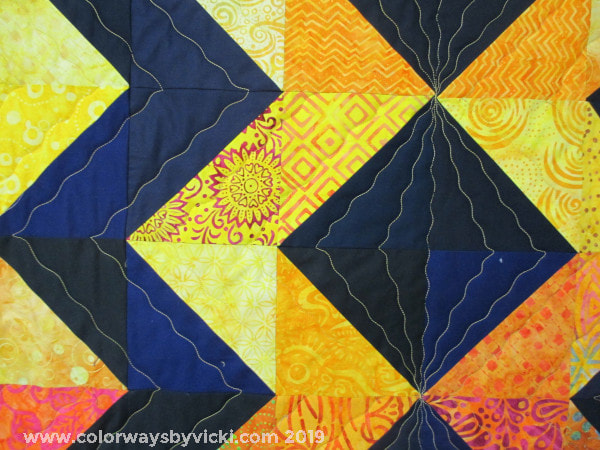 Here's a close up of the quilting. You can't really see it but I did the same 2 squiggly lines in the print fabrics too. This one was a good one to end on. My goal of 40 quilts is done! There are several more to quilt and Marcy and Denise are helping with those. I've told the group that I will not take in any more quilt tops for the time being. I may take some in November if I get some of my own projects done. But I don't feel any pressure to do it and the group is very nice and will not pressure me either. They are always nothing but grateful. 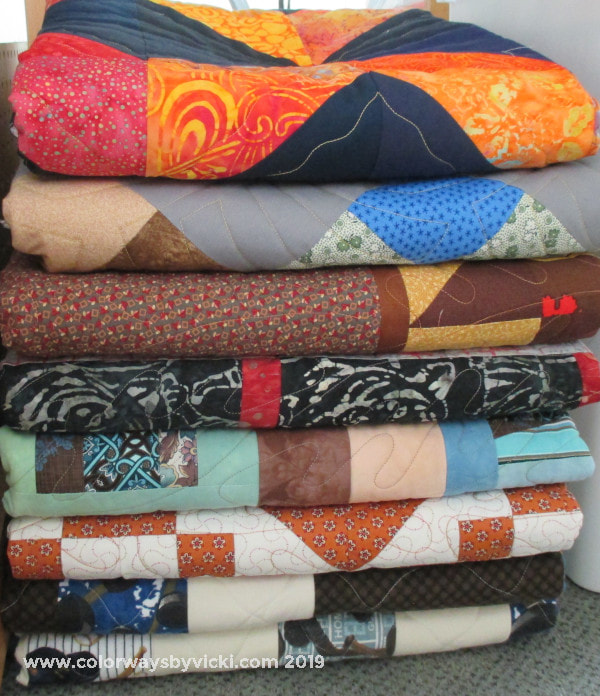 Here's the stack that I have ready to deliver this weekend or Tuesday at our meeting. You know what this means....there are dog beds to make!
Probably not! 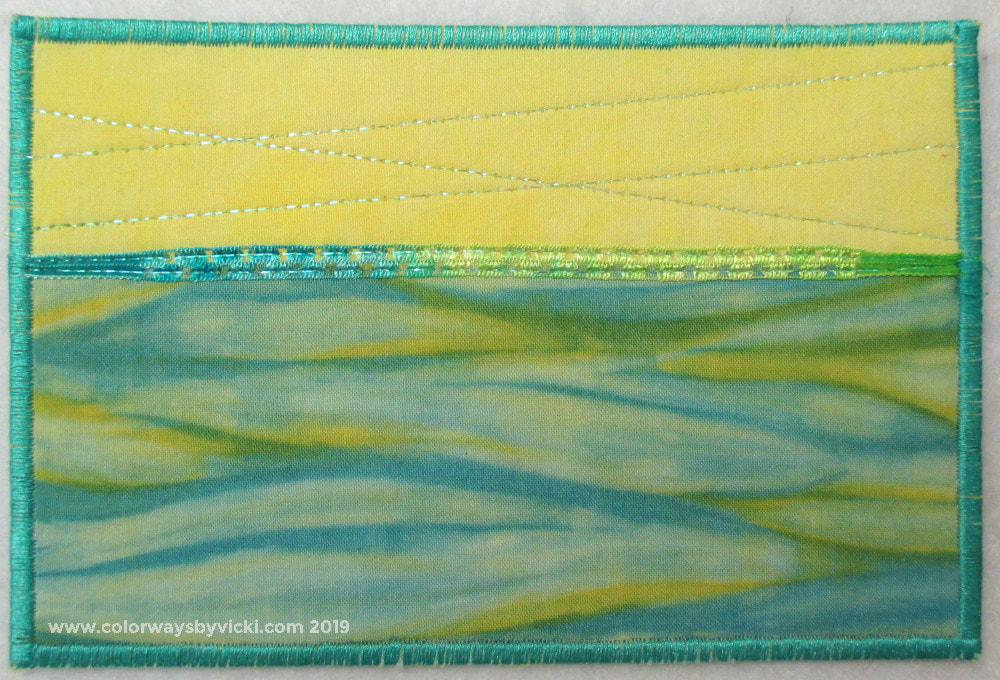 I've been working on this last set of shibori sea cards, that I'm calling Spring Shibori Sea, over the past week. I had a lot of the yellow sky bits thatwas enough for 14 of these cards! I'll be all set for our Airbnb guests next Spring. One of my recent guests, Jessica, comes here pretty regularly with her son to mountain bike and when she came last week she told me that she loves her cards and has them all on display in her house. That makes me very happy. The bright colors in this set of cards makes me very happy too. 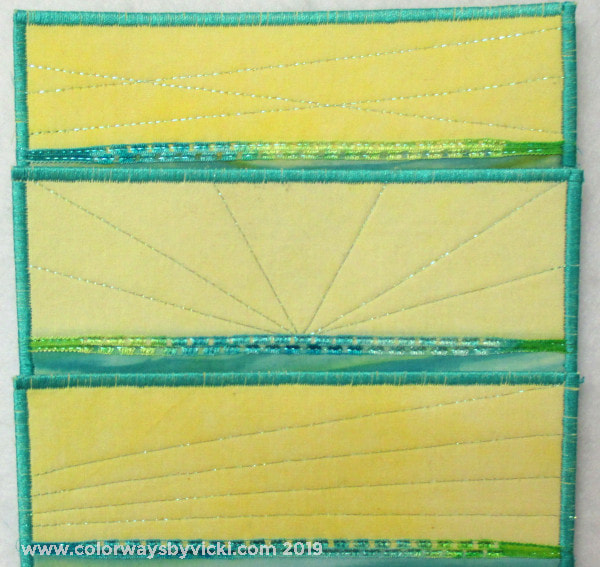 I've been playing around with different sky stitching for each set of cards. On these I stitched straight lines in different designs. I don't really have a favorite design. Do you have a favorite? I like all of them and I really like the effect of the Superior Glitter thread. It's pretty finicky to sew with but worth it in the end. It's got great sparkle. Of course I have just about every color they made. I'll never use it all up.
In my ongoing efforts to purge some things from my all of my Drawers/Cabinets/Bins of Magical Things, I found something else that I'm thinking about turning into postcards so I might have even more to share soon. I really need to switch gears and start thinking about some Christmas designs but my head just can't go there yet. The center of my quilt is done. Here are the last 3 puppies for the pound! 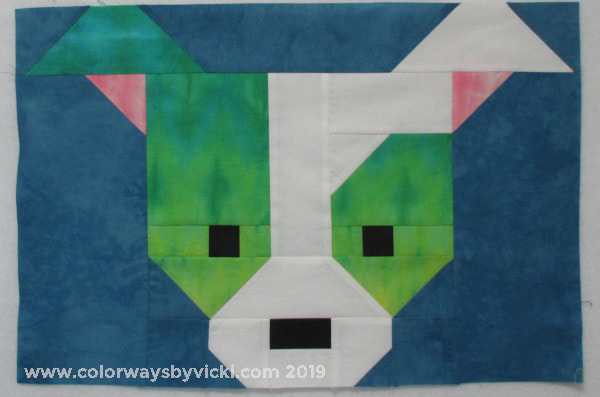 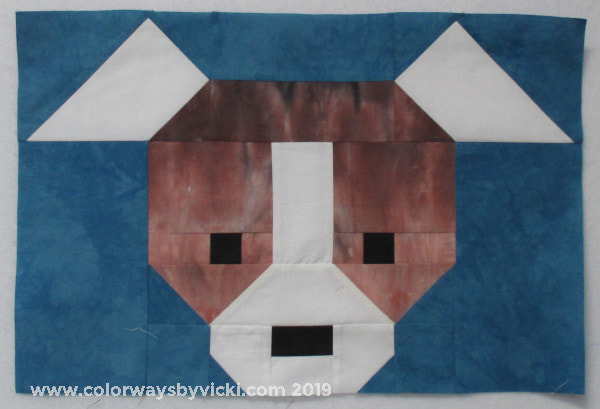 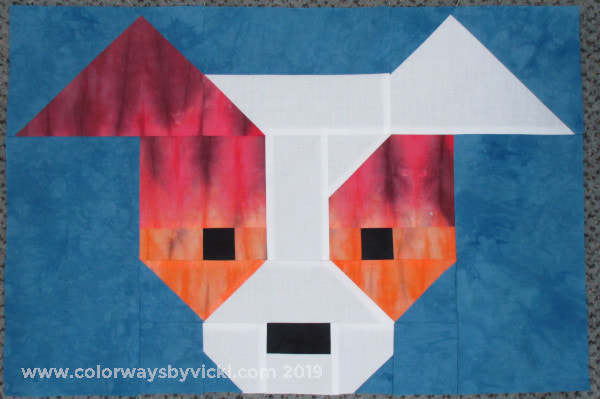 Aren't they cute? I'm going to miss making the puppies. I really had a lot of fun picking and fussy cutting the fabrics. 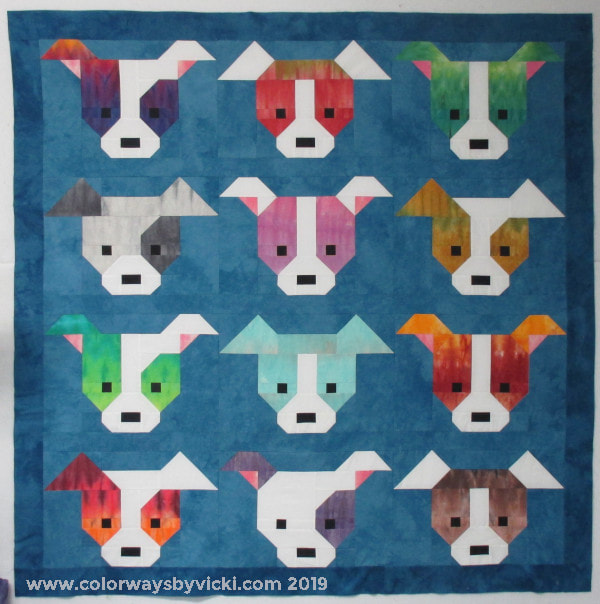 This pattern has 4 rows of dogs with sashing only between rows. It finished off with a 3" border for a 60" finished quilt. I designed this to have a lighter center and dark outer border so I dyed a medium blue for this first border. 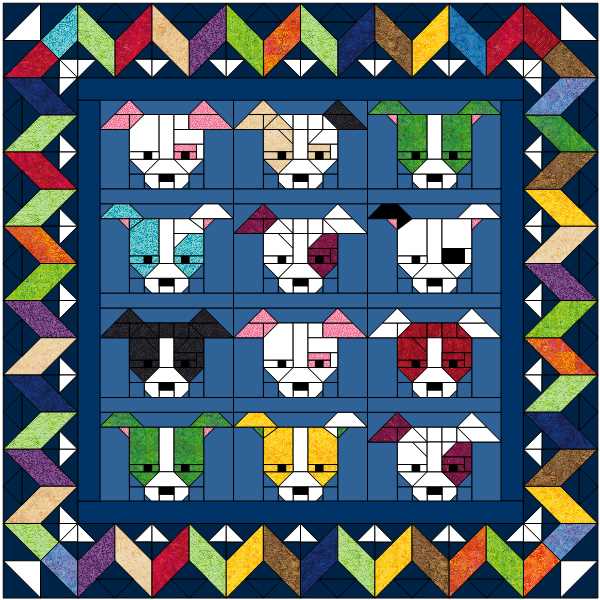 This is where I left off with the border design and I'm going to basically stick with it. But I'm not totally happy with it so the next step is to spend a few days in EQ refining the design.
So far, though, I'm really happy. |
FeedsTo subscribe click the RSS Feed button and copy the URL of that page into your blog reader.
In Bloglovin you need to search "Colorways By Vicki Welsh" to find the blog. About Vicki
I'm Vicki Welsh and I've been making things as long as I can remember. I used to be a garment maker but transitioned to quilts about 20 years ago. Currently I'm into fabric dyeing, quilting, Zentangle, fabric postcards, fused glass and mosaic. I document my adventures here. Categories
All
Archives
July 2024
|
 RSS Feed