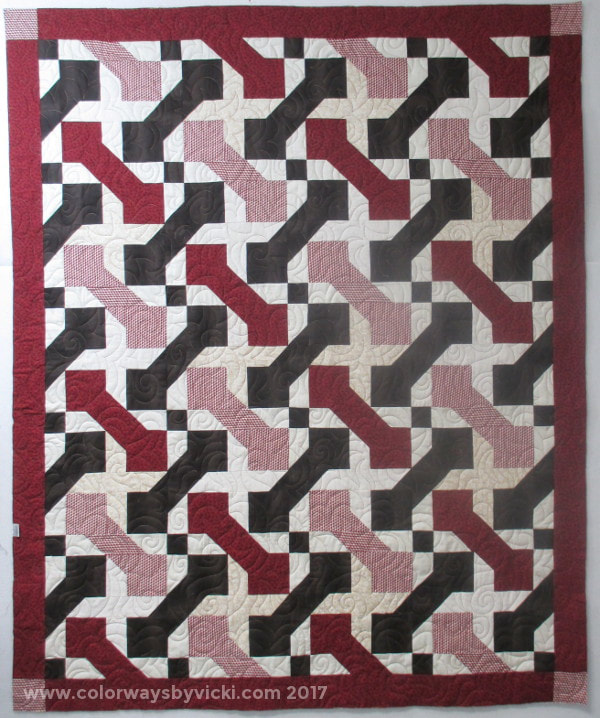
 After Tina left from her quilting session I decided to continue on with a couple more quilts. These are the last 2 that I have for now, except for 2 that are set aside for Marcy. I'm sure I'll get re-stocked at the November meeting! But until then, I'm free! I taught Tina how to do a pantograph and since I hadn't done one in a long time I decided I'd do one on these 2 quilts. 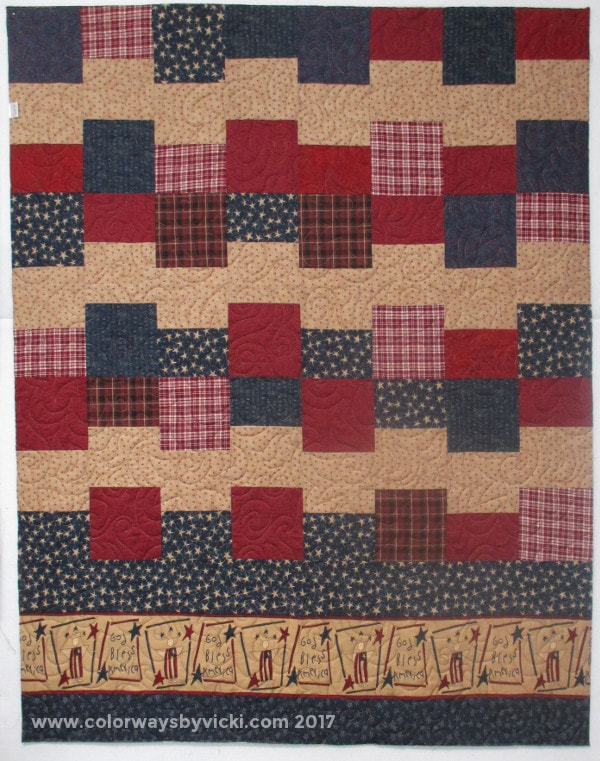 The pantograph looked really nice on both quilts. 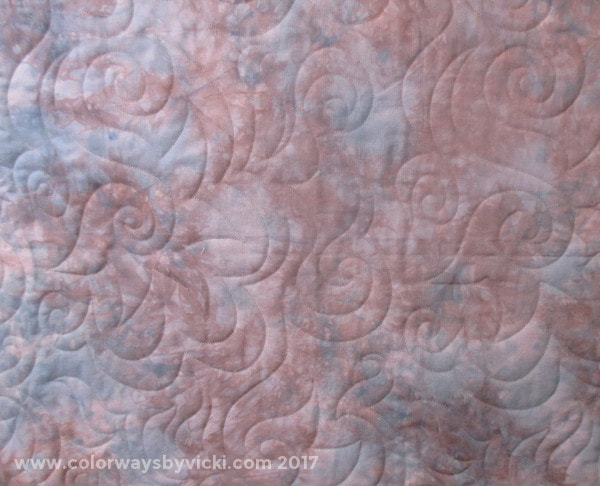 This one is called Star Swirl and I like it because it's very wide so you get a lot quilted in one pass.  I wasn't surprised when I was basting that I ran short of backing. I knew that the top quilt was about 6" bigger on all sides. Tomorrow I'll share a tutorial for how I was able to add more backing without taking the quilts off the longarm! 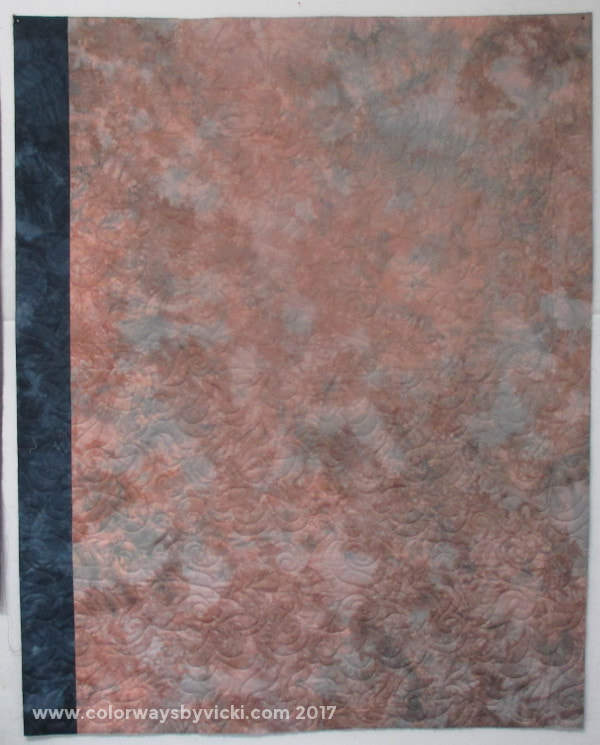 I know the extra is blue is not brown but there was no way I was going to "match" that hand dyed back. I'm OK with the blue strip on the edge and I think the quilter will be fine with it too.
You will see from my posts that the past week has been almost completely focused on catching up on veterans quilts and I'm grateful for the help of 2 new quilters. I showed you Marcy's quilts last week. Today I'm sharing Tina's. Tina is a new Innova owner and has taken a couple of my classes so I was happy to help her out with a few practice session for some new things she wanted to learn. 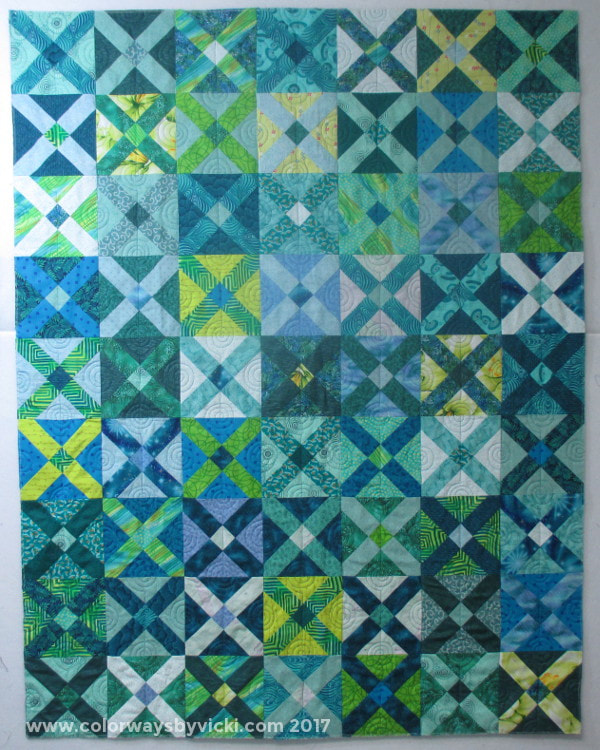 Because I load 2 quilts to quilt at a time on one wide quilt back, many of our piecers will quilt 2 of the same quilt and that's what we had with both quilts today. It looks like Tina quilted 2 quilts but she actually quilted 4! 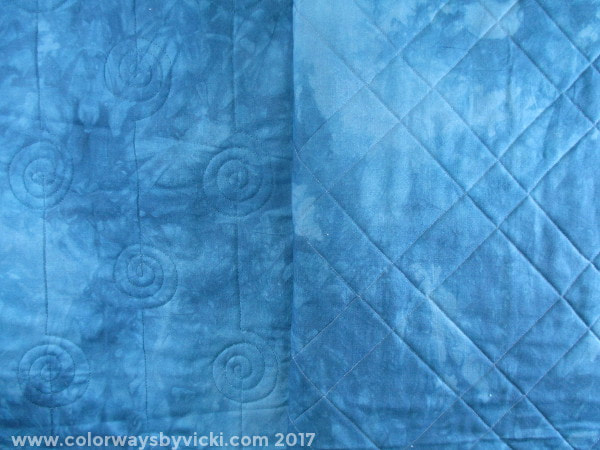 The first thing she wanted to learn was stitch-in-the-ditch. We picked a blending thread and I showed her the basics and then she was off and running. The key to learning SID is to simply do it. This quilt was perfect because the fabrics are prints and it's almost impossible to see any mistakes. I wouldn't let her rip out mistakes. For the second quilt she wanted to practice spirals. I think she's doing a great job quilting circles. 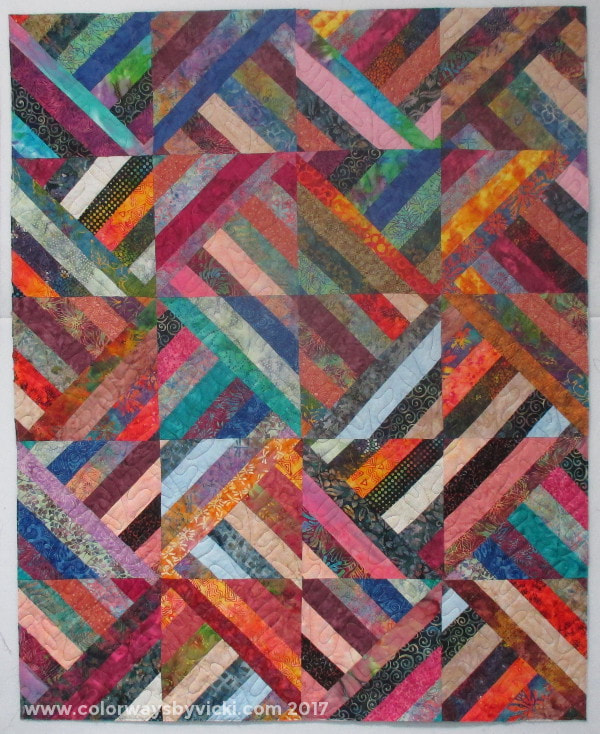 I had 2 of these quilts too! I do love scrappy batik quilts. The quilting doesn't show so we could do anything that she wanted on them. 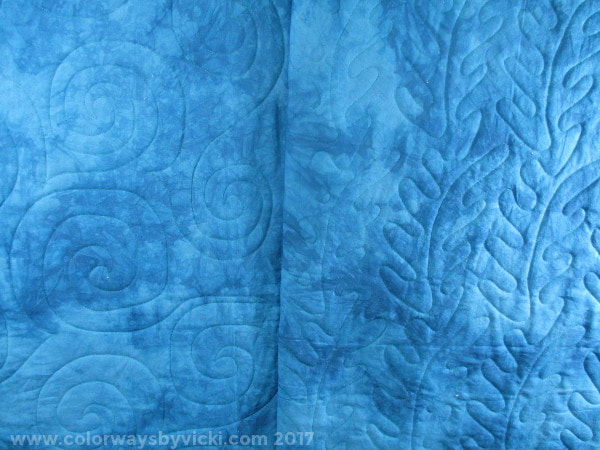 For the one on the right I taught her how to do pantographs and for the one on the left we decided to meander giant spirals. It takes a lot of muscle training to get big, smooth circles and she was really happy with how much better she got just quilting this one quilt.
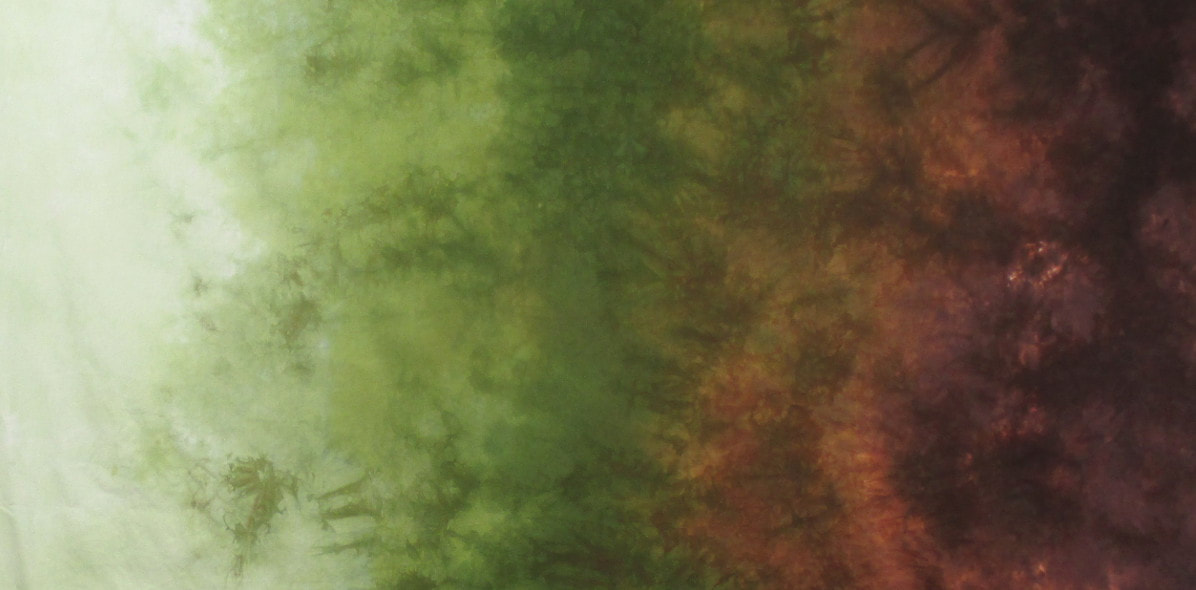
You can take all of the classes in the world but you never learn until you practice. Charity quilts are a great way to practice. 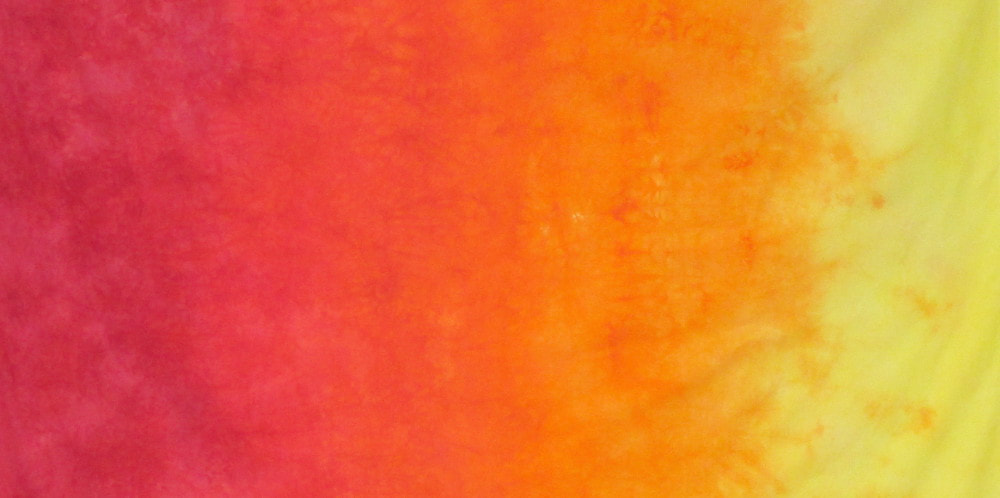 Solar Flare Gradient - 25% off! The fabric if the week is Solar Flare Gradient. If you want some for your stash get it before it sells out. Through Sunday (or while supplies last) this fabric is 25% off or $6.75/half yard. New - Sunshine and Shadows!If Solar Flare is a little bright for you, maybe you will like the newest gradient, Sunshine and Shadows. It's a beautiful combination of golds and grays and was inspired by a custom gradient that I did for a customer. 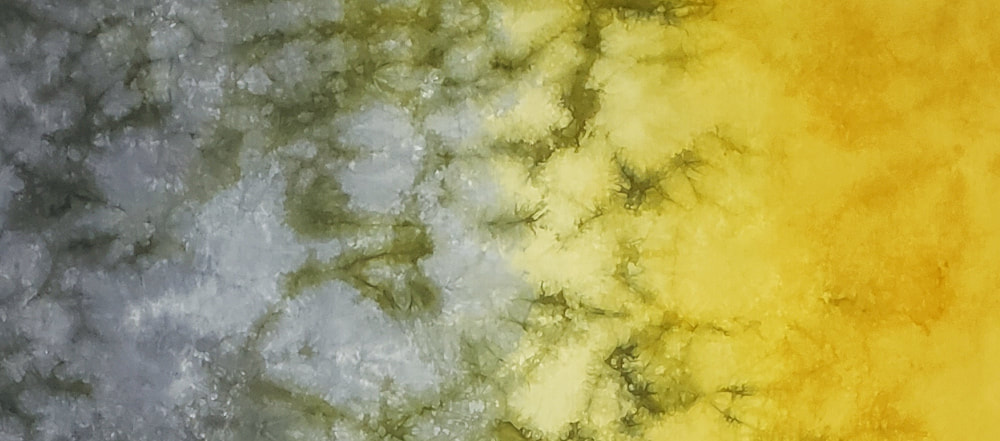 Sunshine and Shadows Gradient Back in stock!Two of your favorite gradients are back in stock this week. 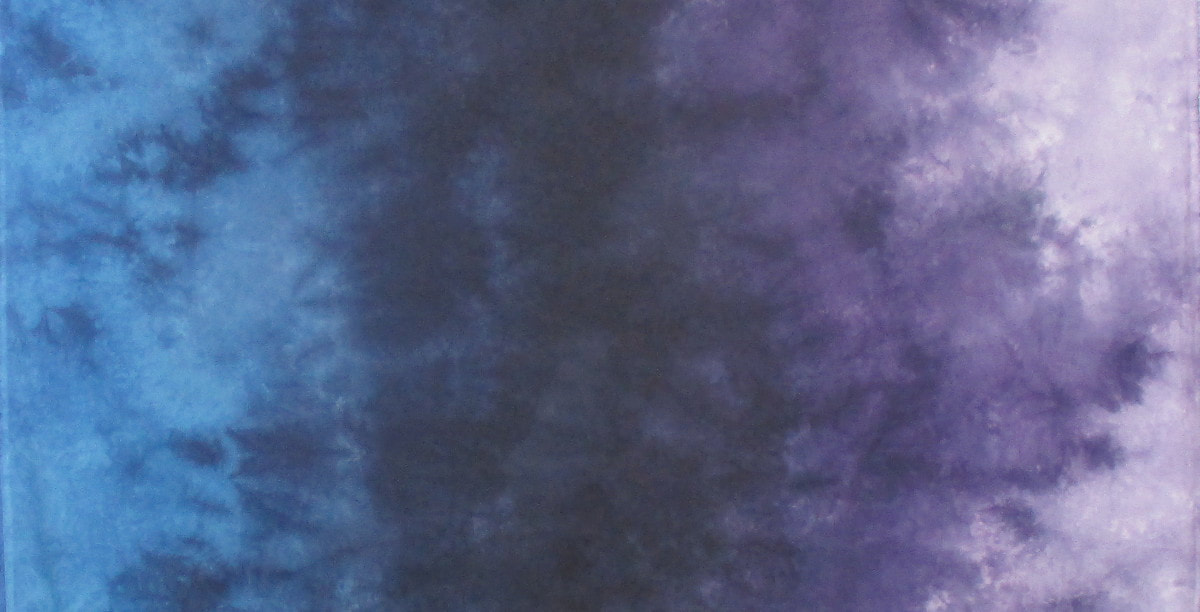 Twilight Gradient 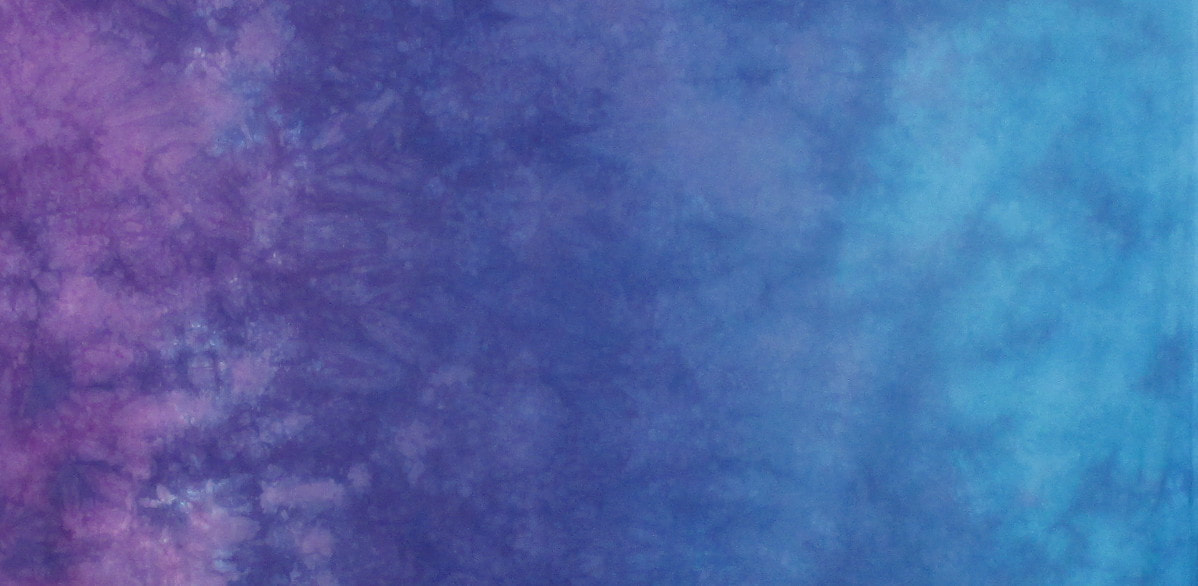 Under The Sea Gradient Upcoming Class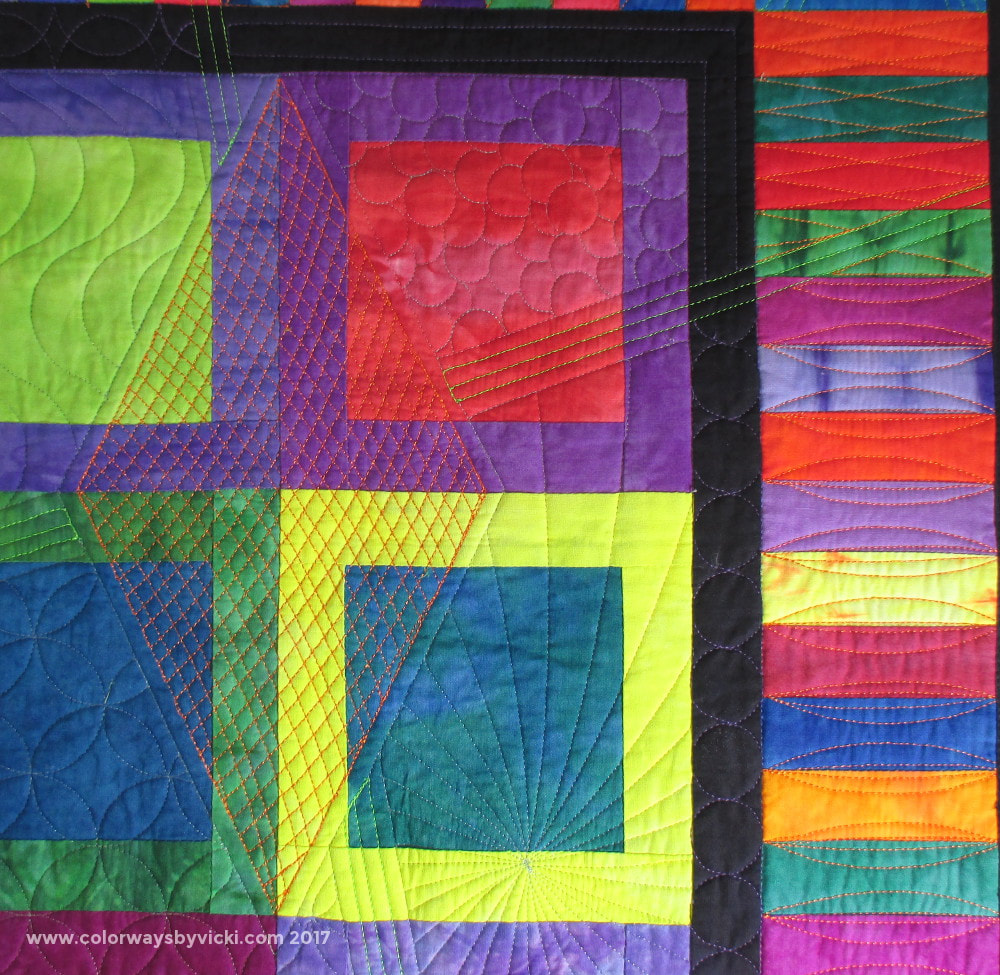 Ruling Rulers
November 4 at Virginia Longarm, Goochland VA Have you been collecting longarm rulers but are still afraid to use them? This class will get you over that fear and teach you everything you need to know to successfully use rulers on your next quilt. This is a great class for renters, new owners, and seasoned free-motion and edge-to-edge quilters. I'm on a roll! I have 2 more veterans quilts done and am almost caught up. 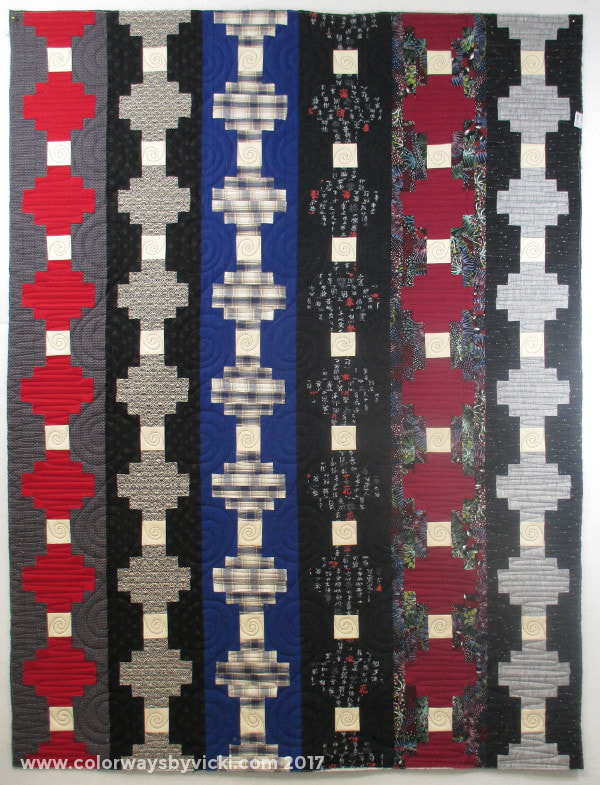 This one is the courthouse steps pattern. I considered doing an all-over pattern but those light colored squares told me that I needed to do something else. Now, my #1 rule on these quilts is that the quilting has to be edge-to-edge. I will not custom quilt these quilts. If I did that it would mean quilting 20 a year instead of 40.  Can you see what I did here? I had background rows and the rows with the light squares. I wanted a swirl in the square so I did deep waves through the pieced block and a swirl on the light patch. On the background rows I did giant swirls. 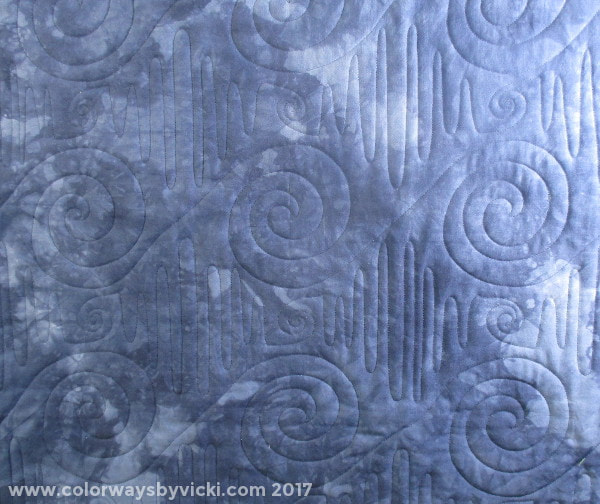 Now, looking at any of the motifs individually you wouldn't be particularly impressed but add the artistic concept of "repetition" and you've got yourself a pattern that looks pretty good! 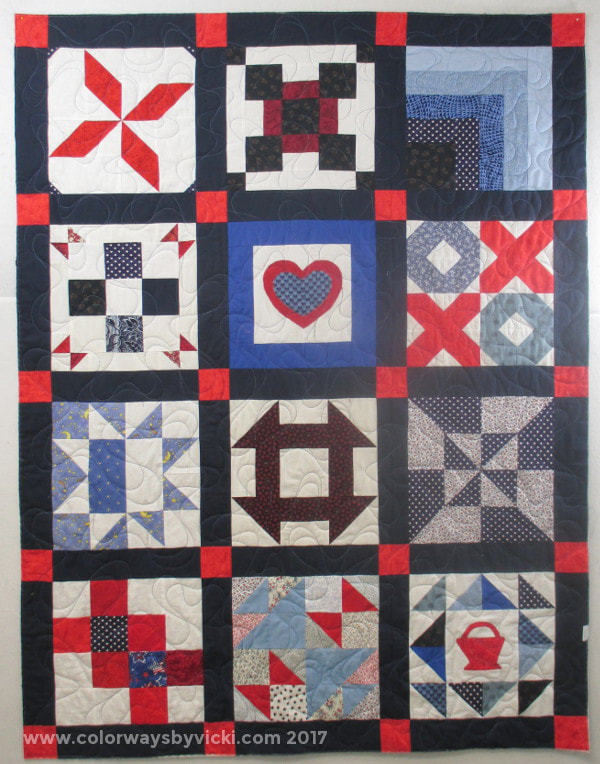 Maybe you think you saw this quilt last week. You sort of did. Peg made 2 of these quilts. 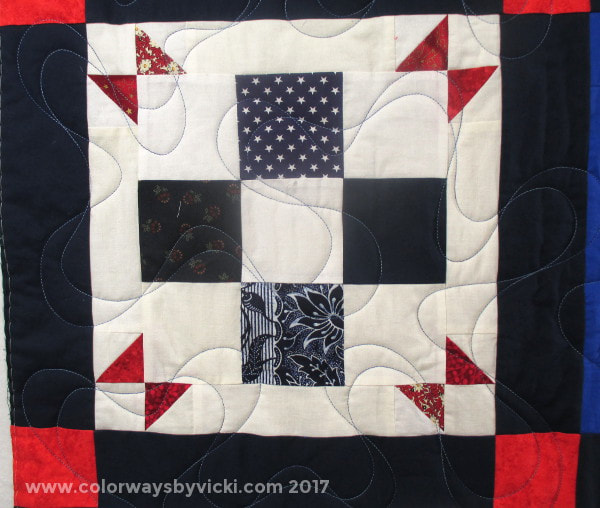 I quilted both of these with a ribbon meander. I did one with a light thread and this one with a darker thread just to see how different they looked.
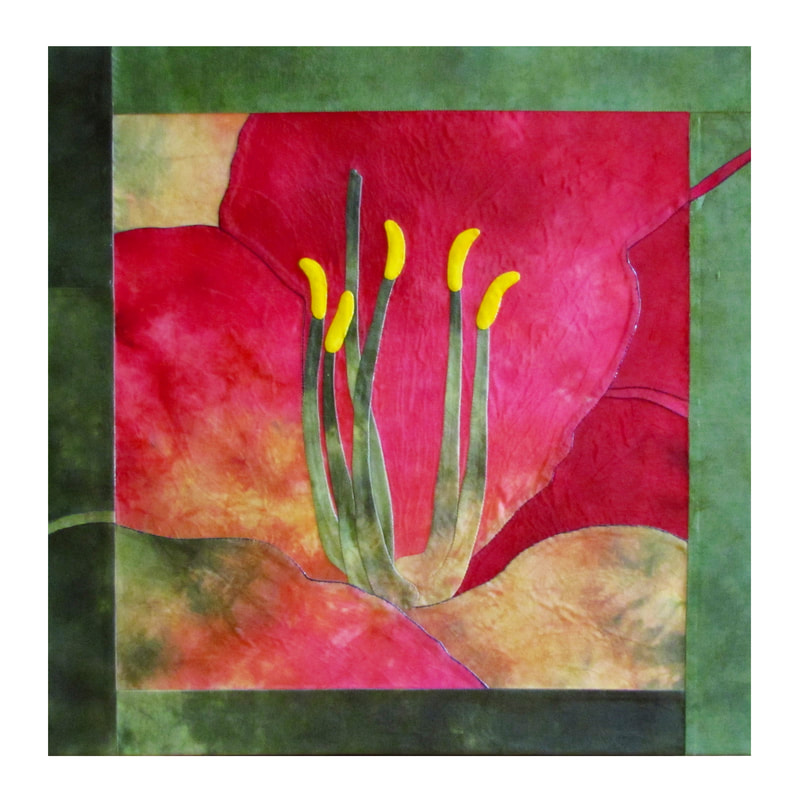 Daylily by Becky Brown, 20" x 20" How about something a little different today? Becky Brown is one of my local friends and is a member of Country School Quilters. She is known for her exquisite hand applique and hand quilting. If you participate in Barbara Brackman's block programs you will recognize Becky and will see this as being out of character! Periodically our quilt club has challenge programs and Becky always steps way out of her box for the challenges. This piece was made for one of the recent challenges. She started by appliqueing the daylily with the intention of quilting it but then she went off the reservation and mounted it on a stretcher frame. I think it was a great decision! The real surprise here is that every piece of fabric on this came from one piece of the Coleus Gradient! How cool is that? 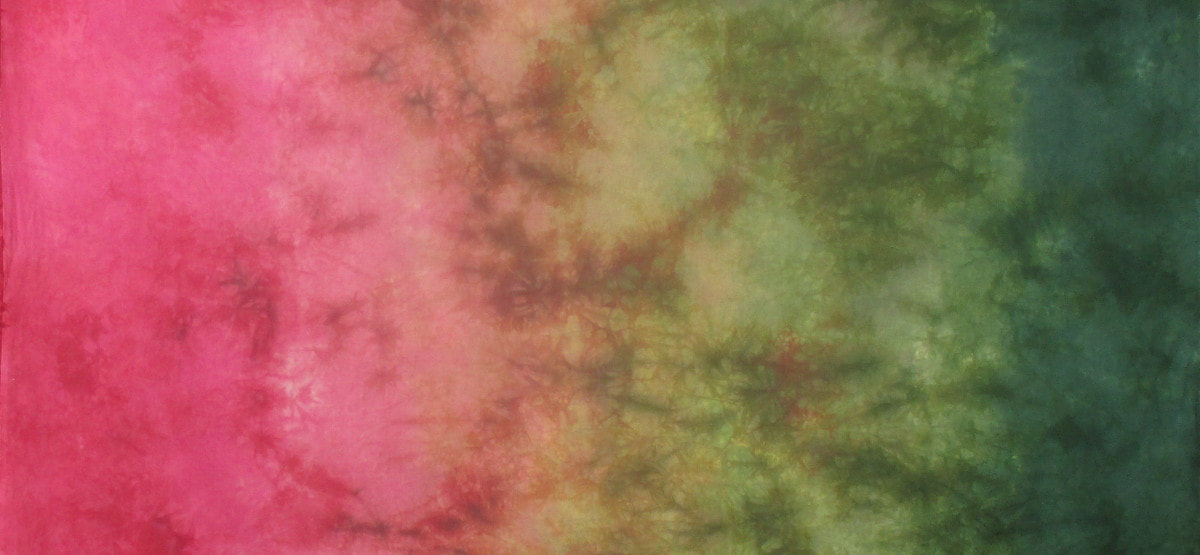 Coleus Gradient If you have ever made anything with my fabric I hope you will consider sharing it on the Customer Gallery. In return you will receive a 20% coupon for the shop.
I added 3 ornament kits to my UFO list for 2017 because I really want to get these things done and out of the way. I started making them around 1990 and, frankly, I'm over them. But these kits are expensive and I didn't want to toss them out. Besides I have over 120 ornaments made and I do still like displaying them.  Discovery - a kit from Cracker Box Kits This kit, Discovery, has been sitting partially done for at least a year. I love how it turned out but it's probably one of my least favorite to put together. This one is a whole lot of gluing smooth things to other smooth things so I know that this one will start falling apart before any other ornaments. Most of the ornaments are put together mostly with pins and dangly things done with thread. I think that makes them sturdier. 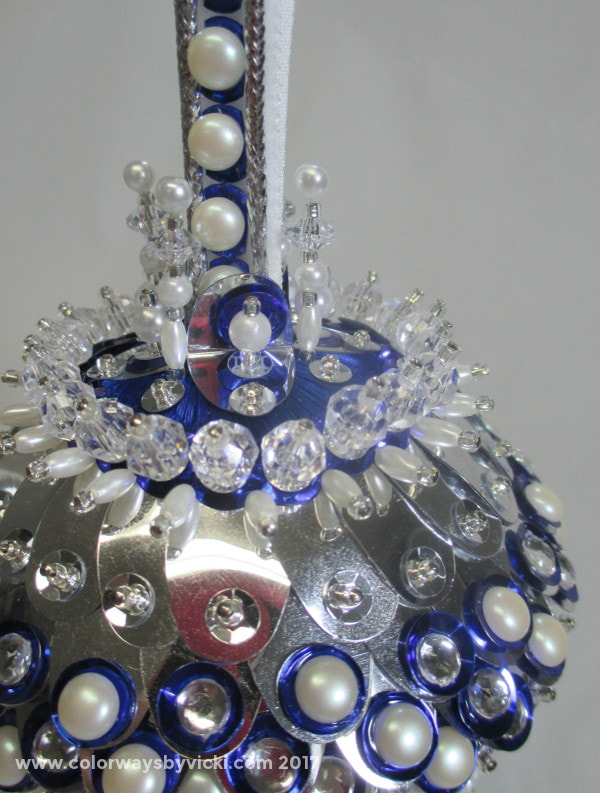 This is the first ornament kit where the hanger is 100% glued together. That doesn't bode well for its longevity. Complaining aside, this thing is going to sparkle like crazy on the tree. 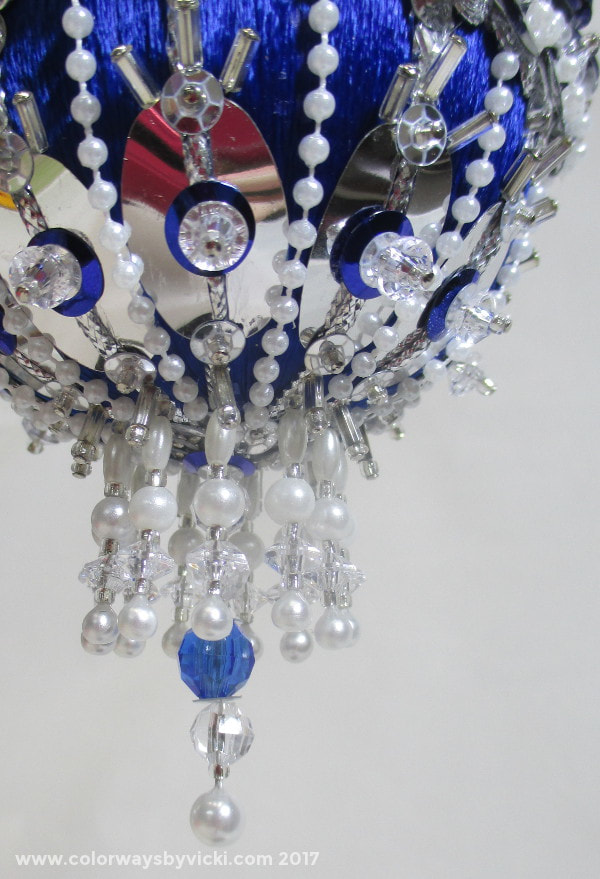 I'm sure someone is going to ask about the time in this. There was a time when I did track time and the easiest ornaments had about 12 hours in them and I've had a few that have up to 60 hours. I don't track time anymore but I'd guess this one came in somewhere around 25 hours.
If you think you might want to make this, I'm sorry, you can't. This kit has been retired and is no longer available. 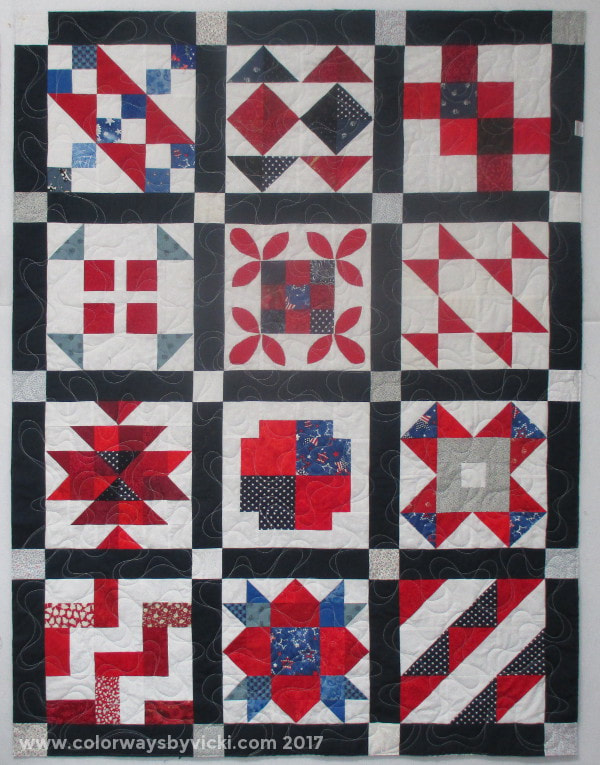 After Marcy quilted 2 veterans quilts last week I decided to stay in veterans mode and loaded these 2. This first one is one of 2 almost identical sampler quilts.  It's quilted with one of my favorite motifs for these quilts: ribbon meander. Ribbon meander is very fast and looks great on any quilt. 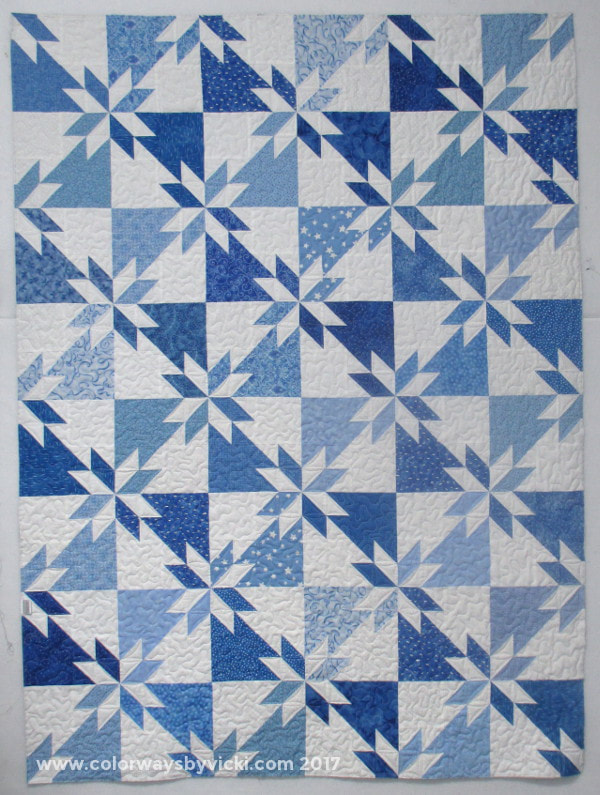 The second one was this pretty Hunter's Star. I spent a little more time on this one because I wanted to figure out a way to travel across and still do something a little special in the stars. 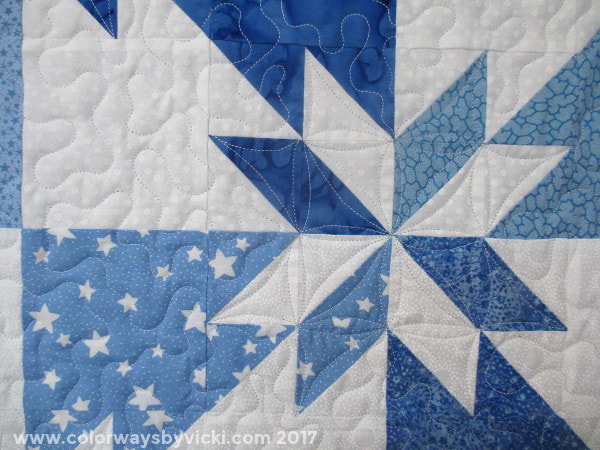 It took some cogitating but I figured it out! There are no starts or stops in the quilt except where I ran out of bobbin thread. If I can make myself sit down and do some drawing I'll do a post to show you how I did this. 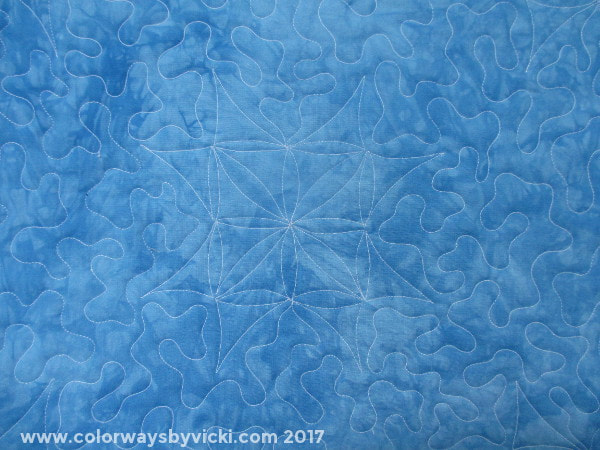 You can see the quilting better from the back.
Both of these quilts have this pretty blue hand dyed backing. I love dyeing backs for these quilts. 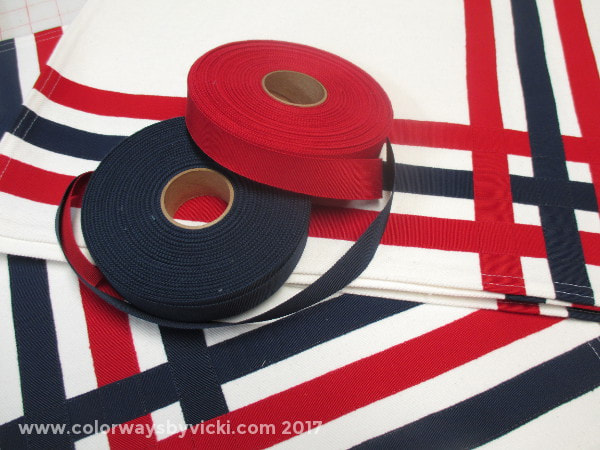 Well, this is incongruous with anything I've been doing here on the blog lately but it was just another project hanging around the sewing room that needed to be cleaned up. I almost put it in a pile but, for once, decided that the best action would be to take a couple of hours and finish it. This project started with 2 rolls of grosgrain ribbon. The Longarm Network, for some reason, has these rolls of grosgrain ribbon on the store for $10 each. That's such a bargain that I had to get some! They don't have them on the website but if you want some I'm sure you can contact them through the link and get yourself some. My first thought was to weave then in some way. Then a week or so later someone brought some rolls of decorator weight fabric to the quilt club meeting. One was a roll of natural denim. A project idea was born! 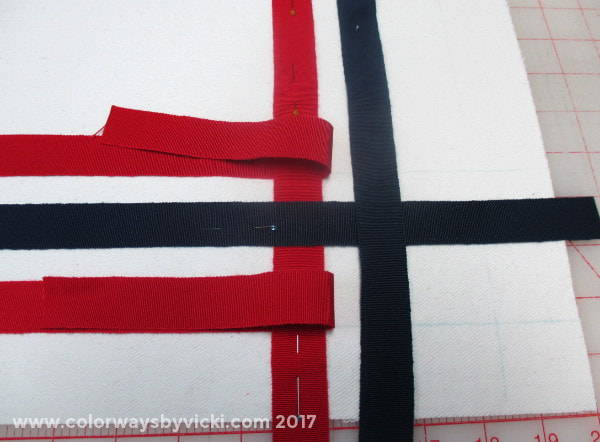 I think I cut the denim to about 13" x 18" allowing for a 1/2" hem on all sides. I drew some guidelines for ribbon placement. There are 3 guidelines 1 1/2" from the bottom and right edges and 1 1/2" apart for the other 2. Then I pinned the ribbons aligning on those marked lines. 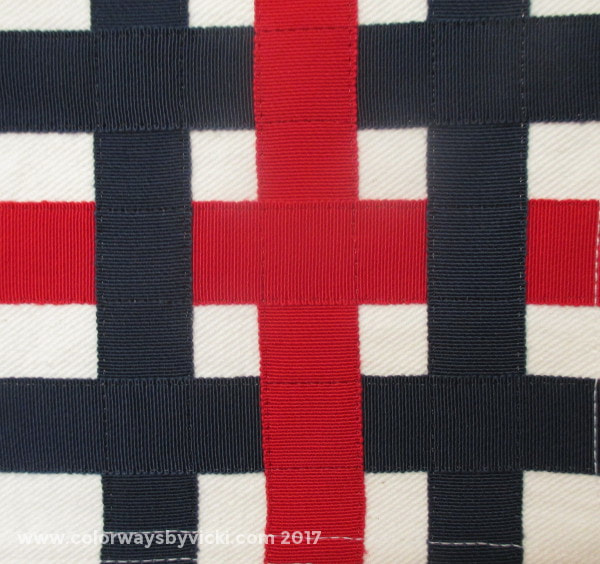 The ribbons are woven in the corner. I pinned everything in place and then topstitched using a smoke monofilament thread with regular thread in the bobbin. 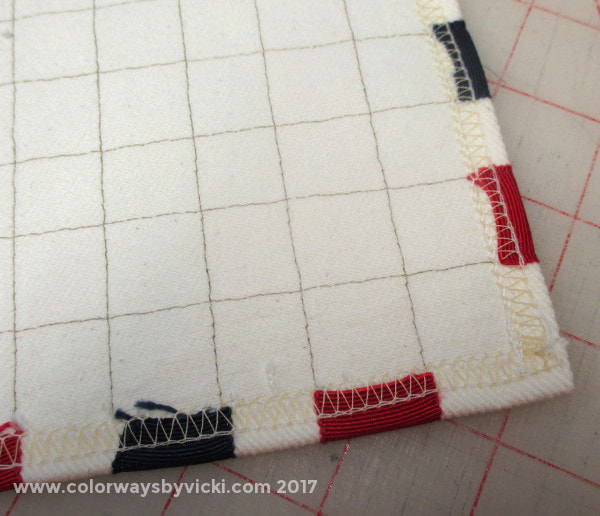 The nice thing about this denim is that it's heavy enough that I don't need to make a quilt from these. I just had to turn under the edges and finish it off with my serger. If I didn't have a serger I'd zigzag around the raw edge and then turn the hem back and topstitch it in place. 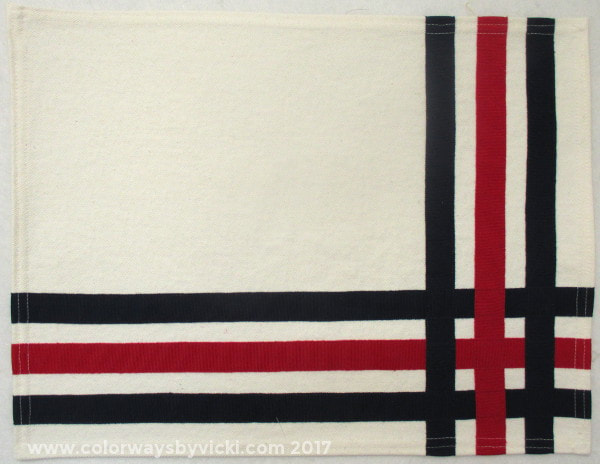 A couple of hours of work and, boom!, they are done. I did 3 with red in the middle and 3 with blue in the middle. One note about the ribbon. It does shrink when washed so I pre-shrunk the ribbon before I cut it. I did that by cutting a long length, soaking it in hot water and then hanging it to air dry. I'm ready for next summer's patriotic holidays! 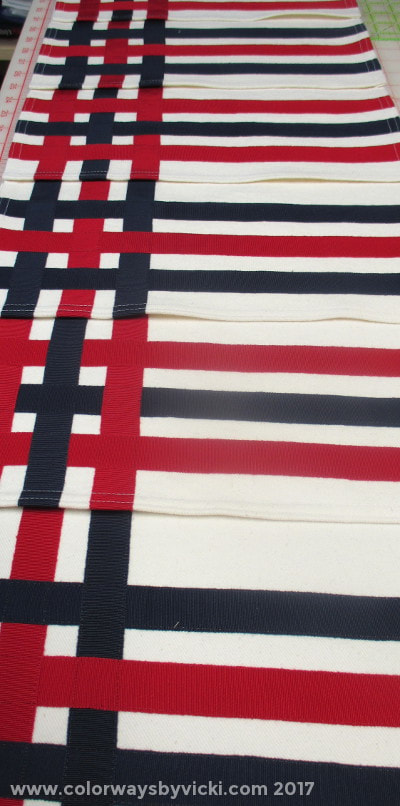 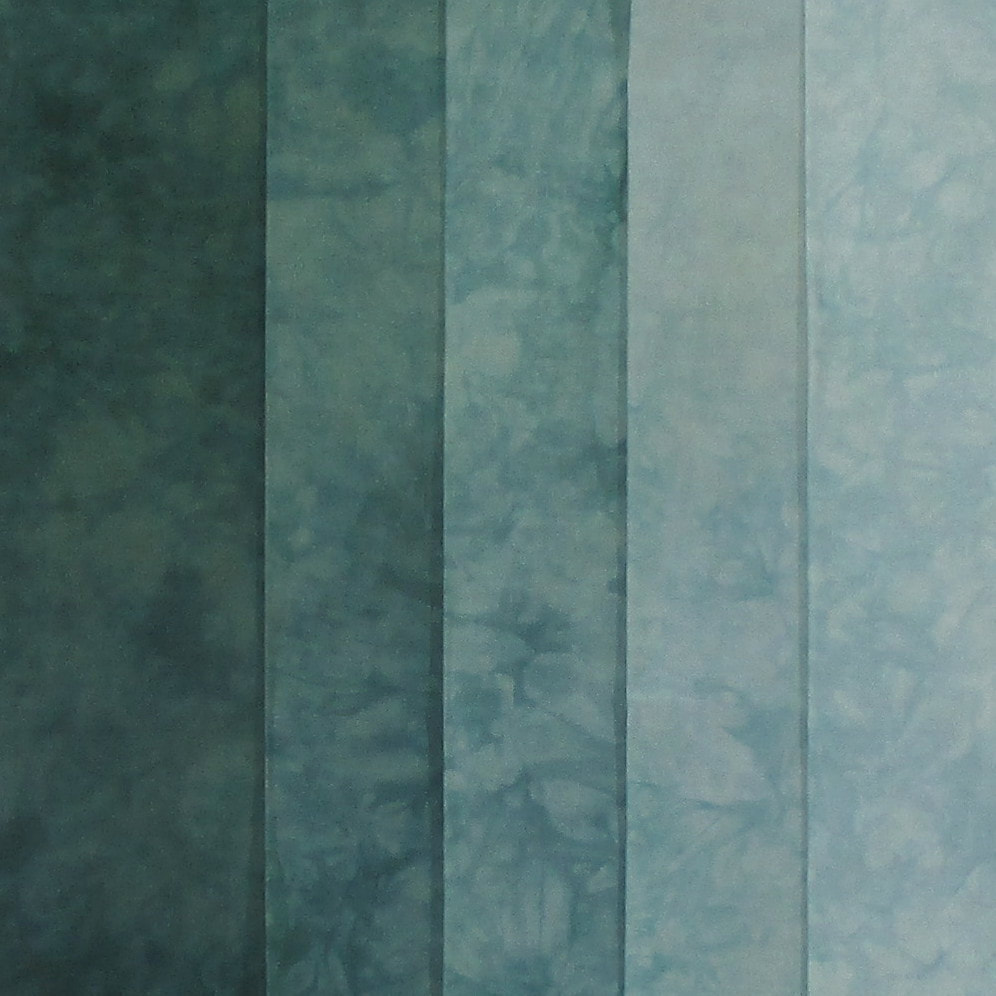 Jungle Shades Pack - 20% off! The fabric of the week this week is the Jungle Shades Pack and it's on sale 20% off through Sunday! Shades Packs are dyed when ordered so there's no limit to what you can buy. If you order multiple quantities it comes as one cut. For example, order 2 quantities for 1/2 yard cuts. Orders received by Wednesday morning (EST) will be shipped October 16. Orders placed after Wednesday morning will be shipped October 23. Gradients Back in Stock!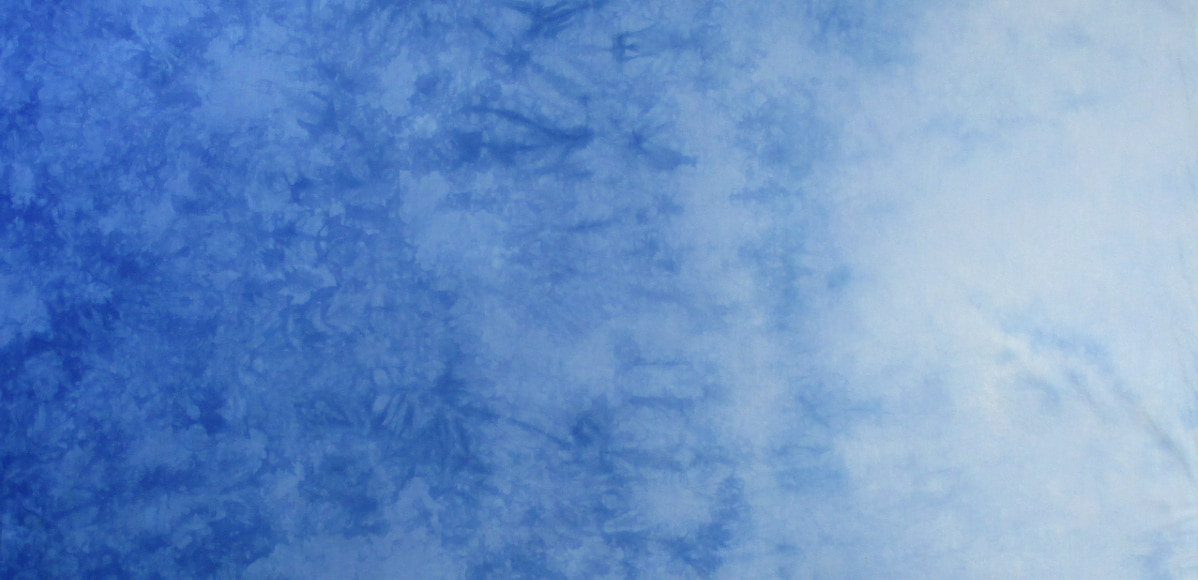 Blue Sky 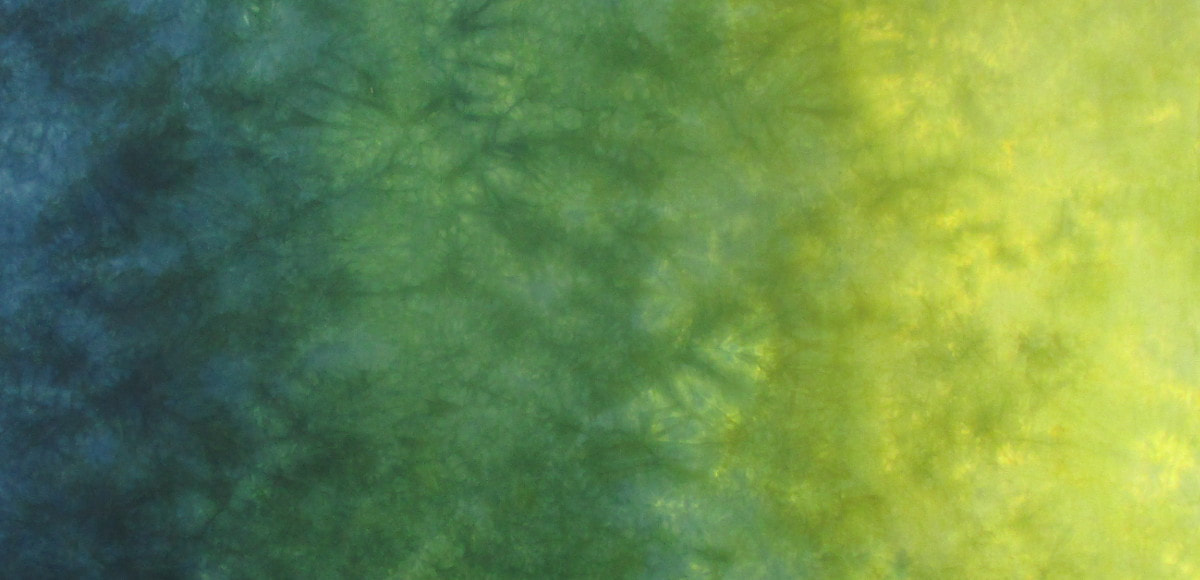 Jenny Lake
 Woodlands
 It's been a while since I worked on the wall. But thanks to Marcy's quilting lesson Thursday I had some time (and motivation) to add a few more beads and a little background too. 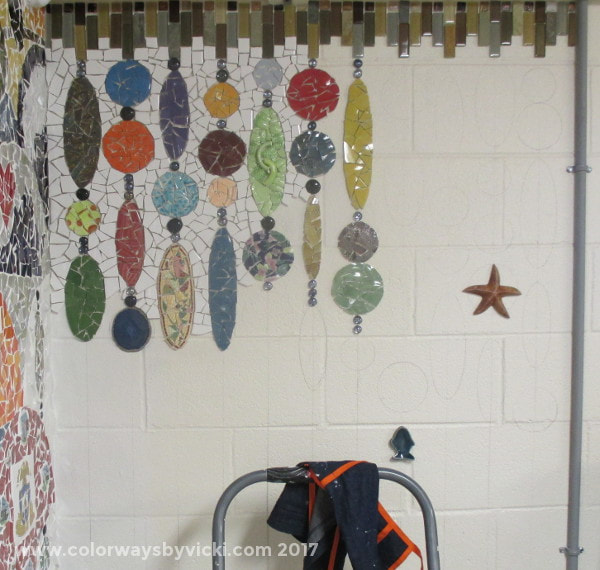 There's still lots left to do!
|
FeedsTo subscribe click the RSS Feed button and copy the URL of that page into your blog reader.
In Bloglovin you need to search "Colorways By Vicki Welsh" to find the blog. About Vicki
I'm Vicki Welsh and I've been making things as long as I can remember. I used to be a garment maker but transitioned to quilts about 20 years ago. Currently I'm into fabric dyeing, quilting, Zentangle, fabric postcards, fused glass and mosaic. I document my adventures here. Categories
All
Archives
April 2024
|
 RSS Feed