|
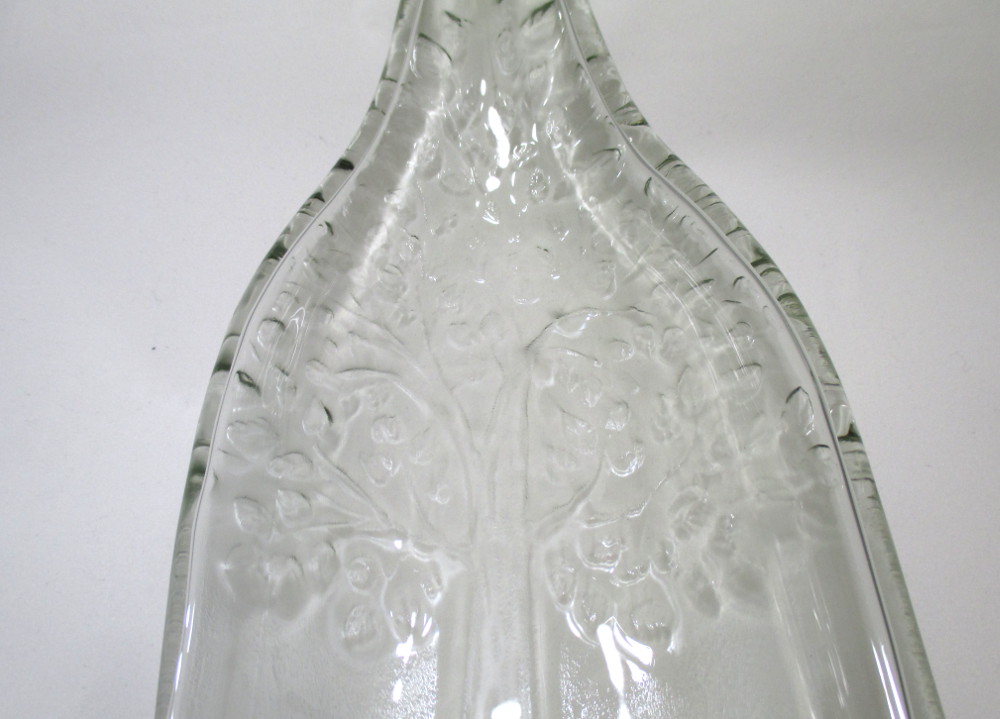
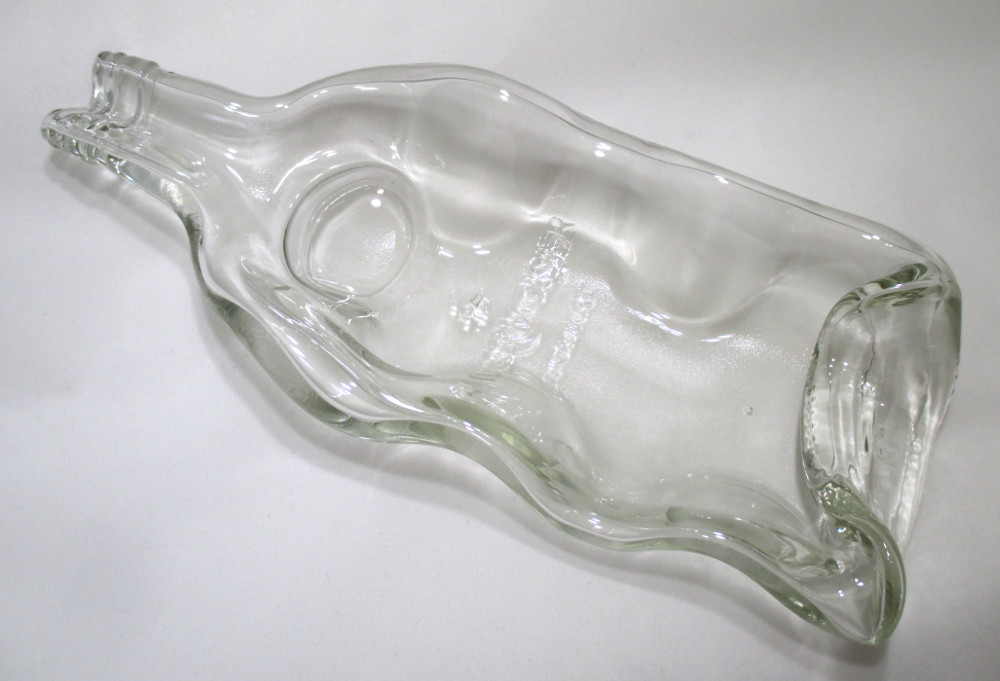
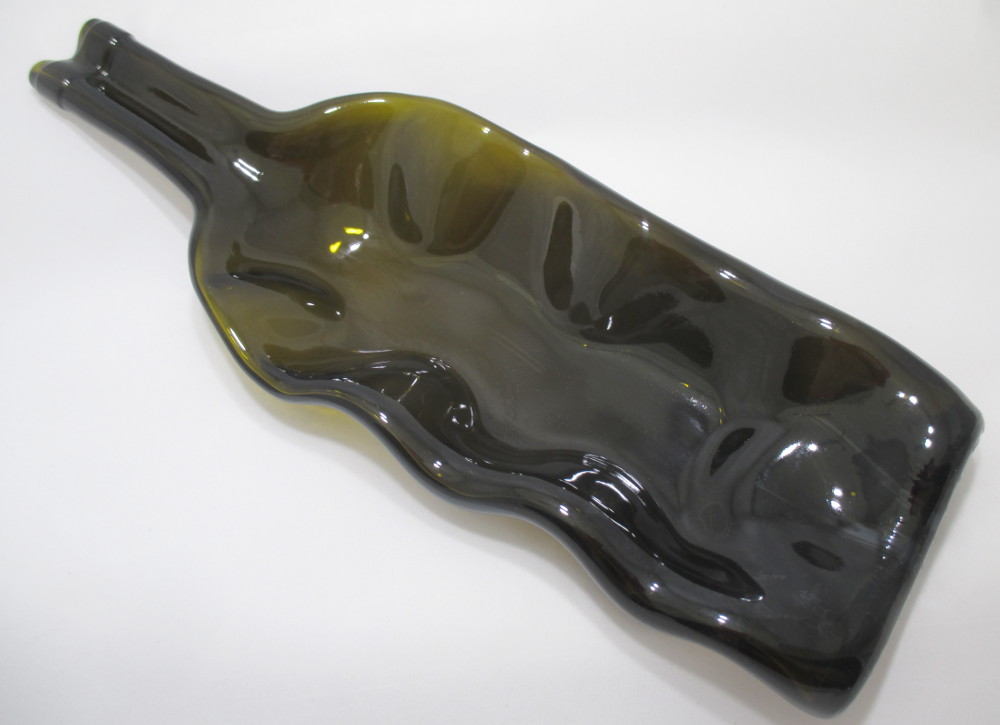
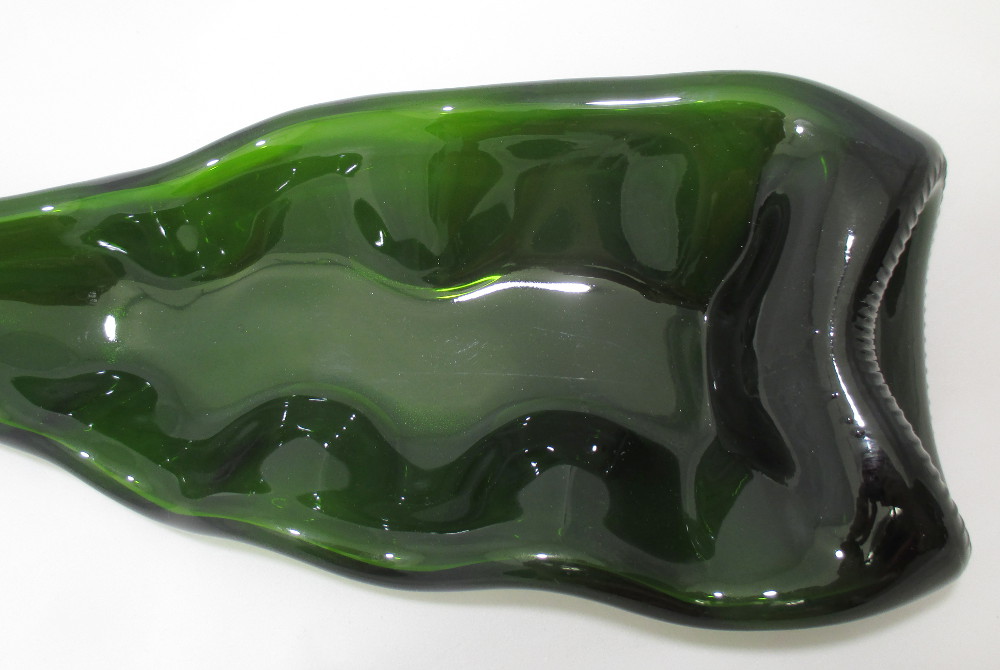
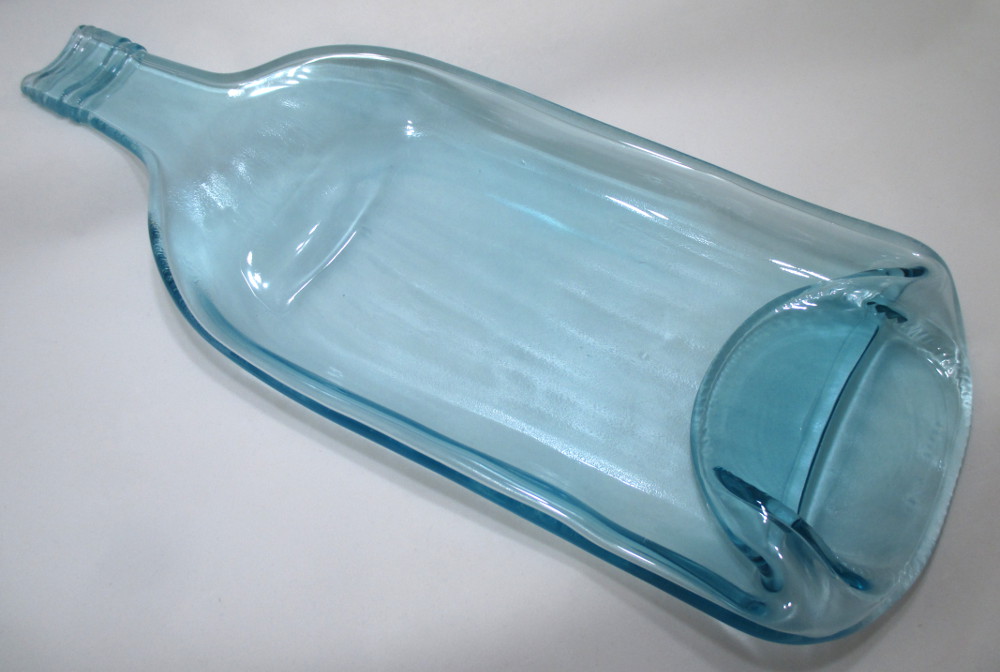
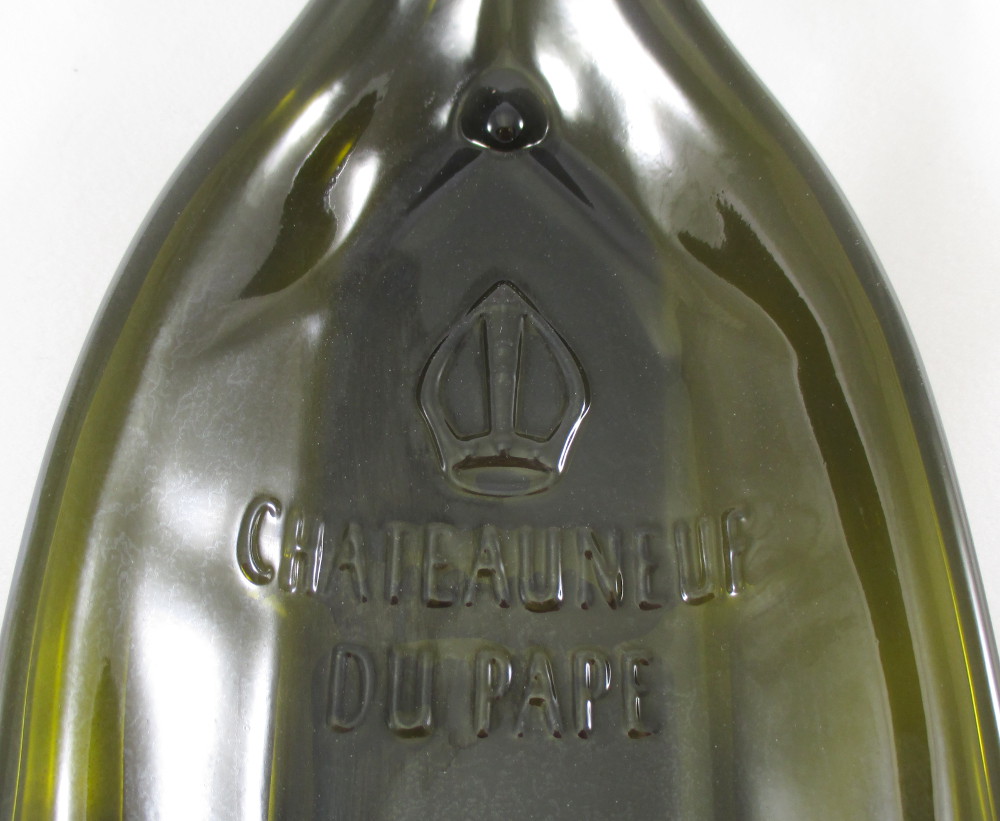
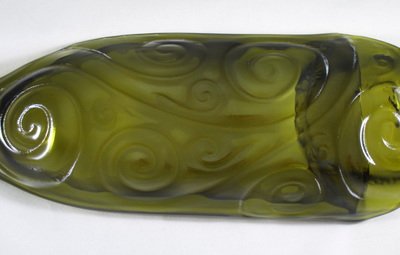
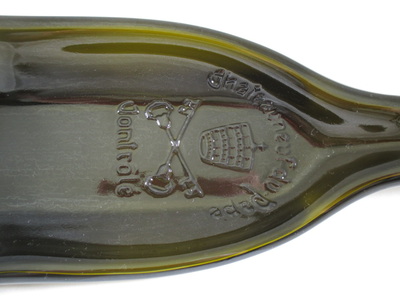
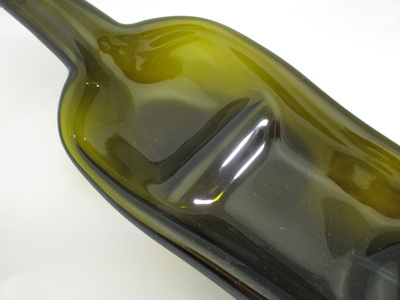
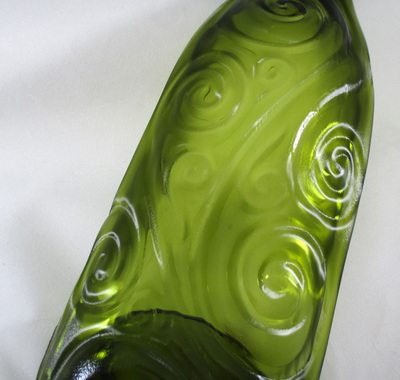
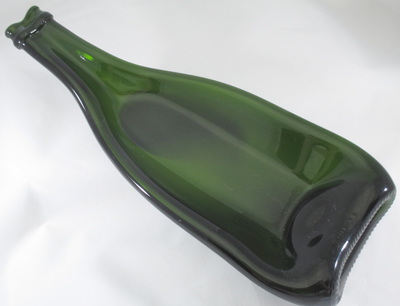
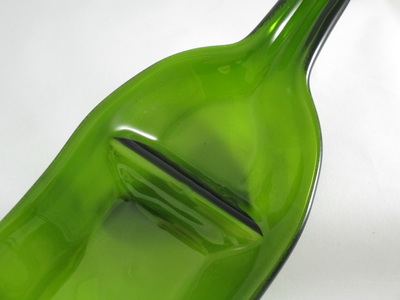
I've had several friends emptying wine and other spirit bottles for me lately so I've been running some of them through the kiln. I've added several new slumped bottles to the shop. For 2017 I'm donating $5 of every sale to WHEAT, our local food bank. I have a couple of new slumping molds too. This one is a tree of life that looks best on clear bottles. This wavy design is designed specifically for tea light candles but I you could use it for anything you want. A couple of the special bottles are these two. One is a large pale blue bottle and the other is a Chateauneuf du Pape bottle.
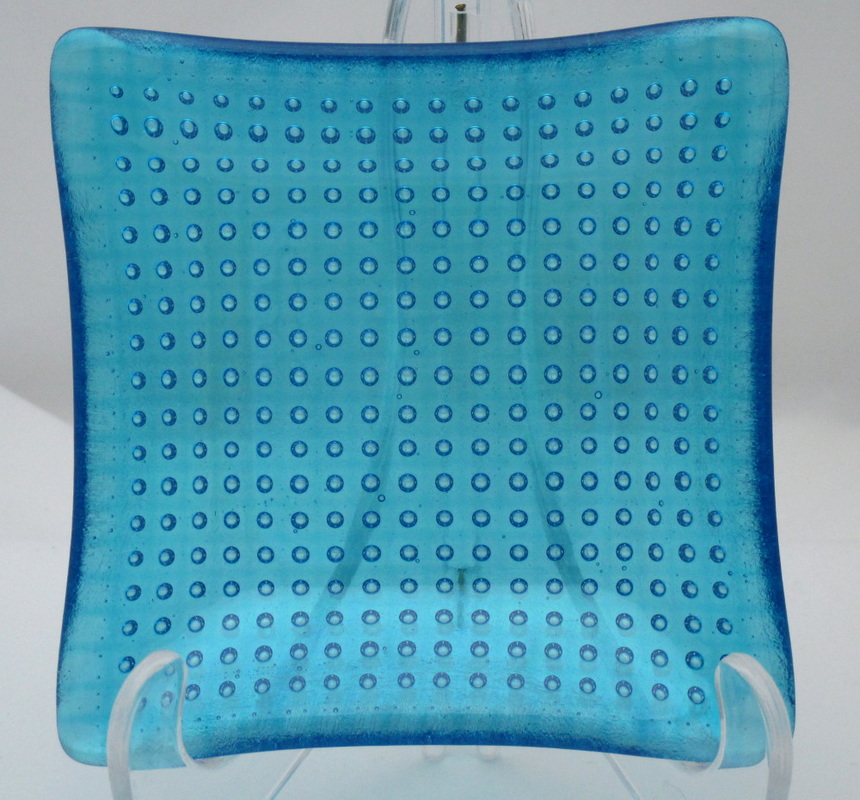
You can see them all in the shop. I charge Medium Flat Rate shipping but refund anything over the actual cost of the shipping. it's one thing to takes classes and read tutorials but sometimes you need to just find things out on your own. Plus I'm not good at trusting the things I read. I like to test things just to make sure. One thing I've read about fusing glass is that you can do layers in your kiln. M kiln is big enough for 2 shelves but I've always read that fusing with 2 glass on 2 slenves will not work. 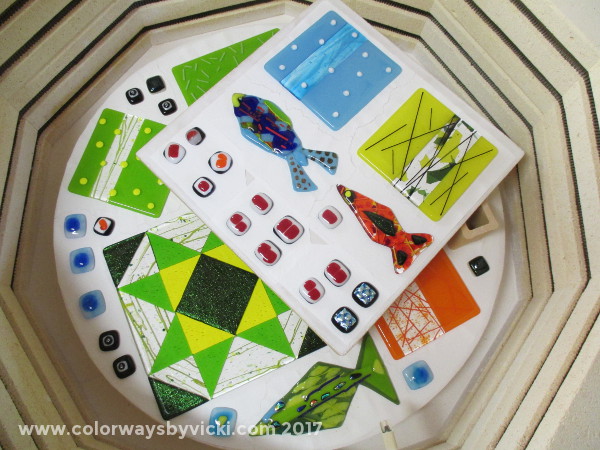 Well, the beauty of working with glass is that it's kind of hard to ruin it. You can always fuse it again and again and again. That was all the insurance I needed to try adding a shelf to see if I could produce more from one kiln firing. As advertised, it sort of didn't work. 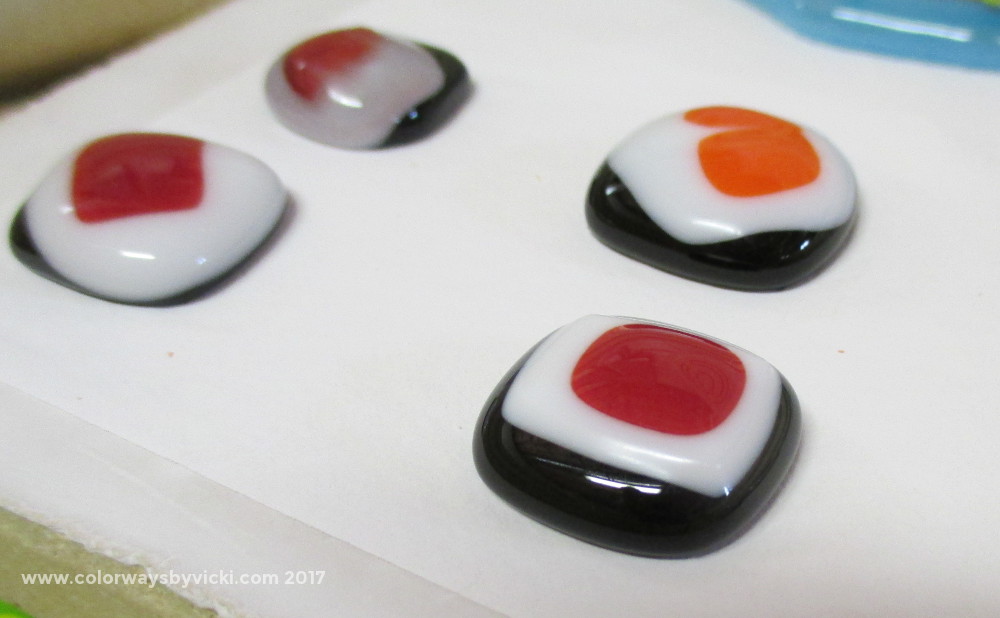 I was going for a full fuse look. That means that the layers would fuse flat. These magnets have 4 layers of glass if you count the red dot on top. These were on the top shelf. 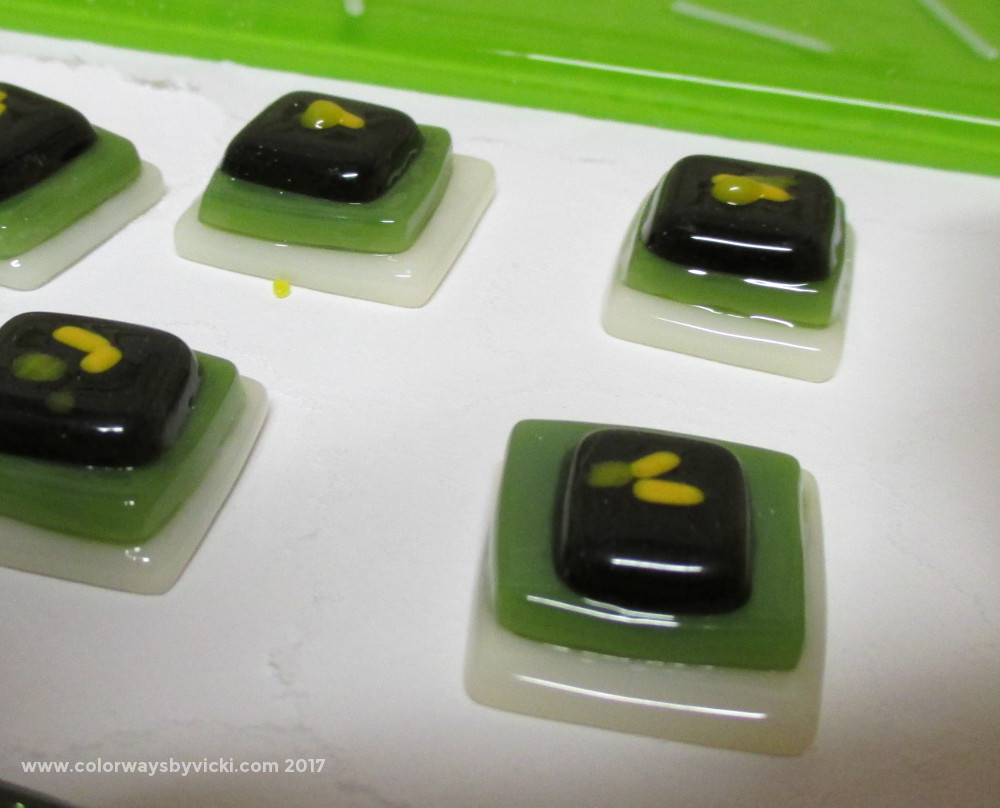 These were under the shelf. What a difference! This result is called tack fusing and it looks fine. It has it's place but that wasn't what I was expecting. Everything under the shelf, even just a little bit was not full fused. It makes sense because so much of the heat comes from the elements in the top of the kiln. That means that I have to refire almost everything on the bottom shelf.  But just as I was about to reload the kiln I thought of my bubble plates. Those have a step where stringers tack fused to the glass before the full fuse to trap bubbles. 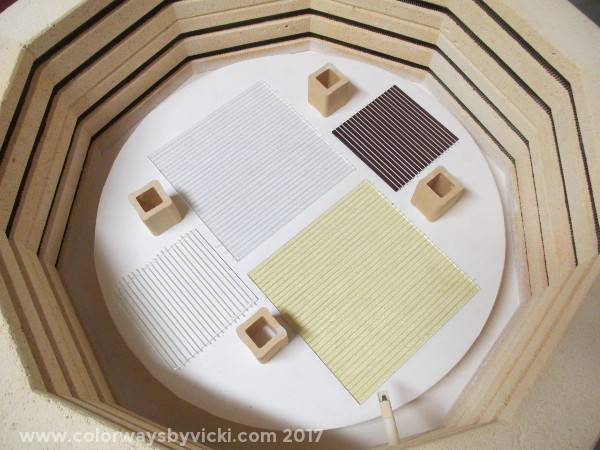 And why just do an experiment. Let's fill a whole shelf! These are the top and bottom layers of a 8" plate and a 5" plate. Now I'll start filling the top layer with the pieces that need to go through again. 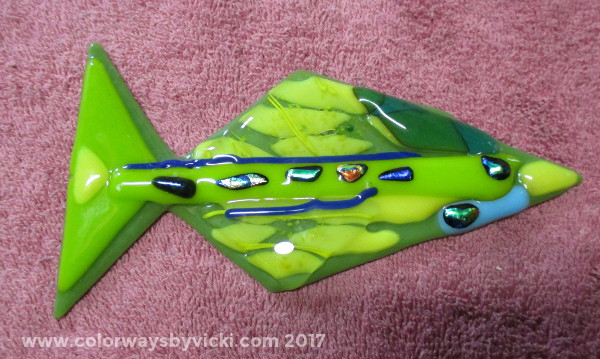 I'll need to get a few more scrappy fish together too. I'm making these to do a mosaic backspash for my dye sink. 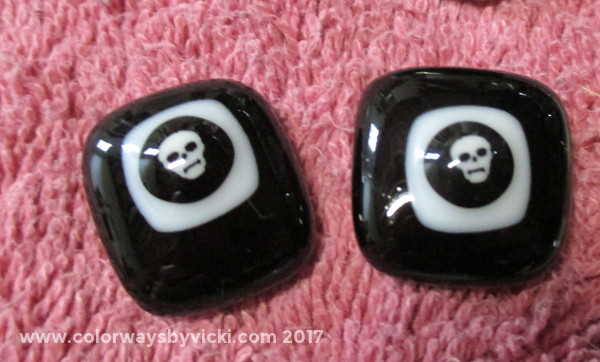 Aren't these cute? I made a plate for a friend a few years ago with these little skull murini bits. I'm used the leftovers to make some magnets.
I hope to be firing up the kiln again this weekend to see how my 2-shelf set up works out. Oh, I'm catching up on so many things this week! Now I am officially caught up on posting new glass with this new collection of slumped wine bottles. They are all in the shop and ready for gift giving!
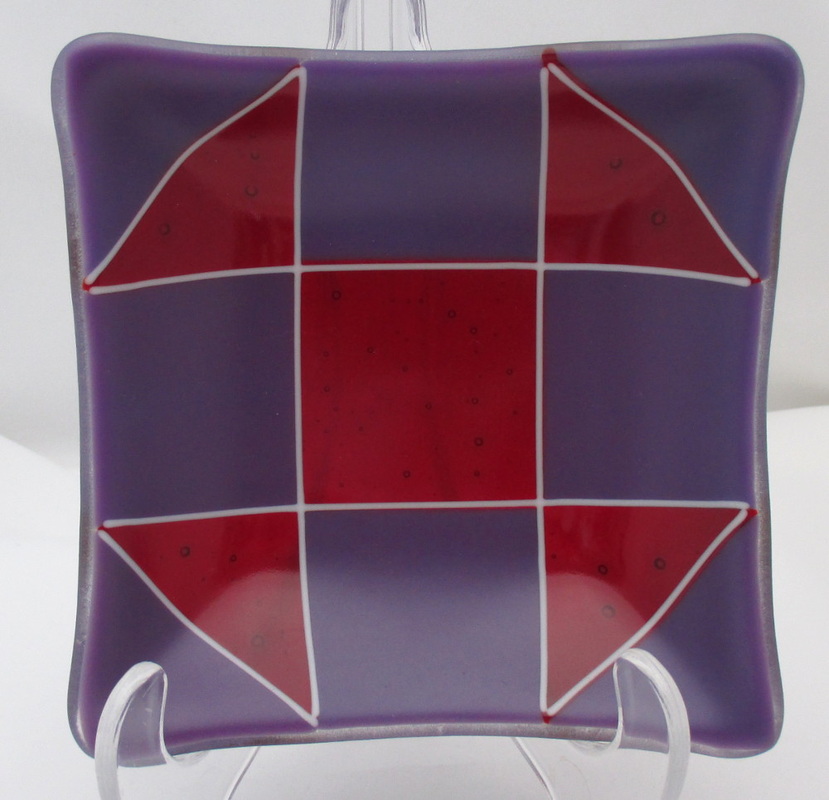
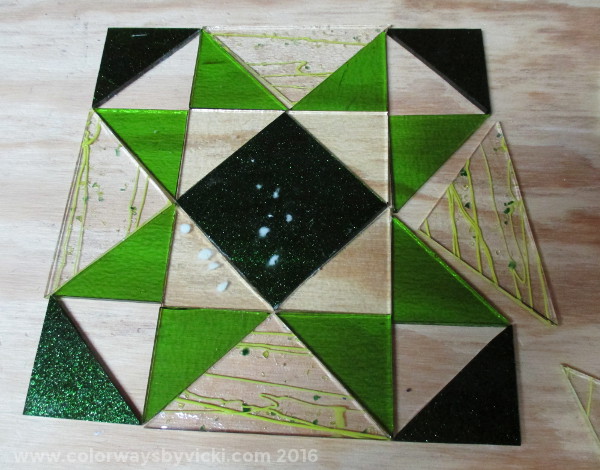 While Laura is quilting I like to be nearby to help but not hover so I started cutting a new quilt block suncatcher. I still have 4 more pieces to cut for the 4 corners. They will be in the stringer glass. It doesn't look like it but there are four triangles around that center square. They will fuse to a bright yellow. There's still a lot of grinding and fitting to do before this one is ready for the kiln.
In between all the other things Laura and I are doing I've been able to fire up the kiln a few times. I'm waiting on some glass for a special order so I don't have much cut glass prepared but I did have a supply of bottles getting dusty waiting for firing. 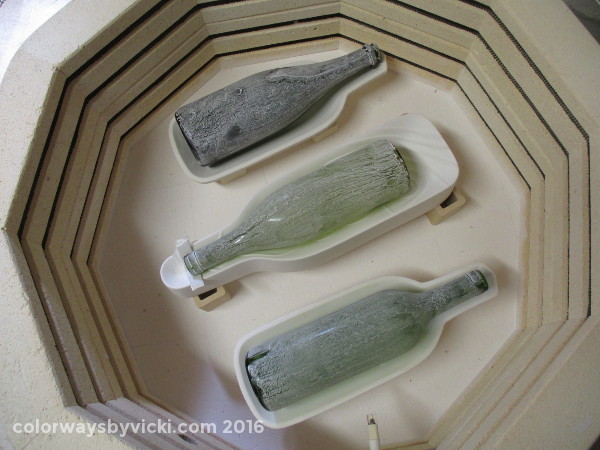 I should get another mold so that I can do 4 at a time but, for now, this is how I set them up. The white coating is a flux that keeps the glass from getting a dull finish during firing. 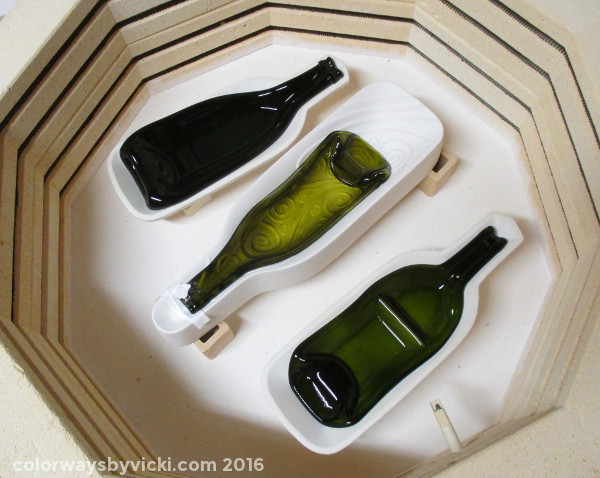 Here's the after. Nice and shiny! See that paper under the neck of the middle bottle? I had to use that to get the bottle to stay centered in the mold. It kept wanting to roll to one side.  All cleaned and ready for photographing and listing.....whenever that happens.
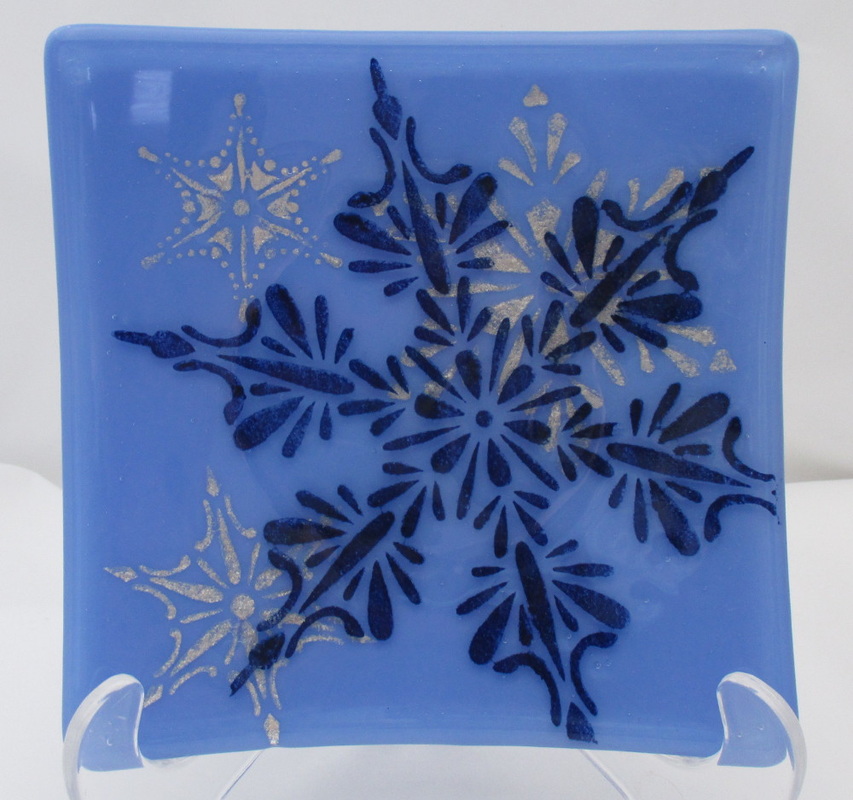
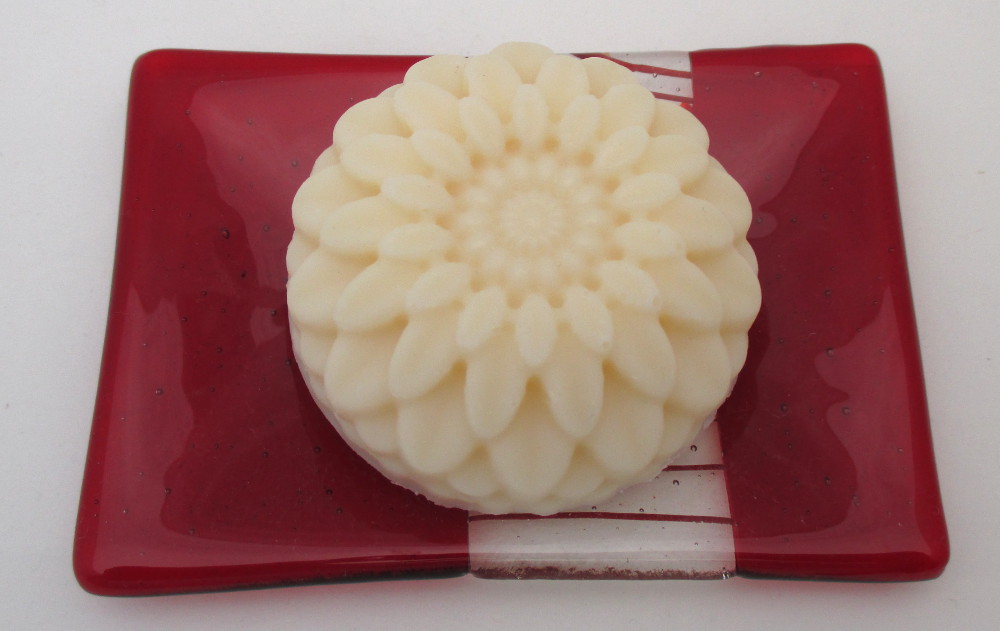
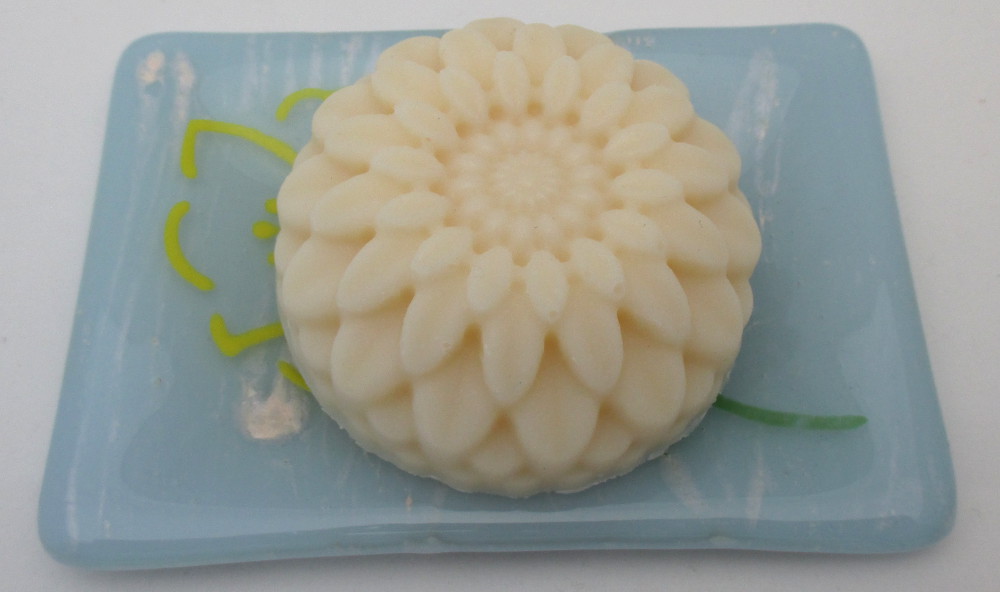
It's way to hot in the summer to run the kiln in the basement so it's been several months since I had new glass for sale. This weekend I fired the kiln twice and now have new pieces for sale. Many of these are less than $40 and are perfect for gift giving. There are new quilt blocks, new bubble glass, new stenciled glass, and new soap dishes that are perfect for gift giving.
 You know how occasionally you meet someone and instantly become attached to them? Well, that's what happened to me with Shelby. Shelby works at The Longarm Network where I teach the New Owners Training. When Shelby started there she sat in on the training as part of her orientation. She's young, cute, witty and always happy. I was struck with her lack of fear of the machine and when I sent the class off to practice some simple quilting motifs I found Shelby quilting a unicorn whale. I immediately wanted to adopt her.
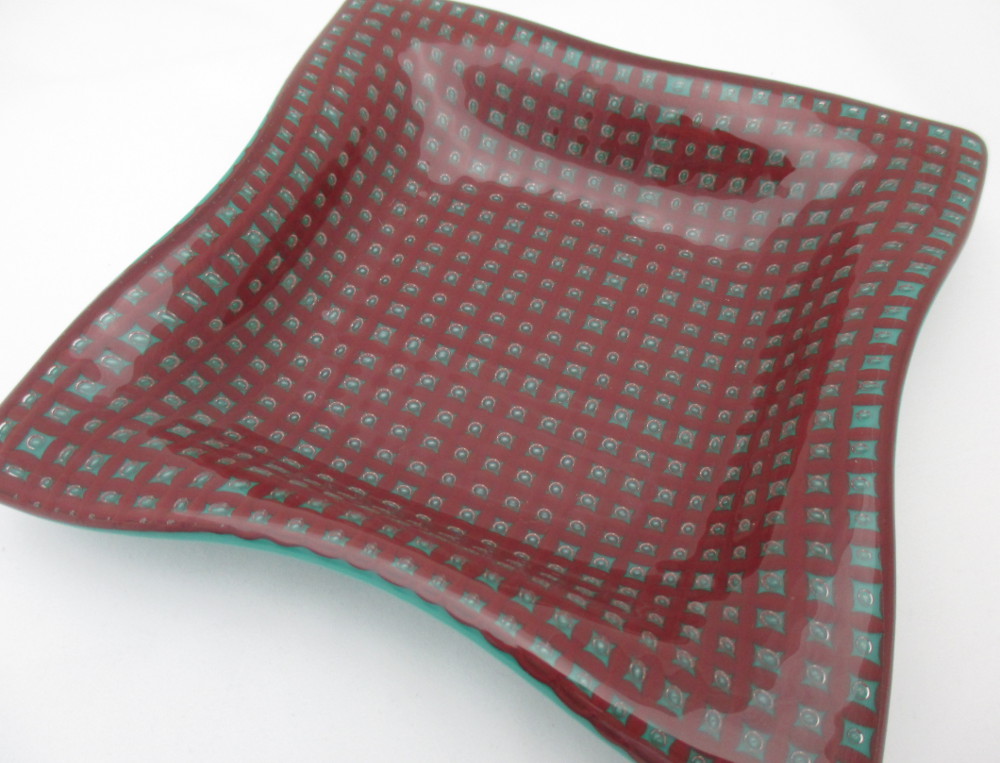
Shelby is getting married soon and her favorite color is turquoise so I decided to not make her a quilt and make her some glass instead. I only had time for this one quick photo before I needed to pack everything and wrap it last night. These plates range in size from 10" to 4" and then all came from 1 beautiful streaky and iridized sheet of glass. I'm giving the gift to her this morning and maybe I can get a photo of her when she opens it. Class is going great. I have 6 great students. Yesterday we learned the basics of the machine and today we will be learning some freemotion quilting techniques. If you are in the Richmond area and are a new longarm owner, lapsed owner or just need a refresher to get your nerve back, I'm teaching Don't Fear the Longarm Saturday, August 20 at The Longarm Network. It's open to machine owners (or renters) of any brand.  I'm really focused on glass work this weekend because I need a wedding gift soon. Last night I started a slumping cycle and then got this shelf ready for a full fuse today. Then I have one more slumping cycle after that. I have several new finished pieces that I'll get in the shop next week. 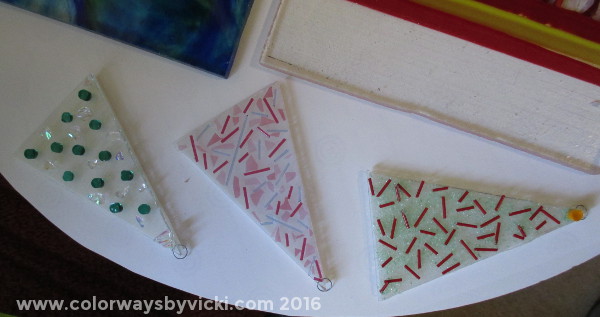 Like with quilting, sometimes I think I have the most fun with the scrap. If one of these ornaments doesn't turn out it's no big loss. If one of the bigger pieces doesn't turn out it's a much bigger deal.....although it just creates more scrap glass!
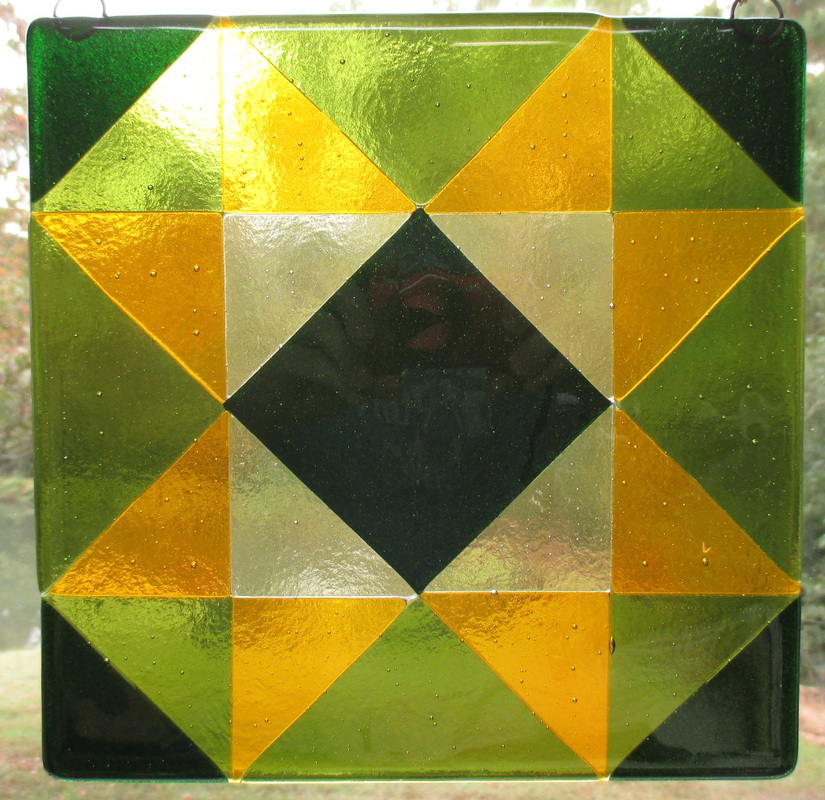
Today I have lots of errands, yesterday's dyed fabric to wash out, get ready for teaching my Innova New Owners class tomorrow and get things ready for today's Airbnb guests. It's a busy day but I hope to try out a smaller vine on the Virginia's Vintage Creeper quilt this evening. My bias tape makers came in the mail yesterday, Tomorrow we can all see how my little Christmas trees turned out. Getting in the mood to do glass work in the summer isn't the brightest idea in the world but you have to go with the muse when it hits. Yesterday, when it was over 95 outside, was the perfect day to fire the kiln to 1425 inside. I open the basement door (right next to the kiln) and use a fan to vent out any burn off so the basement was quite warm and muggy all day. It was good that I postponed dyeing until today because it was too hot to do anything down there yesterday. Today, after I clean the Airbnb unit, you can find me in the basement trying out a new gradient idea. 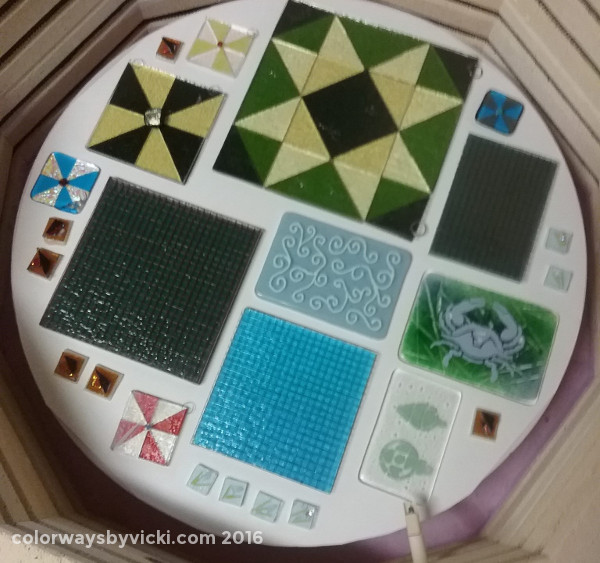 Here's the kiln before firing. 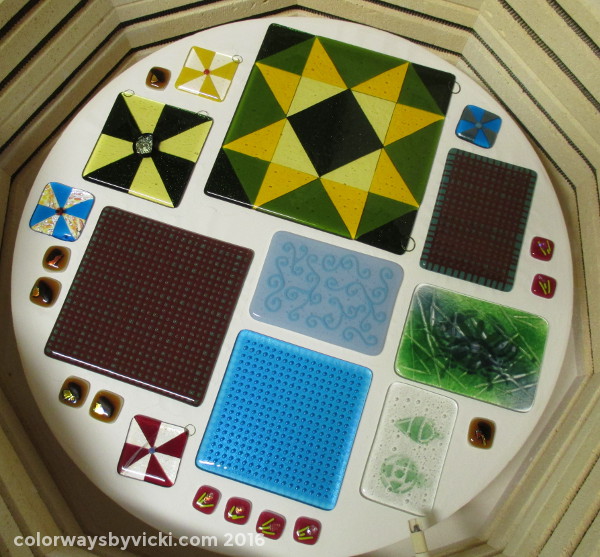 Here's the after. Soon I'll have a couple new quilt sun catchers in the shop and some new bubble plates after these go through a slump process. The blue piece in the middle was my first experiment with piping glass powder, like cake decorating. I'll be doing lots more of that.
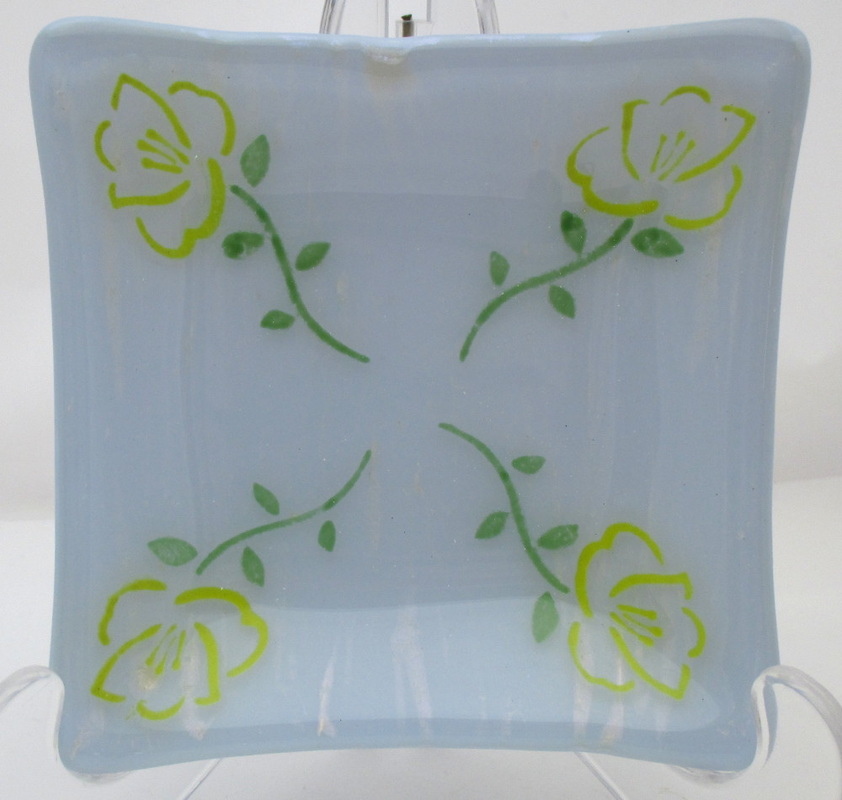
Notice the 2 pieces on the lower right. Both of those were stencil experiments. They didn't turn out quite like I expected....but I learned and that's what's important. The little square pieces will be magnets. But not today. Today is dyeing day!  Country School Quilters has an exhibit coming up at the Montpelier Center For the Arts. They invite us to exhibit every 2 - 3 years. We try to have part of the exhibit be some sort of group project. That last time we featured our veterans quilts. This year we decided on a fabric challenge. The last time we did one of these fabric challenges I made my Magic Carpet quilt. That was 11 years ago and I went way overboard on that project. I promised myself that I wouldn't do that again this year and it's easy because I really am not inspired by these 2 fabric. It's OK if I say that I hate them because I'm the one who picked them out! I was looking for fabrics on sale and fabrics that would come in 2 colorways and this is what I came up with. I bought these and another set in blues/greens. members got to choose from cool or warm colorways. Our exhibit is in September so it was time to get on with it. Also, I wouldn't let myself start a new project until I finished this.  Here's what I came up with. We had 1 rule: no larger than 80" in perimeter. Otherwise we could use as much or as little of the fabric as we wanted and could add any other fabrics or embellishments. Now I need to do the quilting and will likely start that today. I want this project done this week! 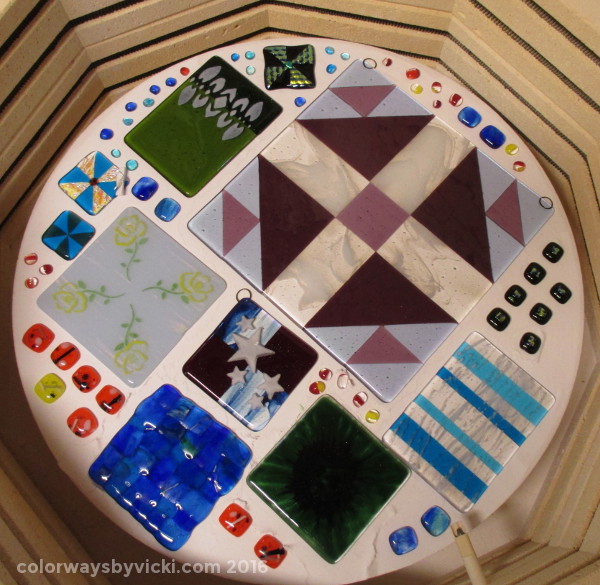 In other news I fired the kiln yesterday and was greeted with this today. Some winners (the quilt block) and a few losers (the blue blob) but nothing that can't be fixed and re-fired. I also have tons of fabric photos to edit and post.
It's a busy day! |
FeedsTo subscribe click the RSS Feed button and copy the URL of that page into your blog reader.
In Bloglovin you need to search "Colorways By Vicki Welsh" to find the blog. About Vicki
I'm Vicki Welsh and I've been making things as long as I can remember. I used to be a garment maker but transitioned to quilts about 20 years ago. Currently I'm into fabric dyeing, quilting, Zentangle, fabric postcards, fused glass and mosaic. I document my adventures here. Categories
All
Archives
July 2024
|


 RSS Feed