|
that's going to take a lot of planning but I think it's going to be worth it. 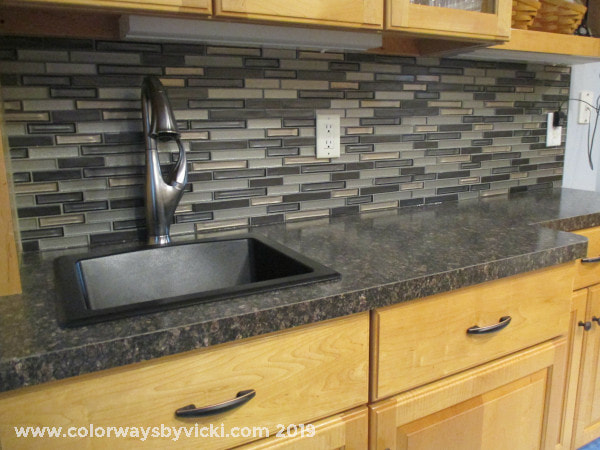 This project starts with my finished kitchen. We basically got new counters and backsplash. The cabinets are still in great shape even though they are 20 years old. We wanted a couple of them to be reconfigured but that's it. New hardware was enough to make them look new. We also finally got faucets that don't drip! The black sinks were a risk but so far I love them. 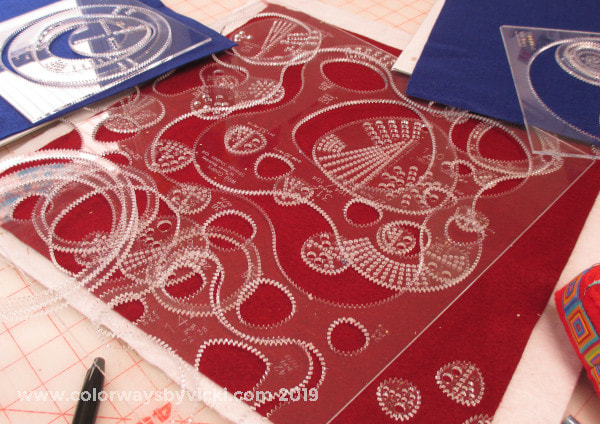 The other catalyst for the new project are the Wild Gears that I've been playing with. Here's a new set that came in last week. 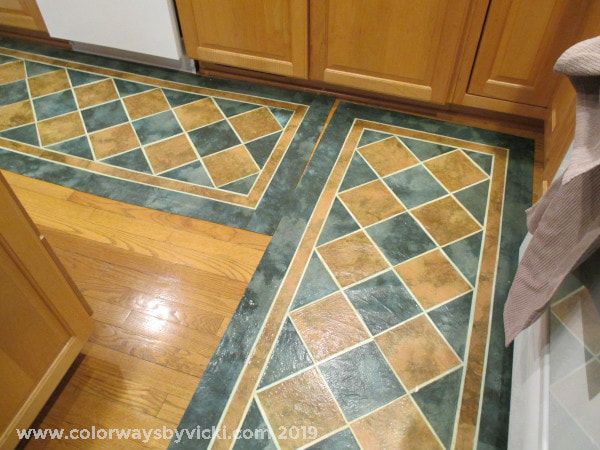 So, when we put the kitchen back together I put the floor cloths back down. These were made to match the old counters and tile. This was yet another project that my friend, Anne, got me into. In the summer of 2014 we made fabric floor cloths using this book. I dyed these fabrics to match the kitchen and I love how they turned out but they were a HUUUUGGEE paint in the @$$ to make. I do love the floor cloths because they can be mopped and they last so much longer than rugs but I vowed that I'd never make another with decoupaged fabric. (You can see a couple more photos of these here.) Now that the kitchen is done I do need to make new ones so why not painted floor cloths covered in Wild Gears designs! I know! It's brilliant and, you know me, it will probably take just as long as the fabric ones. But they are going to be awesome. Commence planning. 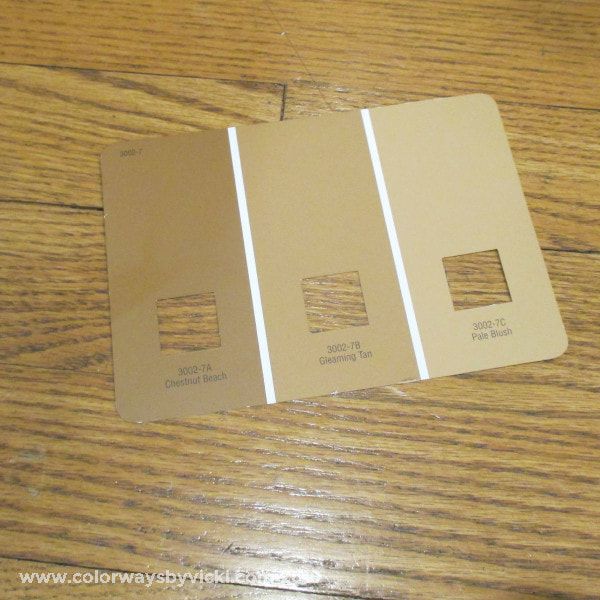 For the new ones I've decided that they will be painted to blend in with the flooring and all of the spiral motifs will be done in black Sharpie marker. I'll paint a base in a mix of these 3 browns to completely blend in with the floor. So hopefully it will look like spiral designs directly on the floor.....which is yet another idea to possibly do somewhere. 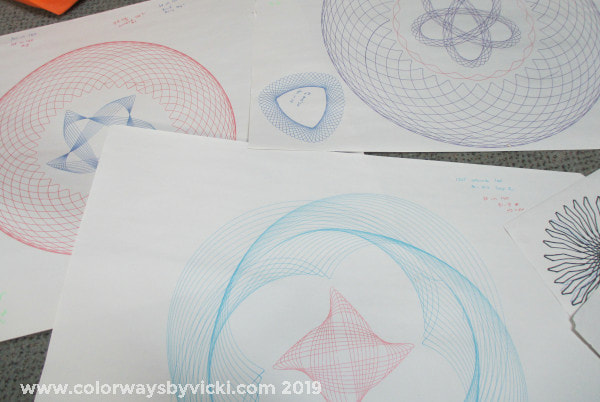 You can't just start drawing on the painted canvas. I needed to have an idea of the patterns that I would get from the gears. So I started drawing and I make notations on the gears that I use as I draw. That blue one is one of my favorites. 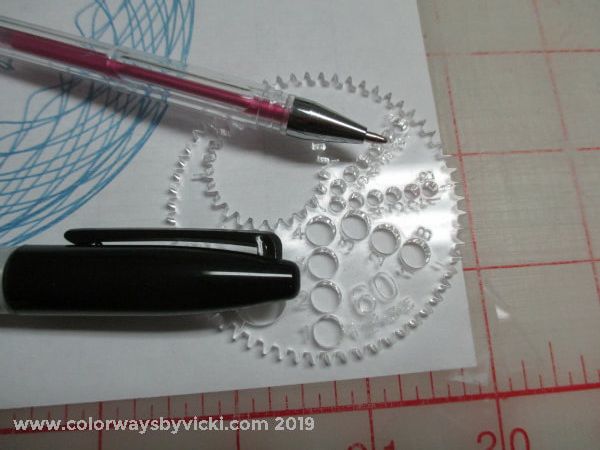 I quickly figured out that a fine point Sharpie wouldn't work. The drawings are going to be 5 - 6 feet from your eyes so I need bold lines and that means a fat Sharpie. I will need to use the big holes in the gears and that will change what designs I can do. The gears have fewer large holes than small holes, as you would expect but that limits the designs too.  But I can't use Sharpie markers for practice, I'm too sensitive to the fumes from the ink. Crayola Washable Markers worked out to be the right answer. The back of the kitchen counter cutout for the stove gave me a perfectly smooth surface for drawing (my cutting table mat was too uneven) and a pack of large newsprint from the craft store gave me cheap practice paper. 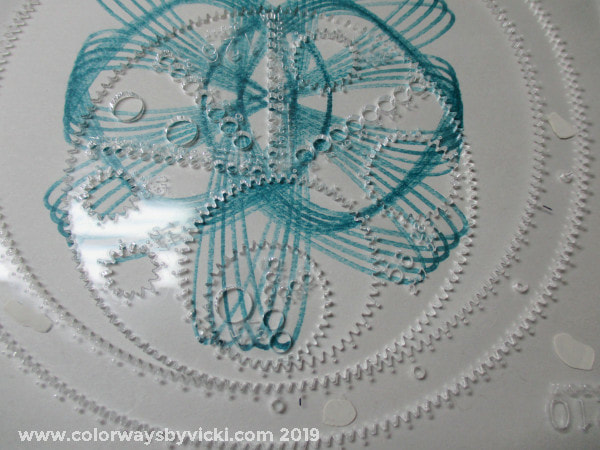 The Crayola marker give me a good idea of the thickness of line I'll get with the fat Sharpie. Some of the coolest designs come from running a gear in a gear in a gear. 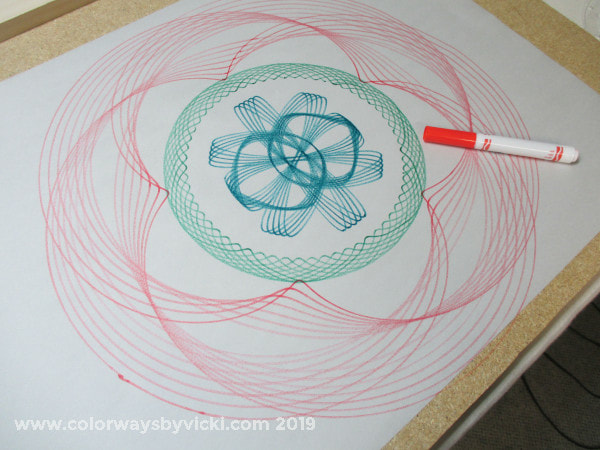 Oh yes! I might or might not put these 3 designs together. I'm just making as many designs as I can on a sheet. I use different marker colors because I make my gear notes on the side in the color that the design is drawn in. I'm going for a library of designs. It will be a month or so before I can start on the floor cloths. I will have to paint, draw and seal them outside because of the fumes so I need to wait for more comfortable weather. Meanwhile I'm practicing and here are some of the practice pieces. Some are winners. Some are losers. You will see that I'm also playing around with ideas for filling in some of the designs. I'm going to need a case of Sharpies for 15 feet of floor cloths! 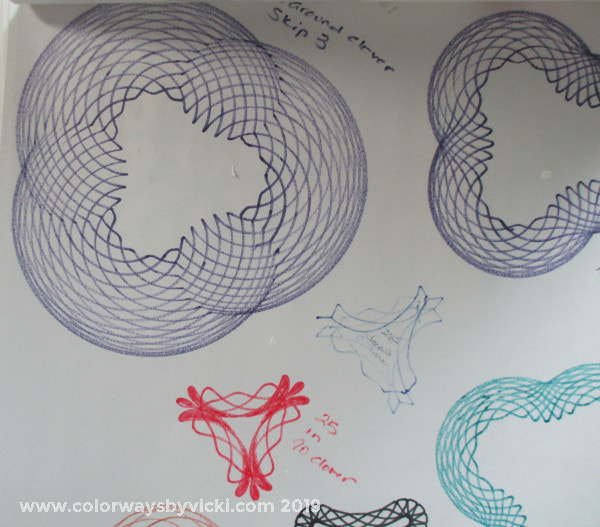 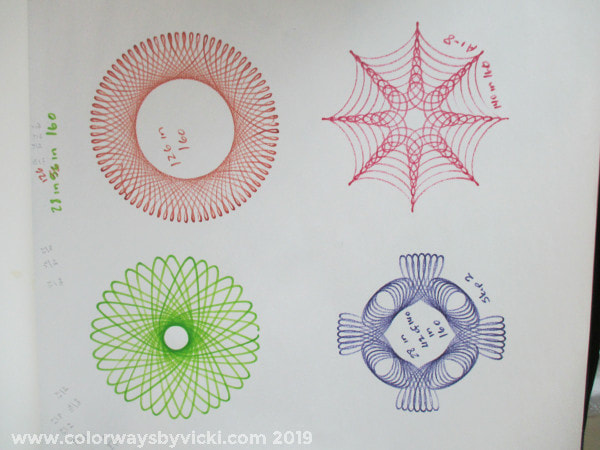 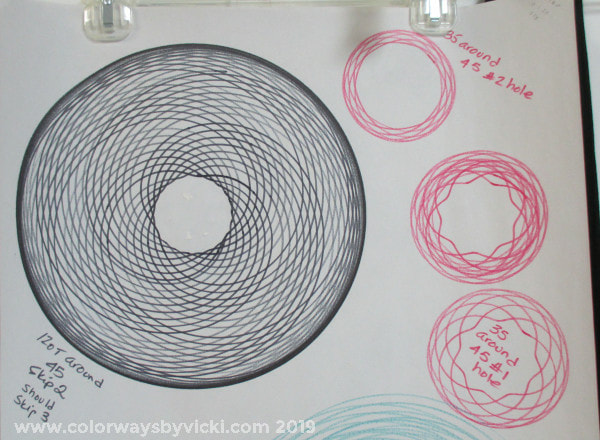 More to come!
When I posted about my Wild Gears + Zentangle labels last week enough of you were interested that I thought I'd share a little more along with the last 2 finished quilt labels.  When you order Wild Gears they come like this. They are precision laser cut and there are a lot of gears on one sheet. This is the Compact Gear Set. The larger Full Gear set that I bough is about 16" square. The larger pen holes are for making parallel designs. You draw once in the large hole and the insert one of the little fillers in the same hole and draw again. 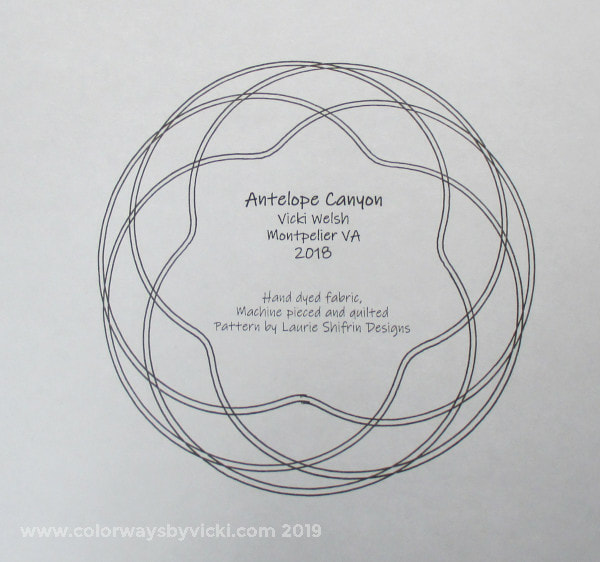 That's how I did this one. 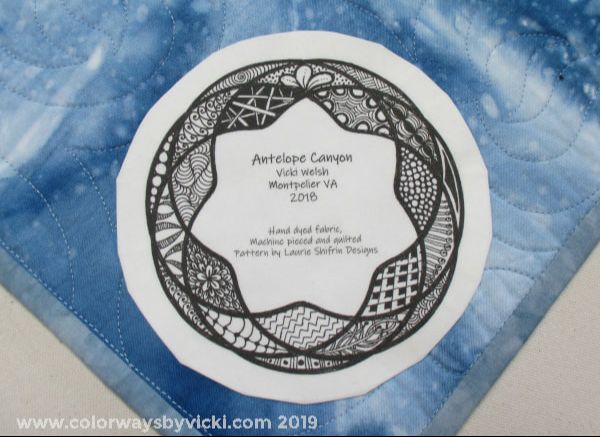 I filled in the space to make a dark frame and then did Zentangle designs to fill the spaces. 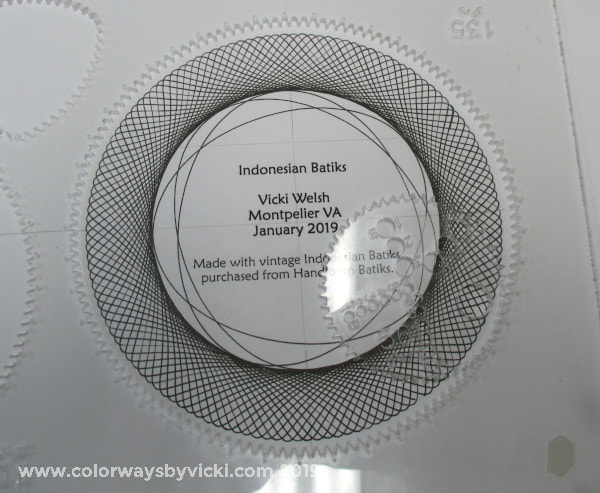 For this label I nested one Wild Gears design in another. You can see the pencil lines that I used to center the ring on the label. 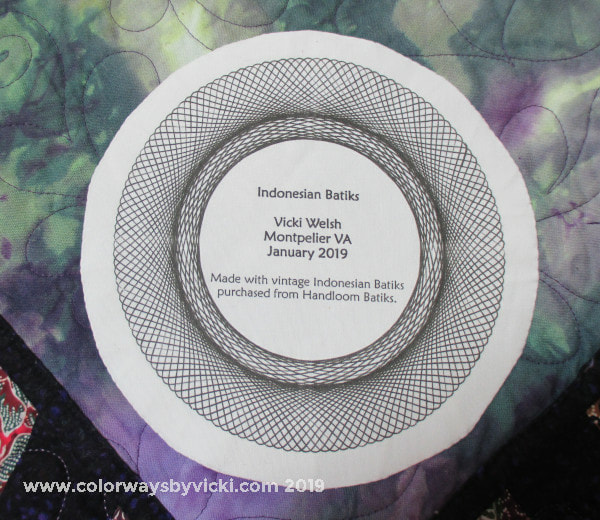 Here's the finished label. I draw my labels on paper and then photocopy them to fabric that's prepared for printing. You can get printable fabric from a lot of sources but I generally prepare my own. 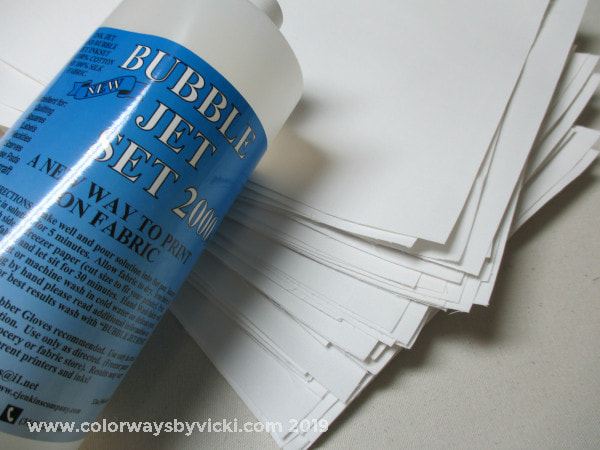 These labels used the last of my stash of printer fabric sheets so it was time to make more this weekend. This is a pretty boring chore so I try to make enough to last me for a while. I fold about 4 yards of Pimatex fabric in a plastic container and pour a whole bottle of Bubble Jet Set over it and let if stand for a few hours to totally soak in. I use Pimatex because the tight, fine weave accepts printing detail better.
After the fabric is saturated I hang it over the shower rod to drip dry, I don't wring it. Hanging it to drain on it's own makes it much easier to iron. I iron it to freezer paper sheets and then I can store it indefinitely for future printing. Here are 55 sheets that I made Sunday so I'm set for a while. By now you know that I'm a little obsessed with Spirograph motifs. When one of my customers told me about Wild Gears, the adult Spirograph, I was all in! I immediately bought a set for my best friend for Christmas and then a week ago I borrowed them from her. After one day of playing I went ahead and ordered her a new set because I have gears spread all over my cutting table and I don't know if I'll get them all organized again.  I'm just starting to figure out what I can do with them but they have some really cool features. They have odd shaped wheels (squared, triangles and ovals) and lots of sizes of rings. 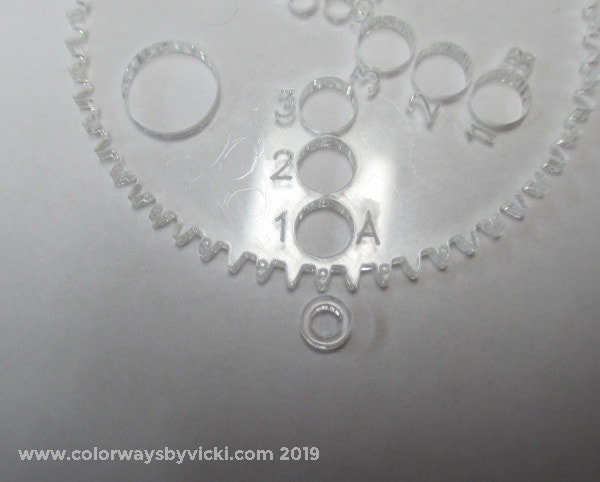 But one of the coolest things is the ability to do designs in parallel lines with these little inserts. You draw the design once in the big hole and then put the little circle in that hole and do the design again.  This is a really simple design that I did in parallel lines. As I was working with these I thought that I might be able to combine the WG designs with Zentangle for my quilt labels. Fortunately I just happen to have 3 quilts that need labels right now! With this one I will color in the space between the lines and then fill the sections with Zentangle designs. 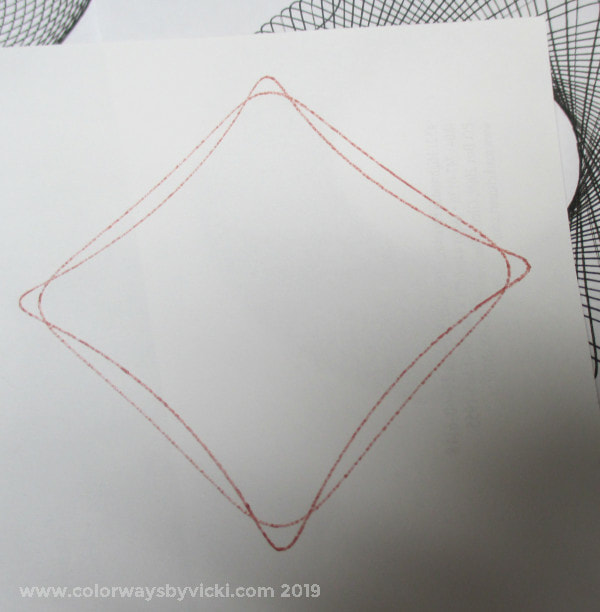 I'm still getting the hang of figuring out how to read the codes on the gears and rings to predict how the design might turn out. At first I was disappointed with this....but then I got an idea. 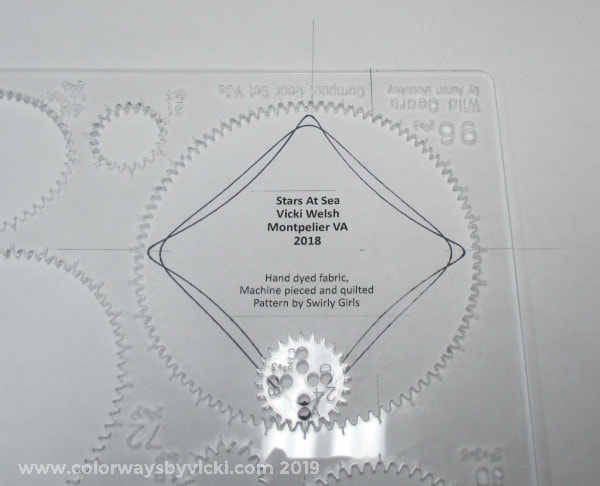 I wanted a small, simple label for my Stars At Sea quilt and this design gave me an easy way to create a simple frame. I used pencil to mark the center of the design side-to-side and top-to-bottom and used those marks to center the ring. 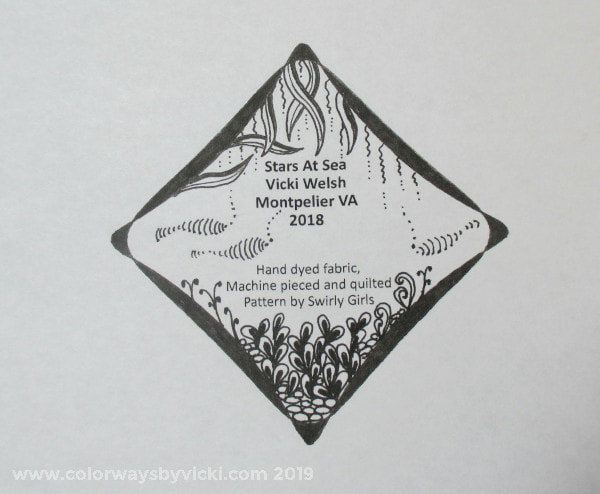 Here's the completed label. I can now copy it to fabric to put it on my quilt. I think it's pretty darned cute. 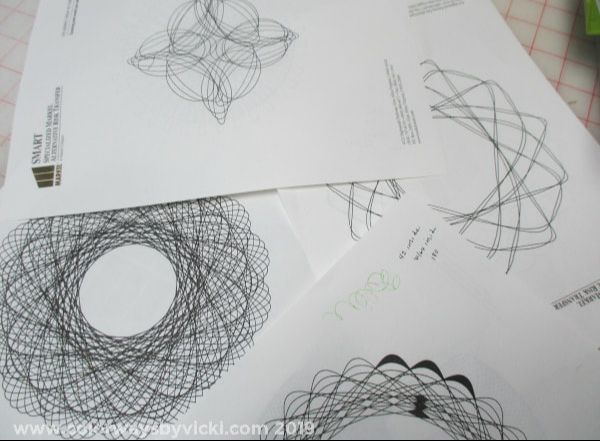 Now I'm playing around to try out more gears and hopefully will find a good frame for my third label.
In case you need some for yourself, I ordered the Compact Gears and the Full Page Gears for Anne and I just ordered a new set for her plus a couple of other sets for myself. If you like Spirograph, you will love these! If you are on Instagram search #wildgears and you will see some amazing designs that others have done. My designs are baby steps compared to what other people are doing. Go ahead, you know you needed a new hobby. |
FeedsTo subscribe click the RSS Feed button and copy the URL of that page into your blog reader.
In Bloglovin you need to search "Colorways By Vicki Welsh" to find the blog. About Vicki
I'm Vicki Welsh and I've been making things as long as I can remember. I used to be a garment maker but transitioned to quilts about 20 years ago. Currently I'm into fabric dyeing, quilting, Zentangle, fabric postcards, fused glass and mosaic. I document my adventures here. Categories
All
Archives
April 2024
|
 RSS Feed