|
it's one thing to takes classes and read tutorials but sometimes you need to just find things out on your own. Plus I'm not good at trusting the things I read. I like to test things just to make sure. One thing I've read about fusing glass is that you can do layers in your kiln. M kiln is big enough for 2 shelves but I've always read that fusing with 2 glass on 2 slenves will not work. 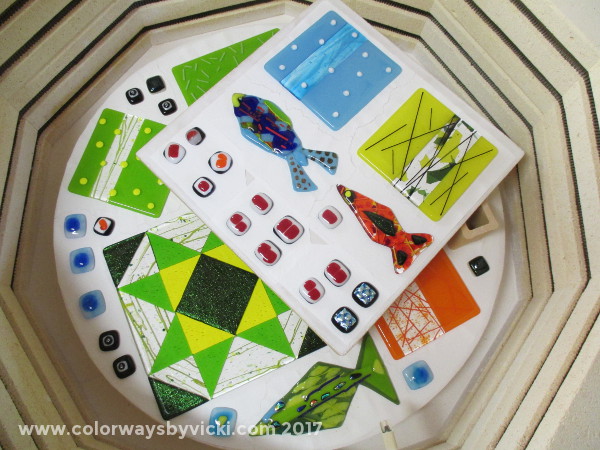 Well, the beauty of working with glass is that it's kind of hard to ruin it. You can always fuse it again and again and again. That was all the insurance I needed to try adding a shelf to see if I could produce more from one kiln firing. As advertised, it sort of didn't work. 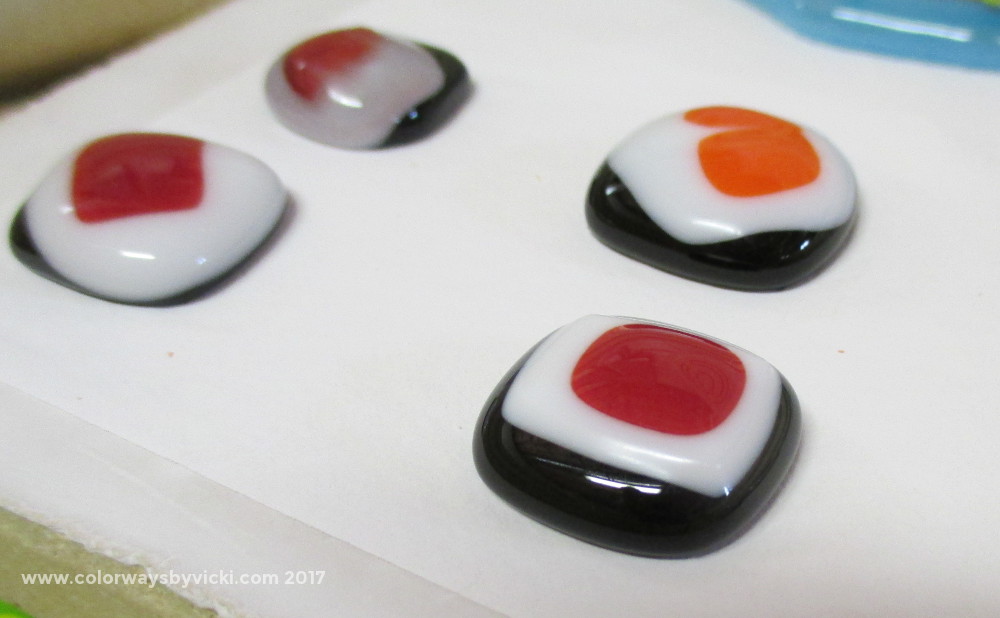 I was going for a full fuse look. That means that the layers would fuse flat. These magnets have 4 layers of glass if you count the red dot on top. These were on the top shelf. 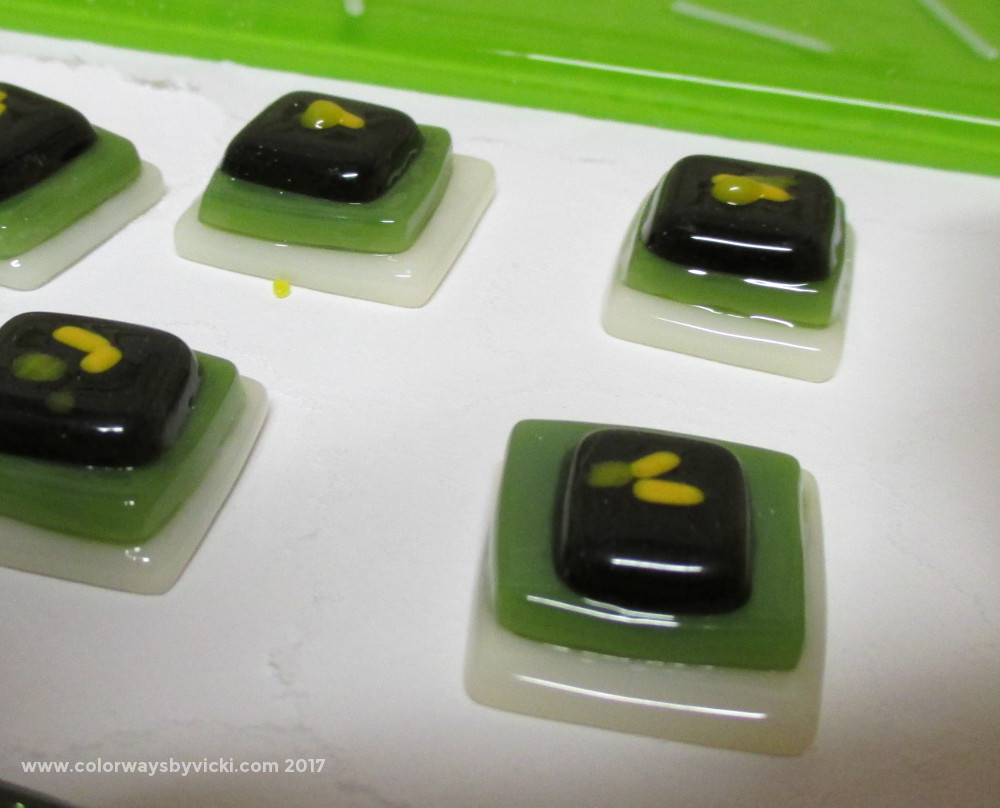 These were under the shelf. What a difference! This result is called tack fusing and it looks fine. It has it's place but that wasn't what I was expecting. Everything under the shelf, even just a little bit was not full fused. It makes sense because so much of the heat comes from the elements in the top of the kiln. That means that I have to refire almost everything on the bottom shelf. 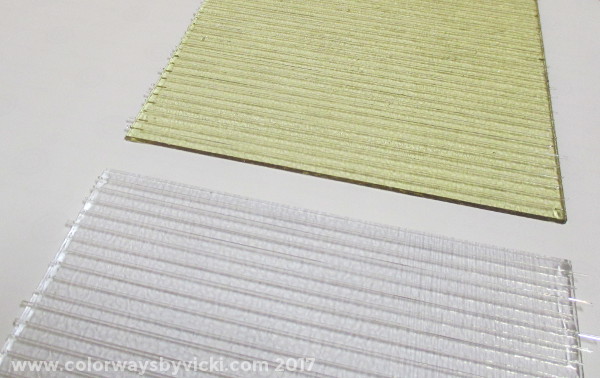 But just as I was about to reload the kiln I thought of my bubble plates. Those have a step where stringers tack fused to the glass before the full fuse to trap bubbles. 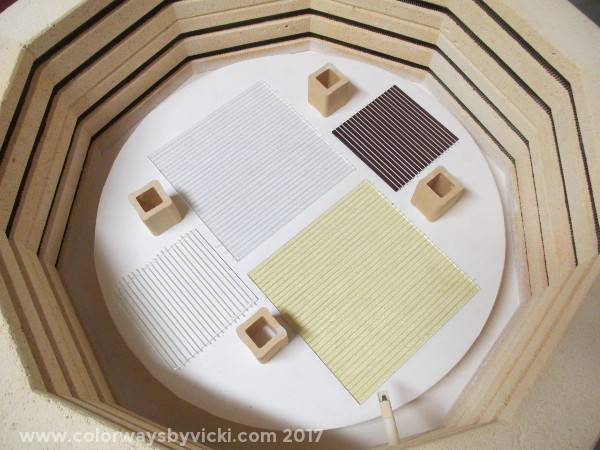 And why just do an experiment. Let's fill a whole shelf! These are the top and bottom layers of a 8" plate and a 5" plate. Now I'll start filling the top layer with the pieces that need to go through again. 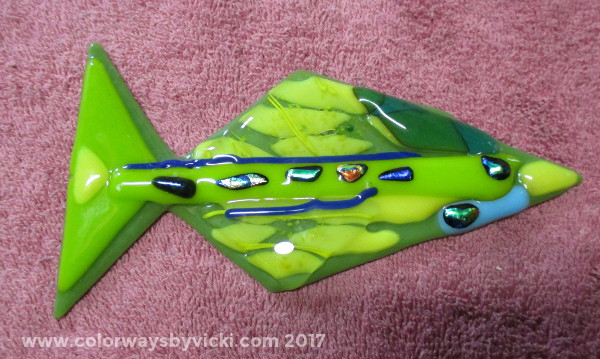 I'll need to get a few more scrappy fish together too. I'm making these to do a mosaic backspash for my dye sink. 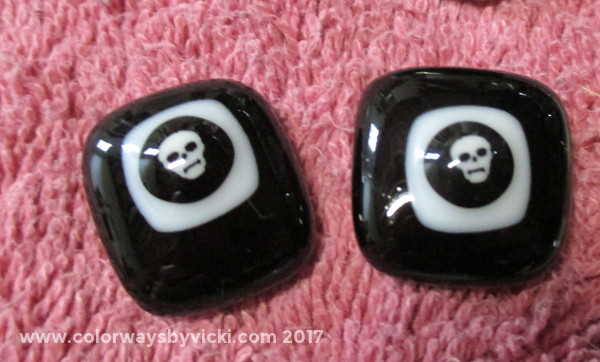 Aren't these cute? I made a plate for a friend a few years ago with these little skull murini bits. I'm used the leftovers to make some magnets.
I hope to be firing up the kiln again this weekend to see how my 2-shelf set up works out. This week I've got 3 of your favorite gradients back in stock! 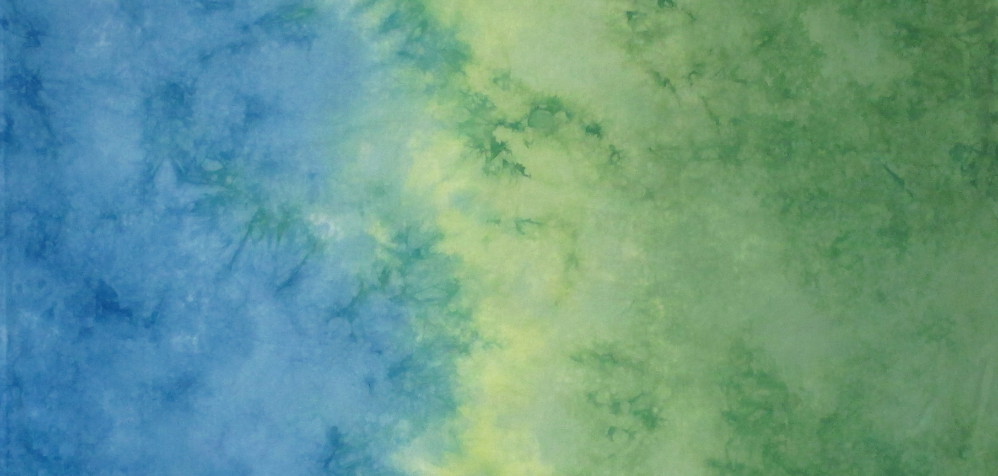 Meadow Sunrise 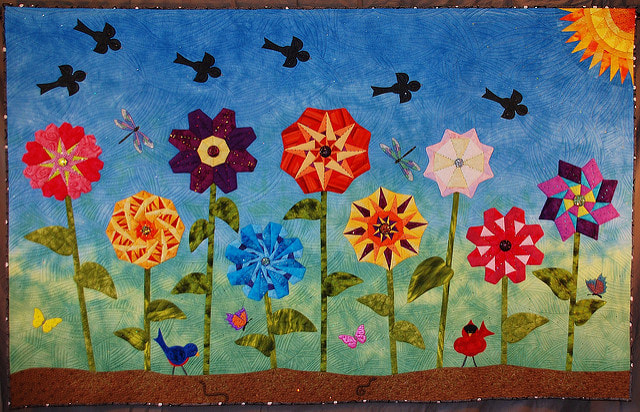 Learn and Grow by Candace West Meadow Sunrise has a beautiful Spring blue sky with just the hint of sunrise over a green meadow. Candace West made a beautiful quilt, learn and Grow with this gradient. She fussy cut the gradient to remove some of the green and let the flowers shine against the blue sky. 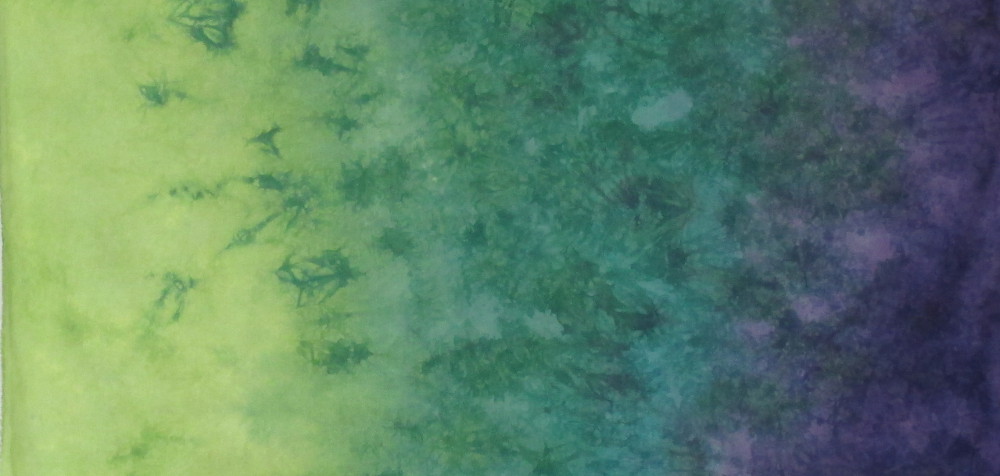 Abundance 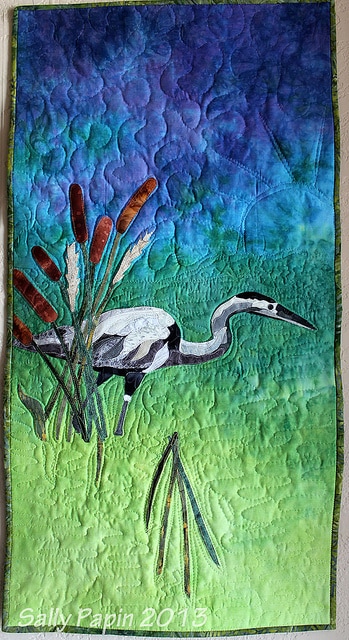 Heron by Sally Papin Sally Papin made this beautiful heron quilt using the Abundance gradient. Just one half yard of fabric and she was saved hours of stitching for a custom background.  Under The Sea Under The Sea Under the Sea is also back. It's the perfect backdrop for a fanciful under water scene or cut it up for a wide variety of blues and purples for your next project.
I've been itching to start a new symmetry project for months but kept putting myself off until I get a few other things done I'm feeling a little more caught up with other projects so this weekend I let myself get out the symmetry fabrics and start playing. 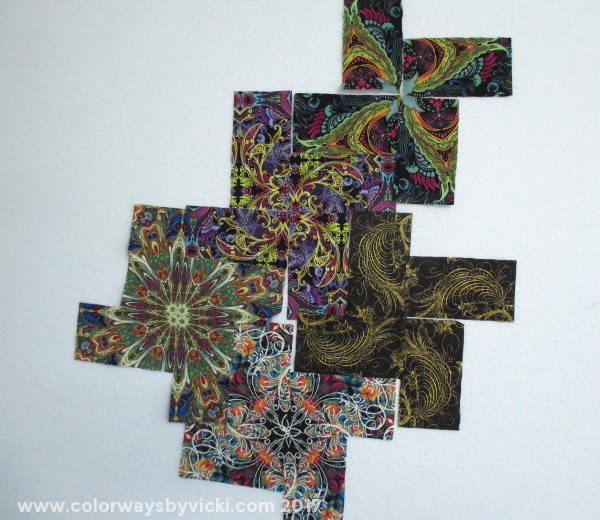 The first thing I want to do is to create another version of my Pleiades quilt. The end product of that quilt really surprised me. I was just experimenting with as simple a block as I could get and I was surprised with the movement I achieved. Every since I finished it I've wanted to do another with smaller blocks in a larger quilt. I'm going through every suitable fabric and cutting blades. I'll put them all on the design wall and see where it heads. I don't have a specific plan but I can see that one of these sets of blades is already going to come out. 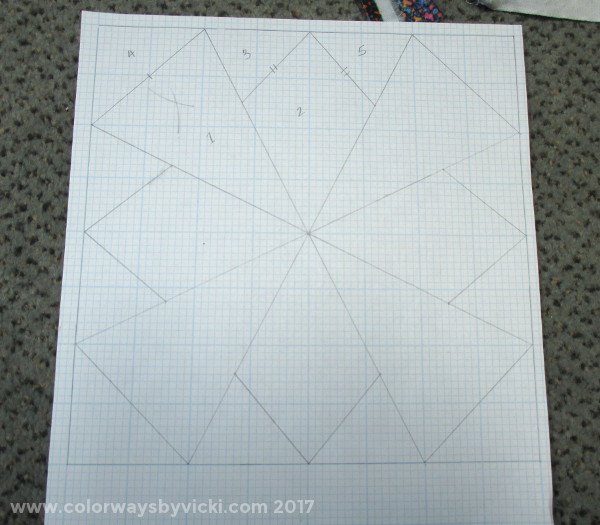 But my main focus is going to be on blocks. I'm cutting Pleiades blades as I cut pieces for this block. I have no plan for a quilt. For now I'm just making blocks to get my mind back into gear for working on these quilts. 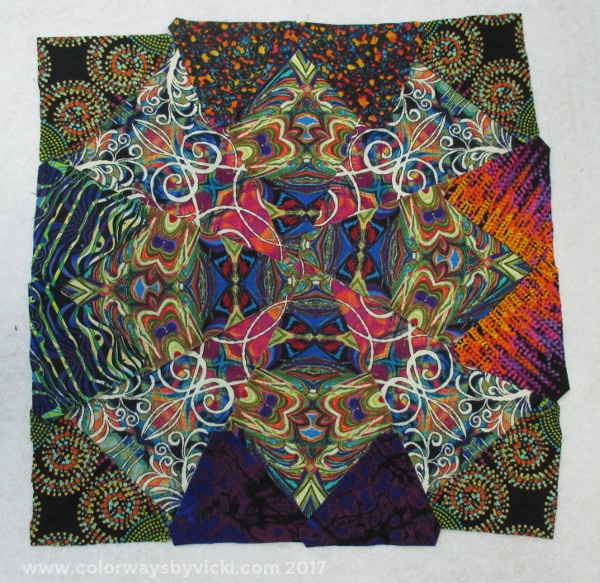 This method of quilting is not for the faint of heart. It's painstaking and you cut pieces one at a time. Of course, for me, that's nothing but pure joy. I have plenty of quilt tops waiting to be quilted so I don't really need any fast projects at the moment. This photo shows you the process that I go through. I cut 4 different fabrics to audition for the center edges. Want to guess what was the 4th and last choice? No surprise that after I did those I went back and picked a different fabric for the 4 corners. I still have to cut those out and sew the block together. This block "only" took 2 evenings to cut! I had my audiobook and sat in the floor with a pile of fabrics and auditioned and cut. It was glorious.
If you think you might be interested in trying something like this I highly recommend Paula Nadelstern's newest book, Fabricadabra. My Pleiades quilt is even in the book. I'll share progress as I go along but don't expect it to come together fast. This is my new zen project. 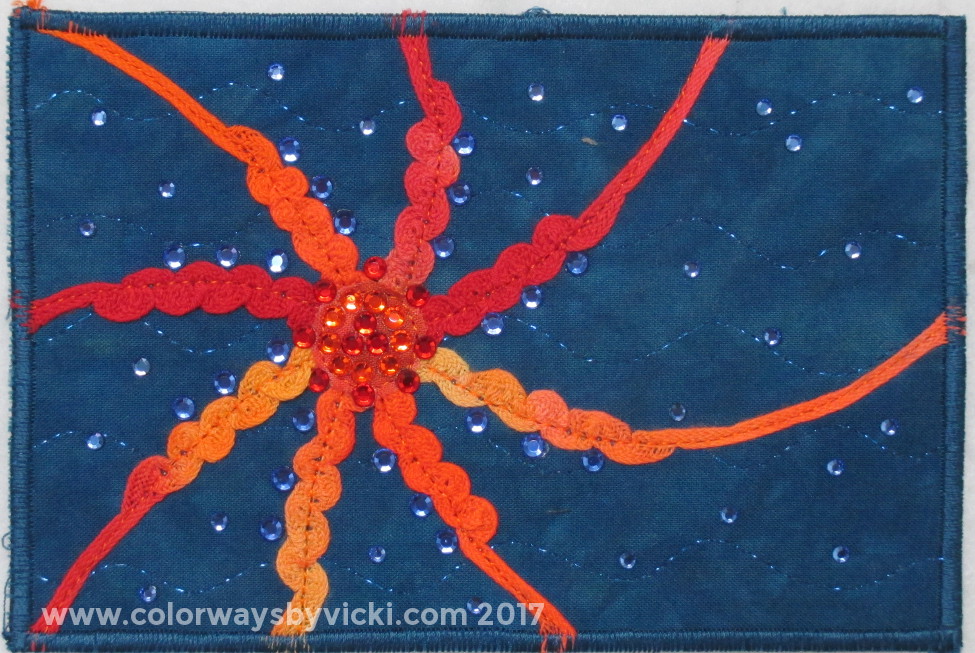 One of my friends finish her last chemo treatment last week.I thought she needed fireworks to celebrate. 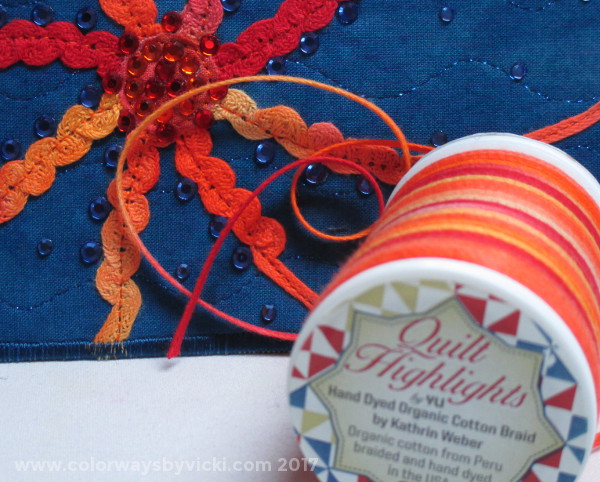 I made the starburst from the new Quilt Highlights thread that I bought a couple of weeks ago. I love the way I can draw it up into sort of a ric rac effect. The green that I bought will be great for leaf vines.
I feel like I was very busy yesterday but it included a meeting in the morning and a concert last night so I don't have a whole lot to show for my efforts yesterday. 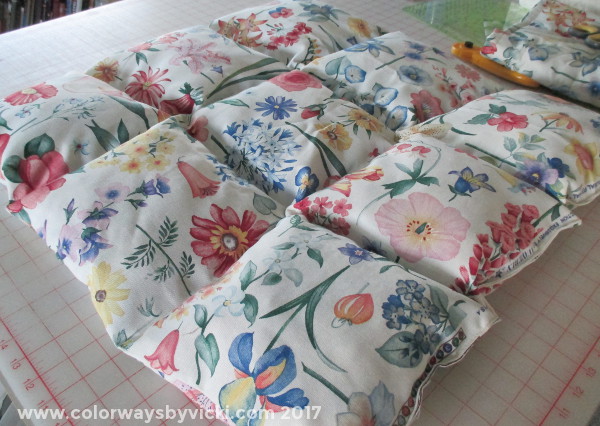 Except for this one lonely pet bed. Quilting the veterans quilts creates a lot of fabric and batting bits that are too small to save and use. I collect them in a separate trash can. Sometimes I can donate them to a group that makes pet beds but occasionally I find from free decorator weight fabric and I make my own. The friend that went with me to the concert last night also volunteers at Richmond Animal League so I stitched up a quick one to take to her. This one isn't stuffed quite enough but for a shelter dog it will be better than a flimsy towel for a bed. I have a tutorial if you want to make some for yourself.  My big project today is to gather up my piles of donation items and deliver it all to the local thrift store and then wait for the UPS driver to bring the king sized batting that I ordered for the Rainbow Quilt. I have the back loaded and ready to go and want to get started on it this weekend.
I also want to do some glass, make a special postcard for a friend and maybe start a new symmetry project. What are your plans? I just love making these fabrics and I'm always tempted to keep all of them. 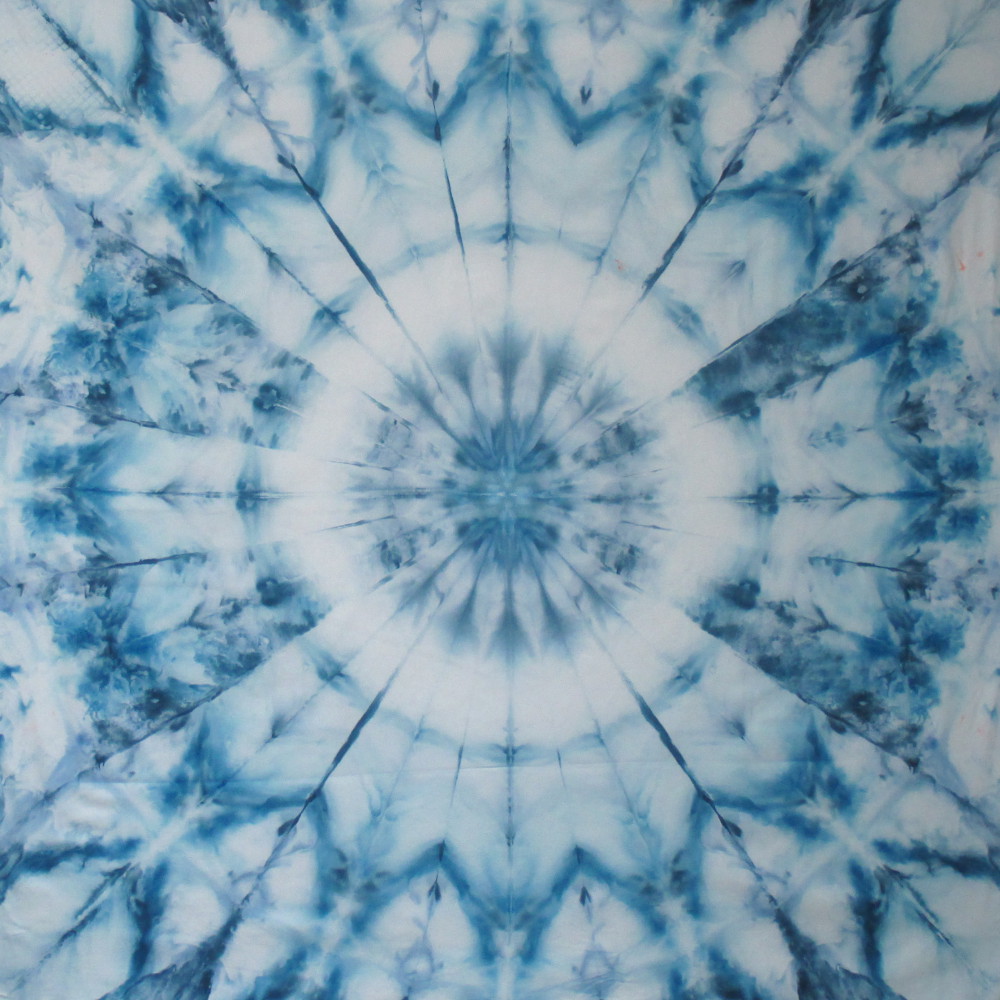 Anatase 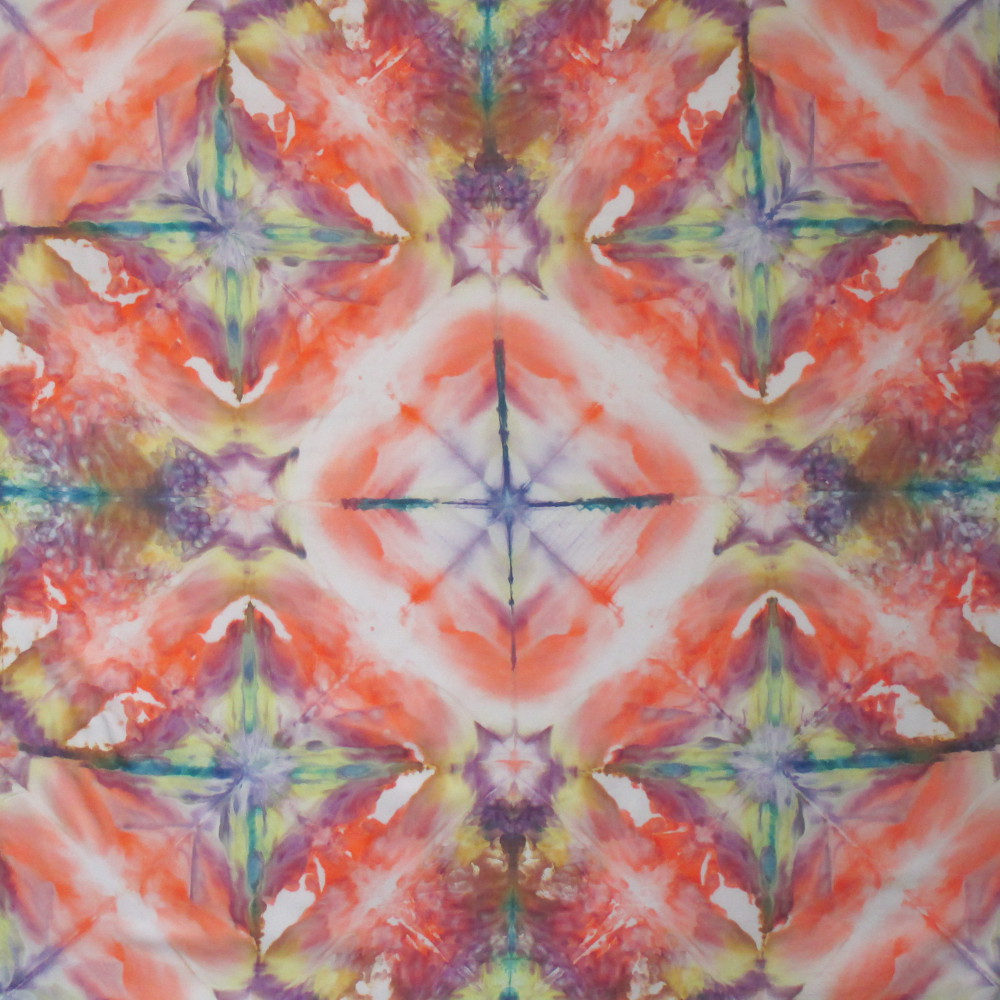 Shigate 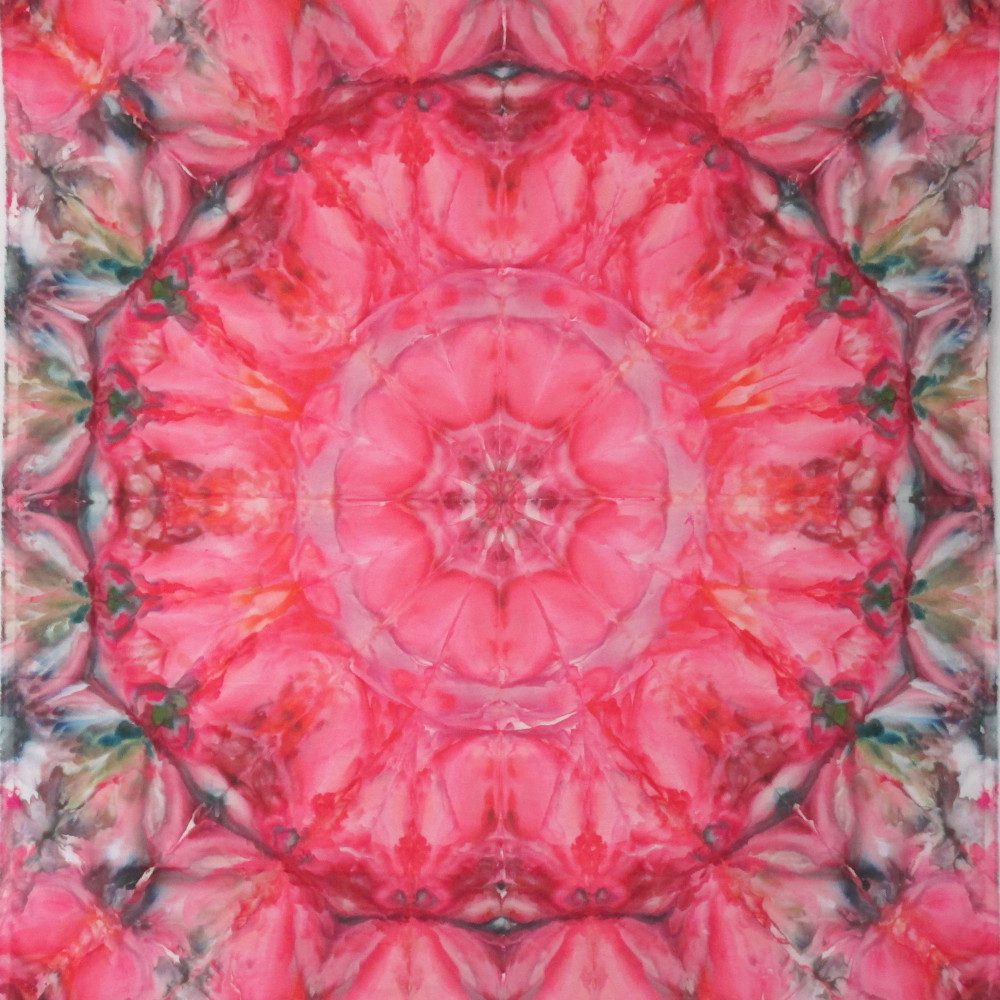 Tourmaline I have absolutely no control over how they turn out. I fold them, cover them with ice and then sprinkle the dye powders in random patterns. Even when I think I'm "planning" color I'm always surprised. Fabrics like the 3 above are the ones that I think are ideal for lots of custom quilting. There are some "flat" spaces where quilting would really show off. 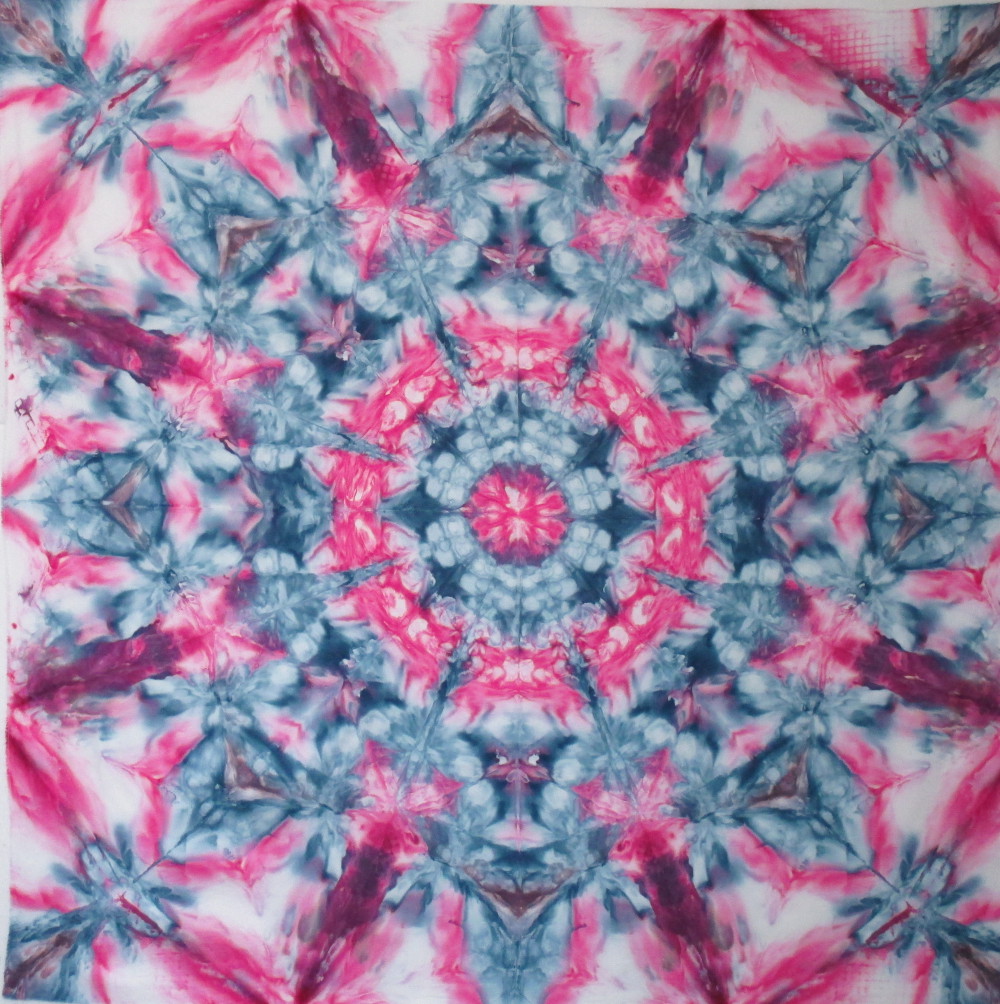 Druzy 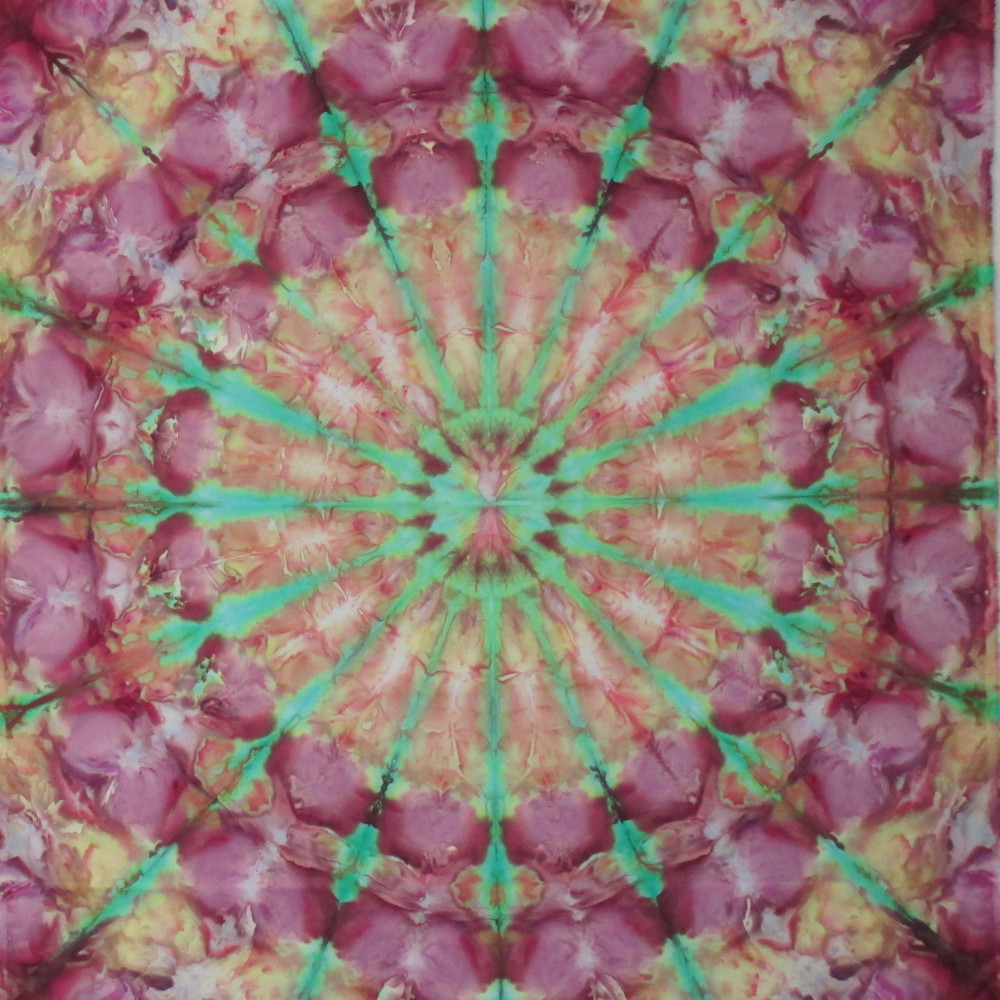 Seraphinite 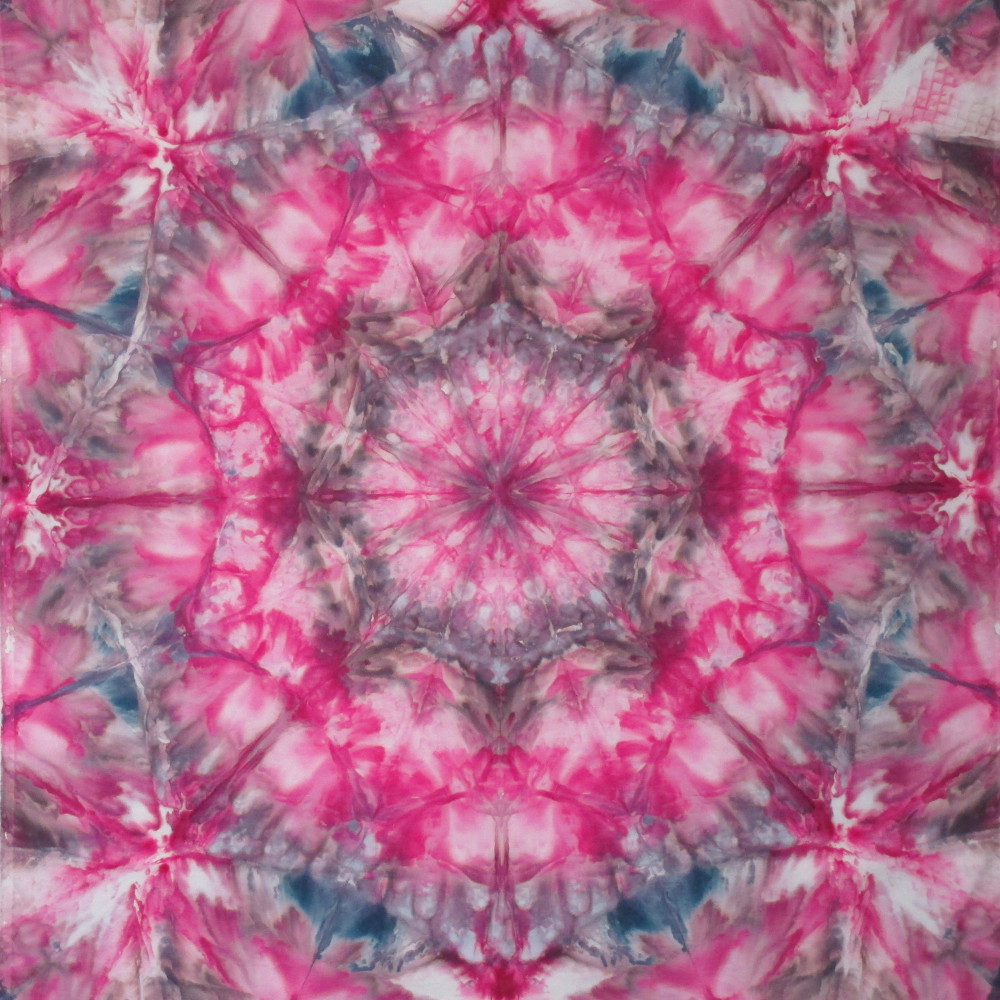 Rhodolite Garnet Then there are other like these three that can be quilted or not quilted. They have enough design detail to stand on their own as a tapestry. If you are stuck for ideas for what to do with them check the Customer Gallery to to see how Patricia Caldwell uses them. To see all 12 new Crystals just visit the shop.
|
FeedsTo subscribe click the RSS Feed button and copy the URL of that page into your blog reader.
In Bloglovin you need to search "Colorways By Vicki Welsh" to find the blog. About Vicki
I'm Vicki Welsh and I've been making things as long as I can remember. I used to be a garment maker but transitioned to quilts about 20 years ago. Currently I'm into fabric dyeing, quilting, Zentangle, fabric postcards, fused glass and mosaic. I document my adventures here. Categories
All
Archives
April 2024
|
 RSS Feed