|
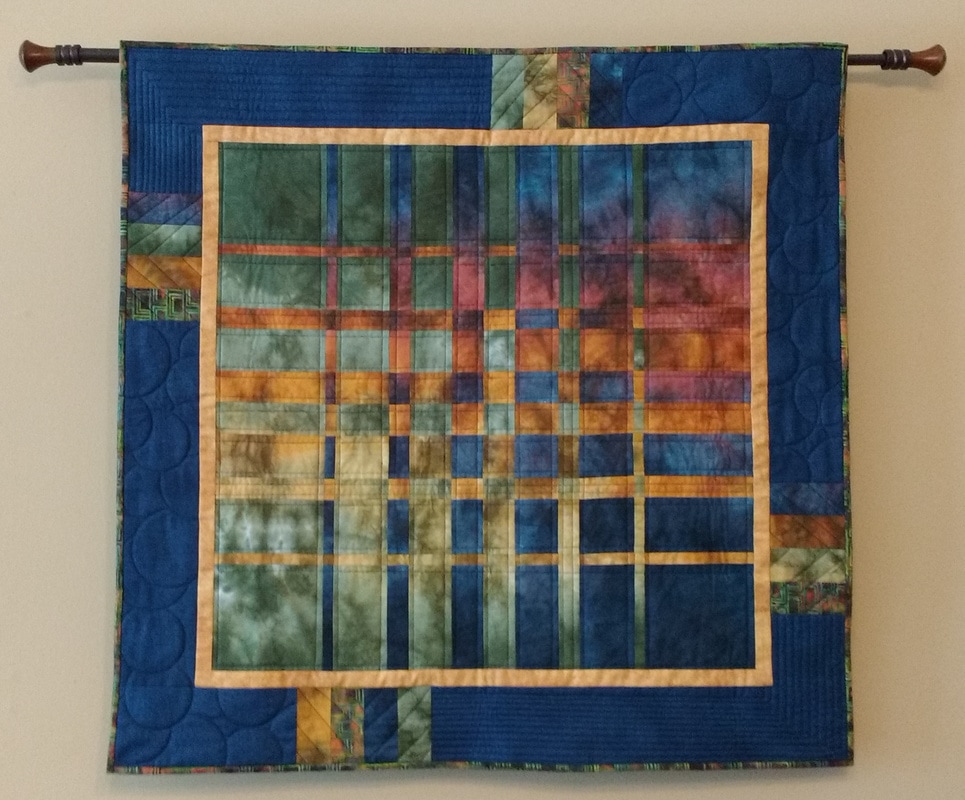
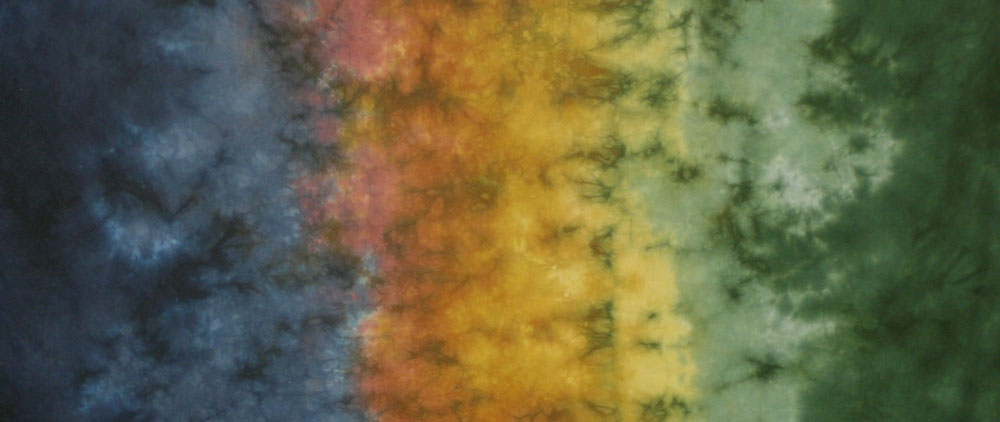
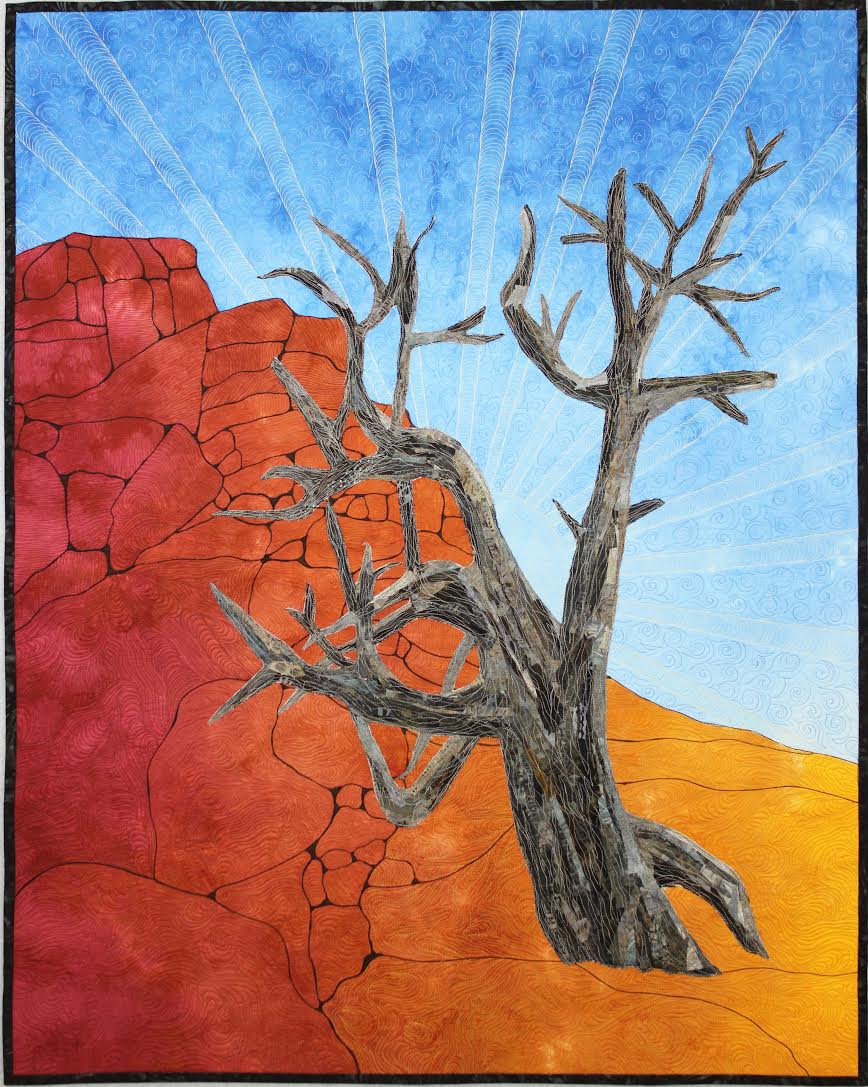
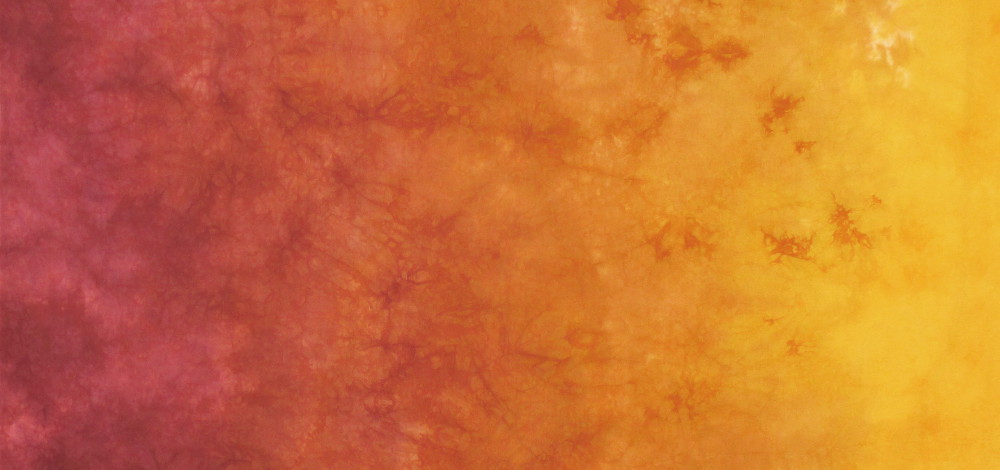
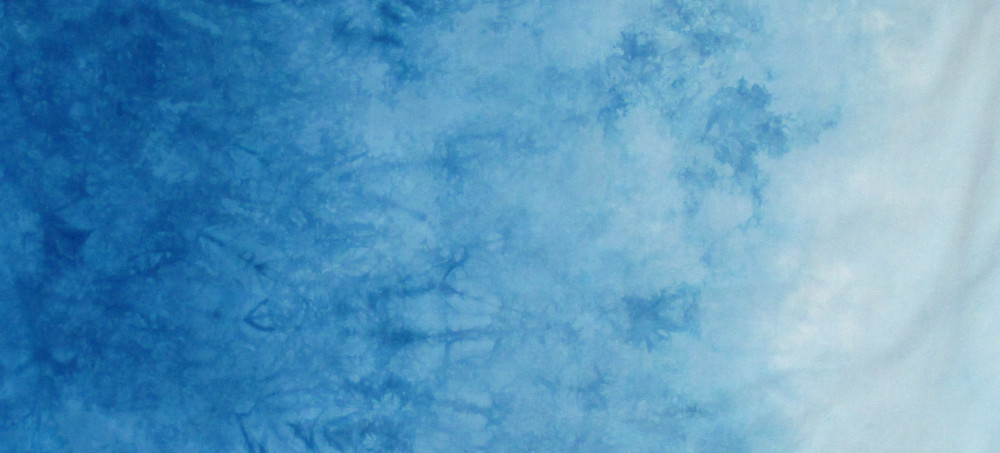
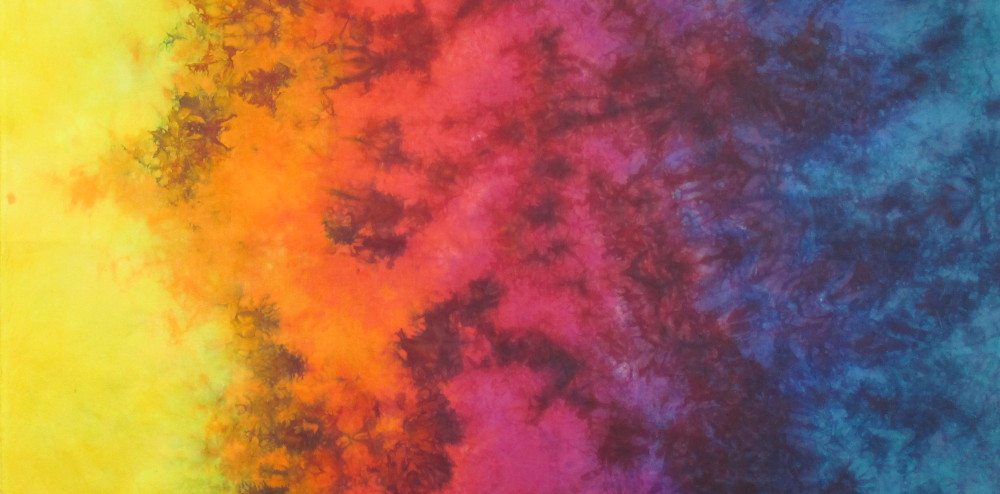
Don't forget to be here first thing Monday, and every day next week, for 6 days of giveaways! But before that let's end the week on an inspired note with 2 new pieces from customers. Susan used the Coming Home gradient for her Convergence quilt. Normally this pattern uses 2 fabrics but with the gradient she was able to use just one piece of Coming Home for all of the fabric in the center of this quilt. Patricia Caldwell continues to be very inspired by the area around her home in Arizona. This piece is called Red Rocks Sunrise and features a collage tree made from hundreds of bits of batik and hand dyed fabrics. The background fabrics are Sassafras and Blue Sky gradients. You can see more photos of this piece in process on Patricia's Facebook page. Have a great weekend!
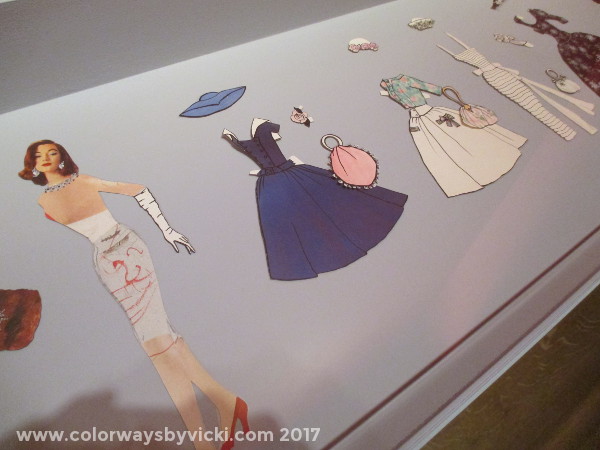
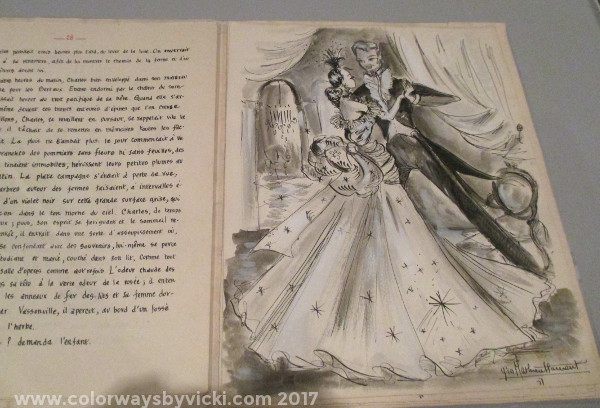
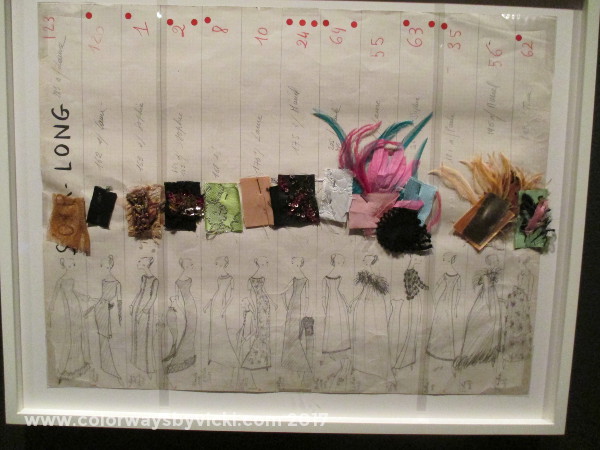
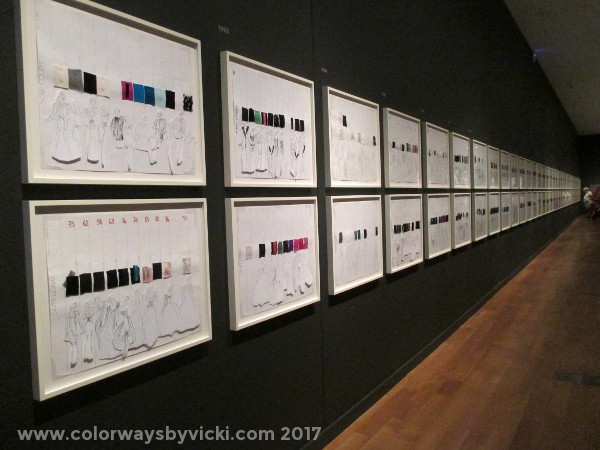
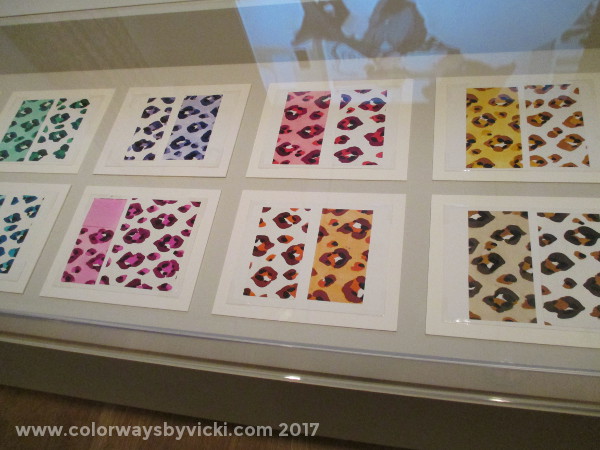
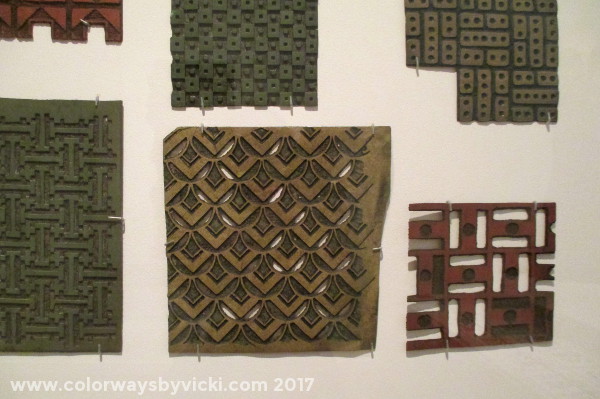
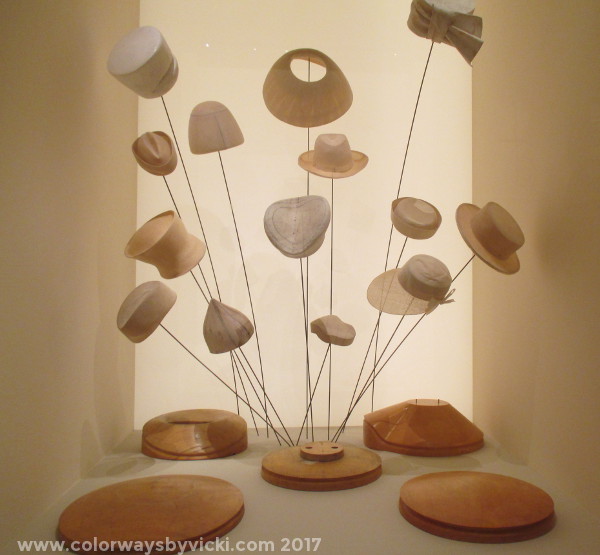
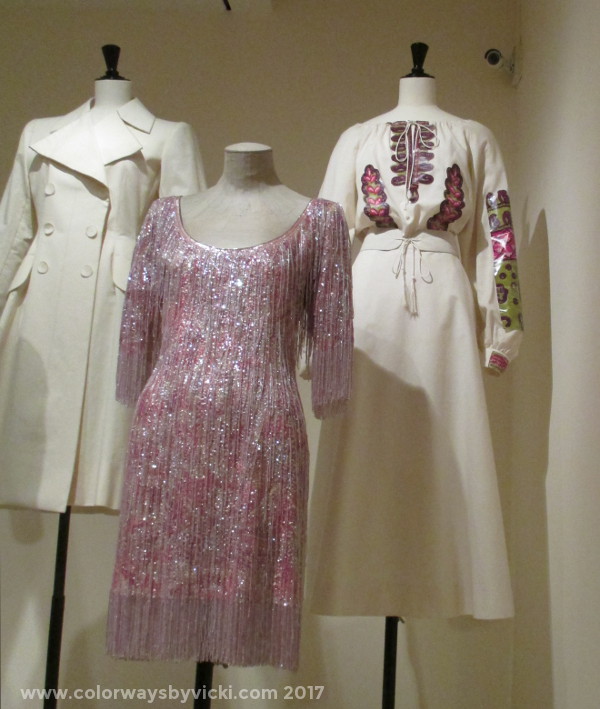
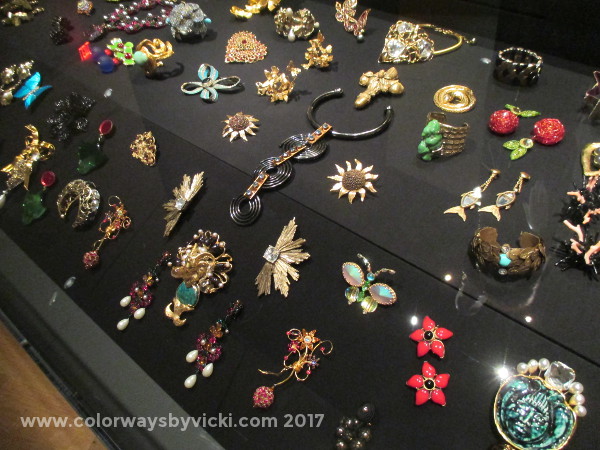
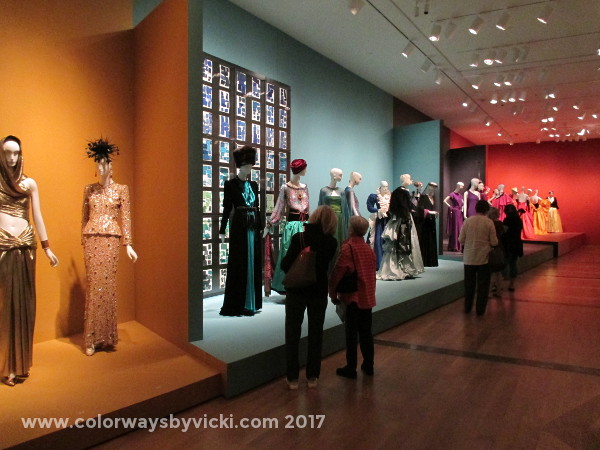
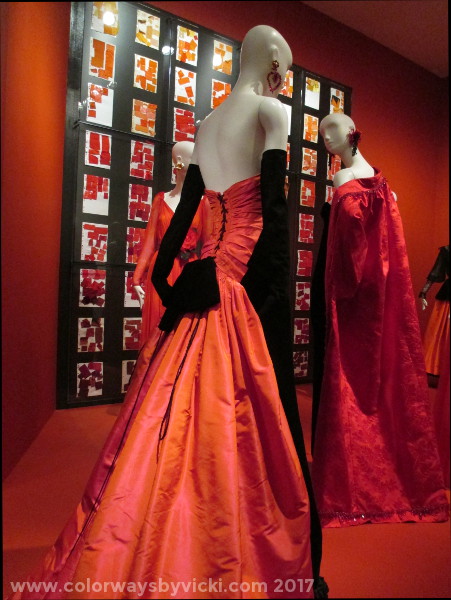
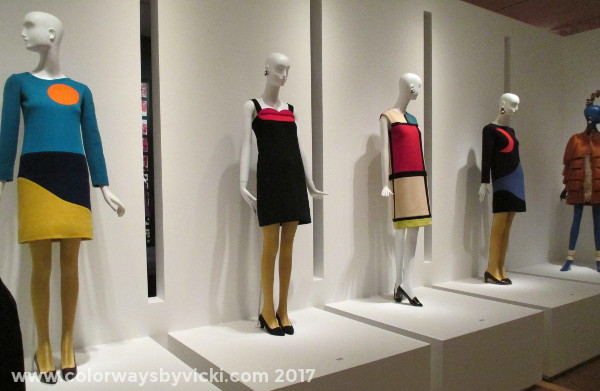
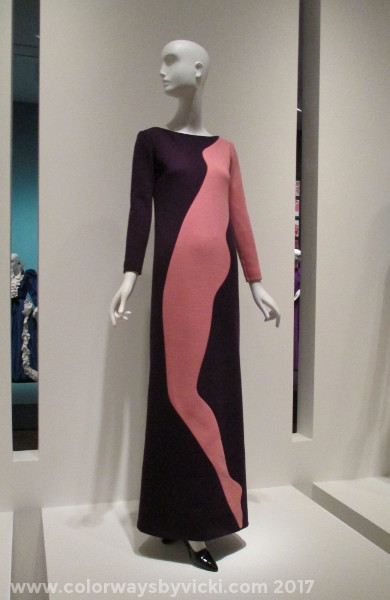
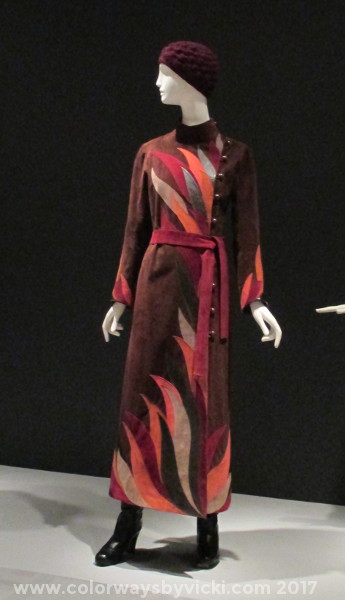
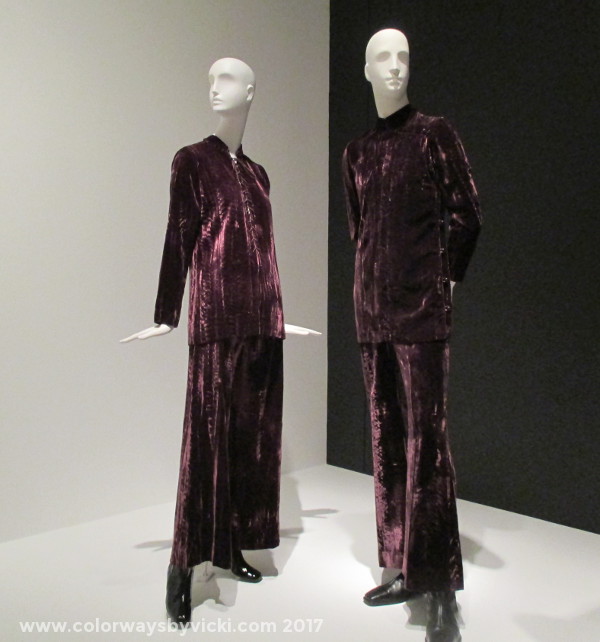
I am so fortunately to live near one of the best museums in the country and I don't have to go to a big city to visit it. The Virginia Museum of Fine Arts doesn't often rank in a top 25 list of best museums but it won't be long before it actually gets the recognition that I believe it deserves. It is often cited as the only museum on the East Coast to get a particular exhibit and that is the case for the current Yves Saint Laurent exhibit. The VMFA does costume exhibits pretty regularly and I was excited to see this one. If you are interested in fashion in any way and you can get to Richmond VA this summer, this particular one is not to be missed. One thing I loved about this exhibit is the amount of information presented on the designer, himself. This exhibit shows the value of nurturing talent early. YSL started his career at a young age making paper doll fashions from magazines and his own drawings. He was in his teens when he did these and his natural talent is clear. This is part of a book illustration that he also did at a young age. Another very cool part of the exhibit are these design boards. (I'm sure they call them something else). There are several of these for every collection showing a drawing of the garment, fabric swatches, notes and the garment number for the show. They had 2 from every year that he presented collections. It was fun to walk them in chronological order to see how the color palettes and silhouettes changed. I also spent a lot of time looking at particular garments and then coming back to the boards to see how that garment fit into the collection for that year. There is a section on how the garments come together including information on how prints are designed, selected and used. Samples of lino blocks for printing fabrics. Collections of hat forms that are art on their own. A cool display on embroidery and showing how they used the toile and paper to show how a garment will be embellished. And lots of very large jewelry! There are 102 garments in the exhibit and I particularly loved this section with garments presented in color themes. Each color section has a back display of swatch pages presented in a gradient. He designed a number of dresses as homages to different artists or art movements. I think that Mondrian dress has to be one of his most famous. The first time I looked at this one I didn't even catch that it was a body silhouette. I just thought the lines were cool. If I could have 1 garment from the collection it would be this coat. I wonder what Chris would say if I made us matching outfits in purple crushed velvet?
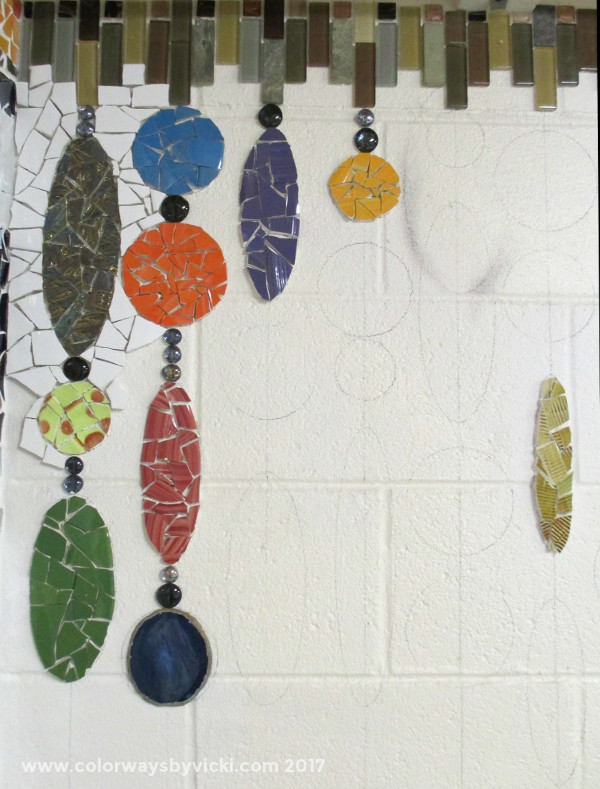
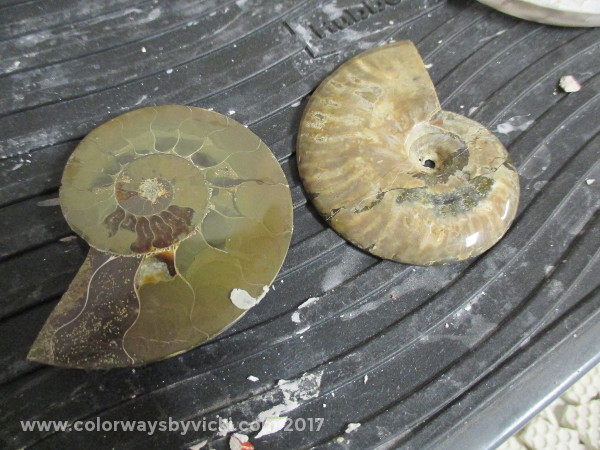
While Laura was sewing one day this week I made a little progress on my beaded curtain wall. I've added 3 more beads (orange, red and gold) and started putting in some of the white background. I know I need to work on the background as I go or I might get bored with it if all I have to do is white. So I'll do a little more white before I allow myself to do more beads. For perspective, this photo represents about 1/4 of the space I'm going to cover. While in Albuquerque I found these from a street vendor at the Gorge Bridge near Taos. I think they will work great as part of my beaded curtain.
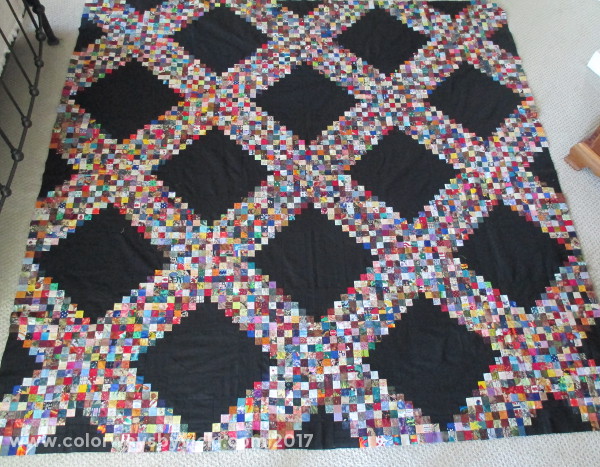
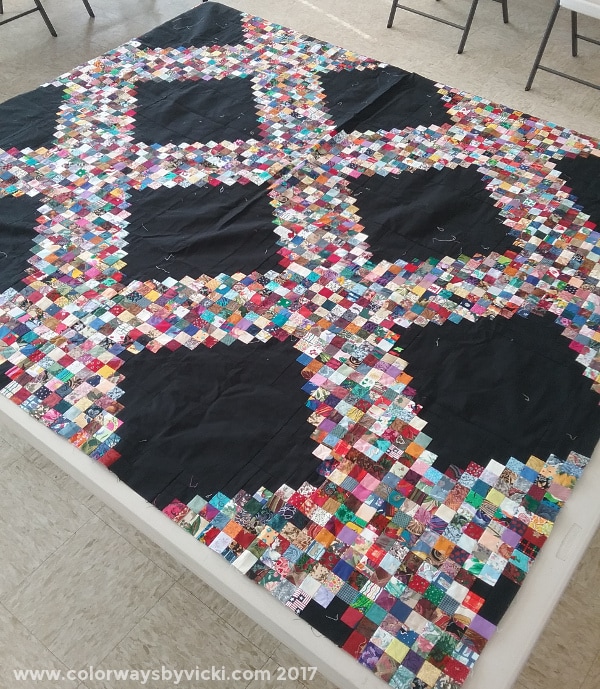
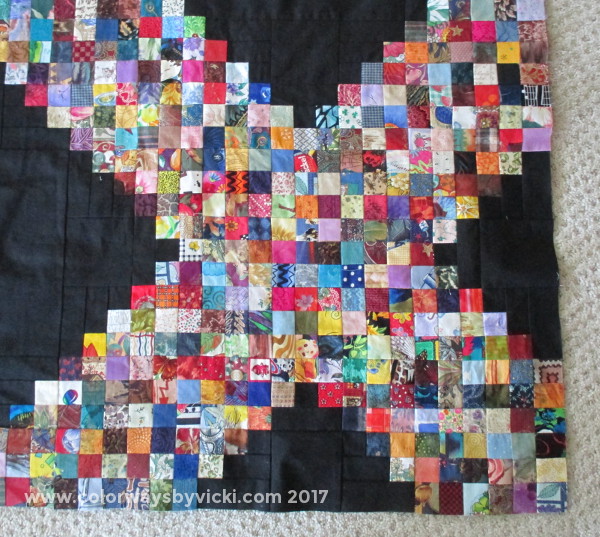
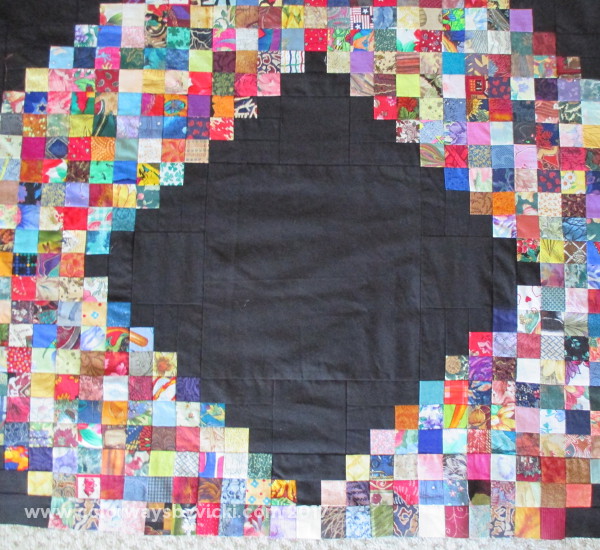
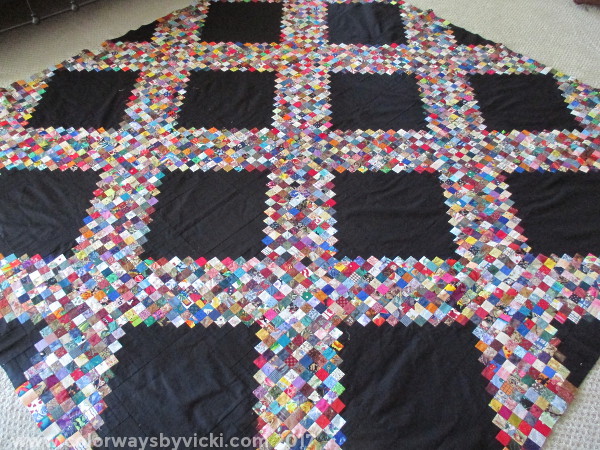
Last weekend was sewing weekend with Country School Quilters and the project I'm working on there is the postage stamp quilt, my oldest UFO. This is how one corner looked like last month. The chopped off black diamonds as the edge (per the pattern) annoyed me. So I added a border of 9-patches. I got the 9-patches made in April and got the border sewn on this month. Now my edges have complete "X" and diamond shapes and all's right in my symmetrical world. Next up is a 2" black border, then a border of 2 rows of postage stamps and then a 4" black border. The last border is dependent on finding a black fabric that will match what I have close enough. I ordered 4 blacks from eQuilter yesterday to try to match up. Hopefully one of them will come close to this black fabric that I bought 19 years ago.
I'll be back to work on this one again in June. Let's start with the big news. Next week is giveaway week!We all need vacations and that includes taking a blog vacation. I've decided that I'm taking a blog vacation next week but instead of leaving it empty I'm having one of my giveaway weeks. That means there are 6 prizes, one each Monday - Saturday. be sure to check in and enter every day. There's going to be fabric and glass and some products from my favorite fusible web company, Mistyfuse! Now on to shop news. I've been doing a lot of custom dyeing lately so I only have 2 new fabrics but they are 2 of the most popular ones. Color Wheel Warm is part of the Color Wheel Basics collection of fabrics. These are all based on the 10-step Munsell Color Wheel. There are 2 gradients and 10 Shades Packs and they are all on sale every day. Sassafras is, hands down, the most popular gradient and today it's back in stock!
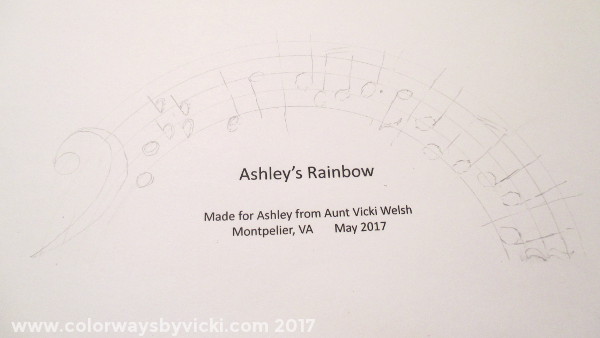
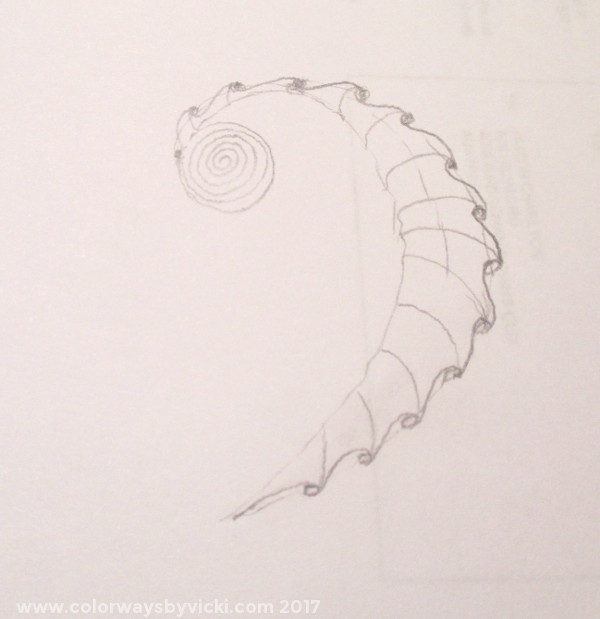
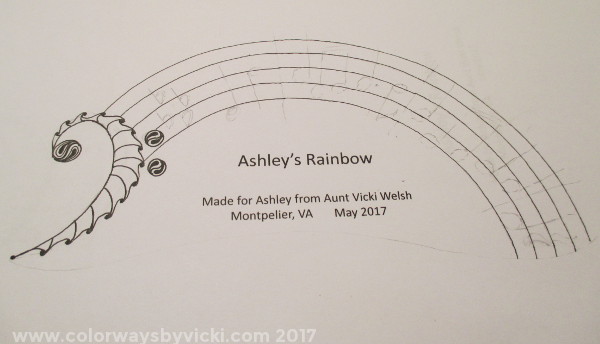
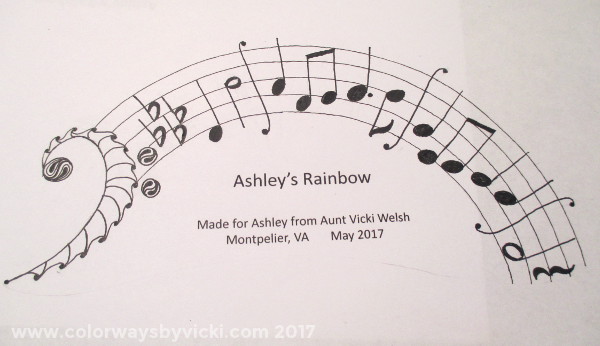
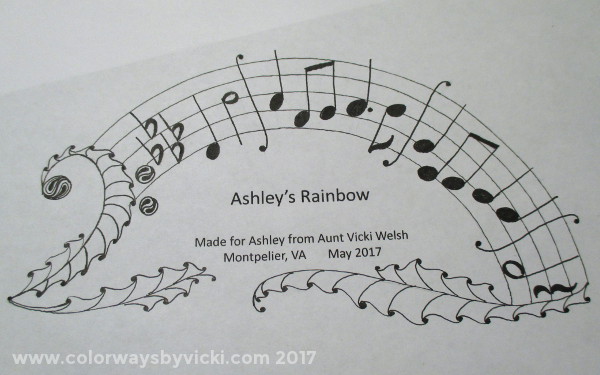
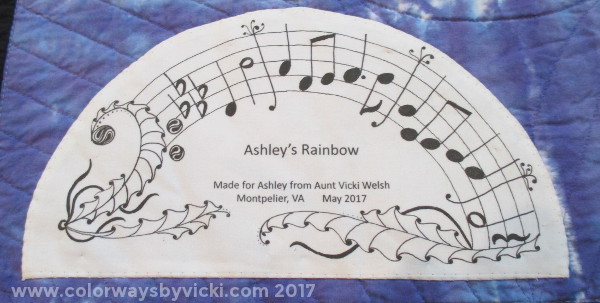
***Shipping note: Fabrics ordered May 21 - 29 will be shipped May 30. Custom orders (including Shades Packs) will be shipped June 5. I finished the Rainbow Quilt weeks ago but hadn't done the label yet. I have to deliver the quilt this weekend so it was time to get it done. Normally, that should not be a big deal but a few years ago I started doing Zentangle labels so they take a little longer. Here's how I made the one for Ashley's Rainbow Quilt. Ashley is my nephew's new wife and I decided that this quilt would be hers. Every time I think about the Rainbow Quilt I think about the song "Somewhere Over the Rainbow". Since my nephew graduated in a music program I thought to put the music theme in the label. He played trombone so I found the sheet music for the trombone for Somewhere Over The Rainbow. I start my labels by printing the text on paper and then drawing around it. I do a lot in pencil before I totally commit to the design. I played around with some ideas for the bass clef and settled, more or less, on this. Time to put pen to paper. It's been way too many years since I learned to read and play music so if there's anything wrong with this please don't tell me. This is supposed to be the part that goes "and the dreams that you dare to dream really do come true" I just continue to add elements until it feels done. A few ribbons and dots and I was done. I printed it on fabric and now it's stitched on the quilt and ready for delivery.
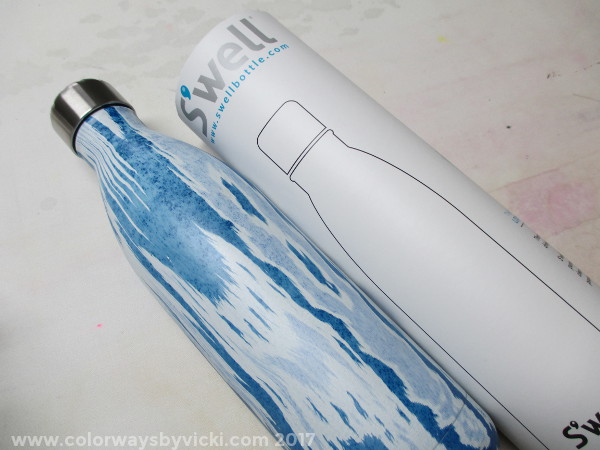
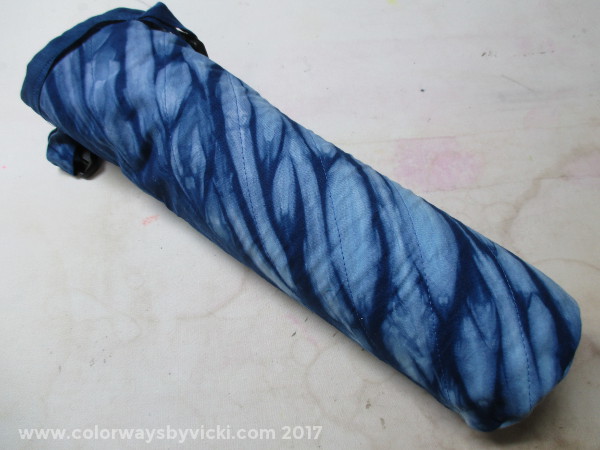
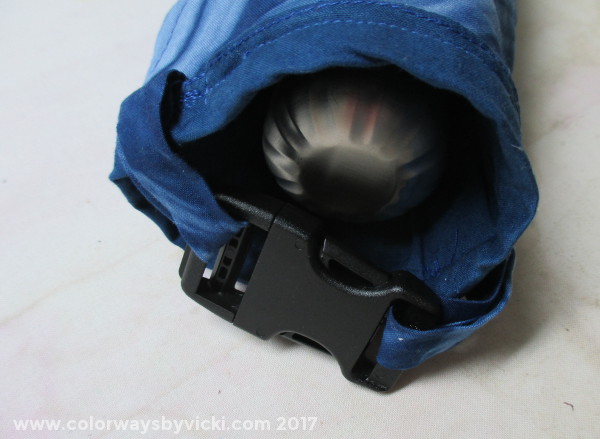
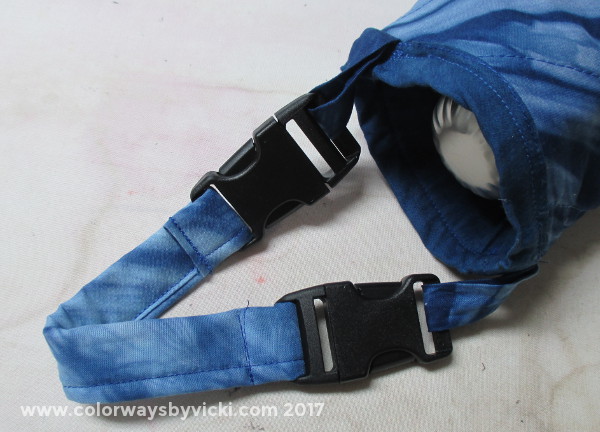
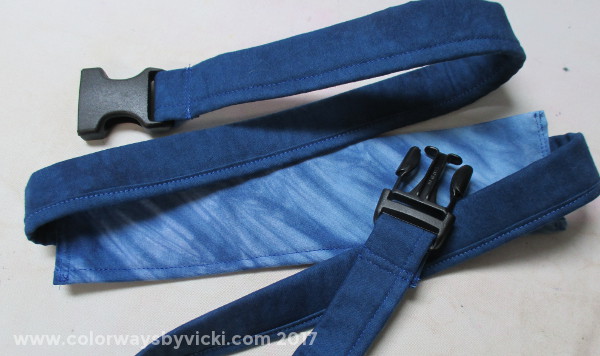
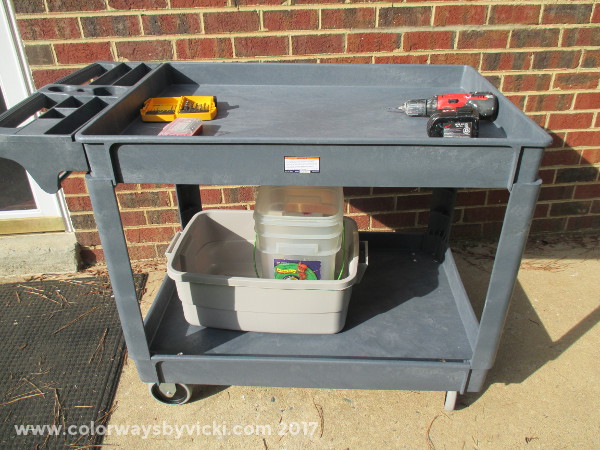
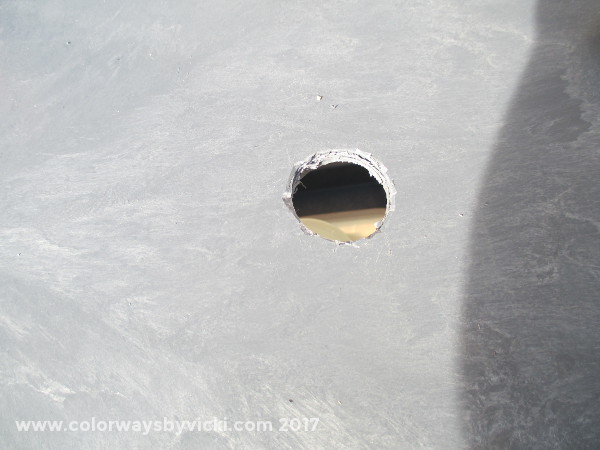
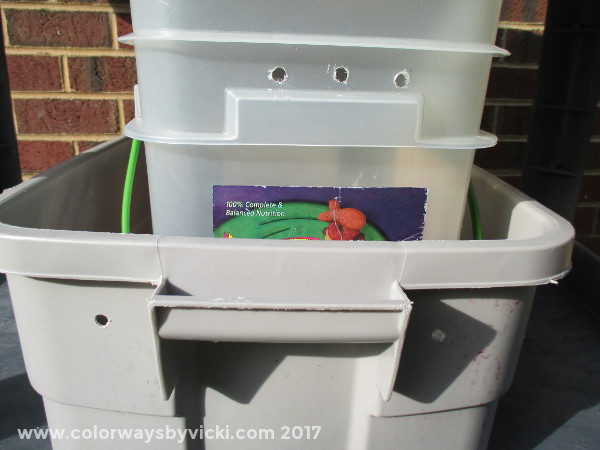
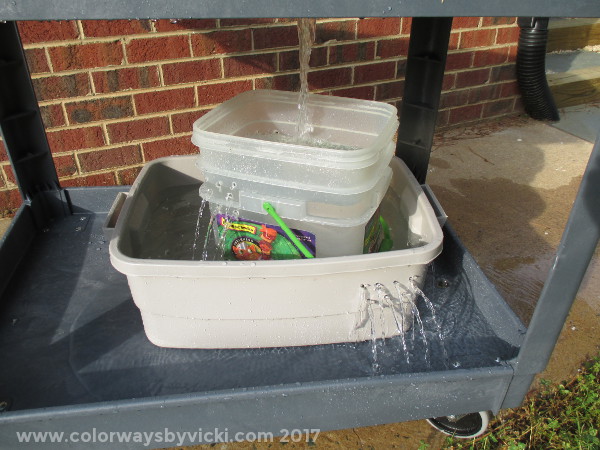
The day after we got back from New Mexico my friend, Laura, arrived here from England via NYC with her daughter. Laura is going to hang out with me for a few weeks before heading back home. We love spending time together because she loves to sew while she's here. We both put on our audiobooks and move on to do whatever we want. We do stop periodically to chat and eat. Here's some of what we've been doing. While she was in NYC, Laura bought this really pretty water bottle. Coincidentally it also holds a whole bottle of wine and keeps things cool for 24 hours. The bottle is beautiful and she wanted to make a cover for it. The print reminded us of Shibori so that's where we searched for the fabric. Doesn't that complement the bottle really well? It's padded to provide more protection.She used this Instructables tutorial. She cleverly modified it to add a locking strap. The she made a short strap. And a long strap. She's good to take this bottle anywhere. Meanwhile the most exciting thing in my studio this week is the arrival of this cart. You know I bought a wet saw (for glasswork) a few weeks ago. It's just a little too heavy and awkward for me to move it in and out on my own. I decided that I needed a car that I could wheel in and out. But I also needed a way to easily wash it down and trap all of the ground glass so that I don't end op with piles of ground glass in the grass. I remember how the drain in the glass studio at VisArts was set up so I decided to do something similar. I started by drilling 1 1/4" hole in both shelves of the cart. Then I had a large bin and a bucket and drilled holes in them. This is how it works. As water pours from the top shelf (where the saw will sit) it will drain into the bucket. Most of the glass bits fall to the bottom of the bucket. As the water level rises it seeps from the holes near the top and that water runs into the big bin. Any glass bits that run out of the bucket will settle in the bin so that the water running out of the bin is safe to let flow into the bottom shelf and out the hole (drain) in that shelf. When I'm done I can let the bucket and bin settle more and the pour water off the top and let the bottom evaporate outside and dispose of the sludge/glass dust safely later.
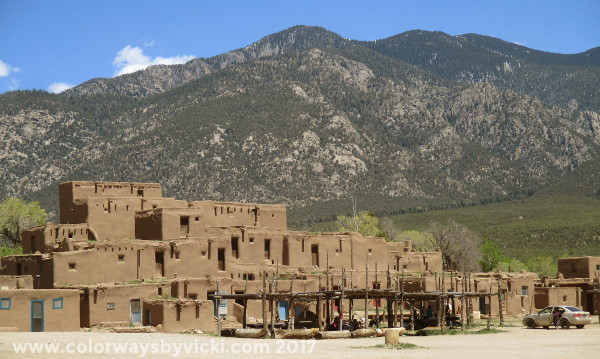
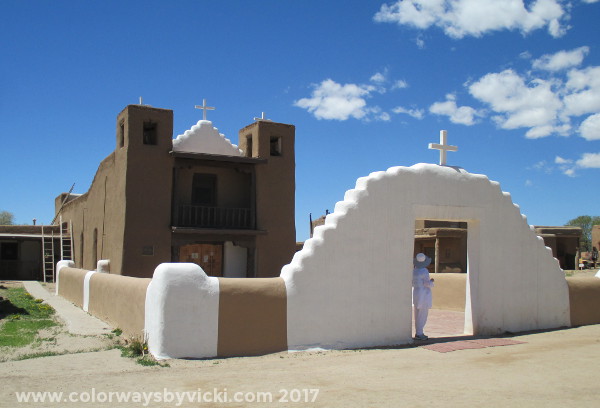
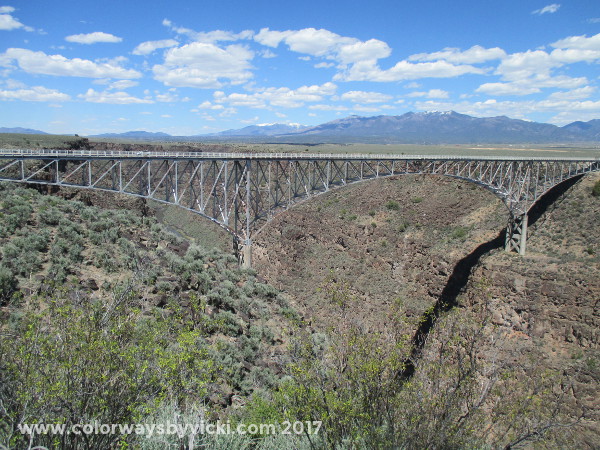
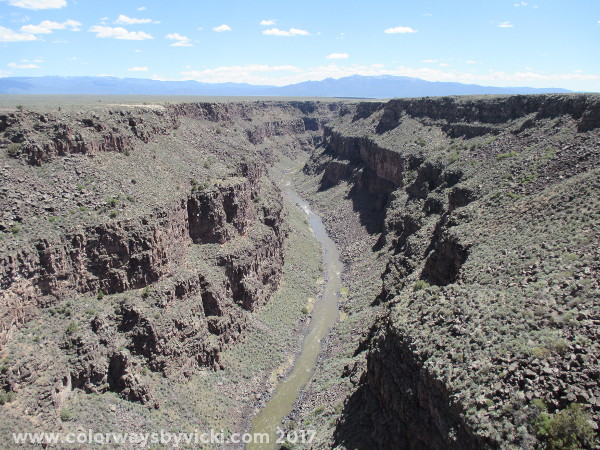
I know this doesn't look like much but I'm really excited about it. I can bow easily roll my saw inside and out. You may not have realized but I was actually away for a few days this past weekend. Mom and I went to Albuquerque this past weekend for my cousin's son's wedding. We were the only family able to go from Debra's side of the family and we were happy to be there to represent. The wedding was on Sunday at the beautiful Albuquerque Botanical Gardens but we had a few extra days to drive around and see this part of the country. I didn't take a lot of photos, I was too busy looking around. The first full day we drove about 2.5 hours north to Taos. Our destination was Taos Pueblo. This Native American village of adobe homes is at least 1000 years old and people still live in them. The tour was fascinating. The St. Jerome Chapel is "only" about 150 years old and is the newest building. Next we drove a little NW of Taos to see the Rio Grande Gorge Bridge. It's very cool! Let me tell you this was very high up and it was a darned miracle that I made it to the middle of the bridge to get this photo. You can bet that I didn't let go of the railing.
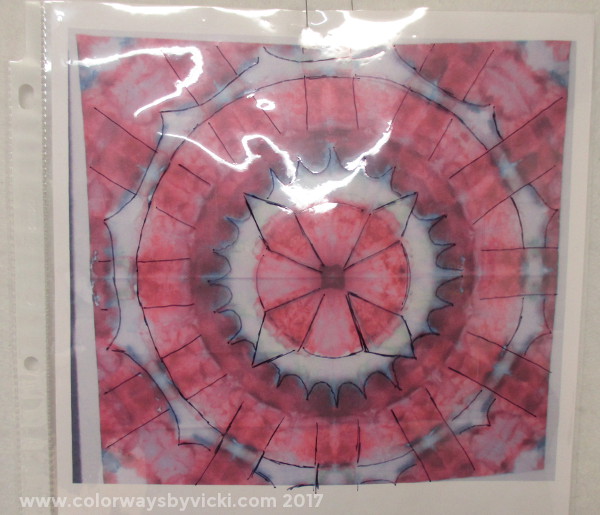
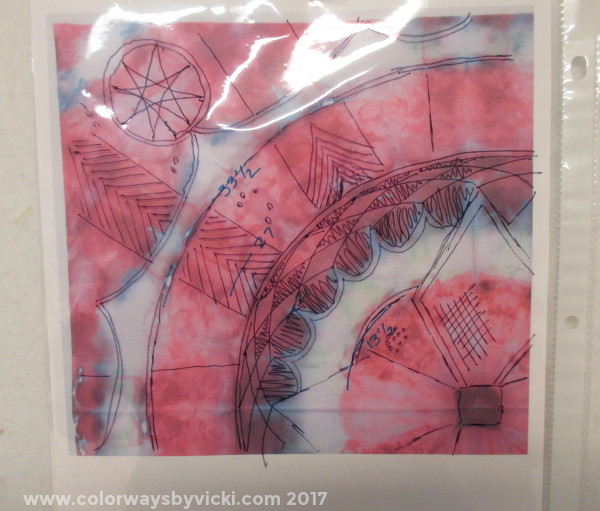
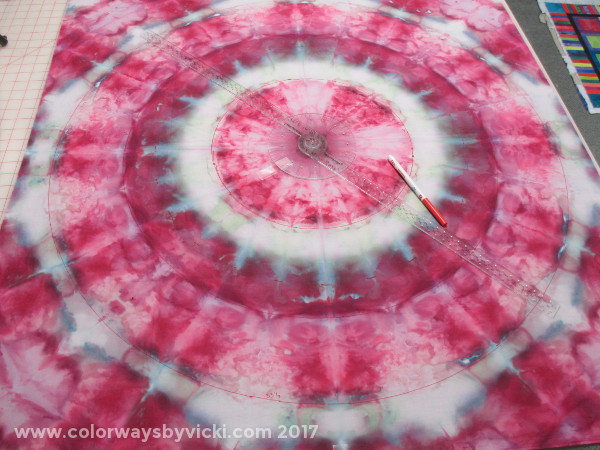
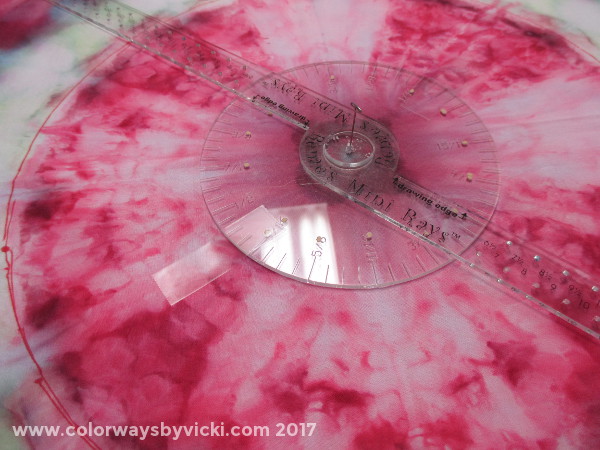
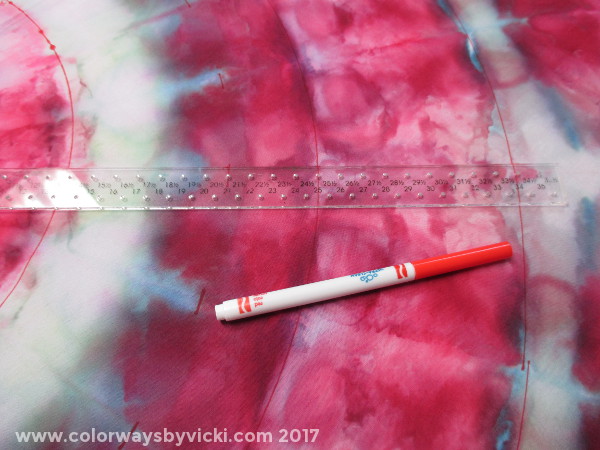
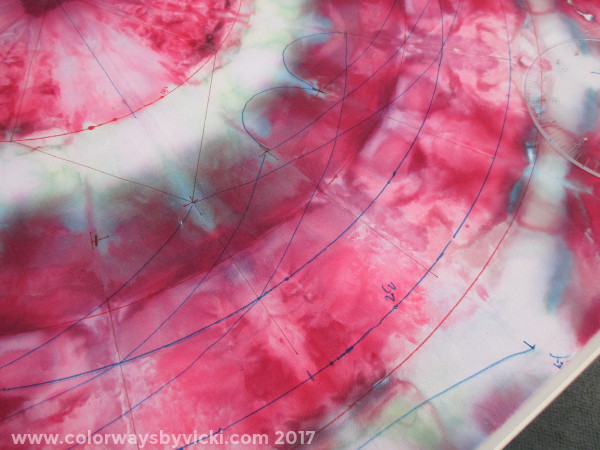
After this I apparently put my camera away for the rest of the trip and just enjoyed being there. We drove back to Pilar along the western edge of the river and it was a spectacular drive. The next day we drove to Santa Fe and the highlight was the Georgia O'Keefe museum. We were surprised that she has a couple of connections to Virginia. Her very first teaching job was actually very close to where I grew up! On the day of the wedding we visited the Albuquerque Aquarium and Botanical Gardens in the morning and Old Town in the afternoon. The highlight was a surprise 2-hour show of Flamenco dancing on the square in Old Town. It was a perfect way to end the sight-seeing part of our trip. It's time to get back to some quilting. I finished the ruler class sample and I promised myself that once it was done that I could finally work on one of my crystal mandalas. I've been waiting way to long to do this so I got started marking it this week. This project started a couple of months ago by planning the quilting structure. This is how I plan all of my quilts. It's a little old school to not do this on the computer but I can't justify drawing software that I simply won't use that often. A package of page protectors is pretty cheap. I started by printing a color image of the quilt and then I try to make myself come up with at least 3 designs. That makes sure that I get the most obvious one out of the way and, possibly, I come up with something a little more creative. Once I come up with a basic framework that I like I print a quarter section of the quilt and work out a few details. I know that at this point I will change things as I mark and quilt the quilt but at least I have some sort of plan that might help prevent my usual quilting paralysis after the quilt is loaded. Next it was time to mark the quilt and my favorite tool for this is Renee Haddadin's Amazing Rays. This one is the Mini-Ray and makes a circle up to 35.5" in diameter. There's also a larger one that does up to 79". I use this think for all sorts of projects including marking things on my mosaic wall. You pin the center disc in the center of your quilt and the ruler fits on it and spins around. I taped it in place so that my degree markings stayed lined up properly. Crayola Washable Markers are my favorite marking tool. The marking tip doesn't fit in the hole of the ruler so I just hold the marker next to the to the hole on the edge of the ruler. I like that I have a lot of colors so if, as in this case, I changed my mind about a mark I can switch to a darker color for the final mark. Sometimes I get so many marks on it that I need to draw in some rough quilting guidelines so I don't forget. It looks kind of a mess but it will be OK. I think.
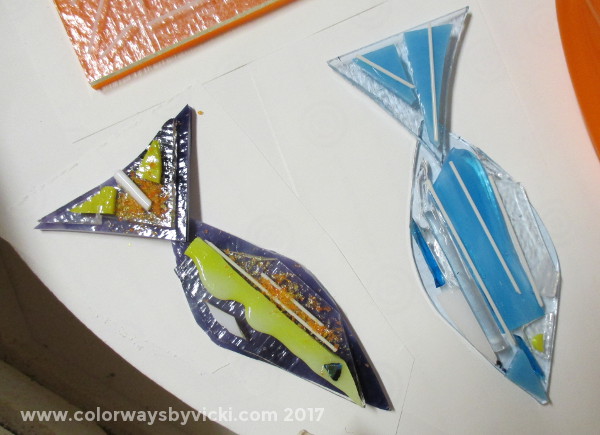
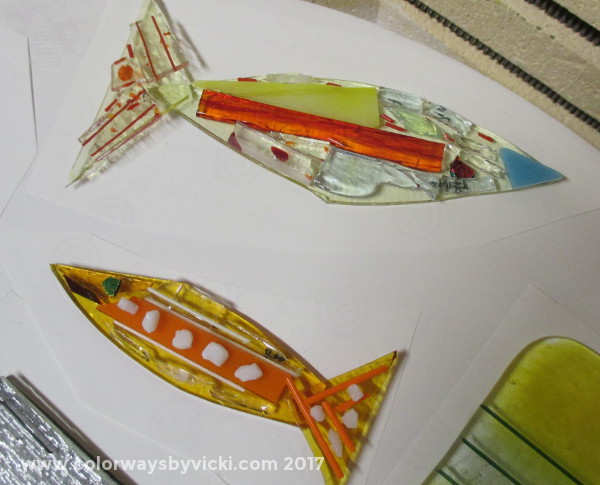
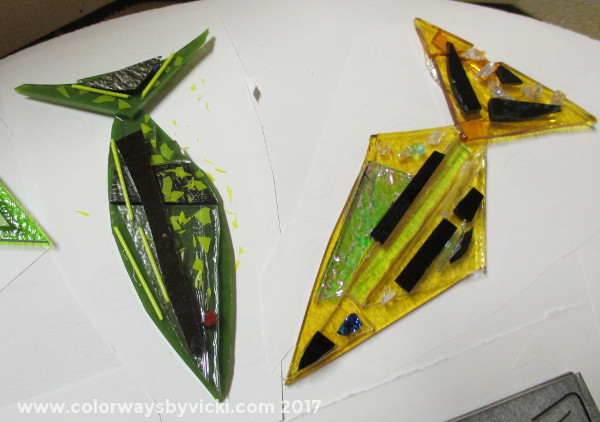
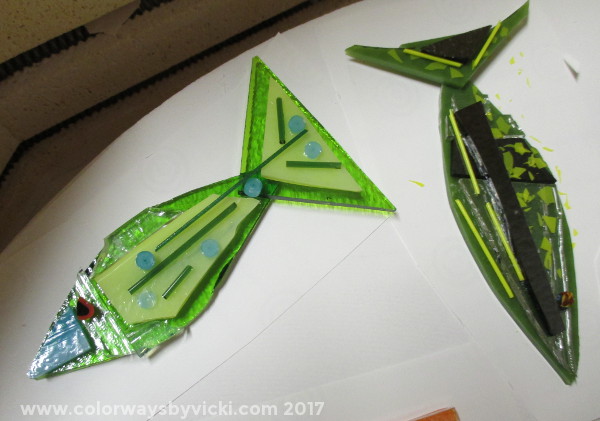
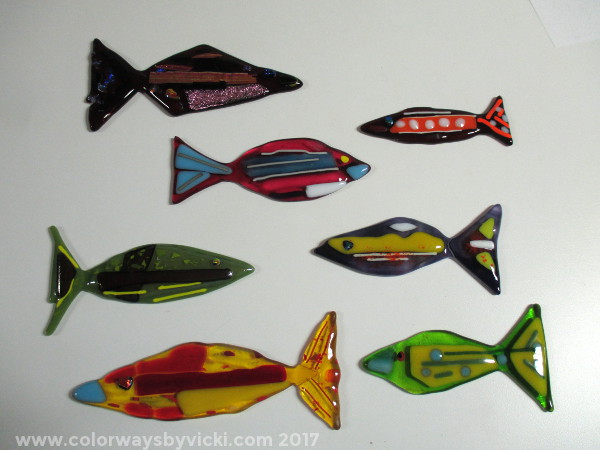
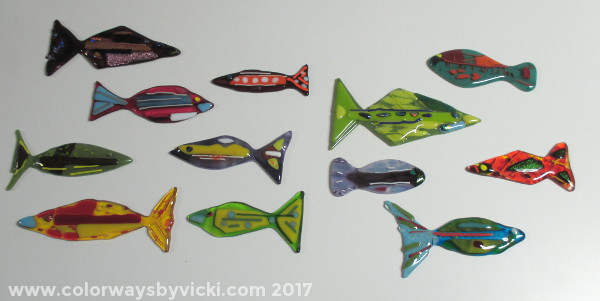
I need to get it loaded and start quilting to find out. I'm not going to stress about it. This one is for practice. If it turns out bad I'll cut it up into placemats or something. I just need to get started! I'm still in fish-making mode and here are the newest additions to my school. These first 4 photos are before firing. I've mentioned "striker" glass a lot. Striker glass changes color a LOT during firing so you have to pay close attention to what you are working with before hand. I mark all of my glass with the stock numbers, even the small pieces. But once it goes in the tiny scrap bin it could be anything. Pay close attention to the blue and turquoise fish to see what color it turns in the end. The bases of both of these fish are striker glass. The green one is not striker but the orange one is. You might notice that his tail is kind of ragged. It broke on the way to the kiln. I decided to cobble it back together as best I could and let the melting glass fuse back together. Lots of fish had damage to their tail fins. The dark green fish is the same one as in the photo above. The bright green one has some turquoise bits that are "reactive". It will react with some other glasses and leave a dark outline. It's a very cool effect that people use as a design element. My favorite part about that fish though is the eye. It's just a little sliver of glass that was in my tiny scrap tray. Here they are all finished. The light blue one turned bright pink and the orange ones turned a very deep red. Check out the little green one and you can see the reactive effect around the turquoise dots and his very cool eye. The big red one at the top has a little nip out of his tail fin and I'm OK with that. I used some dichroic glass on him and I need to use that a lot more on some new fish. Here's the whole school so far. I probably need this many more to have enough for my backsplash. That's no problem because I love making them.
|
FeedsTo subscribe click the RSS Feed button and copy the URL of that page into your blog reader.
In Bloglovin you need to search "Colorways By Vicki Welsh" to find the blog. About Vicki
I'm Vicki Welsh and I've been making things as long as I can remember. I used to be a garment maker but transitioned to quilts about 20 years ago. Currently I'm into fabric dyeing, quilting, Zentangle, fabric postcards, fused glass and mosaic. I document my adventures here. Categories
All
Archives
July 2024
|

 RSS Feed