|
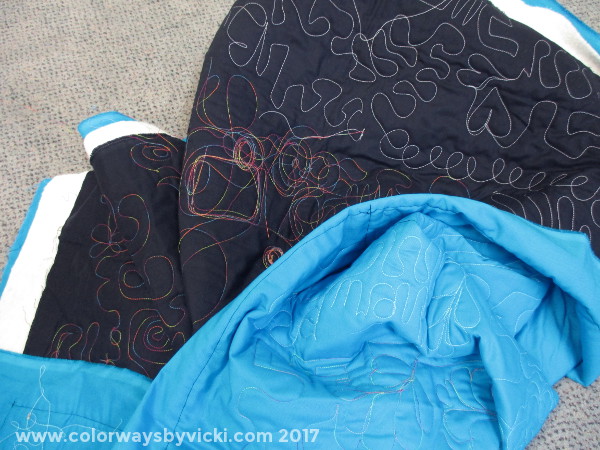
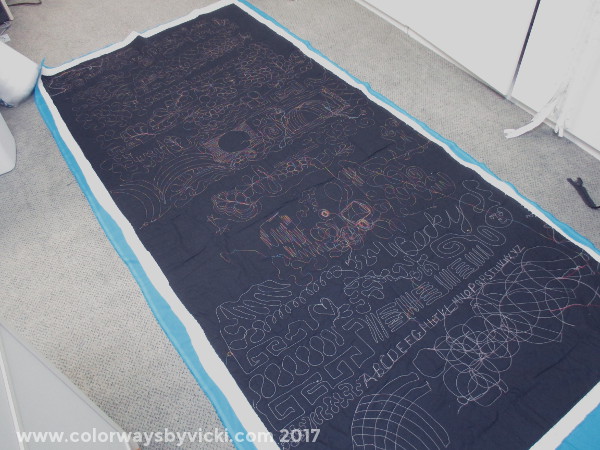
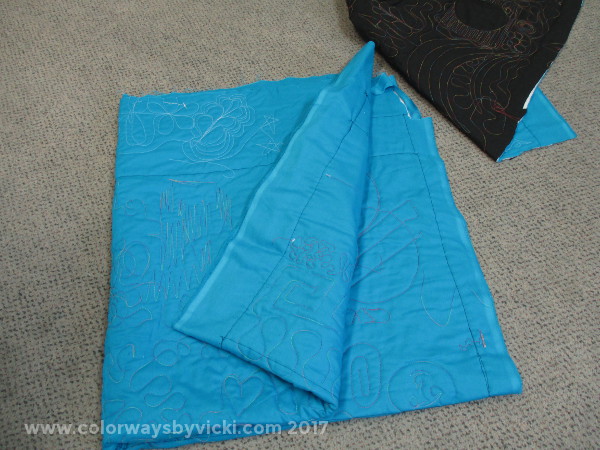
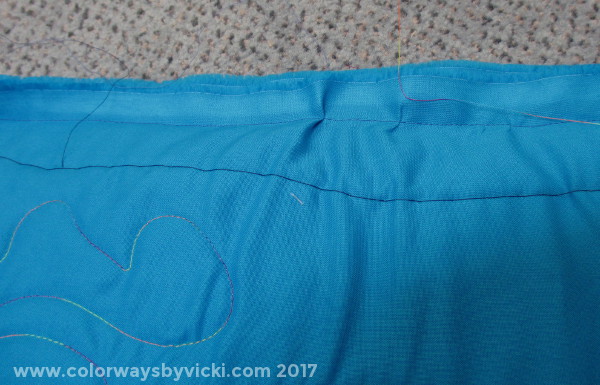
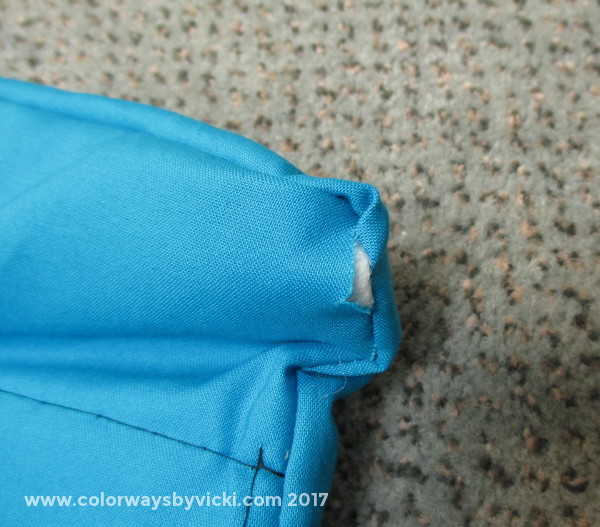
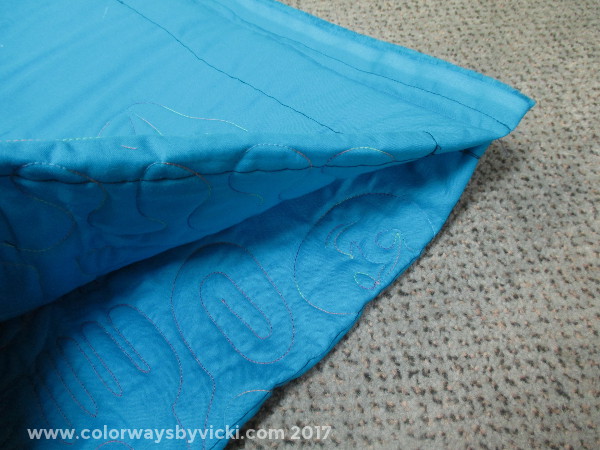
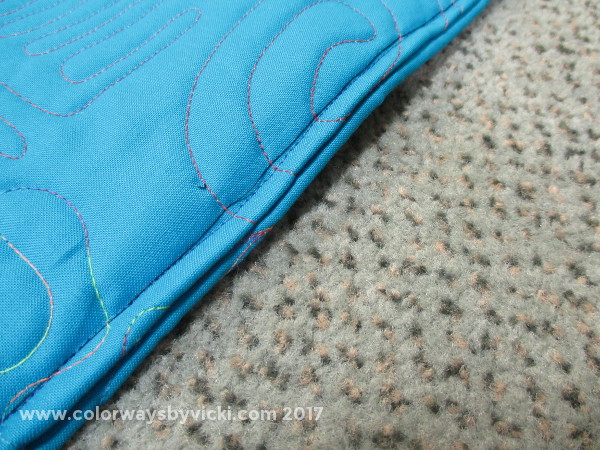
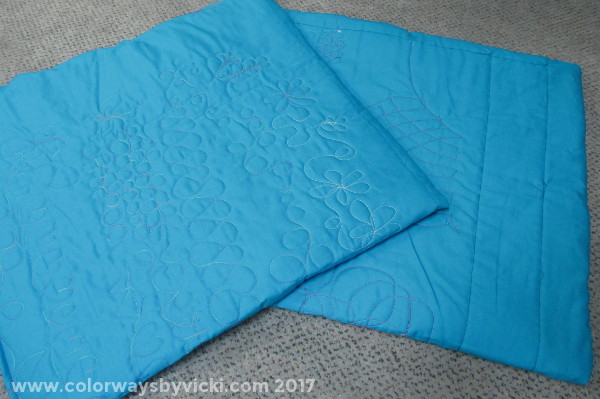
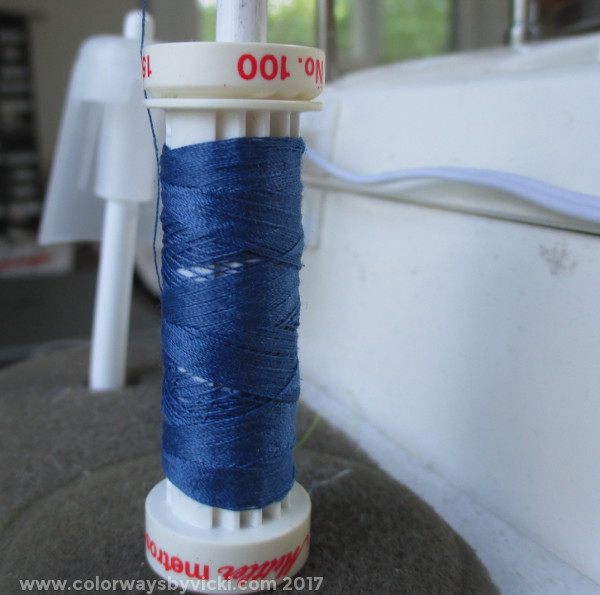
I shared a few weeks ago how I use batting scraps and donated decorator fabric to make dog beds for my friend to donate to Richmond Animal League. She volunteers there and it's easy for me to give the beds to her and she can drop them off when she works there every other week. Since then I find myself seeing other things that I can use to create pet beds for her. When I was teaching at The Longarm Network last weekend I spied this. When the are at shows they have the longarms loaded with yards of fabric and batting for people to be able to practice and test out the machines. This is one of the leftover practice "quilts". They use these for lots of things. They are great for padding when moving furniture and equipment. But they can also make great pet beds and they let me take this one home. It took me less time to make this into 2 pet beds than it's taking me to write this blog post. See, it's big! I wanted the pet beds to be very cushy so I decided on 4 layers and that would be perfect if I cut this piece in half for 2 big chunks. I folded one of the chunks into quarters with the selvedge edges together and the raw edges together. Then I stitched those 2 sides. I made sure that I caught fabric on inside of the fold. I stitched through all the layers and I absolutely didn't care about this. After stitching the 2 sides I turned it inside out. See what I mean about catching all the layers of fabric on the inside? I had to go back and stitch a wider seam and, no, I didn't trim any seams. Now I could turn it inside out for real. Since the open edge doesn't have any raw edges I could just topstitch them closed. Before you say anything about the basting threads throughout the fabric, yes, I did remove them. Don't want a puppy to snag his teeth or toes on that. Fifteen minutes later I have 2 new dog beds for RAL. Bonus! I found this spool of thread before I started sewing them and was able to finish it off with the 2 dog beds. That means I get to buy 10 more spools of thread as replacement, right?
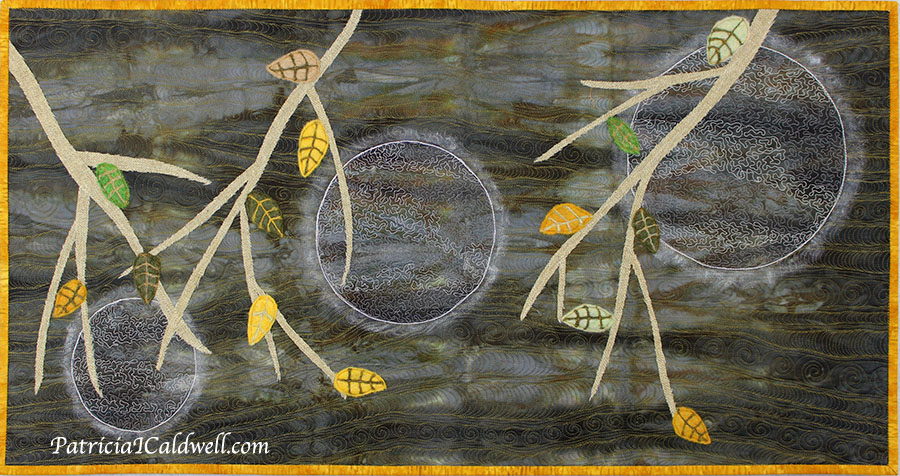
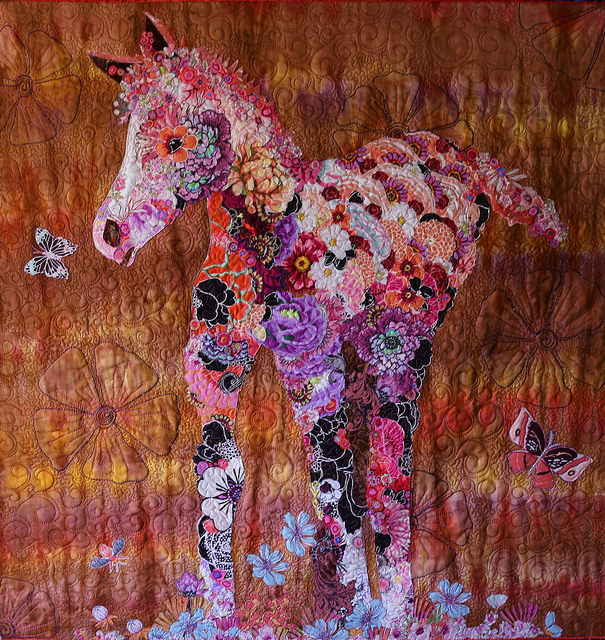
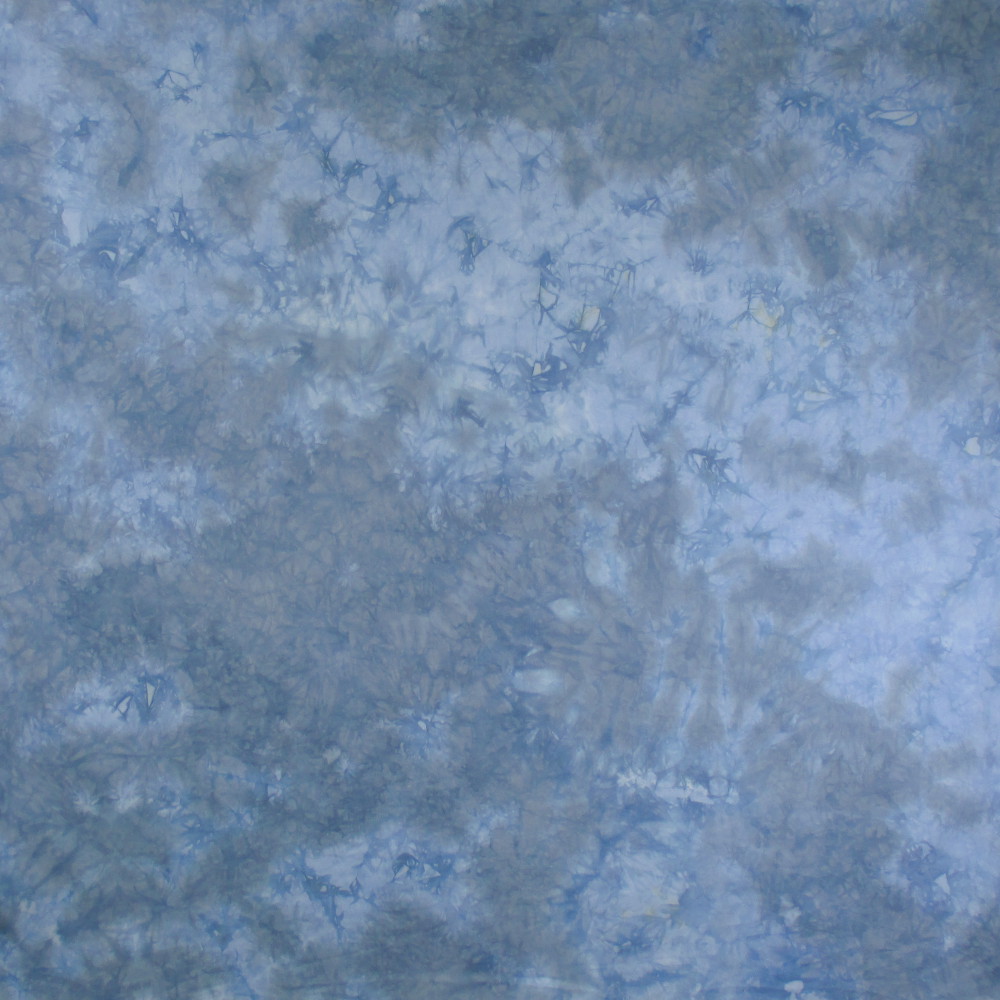
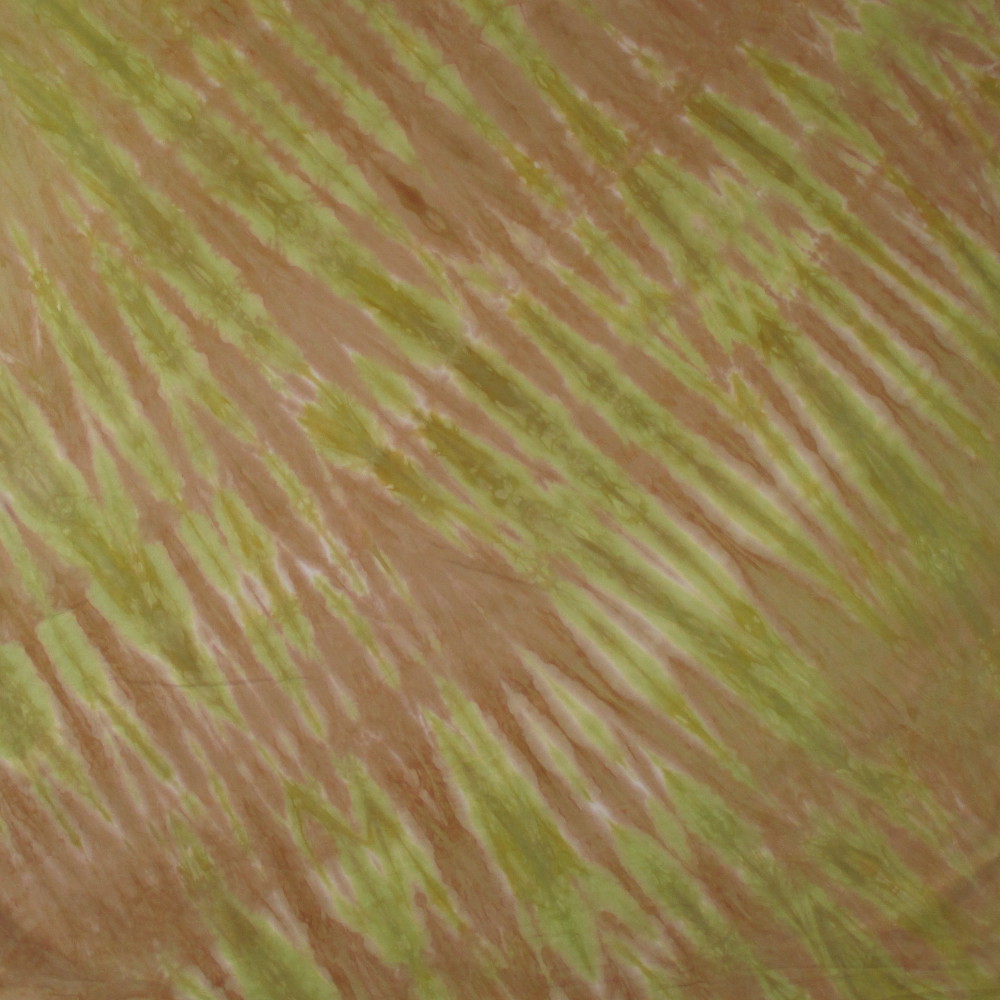
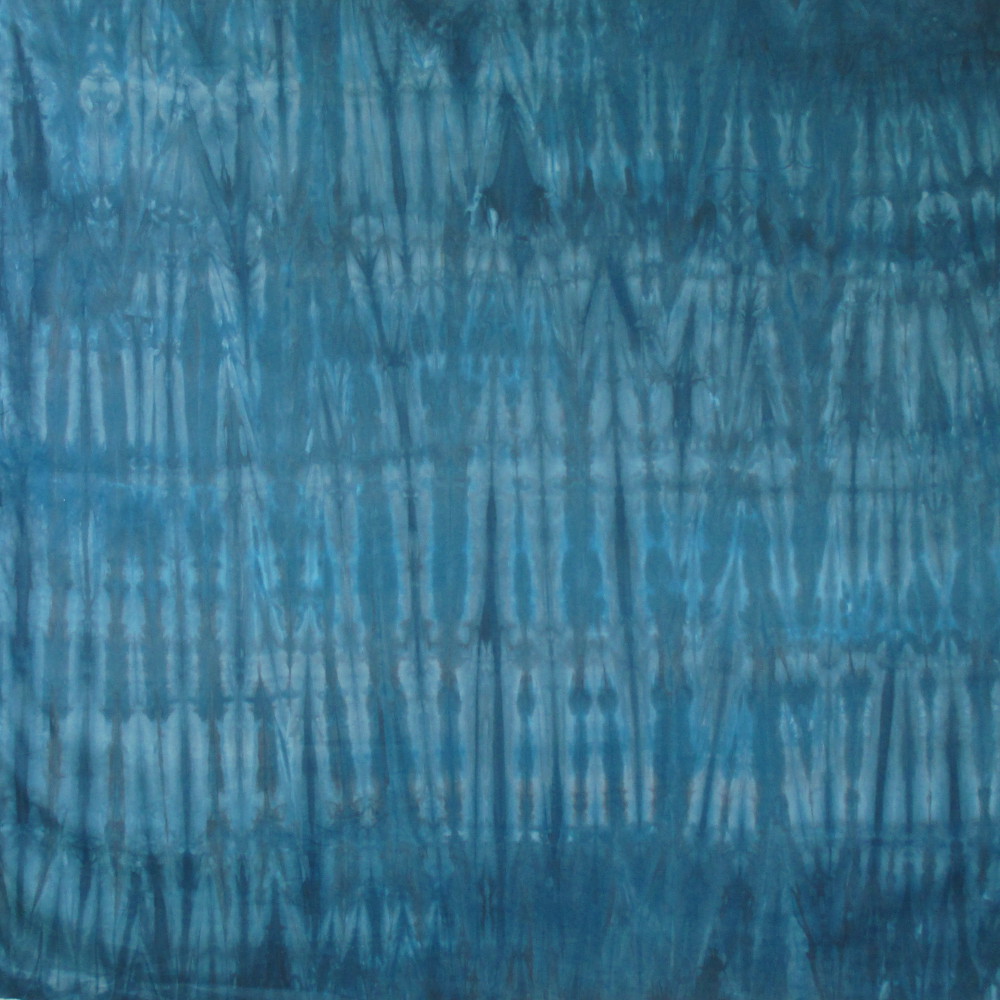
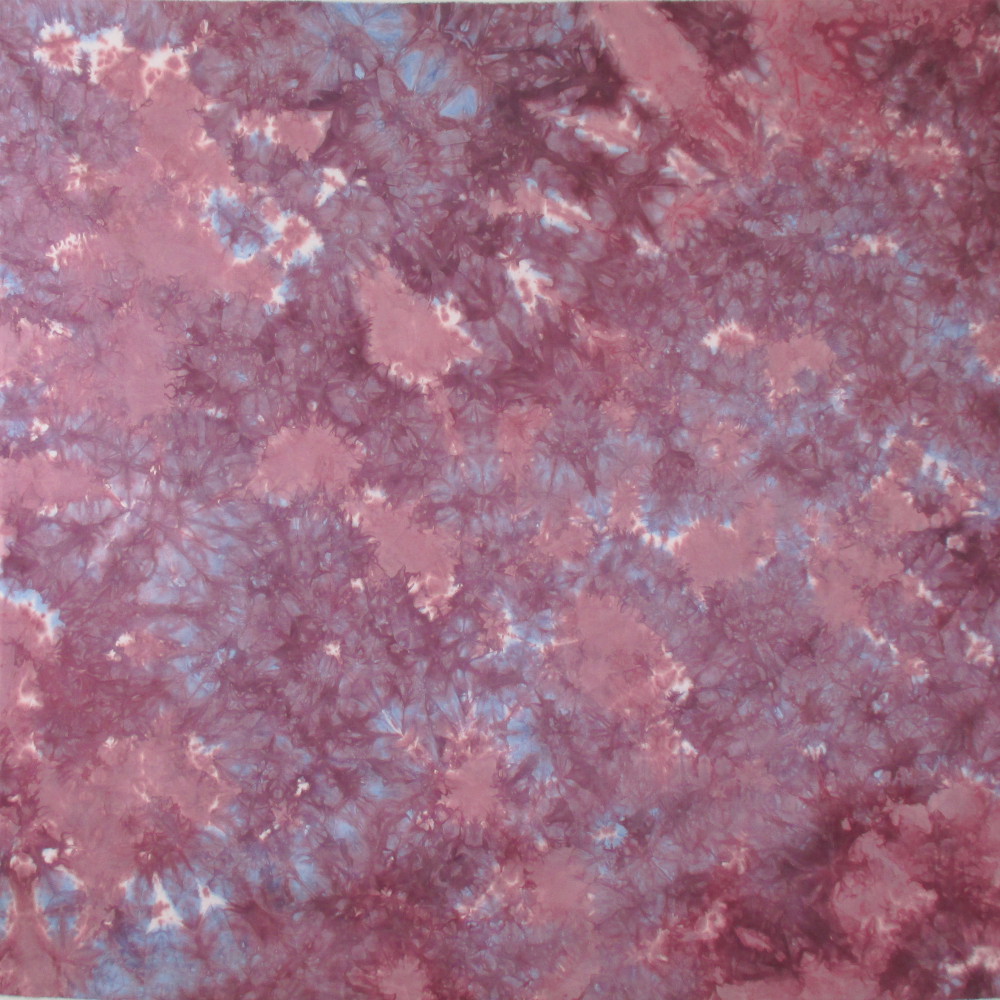
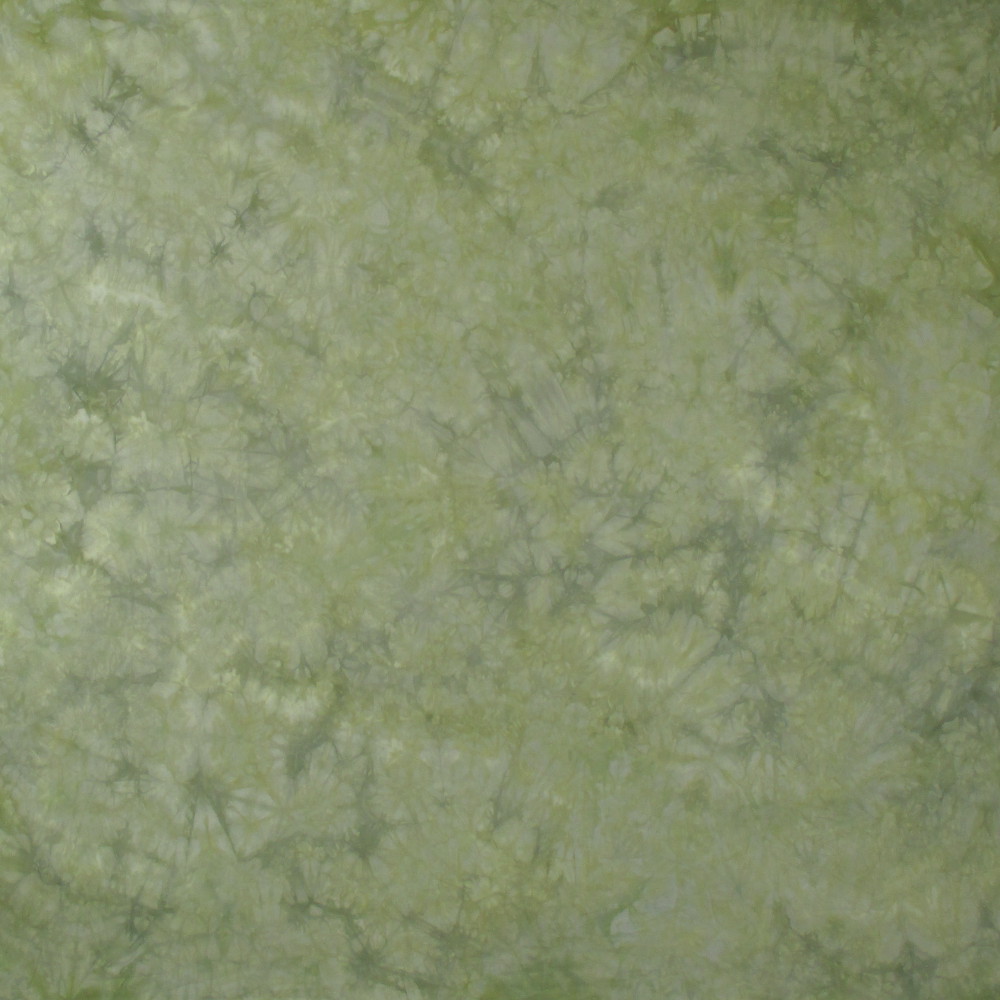
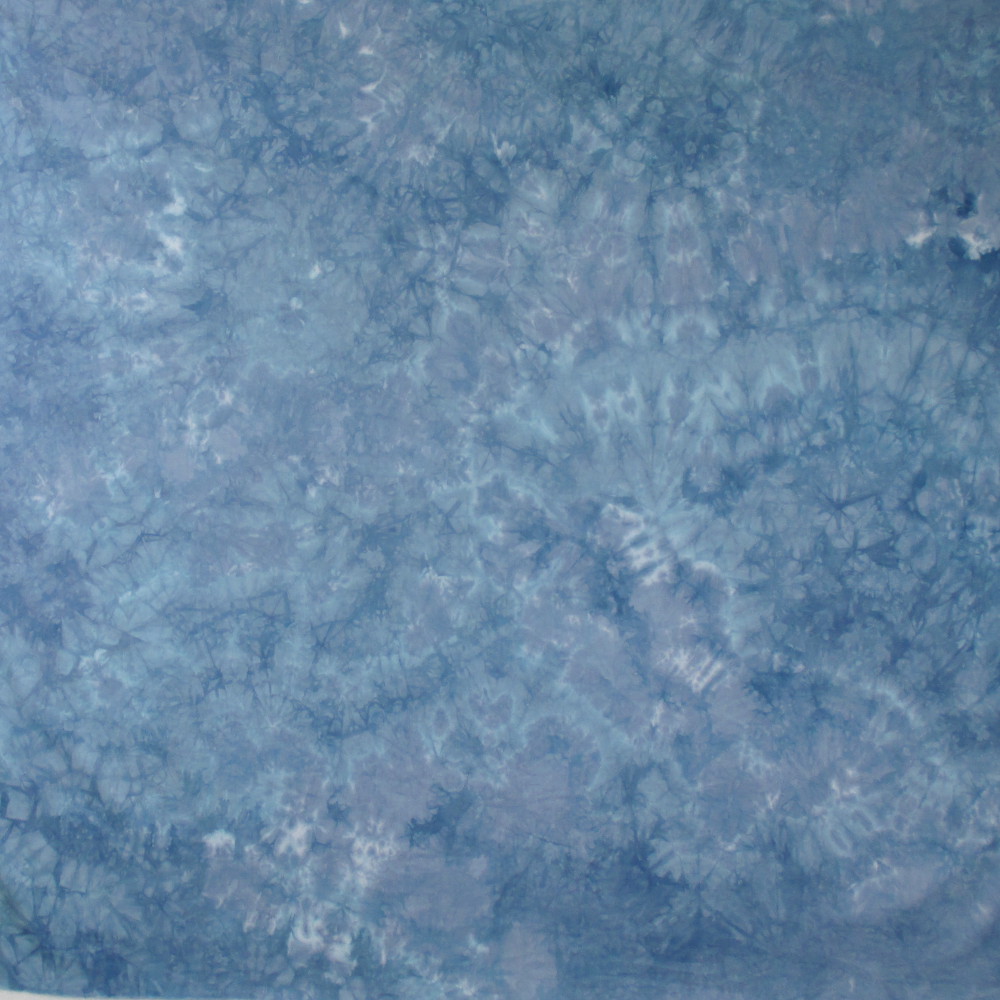
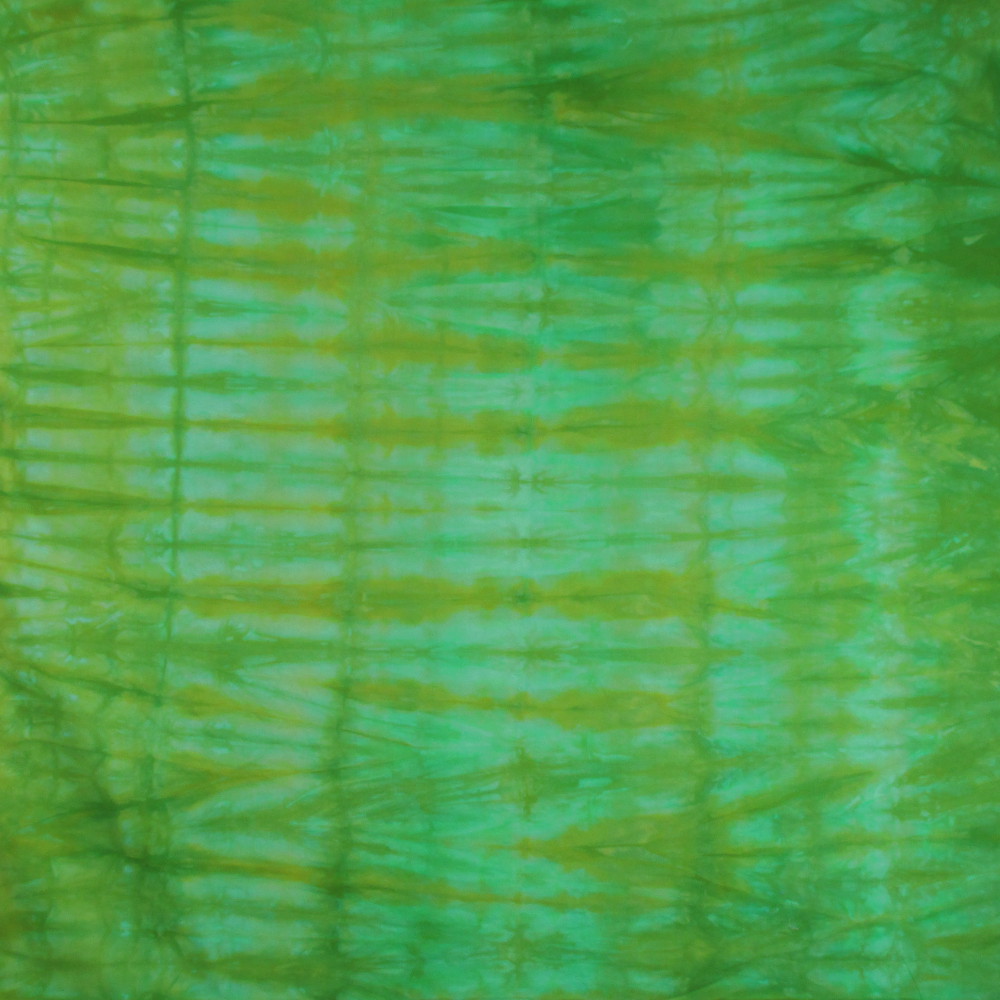
New in the shop this week are a number of 1 yard cuts. I call these Stars because they are one of a kind in color and texture and can't be recreated. Patricia Caldwell used a fabric from the Stars collection for the background of her Moonlight Leaves quilt. Leslie McNeil used one as the background for her Sun Blossom Pony art quilt.
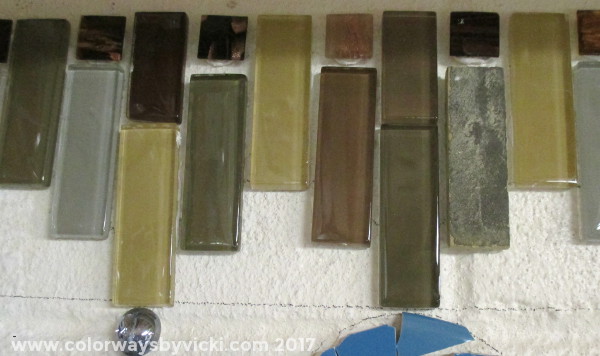
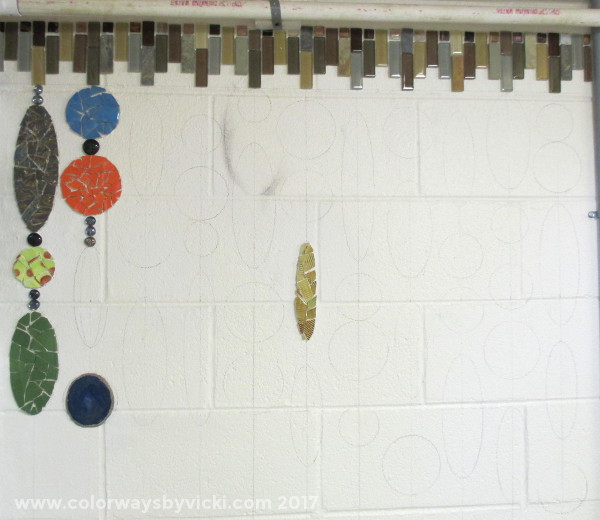
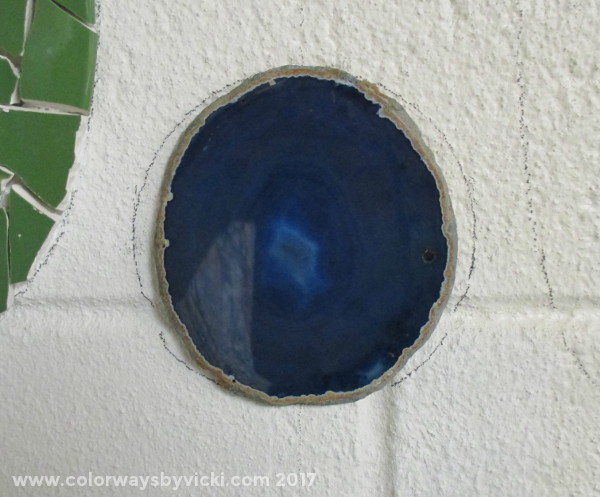
Here are the newest additions to the Stars fabric collection. I've been working on the new mosaic wall in bits and pieces. It's not a big priority right now so it's not getting a lot of attention but I have made a little progress. First I worked on the top edge. Originally I had drawn half circles to create a series of arches but I could find tile bits I liked in my stash to fill it in. But while I was searching I kept moving 3 sheets of these leftover tiles out of my way. Eventually I realized that they were the answer. I got the arched effect but much easier! I also got a few beads done too.I think I'm really going to love this section! You might be wondering about the one gold bead all alone there. Remember that these are made from leftover bits from the big wall. When I dumped out the gold bits here I knew I had to find a small bead and that one seemed the best fit. I think I had about 5 small pieces of that leftover after this so it was the perfect size and shape. This one was really easy! I think my Mom gave me a few of these geode slices for the wall and I've finally found the perfect use for them.
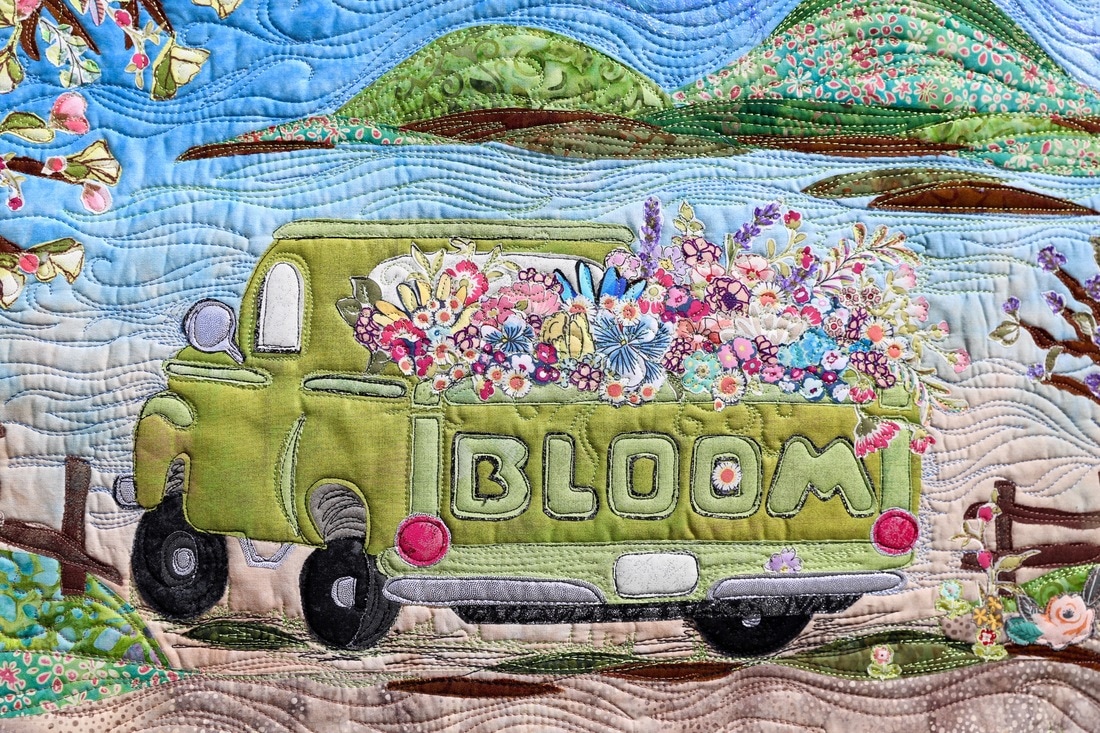
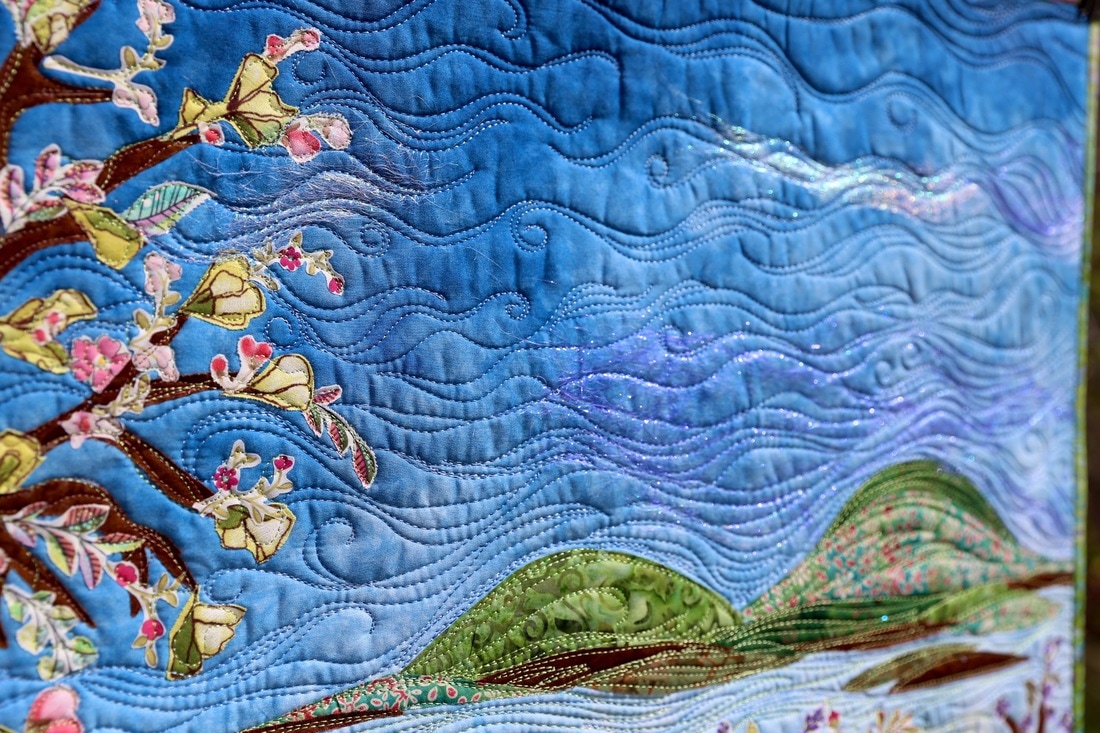
Is this quilt cute or what? Leslie McNeil has designed a whole line of patterns using her floral collage technique. This one is called Pick Me Up Blooms and was cleverly named by her husband. For this version she used the Blue Sky gradient as the background and I think it worked perfectly. I haven't met Leslie in person although we've known each other in the blog world for several years. I always admire her work and, through her quilting style, I imagine that she wakes each morning happy and joyful for the new day. It comes through in all of her art.
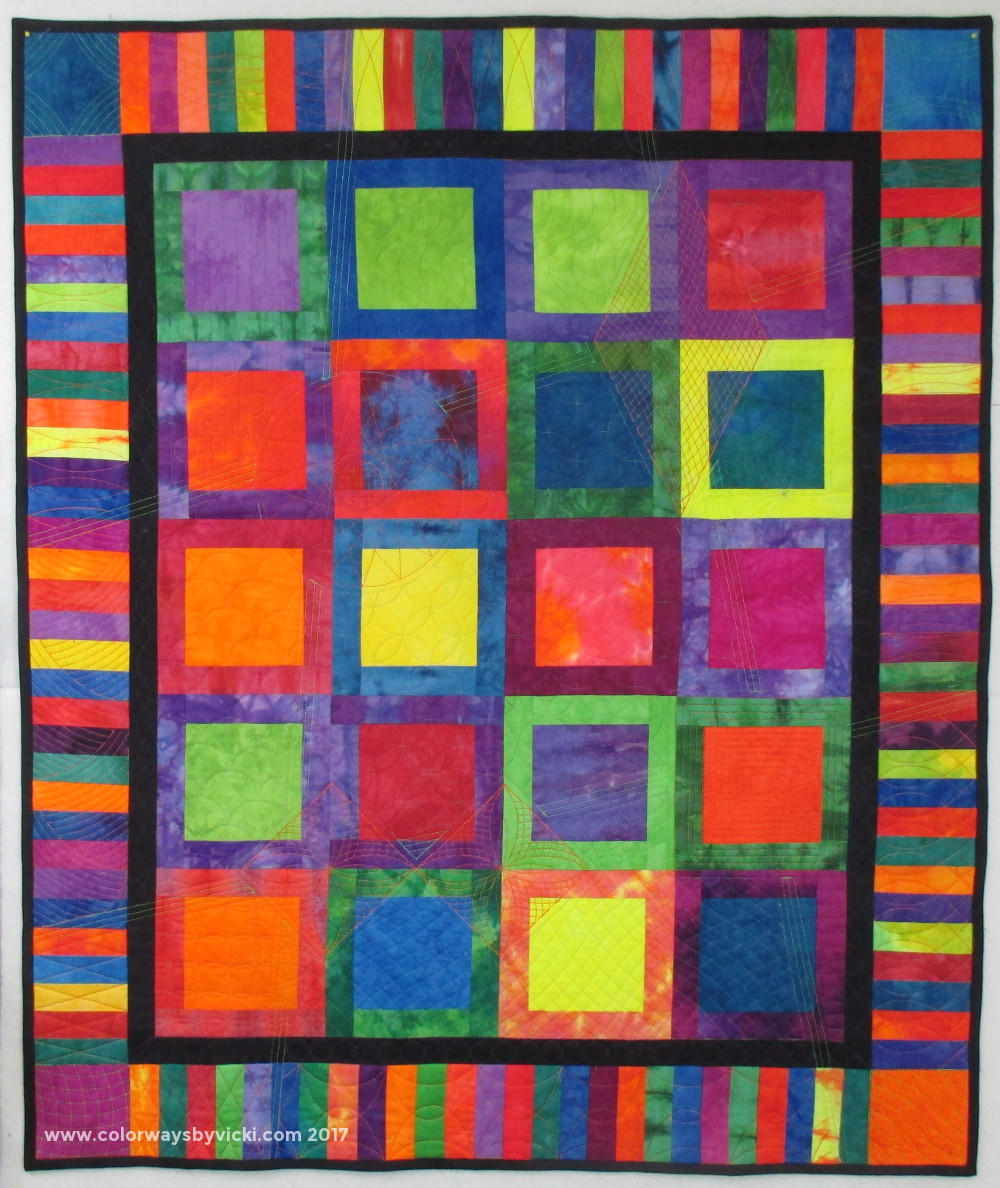
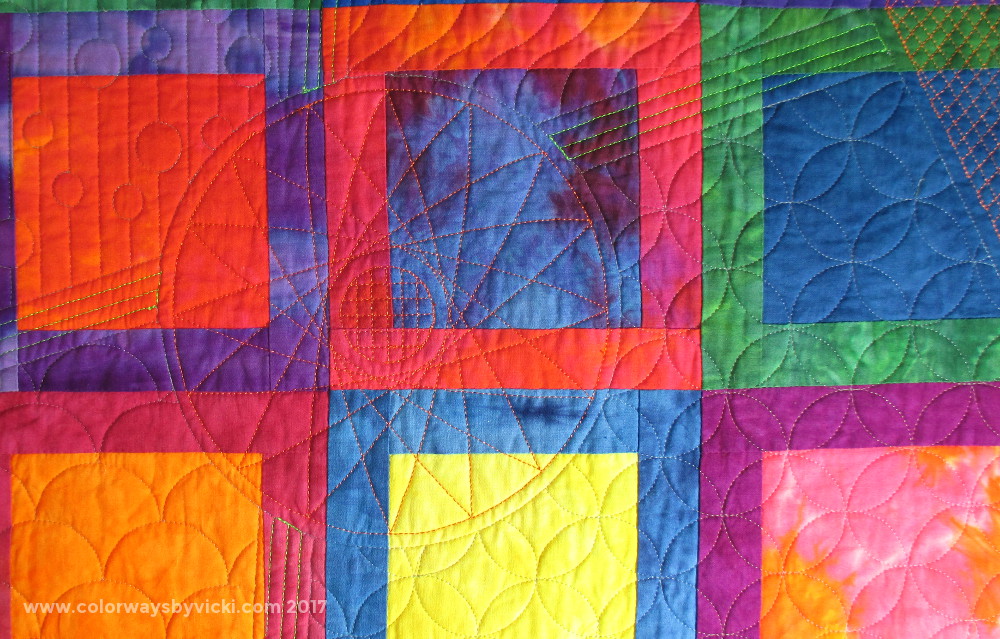
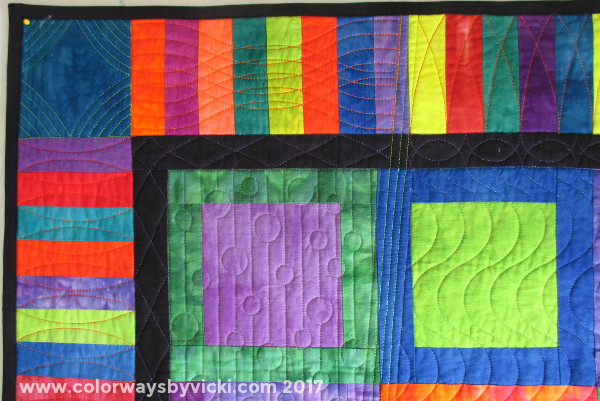
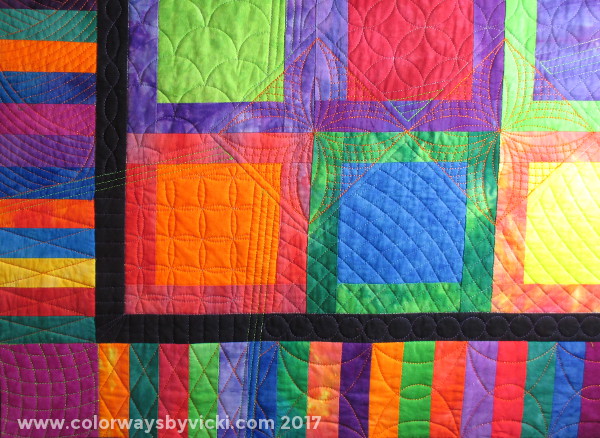
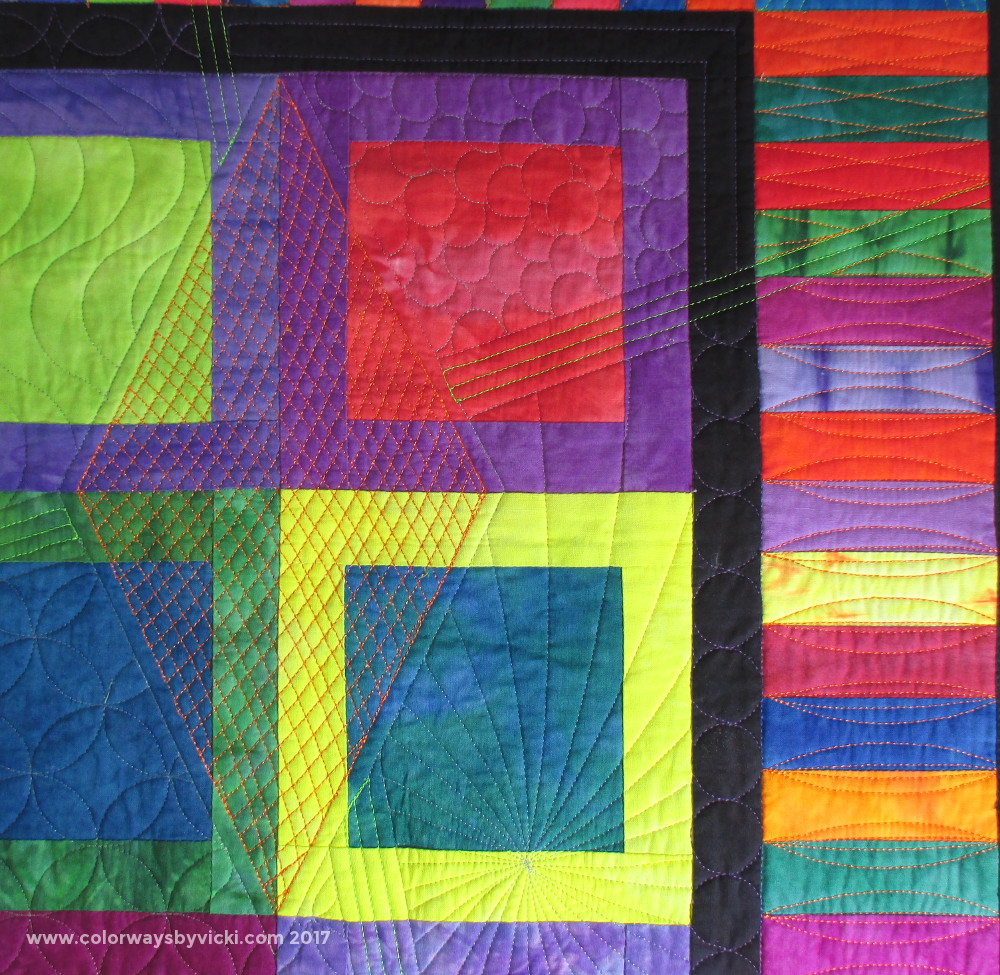
Look at that, the last of the Rainbow blocks found a good home! I was going to make this into a baby quilt but I don't know anyone having a baby and I needed a sample for my Ruling Rulers class at The Longarm Network on June 17. We'll be quilting on Innova longarms but this class isn't machine specific so you are welcome to take it no matter what short-, mid- or longarm machine you quilt on. The easy way to quilt this would have been to do a different ruler motif in each square but of course I couldn't do that! I wanted to do few focus pieces like this mandala using a heavy and shiny orange thread. Then I connected the elements with lines in the bright green thread. Those lines extend through the borders and that gave me lots of sections to showcase a lot of different ways to use rulers. In the "background areas" of the center of the quilt I used Invisafil thread for the first time. I learned the hard way not to wind the bobbin completely full because it will warp the bobbin. But other than that, I absolutely love that thread! You can barely see it. It just provides texture. I'll be buying more for my Thread Collection....but only a few colors. You don't need a lot of colors of a thread that's virtually invisible!
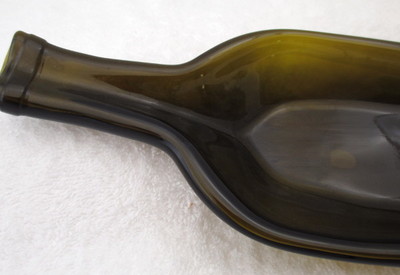
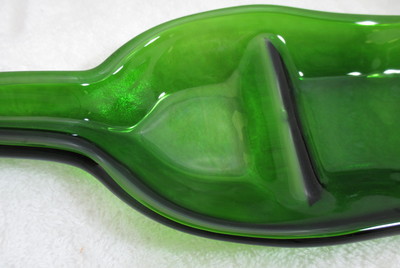
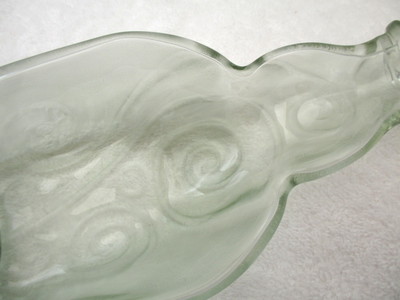
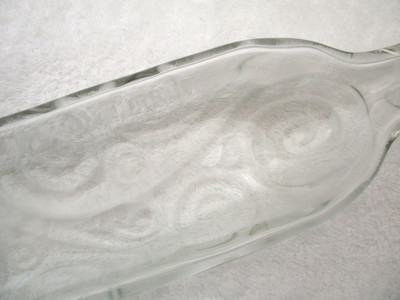
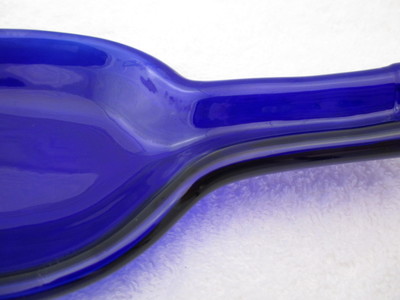
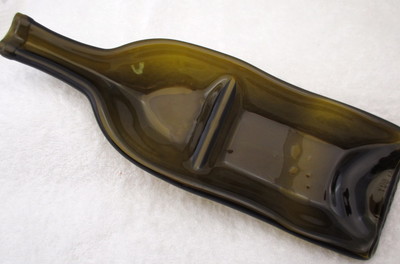
Because friends are dropping off empty bottles by the bag full! That's good for us. I have more bottles to play with and you have more to choose from. People find so many uses for these trays. They are great as appetizer trays for wine lovers. My brother uses one as a spoon rest. We use one as a key catcher. Since I eat hummus almost every day for lunch I cold use one of the double cavity as a lunch dish with a handle. They also make great gifts and now there are even more in the shop to choose from.
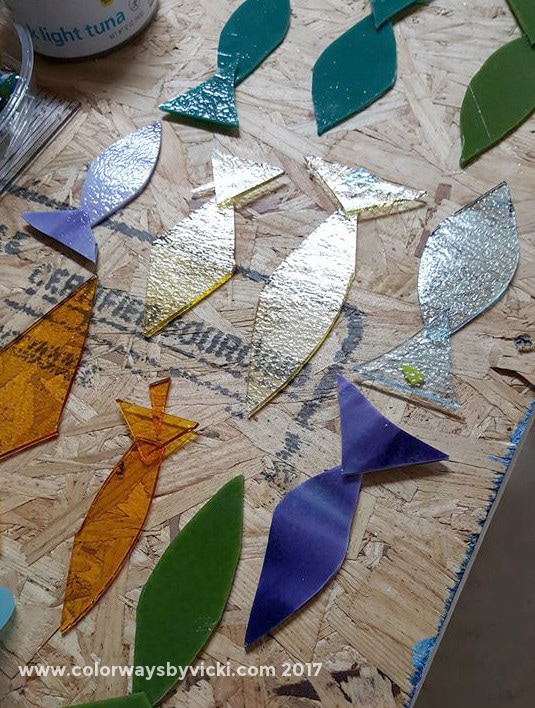
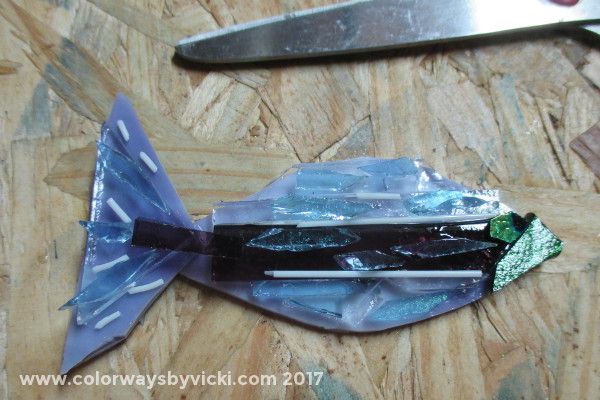
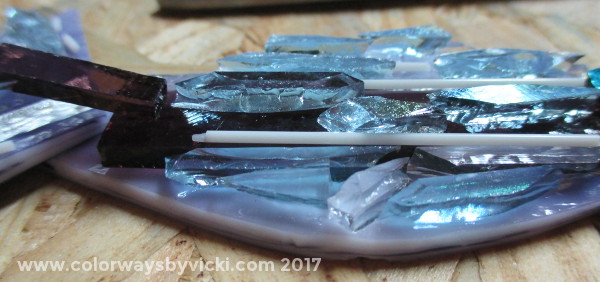
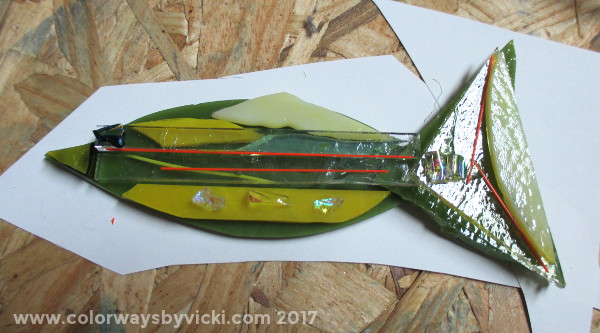
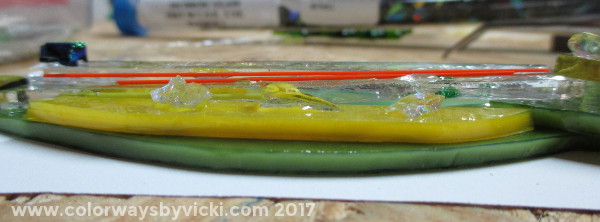
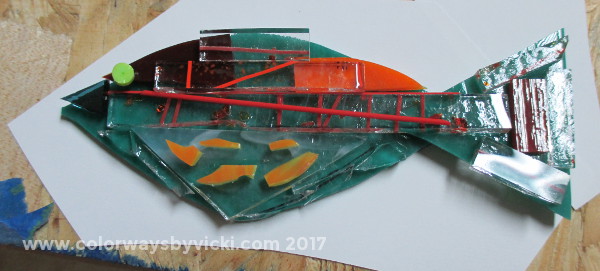
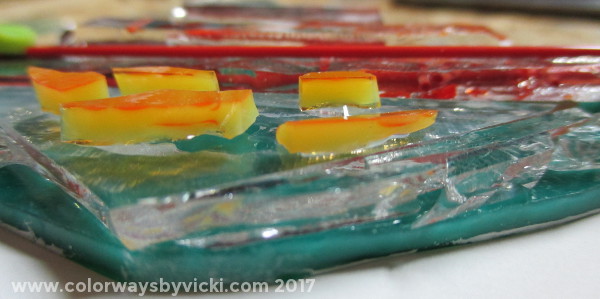
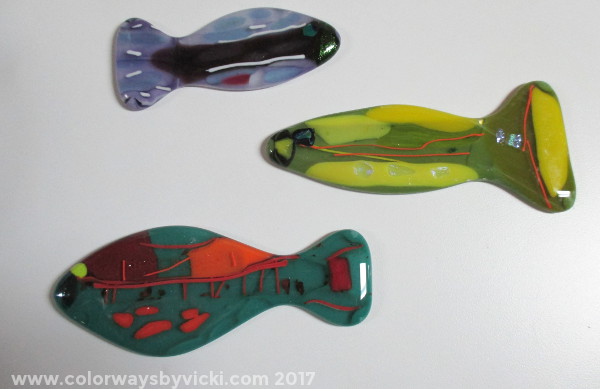
Check them all out in the shop. This year, for each one I sell I'm donating $5 to my local food pantry. ***By the way, all orders (fabric and glass) placed after today will be shipped next Tuesday. Custom dyed fabric orders will be shipped May 15. I'm not working on mosaic for the dye sink yet in that nothing has been stuck to the wall yet. But I am working on lots of glass fishes so that I'll have a full fish tank when I do start. Making these is kind of addictive. I use scrap glass so, like scrap quilting, there's not much to lose and that frees you up to just have a lot of fun. I use these to fill in space when I have some things I'm ready to fire in the kiln. Here's how I made 3 recent ones. I start with a rough cut fish body and tail and I glue them together. You can see that I have little wedges of glass under some of the tails to hold them up while the glue dries. I use standard Elmer's glue gel. It burns off clean in the kiln. No matter what glass project I'm doing I save ever little sliver of glass. To make my fishes I just start piling up the bits and strips of glass trying to pay attention to color. But with some glass you don't really know the color until it's fired...especially if it's an unmarked sliver. Most of these bits are glued in place so I can easily move them to the kiln. Side view. You can see there's nothing really logical going on here. Here's the second one. And the 3rd one with a creepy lime green eye. Here the are after firing. I was a little disappointed with their stumpy tails. That had not happened to me before. But when I saw how everything else in the kiln fired I realized that I had used the wrong program! I fired it to too high a temperature so they became much more rounded. I'm actually fine with the teal and purple ones. I might trim the tail joint on the olive one and fire him again.
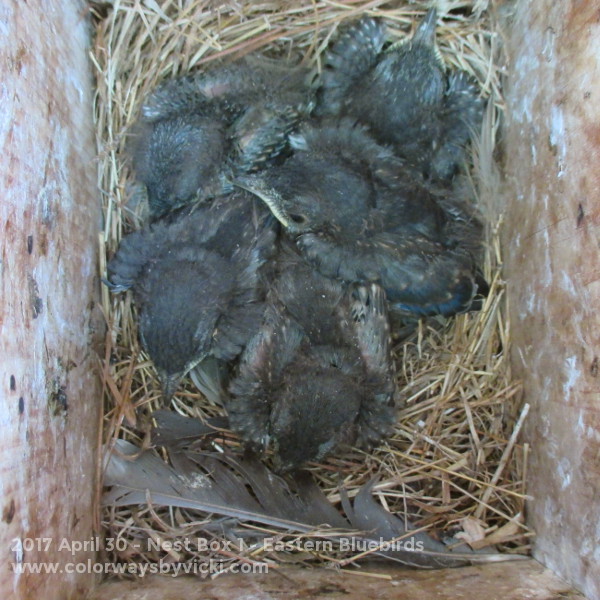
Or I just might make more fish and use him for something else. He wouldn't be my first reject fish! Next time I'll show you how they look when I fire them properly. Our cute little Bluebird family is now 12 days old. They will fledge between 17 and 21 days old.
We've also been having a little war with an Eastern Phoebe trying to build a nest over the front door. We allowed it last year and all was good until the 4 foot black snake arrived. It ultimately died from it's attempt and I almost died of fright so not more nesting by the door. She has been so determined though that Chris has to stuff the area with styrofoam sheets to take away the ledge and she has still slapped mud and moss all over everywhere. She's finally built a nest where she did a couple of years ago, on one of the downspouts outside our bathroom window. We're leaving the :decorative styrofoam for now though in case she or one of her sisters tries again. |
FeedsTo subscribe click the RSS Feed button and copy the URL of that page into your blog reader.
In Bloglovin you need to search "Colorways By Vicki Welsh" to find the blog. About Vicki
I'm Vicki Welsh and I've been making things as long as I can remember. I used to be a garment maker but transitioned to quilts about 20 years ago. Currently I'm into fabric dyeing, quilting, Zentangle, fabric postcards, fused glass and mosaic. I document my adventures here. Categories
All
Archives
April 2024
|
 RSS Feed