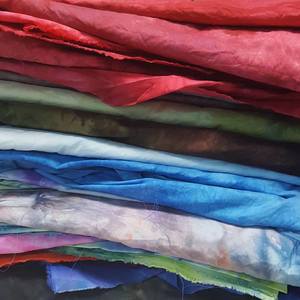
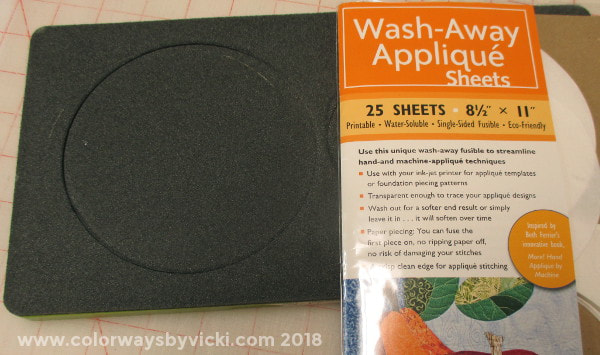
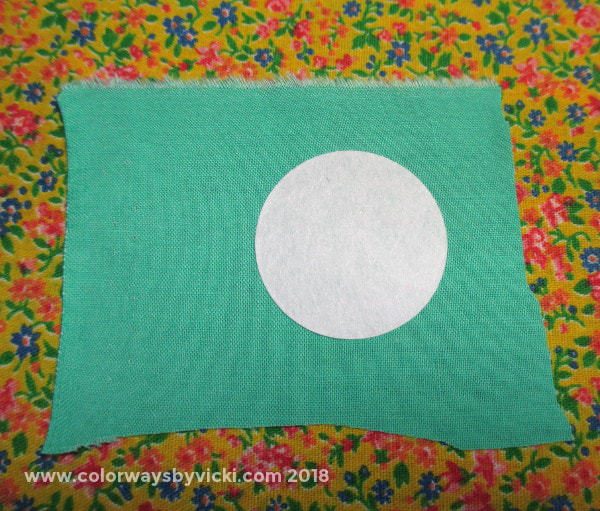
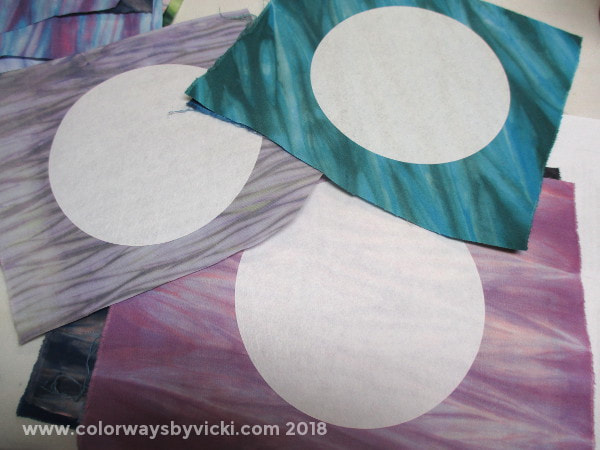
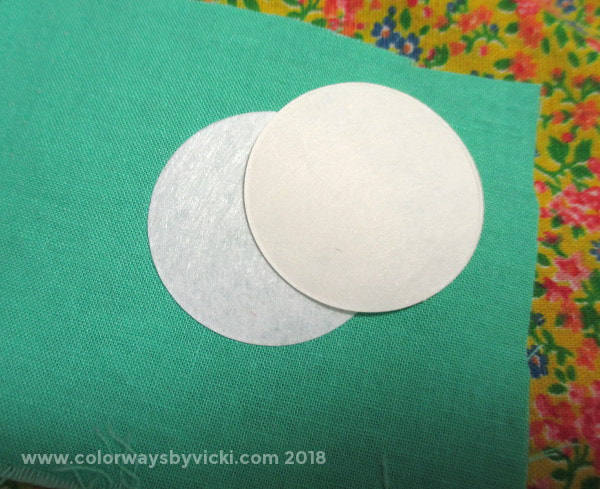
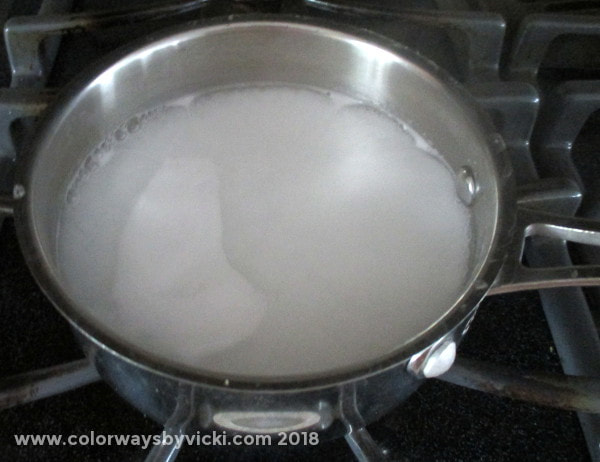
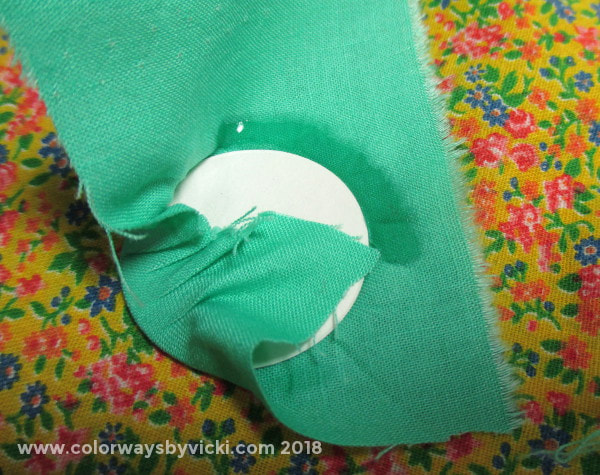
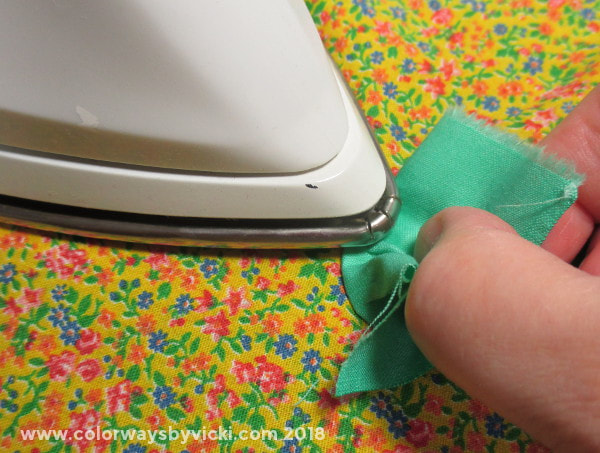
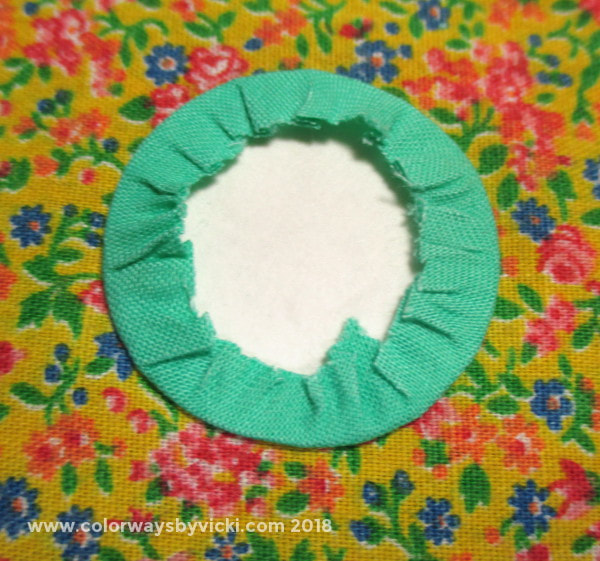
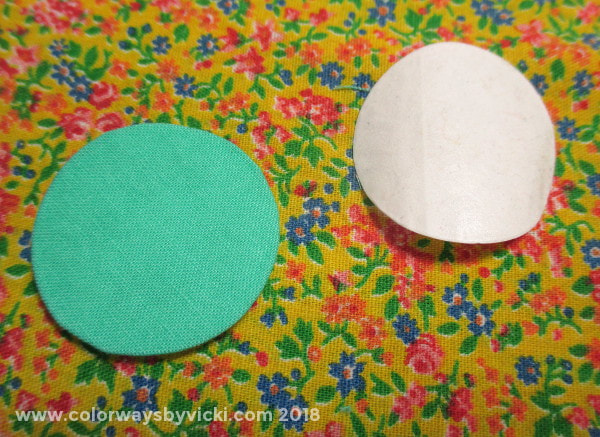
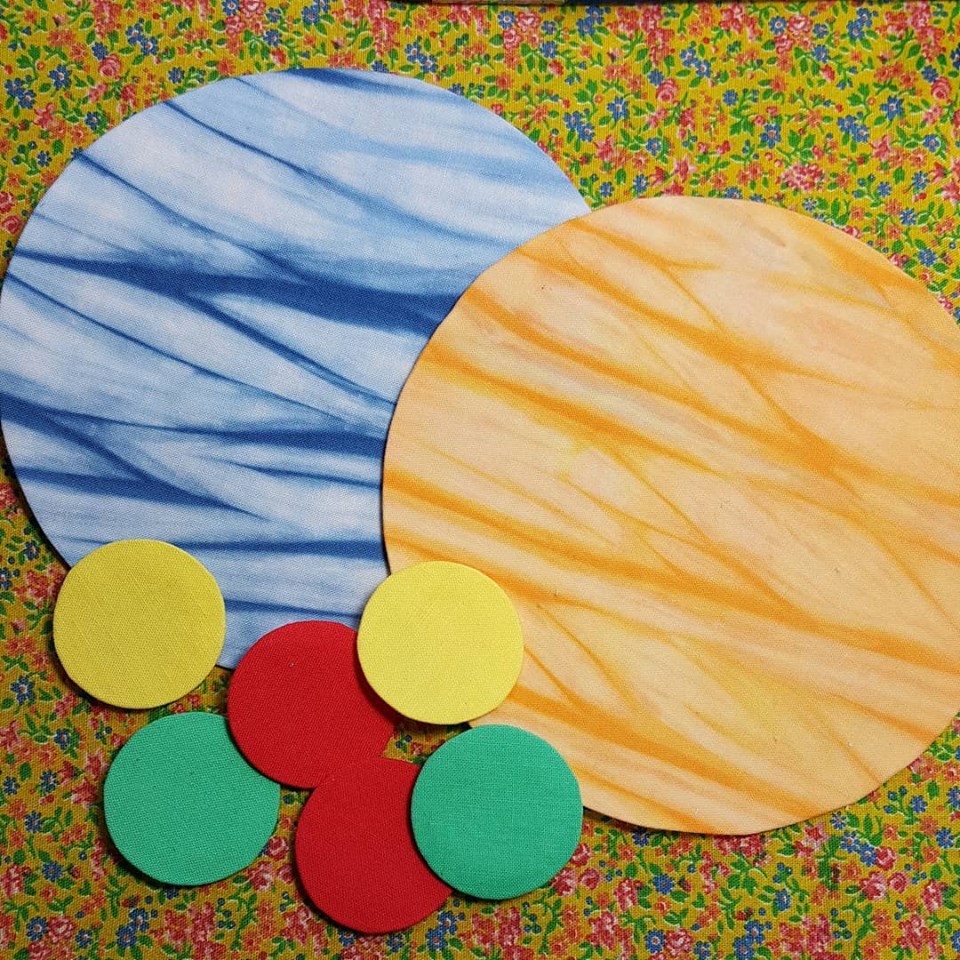
 My weekend was solely an ironing marathon. I had gotten very behind because of my arm. But it's getting better now and I couldn't take the pile of fabric anymore. I ironed, ironed and ironed over 115 yards and I'm much happier. In between ironing sessions I would sit down for a break and make circles for my 2 applique projects. So since I don't have anything except this stack of unironed fabric to share, today seems a good day to share how I'm doing the applique circles. For starters, I basically use this process from Leah Day. Her video is very clear and it works great! So start by watching that. My first step was to decide on the size of circles and cut the Wash-Away Applique sheets and freezer paper in those sizes. I based the size on the size of Go! dies that I have. I used 5" for the shibori and 1" for the centers of my flower applique circles. Leah doesn't use the Wash_Away Applique sheets but I like them because they stay inside the applique and they prevent anything under that applique from showing through. I fuse the applique sheets to the back of my fabrics. The biggest thing I learned from Leah was to leave large margins around the applique. I used to trim the fabric to about 1/4" but watching the video I learned how much easier it was to work with them with wider margins.That tip was genius! Next I fused 2 layers of freezer paper together like Leah recommends and ironed that over the applique sheet. Then it was time to make some starch. I use this recipe. I don't use much but it's cheap to make. I put a little into a small cup and found a small paintbrush. With the paintbrush I add some starch just around the edge of the applique shape. Leah's video give more detail about the process but you can see here how much easier it is to get a great sharp edge when you have more fabric to work with. I just carefully work around the applique painting and pressing with the tip or edge of the iron. After it's all pressed I'll trim the excess fabric, peel out the freezer paper and press it one more time. That's a pretty cgood circle! Here are a set of circles ready to applique.
That hideous background fabric is just something I use to cover the ironing board to protect it from getting a lot of starch on it. That gem is from my Aunt's fabric stash that she gifted to me over 10 years ago. Marcy is back doing more quilting today so we'll have a post soon to show how to fix a major quilting faux pas.
Rebecca in SoCal
6/18/2018 05:17:09 pm
"I like them because they stay inside the applique and they prevent anything under that applique from showing through"
patty
6/19/2018 07:38:44 am
Thanks for the circle pointers! I need to make a 19" circle out of car cover fabric to make a cover for a drum. I ended up drilling two holes in a paint stick - one hole for the center point of the circle and the other for the radius. I will be sewing a band of car cover fabric to the circle, but we are both working in circles! LOL!!
Kristin F
6/21/2018 09:22:17 am
There is another way to make circles for applique. Pin squares of fabrics RST. Then sew together using circle attachment. Cut out circle, make small slit in fabric and turn. I used this to make applique circles on a Dresden Plate quilt I made a number of years ago. Comments are closed.
|
FeedsTo subscribe click the RSS Feed button and copy the URL of that page into your blog reader.
In Bloglovin you need to search "Colorways By Vicki Welsh" to find the blog. About Vicki
I'm Vicki Welsh and I've been making things as long as I can remember. I used to be a garment maker but transitioned to quilts about 20 years ago. Currently I'm into fabric dyeing, quilting, Zentangle, fabric postcards, fused glass and mosaic. I document my adventures here. Categories
All
Archives
July 2024
|
 RSS Feed